Running Guided Work Flows through Care Console
Updated
Care console gives the flexibility and feasibility to perform multiple actions on a case which can help agents to solve the customer queries quickly and efficiently on a single screen. Care console gives us the ability to initiate several workflows which can help the agent to perform their tasks.
Business Use Case
While interacting with the customers, agents need to initiate Sprinklr Guided Workflows to solve customer queries without going to other screens.
Solutions
Care console gives us the ability to run guided workflows through following ways:
Smart Assist
Button on care console header
Button on widget
Button on record cards
Guided Workflow Widget
Configuration
Run Guided Workflow using Smart Assist
The smart assist widget helps us execute any guided workflow that is present in the environment for the brand.
Go to the record page and open the record page which you need to edit.
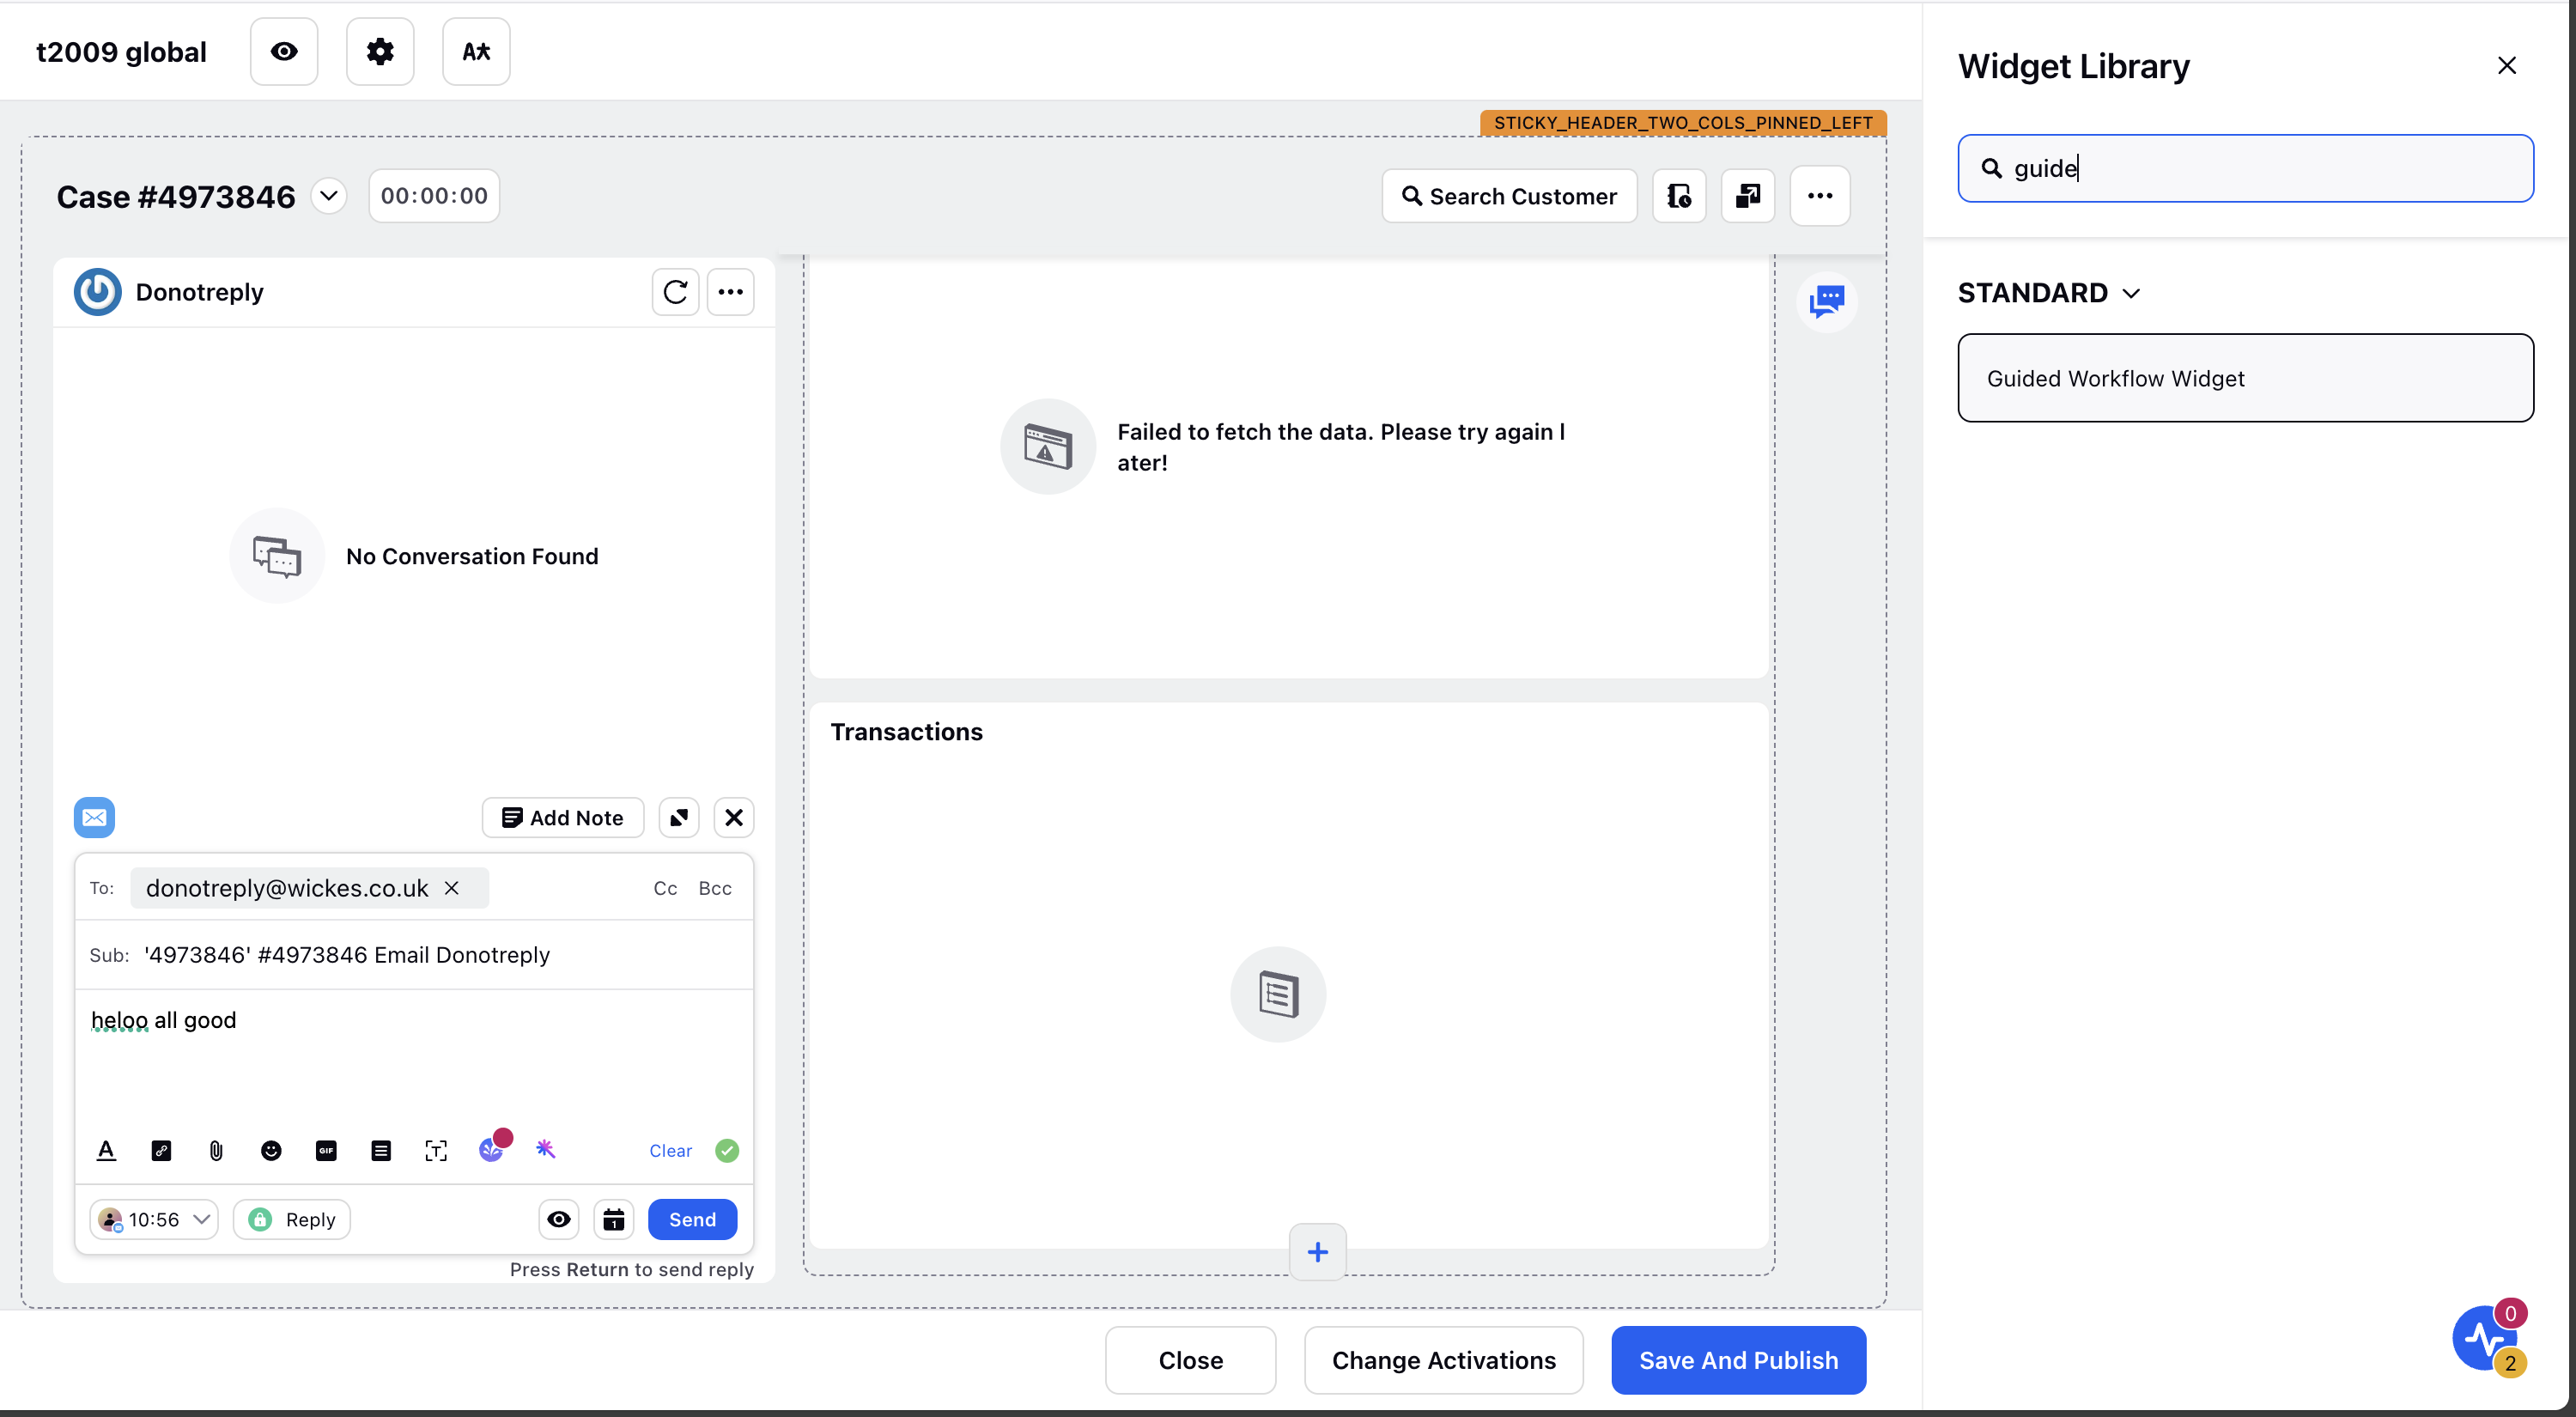
Click on Add widget and search for smart assist
Apply changes and deploy
Button on care console header
Another way of integrating a guided workflow is by adding an action button for the same. It is similar to any other button we just have to just add a normal button configuration in the record page like shown below and add the action id of that guided workflow for the same. And whenever an agent will click on that button, a guided path will be executed in the third pane.
Go to the record page and open the record page which you need to edit.
Click on header as highlighted in red box:
Now in order to add a button with guided workflow integrated in the header all we need to do is add this code with action id as mentioned:
{
"langVsTranslatedFieldValues": null,
"id": "ID_2",
"templateId": "@sprinklr/action/GuidedAction",
"persistedId": null,
"label": "Search Customer",%% name of the button
"detail": null,
"icon": "search",
"entityType": "UNIVERSAL_CASE",
"action": "62bea2934416295879c44751",%% guided workflowId
"props": {
"type": "ICON_TEXT_BUTTON",
"viewType": "THIRD_PANE",
"alwaysInitialize": true
},
"translations": null,
"children": null,
"visibility": null,
"payload": null
}
On clicking the above button a guided workflow will be initiated.
Button on widget
Now we also have buttons on widgets, like “plus(+)” icon to trigger guided workflow as well which on clicking upon them will initiate a guided workflow in the third pane. This is editable again from the care console manager.
Refer to following sample code which needs to be added in the widget configuration:
"buttons": [ |
Record Card Button
We can trigger a guided path with the button available on the record card as well :
We can follow the sample code to add in the record card of any widget:
{ |
Guided Workflow Widget
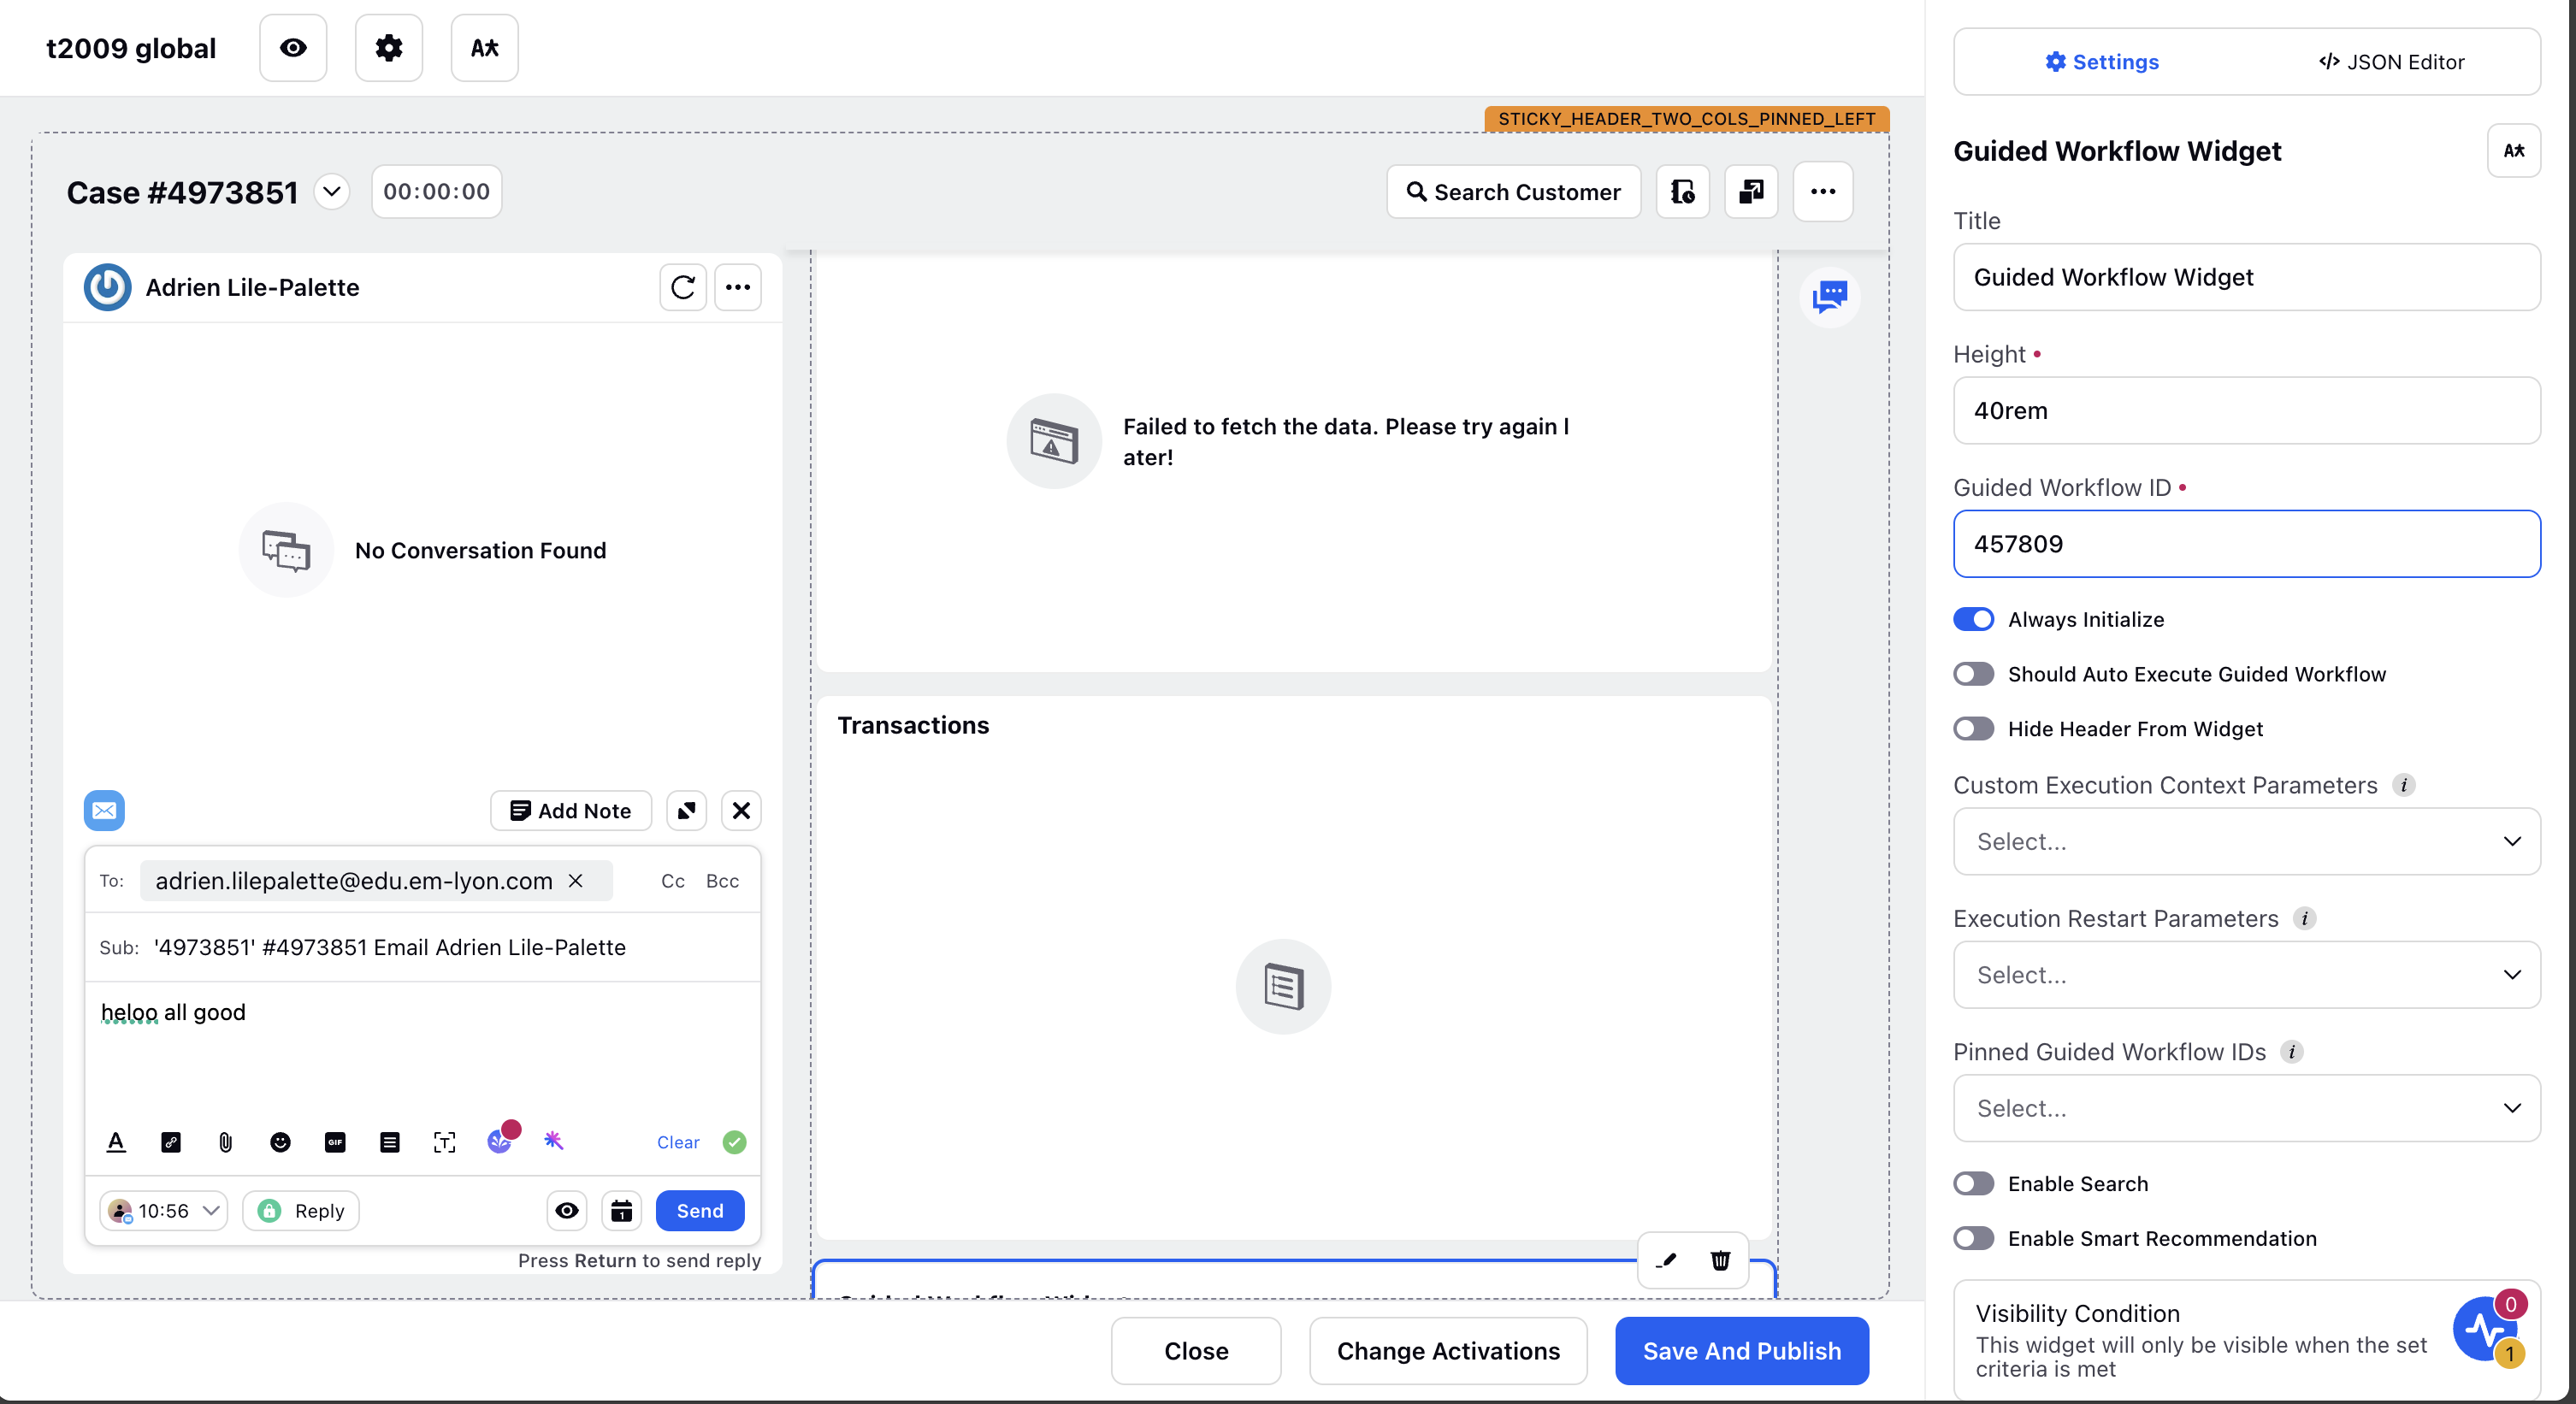
Using your Care Console Manager, you can create a Guided Workflow widget and make it available for your agents.
While adding a widget within your record, select and use the "Guided Workflow Widget".

