Track the entire consumer journey from clicks to website conversions, providing post-level attribution for website activities and seamlessly report on the entire conversion funnel using Adobe Analytics integration in Sprinklr.
Note: We are currently on 1.4 v of the Adobe Analytics API. For more information about the Adobe Analytics API Migration, see Legacy API EOL.
About Adobe Analytics
What is Adobe Analytics
Adobe Analytics (SiteCatalyst) allows you to see which posts are driving traffic to their website and use the data to gauge the effectiveness of marketing campaigns. However, accurate reporting requires that outbound posts be consistently tagged with the parameters for SiteCatalyst to track. Making sure that each appendment uses the correct taxonomy is not only time-consuming but can be extremely difficult to manage among larger teams.
Sprinklr can integrate with Adobe Analytics to streamline both the process of appending tracking codes and analyzing the data tracked.
Adobe Analytics Hierarchy
Reporting Suites: Adobe uses the concept of report suites to group/organize the data collected from different website(s)/app(s). An organization can have many report suites, each containing different data sets.
How Adobe Analytics Work
The Web Profile Builder creates a profile that, once assigned to a domain, automatically appends tracking codes to outbound posts with that domain.
This greatly simplifies the process of creating appendments for outbound posts. Instead of requiring all users to consistently use the correct tagging taxonomy (or even to remember to tag posts at all), the Web Profile does the entire process automatically.
Sprinklr brings the data that SiteCatalyst has captured back into the Sprinklr platform.
This allows you to compare web performance and social engagement in the same dashboards and widgets.
With this additional data, you can map web traffic directly to outbound posts with one seamless attribution model. It allows you to measure the effectiveness of your social marketing campaigns by seeing which outbound posts drove the most traffic to your website.
Value Proposition with Sprinklr
Integrating SiteCatalyst with Sprinklr eliminates much of the tedious work of comparing web performance to social engagement, making the process of attributing web performance to social engagement seamless.
Automate
Identify
Report
Automate the time-consuming and error-prone process of creating tracking URLs for accurate, compliant reporting.
Easily identify your most effective content based on conversions to create content that gets results.
Seamlessly pass back Adobe Analytics metrics, dimensions, events, props, and evars back into Sprinklr for a one-stop-shop reporting.
Integration Steps
You are required to raise a support ticket with Sprinklr Support requesting the Public Certificate which is required for the configuration of the Adobe Analytics connector. The support team will provide you with the certificate which will be used in Step 2.2.
Tip
The Support Team is required to verify the accessibility of the Integration user.
Since Integration User is the sole Administrator, the customer is required to verify the accessibility for the Report Suites, Metrics, and Dimensions, and inform the same to the support team to get the certificate which will be used in Step 2.2.
The customer is required to navigate to the following URL: https://adminconsole.adobe.com. Note that you can only access the site as an Administrator.
Find Adobe Analytics under the Product tab.
Note
The name - Adobe Analytics - will vary depending on how the customer has named Adobe Analytics in their environment.
Next, navigate to Product Profiles inside the Adobe Analytics product.
Edit and verify if you have access to the desired Report Suites, Metrics, and Dimensions.
Additionally, click Edit alongside the desired entity and add, update, or remove the permissions.
After the verification, confirm that the Integration User has access to Report Suites, Metrics, and Dimensions. And now request for a certificate from the Support Team.
Once you've got the certificate from the Sprinklr support team, you are now required to create an API Integration within the Adobe IO Console. For more information, see Creating an API Integration.
Within the Project tab, click the Create new project button.
Click the Add to Project button and select API from the drop-down menu.
On the Add an API pop-up window, select Adobe Analytics and click Next in the bottom right corner of the Add an API pop-up window.
On the Configure API pop-up window, select Service Account (JWT). Next, use the Public Certificate shared by the Sprinklr support team and select the Product Profiles to assign the integration to a specific Cloud Manager role.
Select Service Account (JWT) in the Configure API pop-up window.
Upload the Public Certificate shared by the Sprinklr support team in the Configure API pop-up window.
Select the Product Profiles in the Configure API pop-up window.
Click Save configured API in the bottom right corner of the Configure API pop-up window. Once you save the configured API, an Integration is created message will appear on the window.
Your client is now created. Notice your client has a Client ID (sometimes referred to as an API Key), an Organization ID,Technical Account ID, and Client Secret values.
You can get all the relevant API keys Under APIS. Note that the following information is available, you can copy/save the info to install Adobe APIs in the Sprinklr Marketplace as mentioned in Step 4.
API Key (client_id)
Client Secret (client_secret)
TECHNICAL ACCOUNT ID (sub)
ORGANIZATION ID (iss)
Click the New Tab icon. Under the Governance Console, click Manage Marketplace within Integrations.
In the Market Place window, scroll down to the Analytics section and click Install for Site Catalyst.
In the Install Site Catalyst pop-up window, enter a Name and Description.
Click Save in the bottom-right corner.
Under Site Catalyst User, click Add an application user to configure the application further to authenticate Adobe Analytics into Sprinklr.
In the Add Site Catalyst User pop-up window, enter the obtained details from Step 3. Next, click Add in the bottom right corner of the Add Site Catalyst User pop-up window.
Click Save in the top right corner to configure Adobe Analytics in Sprinklr.
On the Market Place window, click Installed from the top dashboard bar.
Under the Analytics section, identify the Site Catalyst you want to configure and click Edit.
If you do not have the appropriate permissions to add an Adobe Analytics account and proceed to give Sprinklr permission for fetching the data, you will be prompted with an error message to get the desired permissions and then add the account.
If you have selected incompatible metrics and dimensions in your Adobe Analytics configuration, you will receive an error message that the dimensions and metrics which you have added are not compatible with each other, on saving the configuration.
By default, the validation will be enabled. To learn more about getting this capability disabled in your environment, please work with your Success Manager.
Enablement of this capability requires additional setup.
4. Click Save in the top-right corner.
Configure Site Catalyst — Descriptions
Term
Description
Site Catalyst Overview
View the Site Catalyst details such as the Name, Client, etc.
Site Catalyst User
View the users that are added to configure the Site Catalyst. You can click the Addition box to add multiple users.
Report Suites
A report suite defines the complete, independent reporting on a chosen website, set of websites, or a subset of web pages.
Select a report suite from the Select a report suite drop-down menu. You can also click the Addition icon alongside to add multiple report suites.
For each report suite, you can further configure the details given below.
Dimensions
Configure the following:
Parameter
Name
Data Type
Description
Hidden Parameters
Profile Parameters
Post Parameters
Account Parameters
Ad Parameters
Note
Sprinklr will fetch data in any scenario and will try to map it to the ad entity level at which we are able to find the unique ad identifier that you have defined in the configuration. If you haven't defined any unique identifier, data will reflect in Sprinklr but won’t be associated with any Ad.
For Adobe Analytics data to populate correctly in Ads Reporting, ensure that you select 'URL Parameter' instead of 'Containing' as the Condition Type while configuring Ad Parameters.
Measurements
Configure the following:
Parameter
Name
Data Type
Description
Hidden Parameters
Single Dimension Measurements
Configure the following:
Measurement
Selected Dimension
Name
Data Type
Description
Measurement Interval Configuration
Configure the following:
Measurement Parameter
Interval Type
The default interval is hourly for all measurements.
Data Configuration
Configure the following:
Warehouse
Client ID
Client Secret
Mandatory Parameters
Streaming
Streaming URL
Mandatory Parameters
Visibility
Define the Client/Groups and Users/Groups you want to share this application across.
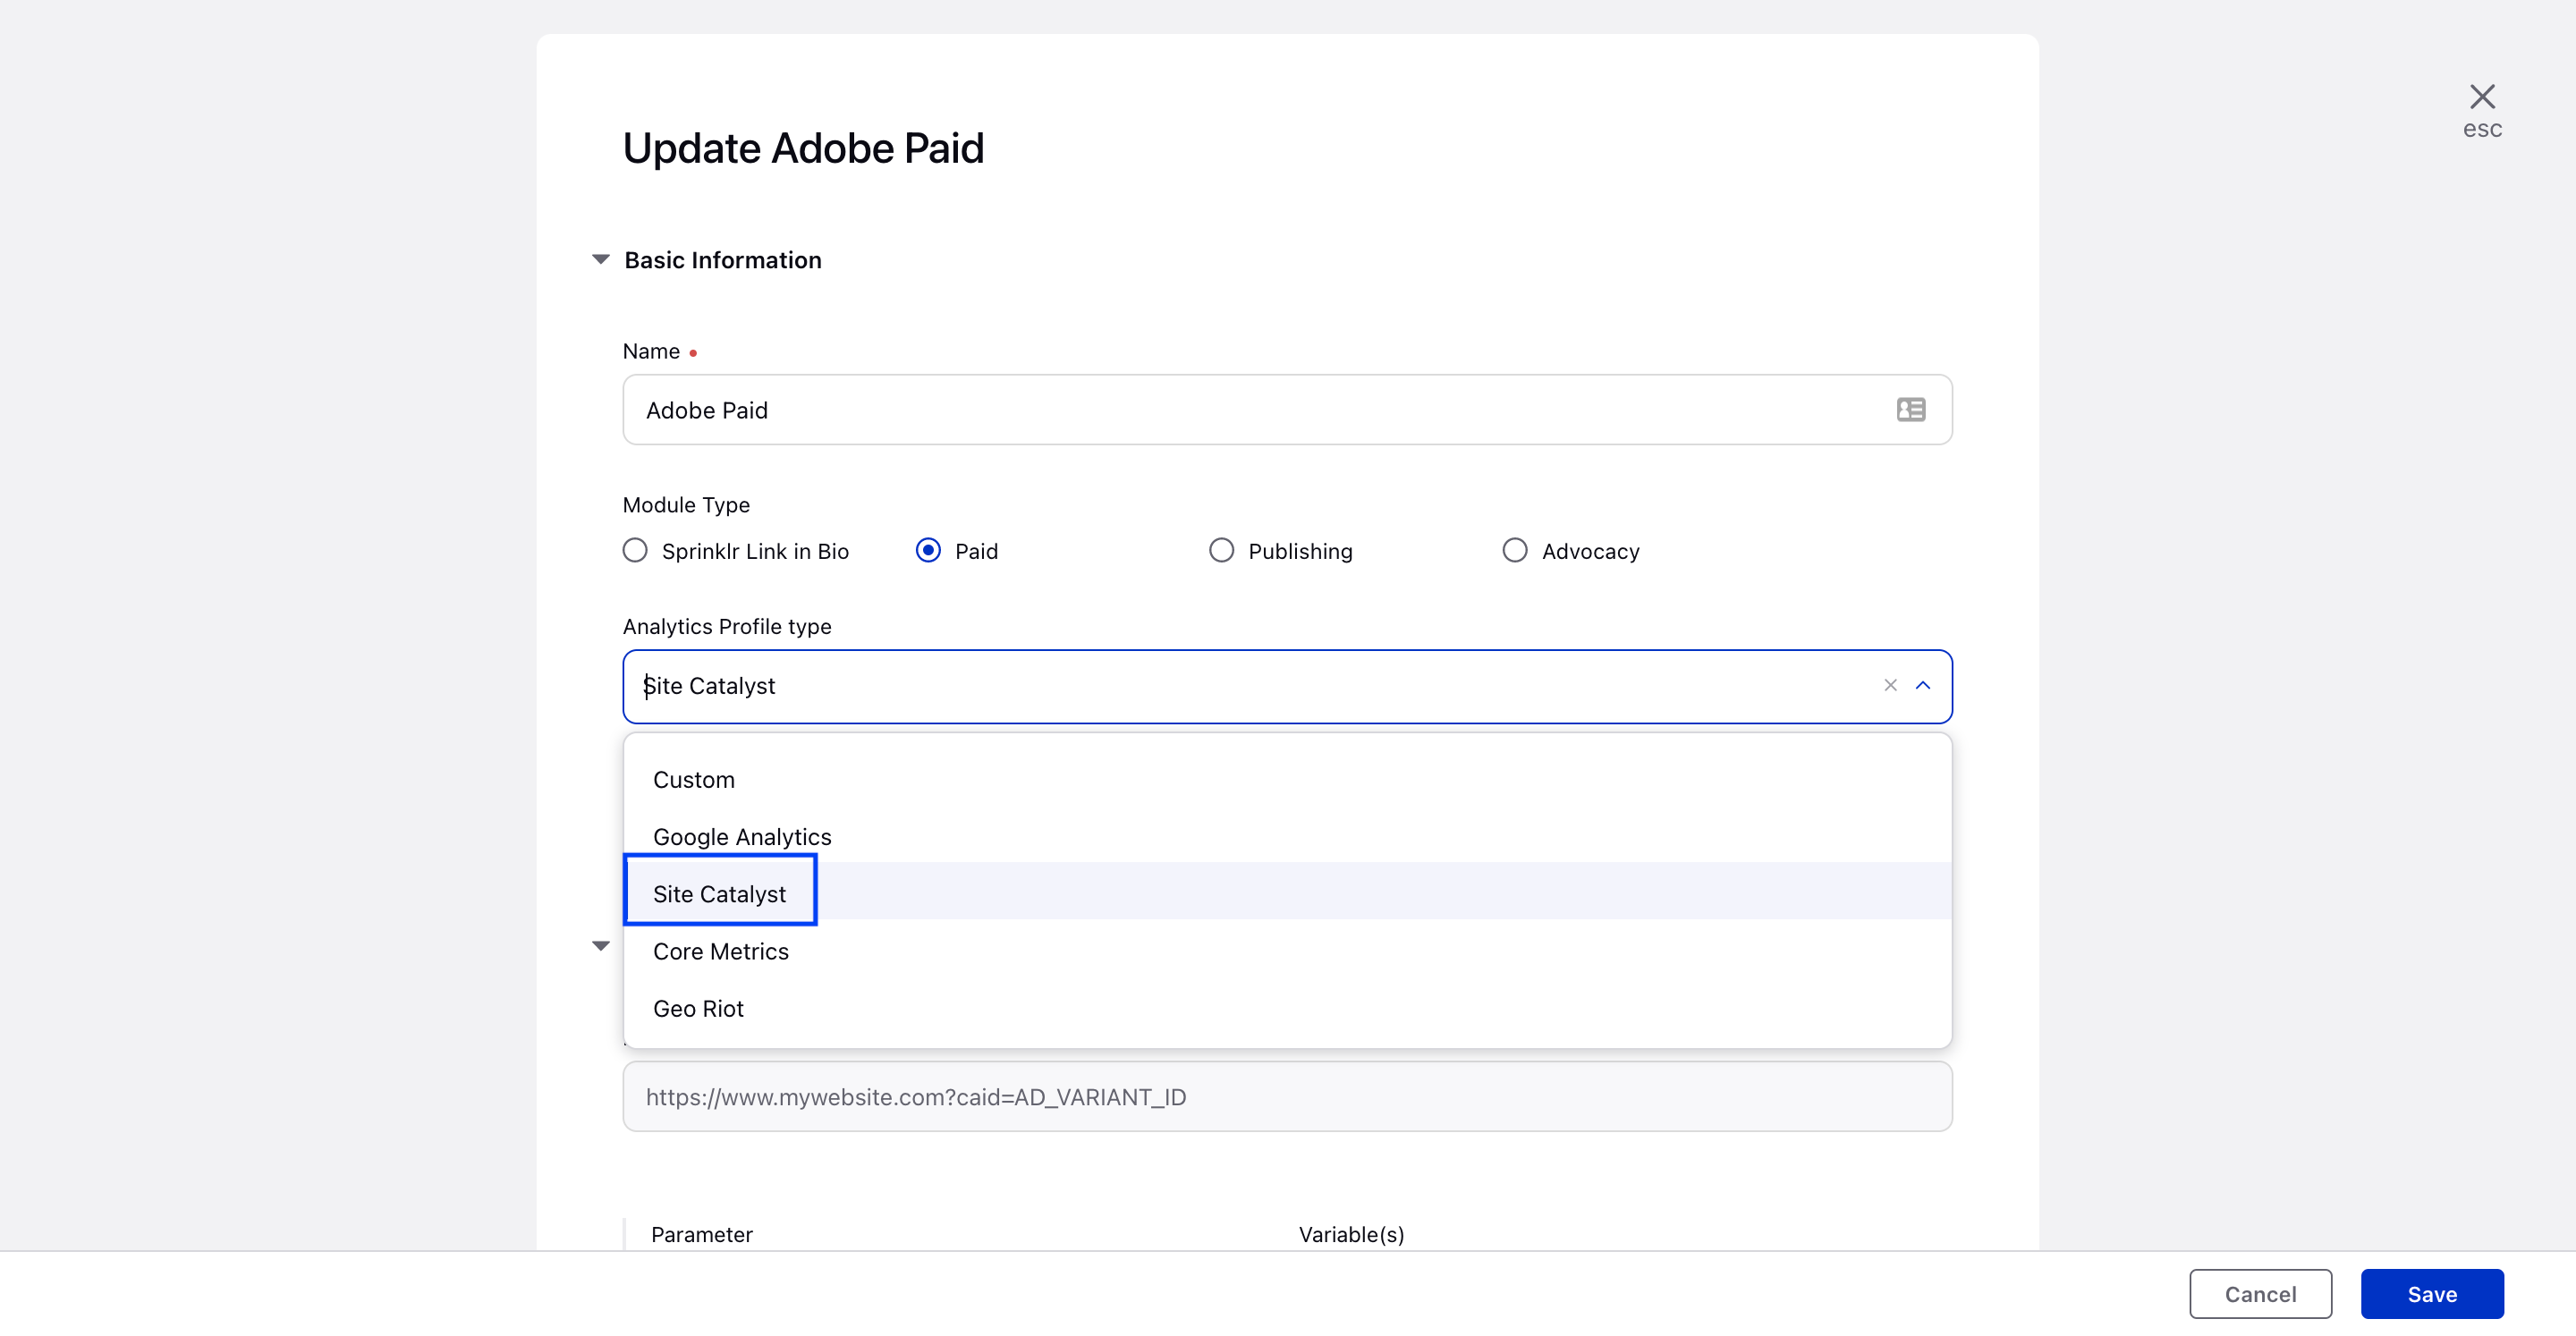
You can create a new Adobe Analytics Profile in Sprinklr Web Analytics.
1. Click the New Tab icon. Under Governance Console, click Analytics within Integrate.
2. In the top right corner of the Web Analytics window, click Add Analytics Profile and create your web analytics profile. To learn more, see Create a Web Analytics Profile.
3. While creating the Web Analytics Profile, select Site Catalyst from the Analytics Profile Type drop-down menu for the respective Module Type.
4. Match the Parameters from Google Analytics into Sprinklr Web Analytics. The variables can either be static inputs or dynamic inputs.
5. Click Save in the bottom right corner of the Web Analytics (Settings) window.
Once the Adobe Analytics profile has been created, you need to assign it to a Domain or Account. For more information, see the following:
After you have assigned the profile, publish an ad through the platform and check the ad to make sure that all of the parameters and variables are properly appended. The UTM code should be appended to the Web URL as long as the ad was made with a Web URL.
FAQs
A SiteCatalyst Report Suite generally represents a web property or a grouping of web properties. For example, a Web Property is a website, but a grouping could be multiple Apps reporting into the same rolled-up Report Suite.
When configuring the integration in Sprinklr Marketplace, you must add and configure each of these metrics in order to report in Sprinklr.
The Web Analytics Profile Builder allows you to set up automated tracking code tagging on all Outbound Posts containing links back to their Web Properties. Although this is not technically required for the integration to work. Also, by using this feature you will have 100% compliance internally with tagging on all posts.
In order for this integration to work, there must be a unique identifier in the tracking code for Sprinklr to map web traffic back to the Outbound Post. If this is not already in place with your structure, then you will have to modify your setup to include a unique value (preferably Post ID) in one of the parameters.