Compose LINE Ads
marketing
Updated
1 month ago
, by [Redesign] Sprinklr Help Center
Advertising on LINE allows you to reach millions of LINE users across the globe. You can compose and publish ads to the LINE channel with its natively supported features along with some value-added features through Sprinklr.
![]() Note: To learn more about enabling this feature in your environment, please contact your Success Manager.
Note: To learn more about enabling this feature in your environment, please contact your Success Manager.
Select Ad Account and Objective
1. Click the New Tab icon. Under the Sprinklr Marketing (Ads) tab, click Ads Composer under Plan.
2. From the Create an Ad Campaign window, select your LINE Ad account.
3. From the Campaign Details window, choose your Campaign Objective. You can choose from the following available objectives:
LINE Website Visits
LINE App Installs
LINE App Engagement
LINE Website Conversions
LINE Gain Friends
4. Enter your campaign name in the Campaign Name field. You can also use a predefined naming convention for your campaign name by selecting Use a Naming Convention.
5. Select the custom properties under Define Custom Properties and click Next.
Apply Audience Targeting
1. On the Target Audience window, you can select from an existing target audience by clicking Select from Saved Target Audience or create a new target audience by clicking Create New Audience. The description of the different fields present in this window is mentioned just below this section.
2. Click Save Target Audience to confirm your changes, or click Segment and Save to create different variations of your target audience.
![]() Note: Sprinklr does not support the creation of Saved Audience, Custom Audience, and Lookalike Audience from the Audience Manager. They are only available through auto-import if created in the native platform.
Note: Sprinklr does not support the creation of Saved Audience, Custom Audience, and Lookalike Audience from the Audience Manager. They are only available through auto-import if created in the native platform.
Target Audience — Field Description
Term | Description |
Name | Enter a name for your LINE targeting. |
Gender | Select for gender-specific targeting. |
Min Age | Select a minimum age for targeting. It will be set as No min limit by default. |
Max Age | Select a maximum age for targeting. It will be set as No max limit by default. |
Mobile - User Operating System | Select an operating system to target users using those devices. |
Mobile - iOS Version | Set the iOS version range to target users within that range. |
Mobile - Android Version | Set the Android version range to target users within that range. |
Location | Include a location to target users in a specific country or region. You can also import multiple targeting locations. |
Interests | Include interests to target users based on their interests. You can also import multiple targeting interests. |
Custom Audience | Search custom audiences created on the native platform to include or exclude from targeting. |
Save this Target Audience for Future | Select to save your target audience for future use. |
Budget and Schedule
1. From the Budget and Schedule window, enter the details for the respective fields. For more details, see the next section.
2. Click Next.
Budget and Schedule — Field Descriptions
Term | Description |
Configure all Ad Groups individually | Select to apply individual configuration for your LINE campaigns, if you have applied multiple targeting selections. |
Enter the Budget & Schedule details for Campaign | |
Budget Type | Select a budget type from the drop-down menu. |
Lifetime/Monthly Budget | Set the budget for your campaign according to the budget type. |
Start Date | Set a Start Date for your Ad Campaign. |
End Date | Set an End Date for your Ad Campaign. |
Enter the Budget details for all Ad Groups | |
Daily Budget | Set a daily maximum budget limit for each ad set of the campaign. |
Enter the Bidding details for all Ad Groups | |
Optimize for | Select an optimization for your Ad Groups. |
Pricing Strategy | Click to set a pricing strategy for your Ad Sets. |
Note: The minimum bid value must be 36 Yen. |
Enter the Dayparting details for all Ad Groups | |
Run ads all the time | Select to run your Ads every time. |
Run ads on a schedule | Select to run your Ads on a specific schedule. |
Select Creatives
1. From the Creatives window, select from saved creatives by clicking Select from existing creatives, or click Create new creative to craft new ad creatives. For more information on the various fields while creating a new creative, see the below section.
2. Click Save to confirm your changes. In the preview window to the right, all the Ad Variants will be displayed.
Create New Creative — Field Description
Term | Description |
Creative Header | |
Post Type | Select the type of post for your ad creative. |
Sub Post | Select the sub-post specification. |
Creative Details | |
Photo/Video | Click Add Photo/Add Video to upload one or multiple images or videos. |
Note: The dimensions of the image(s) should be 1200 px and 628 px. For videos, the duration must be 5 to 120 seconds. |
Product Title | Enter a title for your product. |
Product Description | Enter a description of your product. |
Call to Action | Select the action you want people to take when they see your ad. |
Destination URL | Enter the destination URL where you want to send the people who have clicked on your ad. |
Click URL | Enter the URL provided by your tracking tool where people will be redirected after clicking on your ad. |
Set up Advanced Configuration
On the Advanced Configuration window, you can view the Ad Sets in the left-hand side pane and make changes to individual ads. Click an Ad to view details and make changes to the custom properties as desired.
At the Ad Variant level, you can click Copy to all Ads in this Ad Group or Copy to all Ads in this Campaign within Define Custom Properties to copy the custom properties to all other ad variant components.
You can also delete any Ads within an Ad Set by clicking the Options icon alongside an ad and selecting Remove from Ad Group.
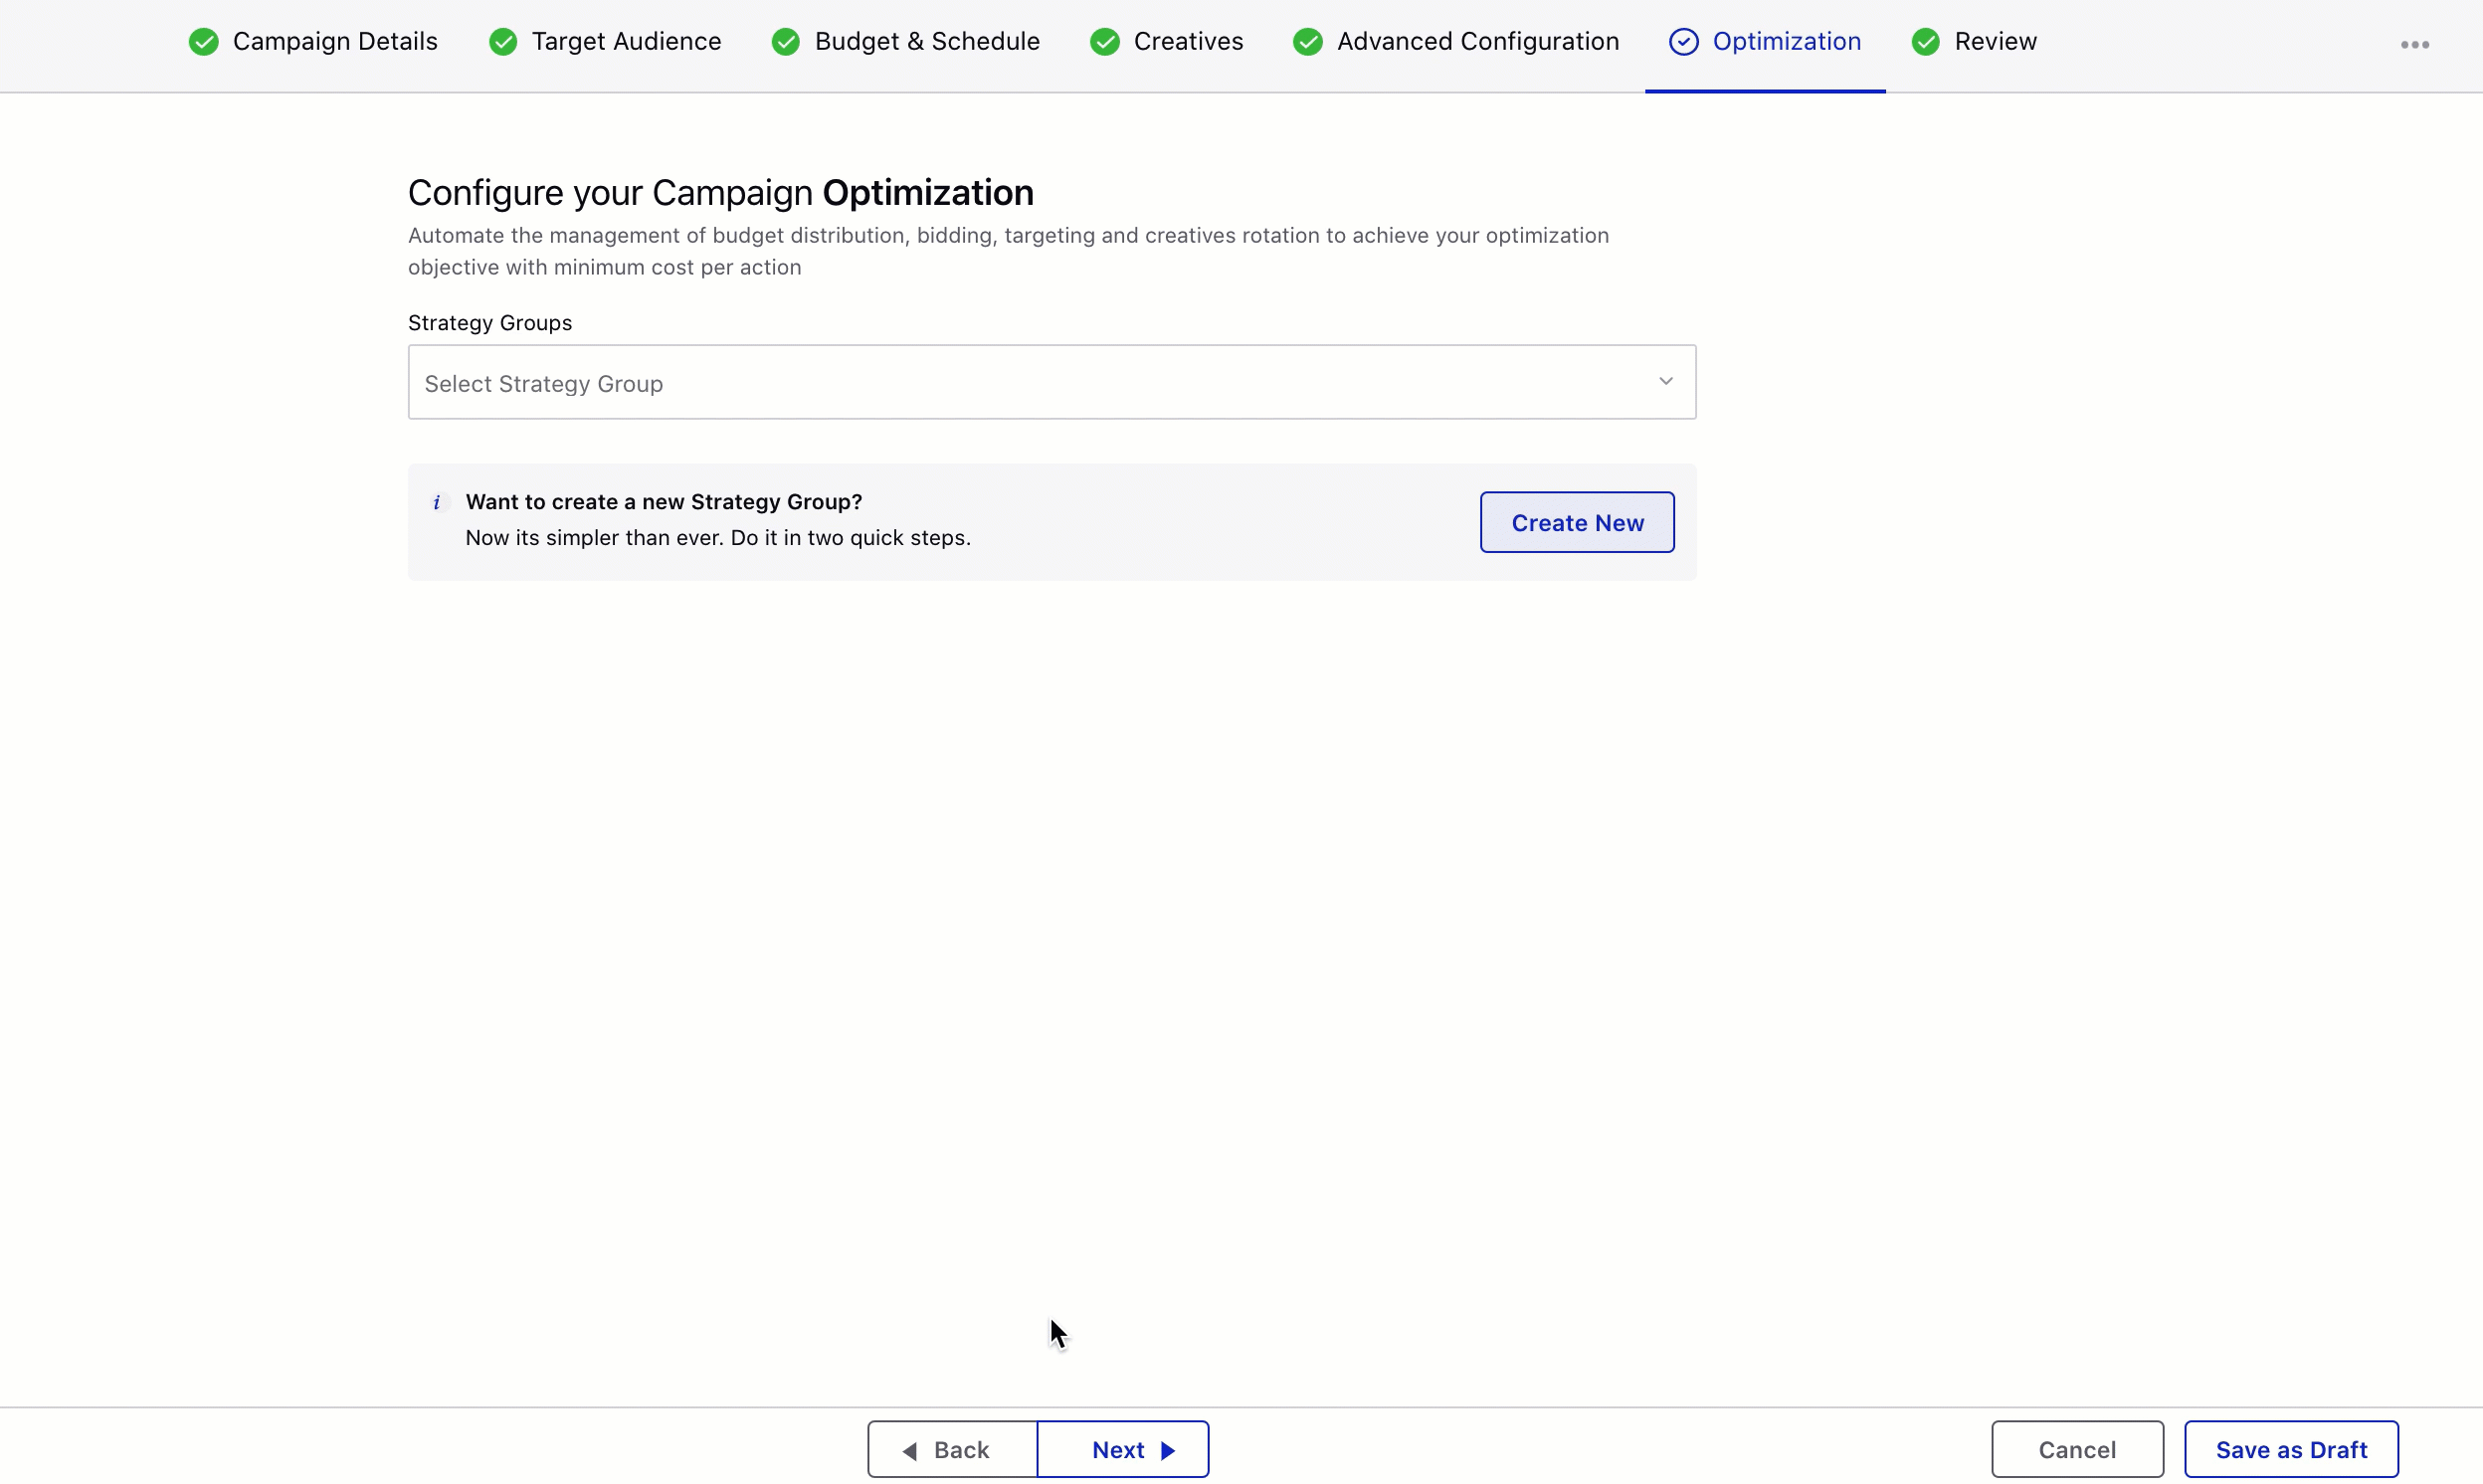
Apply Strategy Groups
Automate the management of budget distribution, bidding, targeting, and creatives rotation to achieve your optimization objective with a minimum cost per action using Strategy Groups.
On the Configure your Campaign Optimization window, select one or more Strategy Group optimization(s) you want to apply to your campaign from the Strategy Group drop-down menu. Your selected Strategy Group(s) details will be displayed below.
If you want to create your Strategy Group from scratch and then apply it to your campaign, click Create New below the drop-down menu or Create New Strategy Group in the top-right corner of the drop-down (when a Strategy Group is selected). This will open up the Strategy Group creation pane alongside and you will not need to leave Ads Composer.
Click Next to proceed to the Review section for scheduling and publishing your campaign.
Review and Publish Campaign
In the Review window, you can review all the details for the Paid Initiative, Ad Sets, and Ad Variants, including the basic details for your Campaign, Ad Set Targeting, Placements, Duration & Pricing, and all Ad Set Creatives.
Tip: Click the back button in the Ads Composer to go back to make any changes to Campaign Details, Targeting, Budget & Scheduling, or Creatives. |
Hover over Publish and select Publish to immediately schedule your Ad Campaign on LINE, select Publish as Paused to publish without activating it, or select Send for Approval to send your newly composed Ad campaign for approval.