Automated Newsletters in Distributed
Updated
Pre-Requisites and Setup – (Reach out to Support)
User Permission:
New job for scheduling newsletters - com.spr.scheduler.jobs.newsletter.UserSpecificNewsletterProcessorJob

Configurations required:
USER_SPECIFIC_NEWSLETTERS_ALLOWED_ENTITY_TYPES (d.v : ENGAGEMENT)
MAX_USER_NEWSLETTER_TASKS_TO_PROCESS (d.v : 5)
USER_SPECIFIC_NEWSLETTERS_MAX_COUNT (d.v : 20)
USER_SPECIFIC_NEWSLETTERS_MAX_RECIPIENTS (d.v : 1000)
USER_SPECIFIC_NEWSLETTERS_SUPPORTED_SCHEDULE_TYPES (d.v : WEEKLY, MONTHLY)
![]() Note: This capability needs a specific setup. Reach out to your Success Manager to get this feature enabled in your environment.
Note: This capability needs a specific setup. Reach out to your Success Manager to get this feature enabled in your environment.
Steps to Create Automated Newsletter
Click the New Tab icon
. Under the Governance Console, click Newsletters within Collaborate.
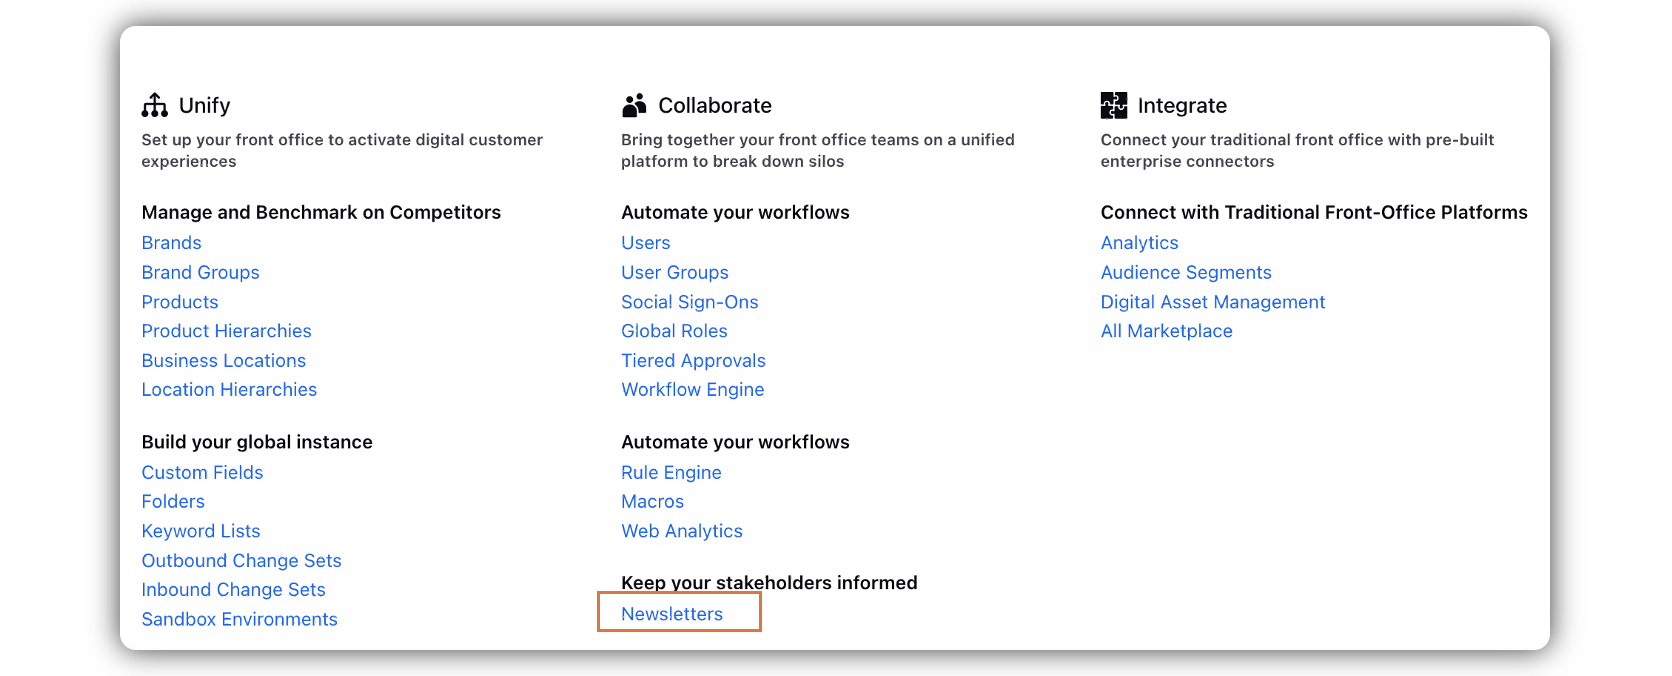
Click Create Newsletter in the top right corner.

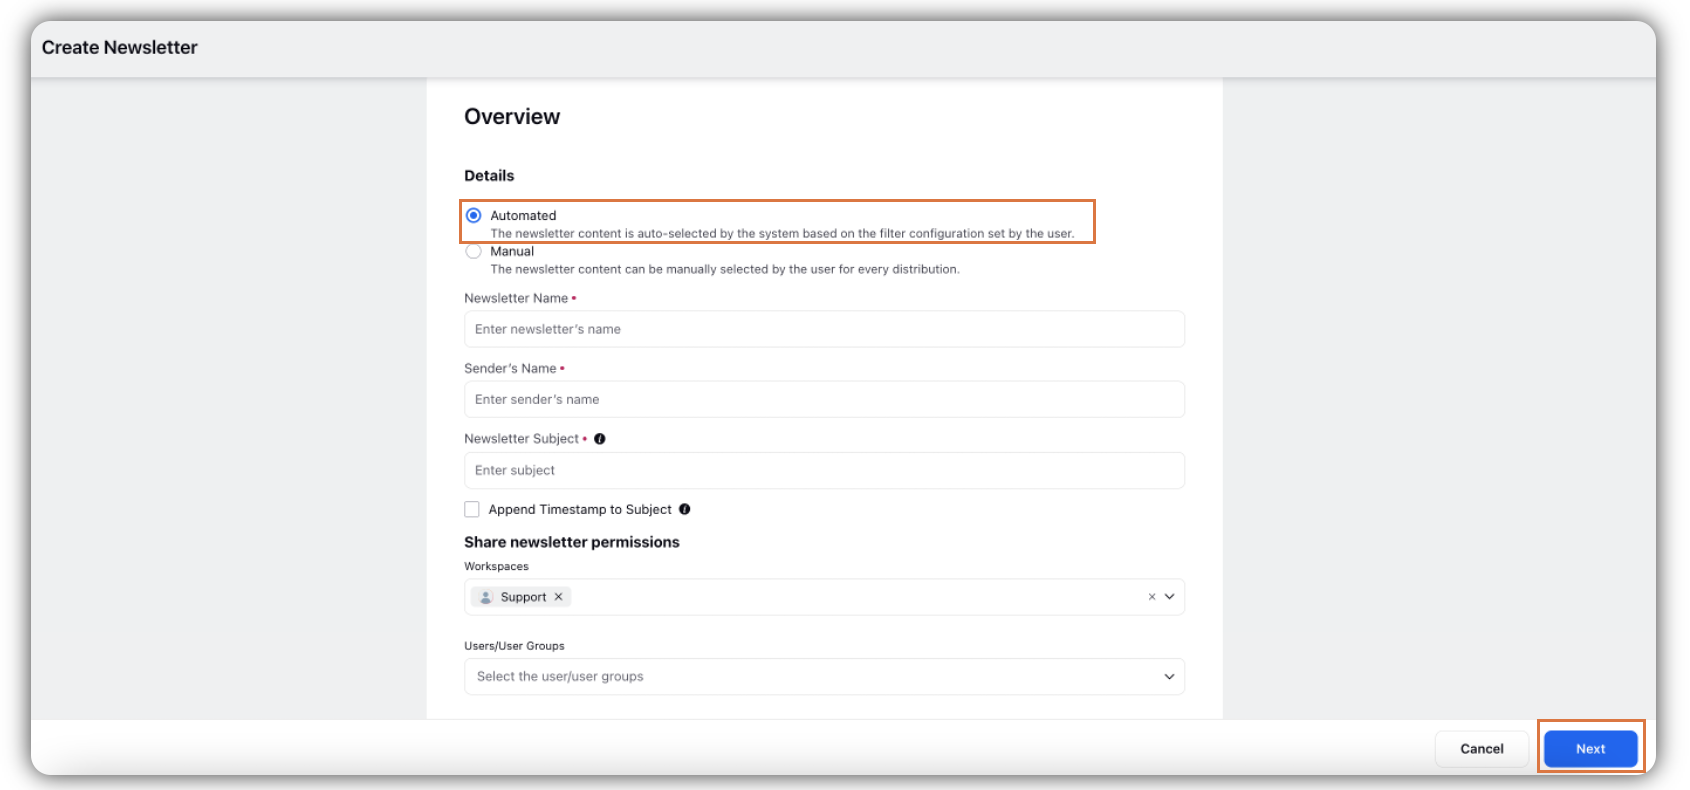
In the Create Newsletter window, select Automated under the Overview section.
 Note:
Note: i) The “Newsletter Name”, “Sender’s Name” and “Newsletter Subject” text fields are mandatory.
ii) “Newsletter Name” is an internal name to identify the Newsletters. It is not visible to any of the recipient.
iii) “Sender’s Name” is the name which appears as the Name beside the email address through which all emails would be sent out.

iv) “Newsletter Subject” is Subject of the email body that would be seen by the recipients.
Check Append Timestamp to a Subject to append the timestamp to the subject line of the email. This will ensure every distribution is sent in a separate email thread.

Customise Newsletter at a Recipient level is a mandatory check that needs to be checked by users in order to see “Engagement Data”.
Under Sharing newsletter permissions, select the Workspace and User/User Groups of the newsletter created.
Click Next in the bottom right corner.
Newsletter Configuration
In the “Header” section, the user is given an option to add a “Logo” and a “Background” along with a “Title” and a “Description”.
The images can be uploaded from DAM or from the device as well. Logo’s alignment and shape can also be changed as per convenience.
In the “Body” section, the user can select from the components list and then configure accordingly.
The title and description should be distinctive from the background image so the user should align it as per the image uploaded.

“Engagement” data can only be selected when the user adds a “Social” component to the Newsletter.
For the component, User is required to add a “Title” and a “Description” as they are mandatory fields.
Then the User should select “Engagement” as a Data source. After that, they must select the “Dashboard” and the “Stream” from which they want the Suggestion Stream data to populate the Newsletter.
To create a Suggestion Queue, the user should head over to “All Settings” and then click on “Manage Customer”. Then select “Queues”.

Click on “Add Queue”. From the “Queue Type” drop down, Select “Suggestions”.
After the Suggestion Queue is created, the user must create a Stream in the Engagement Dashboards.
To create a Suggestion Stream, the user should head over to “Engagement Dashboards”.
Create a Dashboard and click on “Add Column”. Select “Suggestions” from the list and Select “Suggestions” as an option.

Add “Name” and then select the Suggestion Queue that the user has created from the dropdown.

Once the suggestion column is added, the user would need to Suggest Assets, Inbound and Outbound Posts. This content would then start appearing in the engagement column that is created.
To suggest content, the user must head over to the entity actions and click on Suggest. For example, the user wants to suggest a Post type Asset, they are required to click on three dots and find the “Suggest” action.

Then they are required to select the Queue which is the same as the one added to the engagement column.

The user can also perform Bulk suggest action by selecting multiple assets and clicking on “Suggest” from the Snack Bar actions.

Once the user completes this action, they can view the suggested content in the stream added to the Engagement column.
The content that is visible to the user in the engagement column, would be the same that would be fetched in the Newsletter content.
After selecting the stream in the Social Component, the user is then required to add filter configurations.
“Date range” defines the start and end date between which the suggested content would be shown. Ideally should be “Last 30 days”.
“Max. Number of Messages” limits the no. of suggestions to be shown in the Newsletter. The value ideally should be 5 suggestions to keep in mind the size of the Newsletter.
“Exclude Images” check would remove media from the suggestion and show only the text. Typically, should not be checked.
“Exclude Metrics” check would remove Post/Asset Metrics from the Newsletter. This can be checked in instances where there is a parity among the content to be shown- Some may have metrics, and some may not have. To avoid this, we can utilize this check.
“Exclude Platform Redirection” This should be used in instances where Enterprise users are included in the recipients list. Redirection to Distributed platform should not be of any use for these users so this check needs to be enabled in this case.
Newsletter Scheduling
Newsletters Scheduling can be done by clicking on the “Schedule” Button on bottom right of the Newsletter.
Within the Schedule Modal, there are various options for the users to send out the Newsletter.

The user would have to select the Time zone and then select the frequency of sending out the mails. Only Weekly and Monthly emails can be sent out to avoid spamming of emails.
In Weekly scheduling, user would have to select the day of the week and the time from which the Newsletters would start to roll out to the end recipients.
In Monthly scheduling, user would have to select the date of the month and the time from which the Newsletters would start to roll out to the end recipients.

In case of large number of recipients, the newsletters might take up to 24 hours to be sent out to each user.
The user can also select an end date to stop sending the emails to recipients.
Lastly, the user is required to select “Users/User Groups” as the recipients. (A maximum of 1000 recipients can be selected which can be configured)

Send Newsletters to Active Users Who Haven’t Logged In Recently
When the checkbox Send to users who haven't logged in recently is selected and an inactivity period from the dropdown (30 days, 60 days or 90 days) is defined, the newsletter will be sent only to active users who both belong to the selected user group and have not logged into the platform within the specified time frame (e.g., 30, 60, or 90 days). For example, if you have a user group containing 60 users, and only 10 of them haven't logged in within the last 60 days, the email will only be sent to those 10 users. The remaining 50 users who don't meet the inactivity criteria will not receive the email.
When a scheduled newsletter is triggered, the system evaluates each user's login activity and filters recipients accordingly - only those who meet the inactivity criteria will receive the email. Additionally, to be included in a scheduled newsletter, a user must be part of the designated user group at the time the newsletter is scheduled. For instance, if a monthly newsletter is scheduled today, any users added to the group after today (e.g., mid-month) will not receive the next scheduled email. They will instead be included in subsequent newsletters, starting the following cycle.
