Reply Box Functionalities
Updated
How Agent Console provides a smart and efficient way for brands to resolve customer issues over social media and messaging platforms.
Agent Console provides a comprehensive view of messages and cases, with full conversation history and details available in a single view. This console allows teams to maintain inbound volume while streamlining message processing workflows. Agents can respond to a message from the Agent Console.
To Respond to a message from Agent Console
Under the Sprinklr Service tab, click Agent Console within Resolve.
Click the Dashboard Menu icon in the top left corner and select the desired dashboard where you want to respond. For example, select the Twitter Dashboard and drill down to the message you want to respond to, and click the message. It will open the middle pane, which shows the conversation history in a chat-like interface between the brand and the fan.
From the middle pane, you can select the desired Smart Response to send.

Click View All alongside Smart Replies to see all possible smart response recommendations and select the most suitable response to send to the customer. After clicking the View All option, you can also search for the desired response by entering the keyword in the search bar at the top.
These smart responses come with different placeholders, too, where you can input the desired details. If you select a smart response that has a URL placeholder, you will be able to select the desired URL from the dropdown list that appears after clicking the placeholder %URL Link% dropdown. Note that you can either type a new URL or select from the dropdown. You will not be able to make changes to the predefined URLs that appear in the dropdown. In order to get more URLs added in the dropdown, you are required to reach out to support at tickets@sprinklr.com.
If you do not want to use a smart response, click Write a Reply. If you want to reply to any particular fan/brand message, click the Options icon alongside the desired message in the middle conversation pane and select Reply to open the reply box in the footer.
Enablement note: For WhatsApp, SMS, and Email, agents will be able to send the first brand messages for cases where there are no associated fan or brand messages. To learn more about getting this capability enabled in your environment, please work with your Success Manager. |
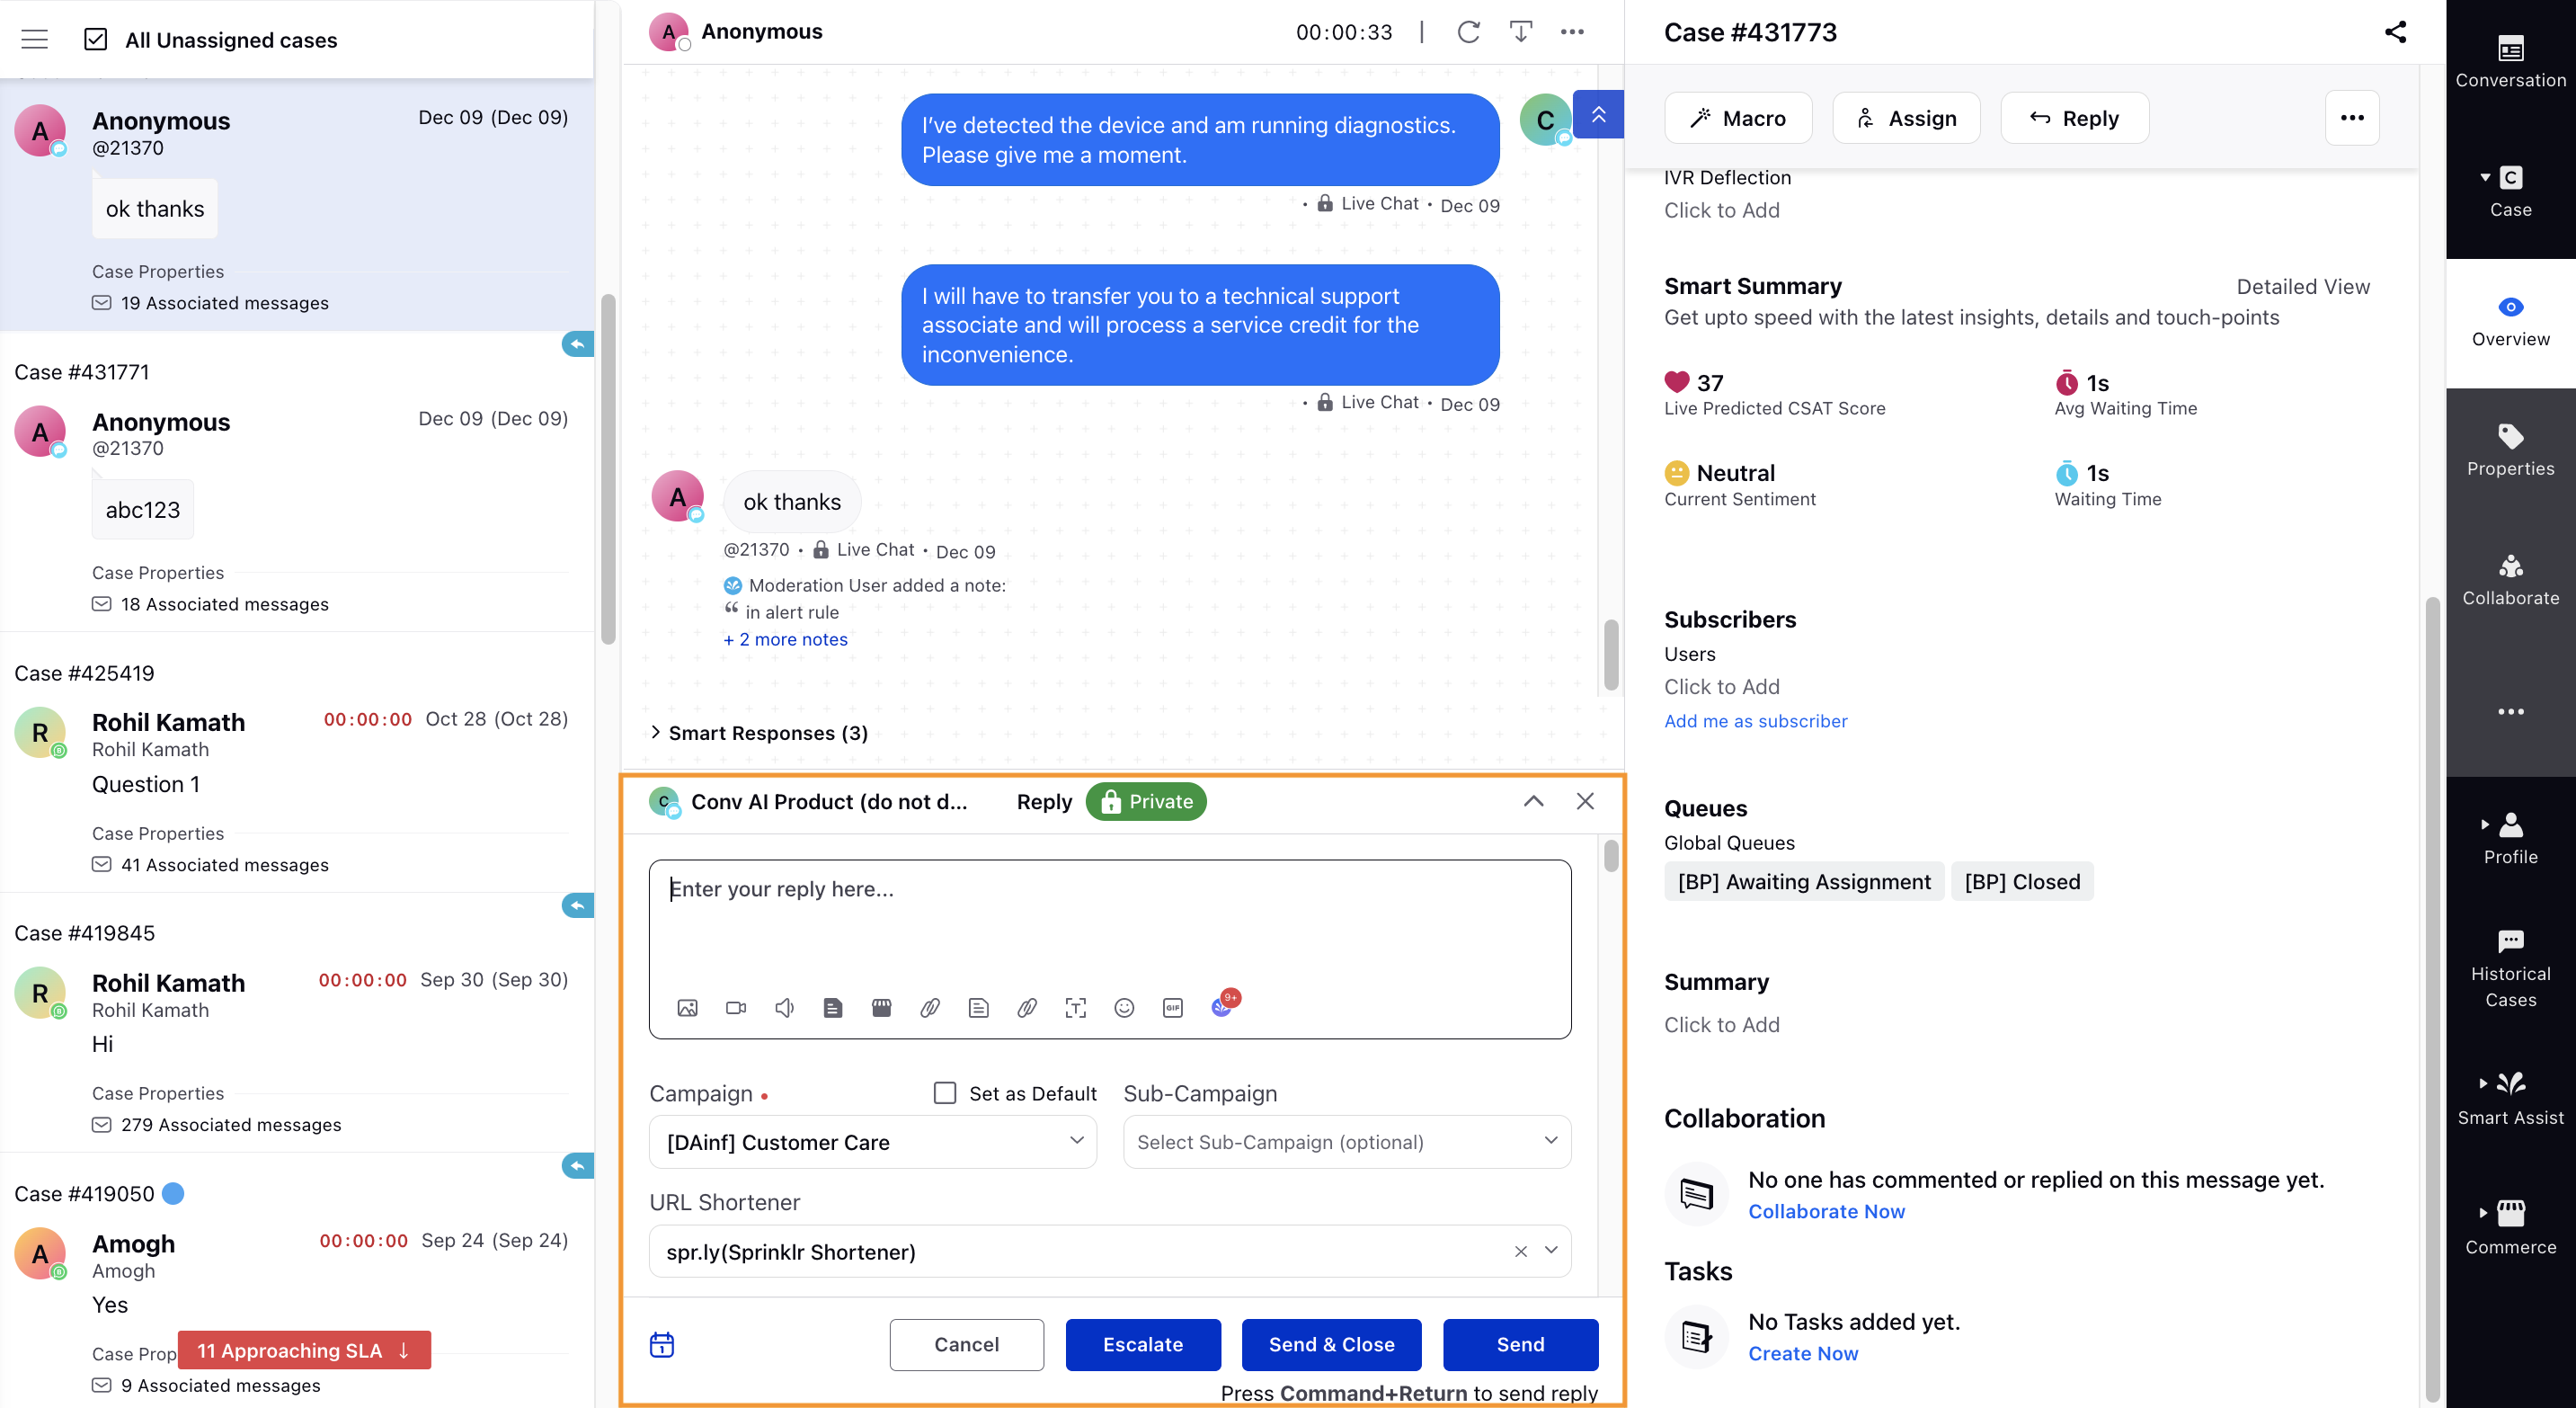
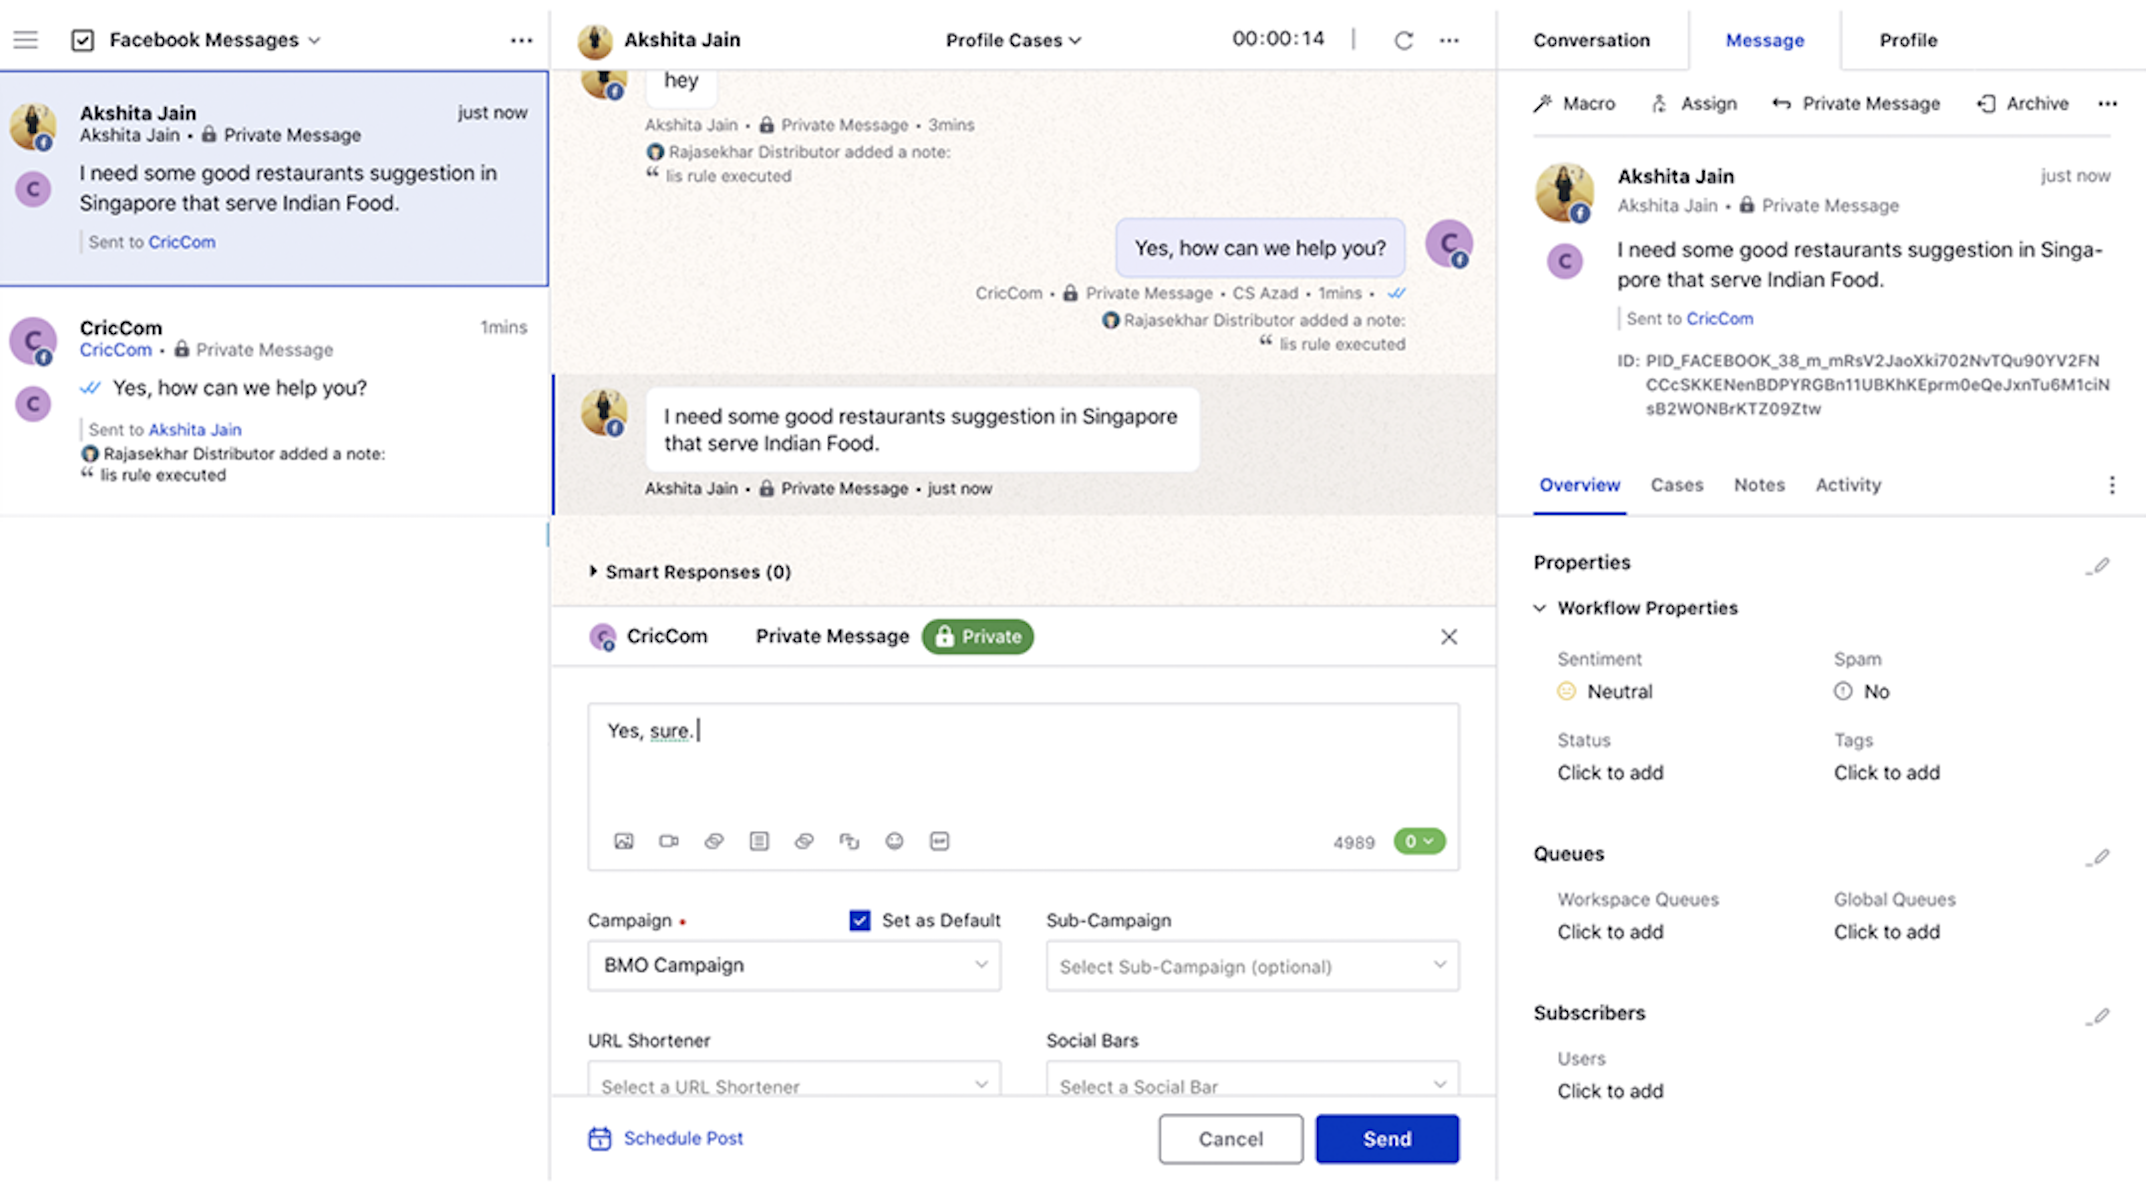
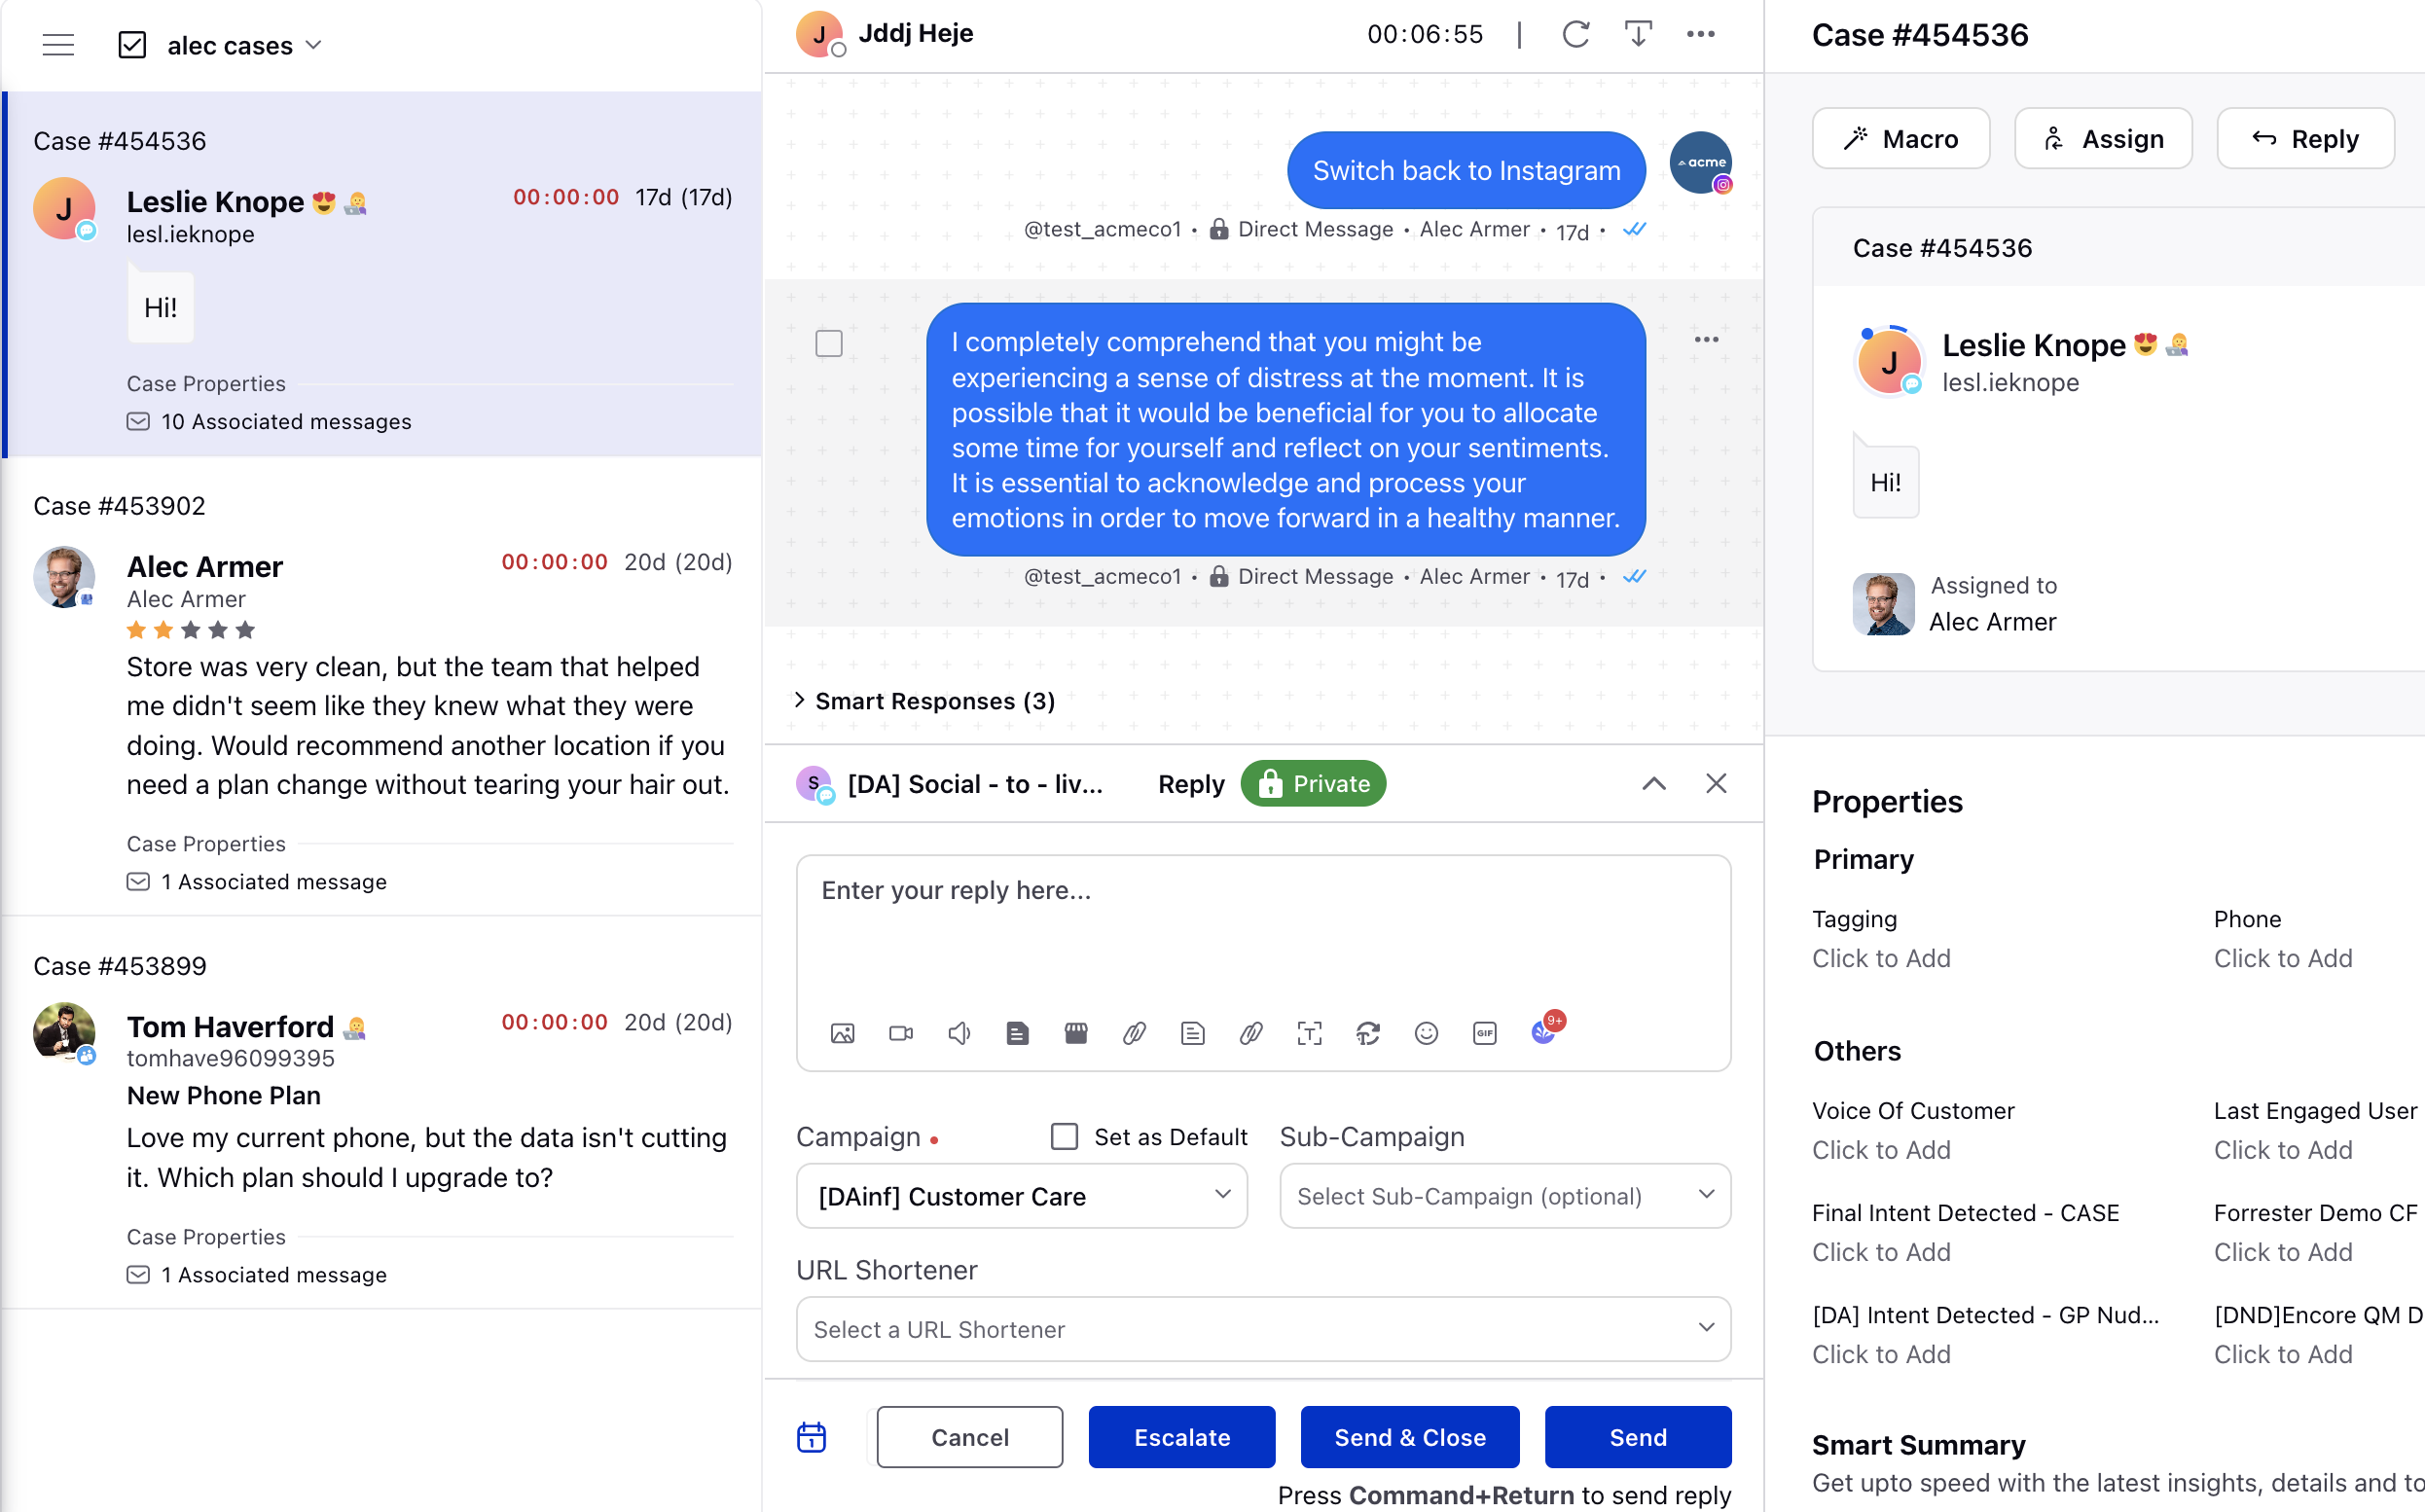
While replying, you can easily differentiate whether the reply that you are sending is a Public or a Private message. Just above the reply box, a Public message will be highlighted in Purple whereas a Private message will be highlighted in Green.

Select the type of reply from the Select Type dropdown. These options will vary based on the social channel.
Enter your response in the text field. You can add Image, Video, Link, Canned Responses, Custom Link, Content Placeholder, Attach Feedback Template, Emojis, GIFs to your response per your needs.
Note:
|
Using the Content Placeholder, you can also send the secure form in the form of a secure hyperlink to social channels such as Facebook, Twitter, etc. that allow for sensitive and confidential information to be passed from a customer to agent within a secure environment. For example, customers might need to provide their credit card information or PII information as a part of an identity validation process. The values submitted by the customers in the form will be protected/non-editable.

In the case of lengthy messages, you can also expand the reply box by clicking the expand icon appearing at the top of the reply box. Within the expanded reply box, you will have a full view of the lengthy messages without the need of scrolling up and down. Click the icon again to collapse the reply box.
Enablement note: The support channels are Twitter, Facebook, Yelp, LinkedIn, YouTube, Google+, Instagram, WeChat, and Line. To learn more about getting this capability enabled in your environment, please work with your Success Manager. |
.
Click the Calendar icon at the bottom to schedule the preferred time of reply. Click Apply to save the scheduled time.

Click Send to send a reply to the message or Cancel to close the reply box. Note that the Quick Reply buttons/Quick Macros can be added in Agent Console.

Note:
|
You can also send the reply by pressing command + return (for Mac) or Ctrl + Enter (for Windows) from the middle pane of the Agent Console. Please note that the focus of the cursor should be in the text box. The help text for the keyboard shortcut will also be shown beneath the Send button.