Set Up LinkedIn Ads Conversion Pixels
Updated
A conversion-tracking pixel is a small piece of code that lets you keep track of conversions, such as purchases and sign-ups, on your website. Conversion Pixels allow you to see how your ads led to valuable actions on your website, including content downloads, sign-ups, purchases, and more.
In this article, we will guide you on how to set up a conversion-tracking pixel for your LinkedIn campaign.
Step 1: Creating a Linkedin Pixel in Campaign Manager
As of now creating a Linkedin Pixel is not possible in Sprinklr. You can create Pixels in Native Campaign Manager and once created, it can be selected in Sprinlr.
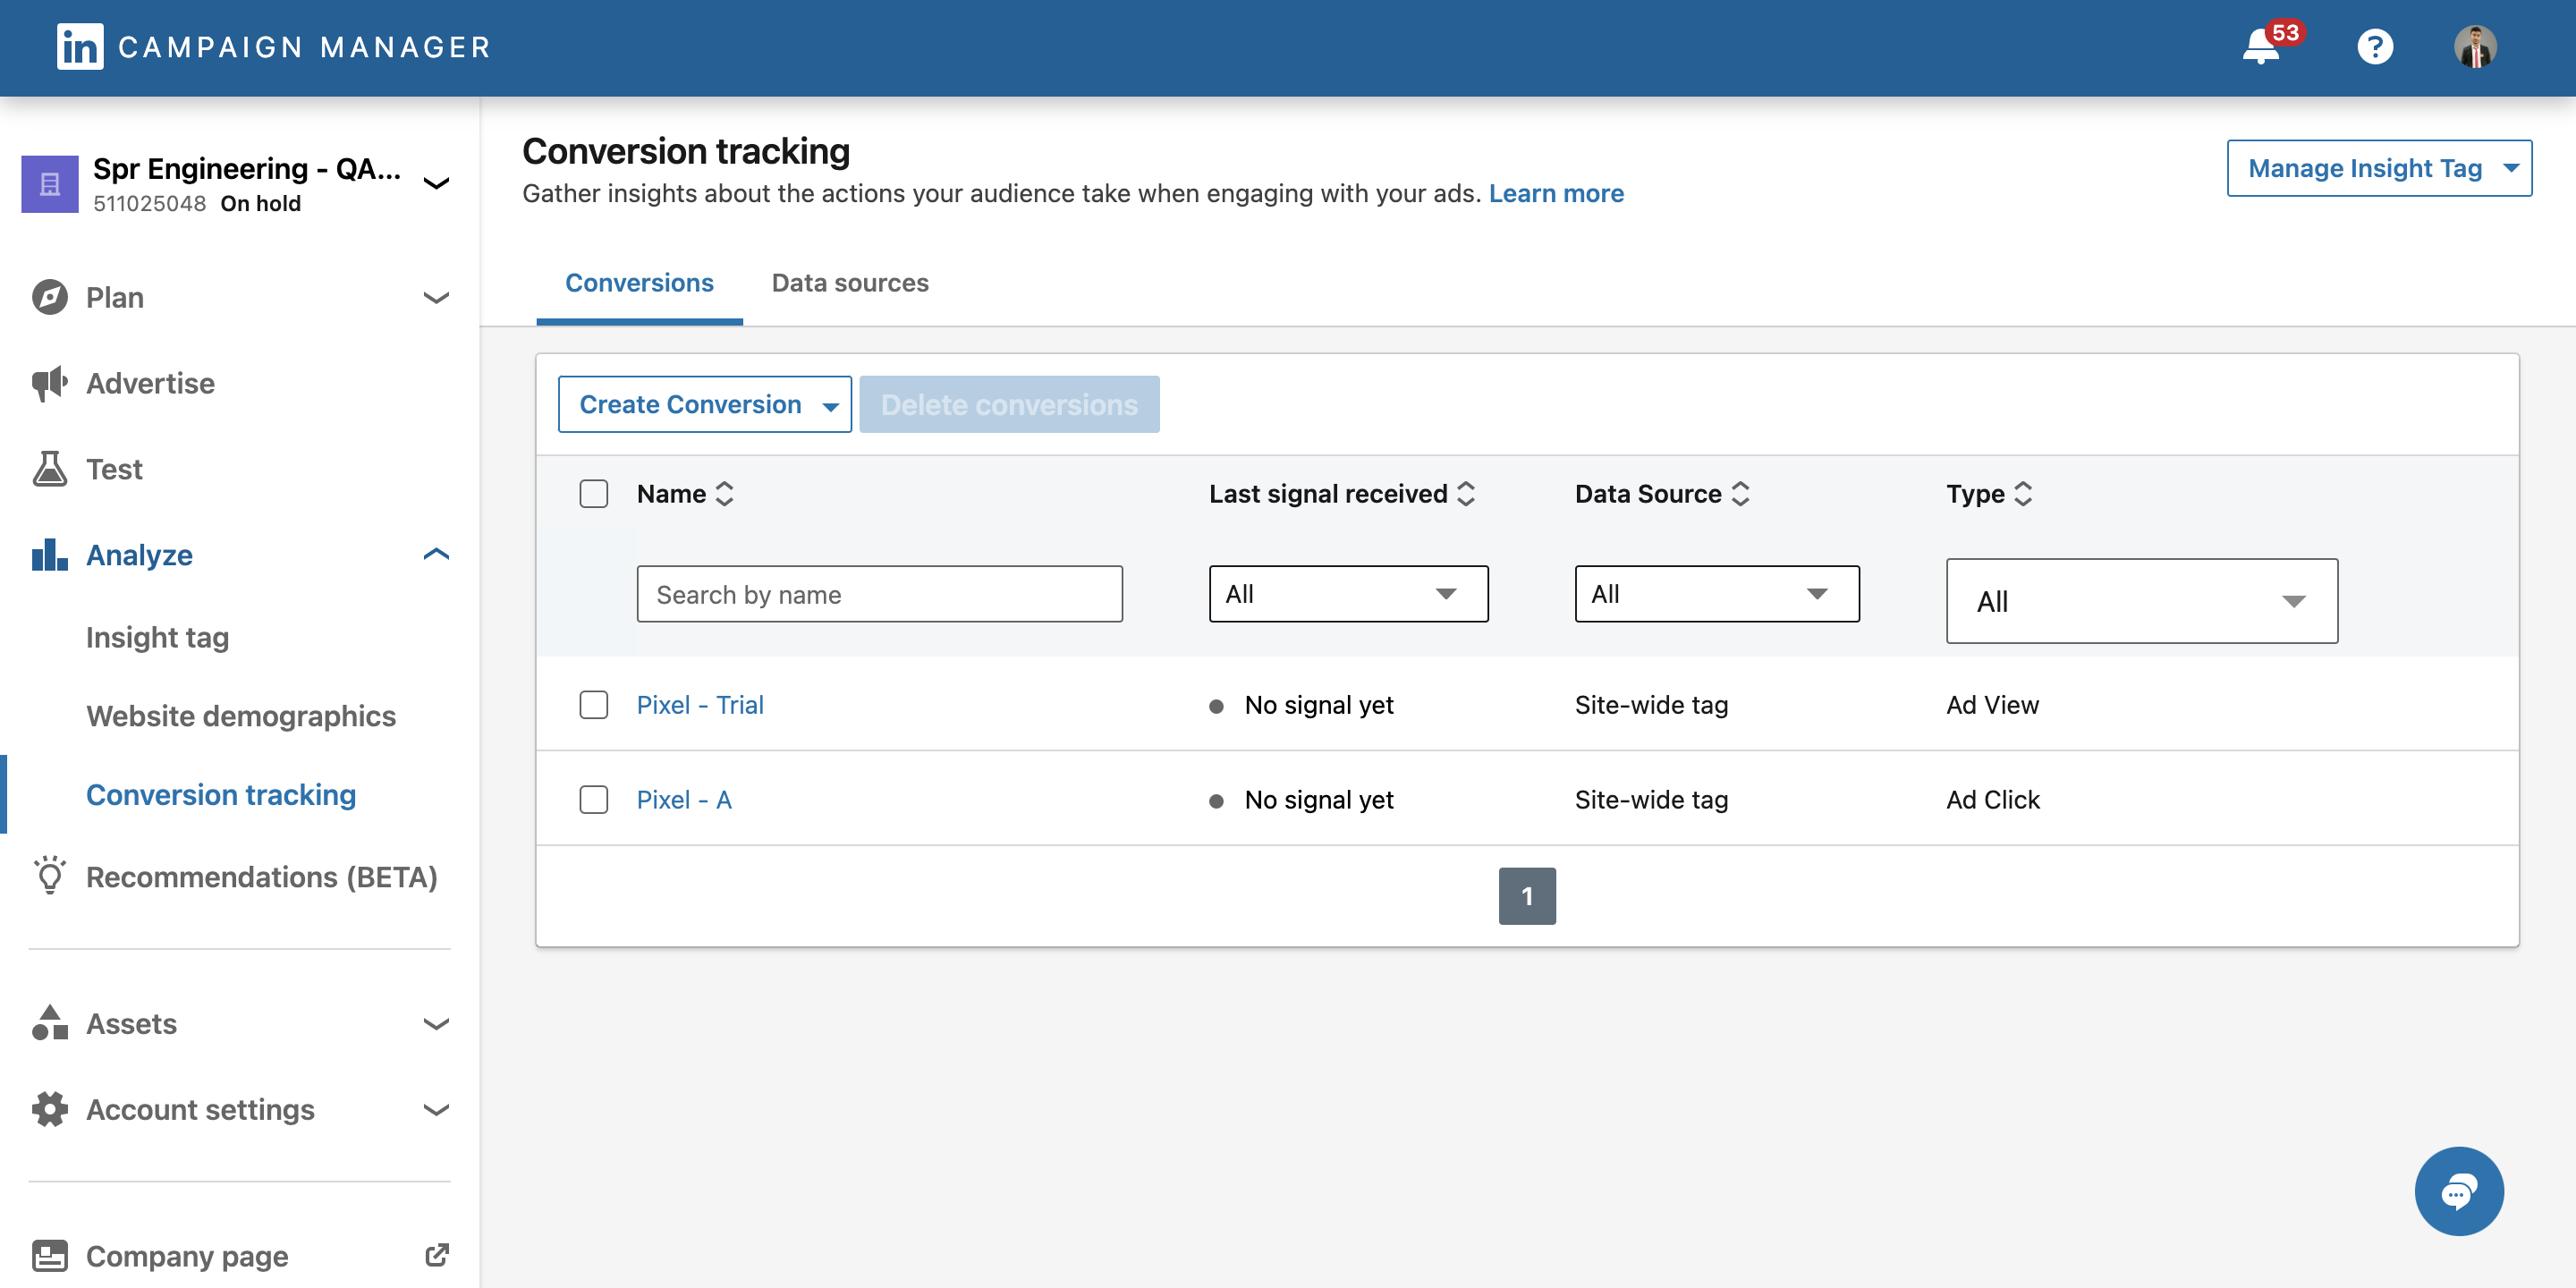
To create a Pixel in Campaign Manager, go to Analyse section of Ad Account and create a new Conversion Tracking which will be imported in Sprinklr as a Pixel.
Step 2: Select LinkedIn Conversion Pixel in Sprinlkr
Click the New Tab icon
. Under the Sprinklr Marketing (Ads) tab, click Ads Composer within Execute.
On the Ads Composer window, select your LinkedIn Ad account.
Within the Campaign Details section, select your campaign Objective from Select Objective for your Campaign.
Under Campaign Name, enter a name for your campaign or use a naming convention. Click Next.
Follow the prompted steps and proceed to the Advanced Configuration section. For more information, see Compose LinkedIn Ads.
Within the Advanced Configuration section, select the LinkedIn Campaign level from the left pane and set the Tracking Pixel tag from the right pane. If you cannot find your conversion tracking pixel, select Sync Tracking Pixel from the drop-down menu.
Follow the prompted steps and publish your campaign. You can then track your conversion data in Ads Reporting by following the outlined steps in Tracking Conversion Data.