Integration of Checklist with Approval Queues
Updated
Eliminate the risk of off-brand advertising with an automated QA Checklist.
Campaign QA checklist serves as a crucial tool for verifying essential campaign details such as objectives, budgets, timelines, and ad types. By automating the verification process, you can enhance governance and streamline the approval of campaigns across various advertising platforms.
![]()
Integrating approval queues into the campaign QA checklist automates the campaign approval process within advertising workflows. By specifying the desired tiered approval for your ad accounts in a QA checklist, the campaign approval process is triggered automatically whenever a campaign is launched from the associated Ad accounts.
![]() Enablement Note: The use of this capability requires that Sprinklr Marketing (Ads) be enabled in your environment. To learn more about it, please work with your Success Manager.
Enablement Note: The use of this capability requires that Sprinklr Marketing (Ads) be enabled in your environment. To learn more about it, please work with your Success Manager.
This article outlines the integration of approval queues into the campaign QA checklist, its application, and the user-centric features associated with it.
To Integrate Approval Queues into QA Checklist
Navigate to Sprinklr Marketing > Advertising > Campaign QA Checklist
Click + Create Campaign QA Checklist in the top right corner. For more details on how to setup a QA Checklist, click here.
Select the desired Ad Account in the Create Campaign QA Checklist page.
Select the desired Ad Account Group from the available options. You can select multiple account groups here.
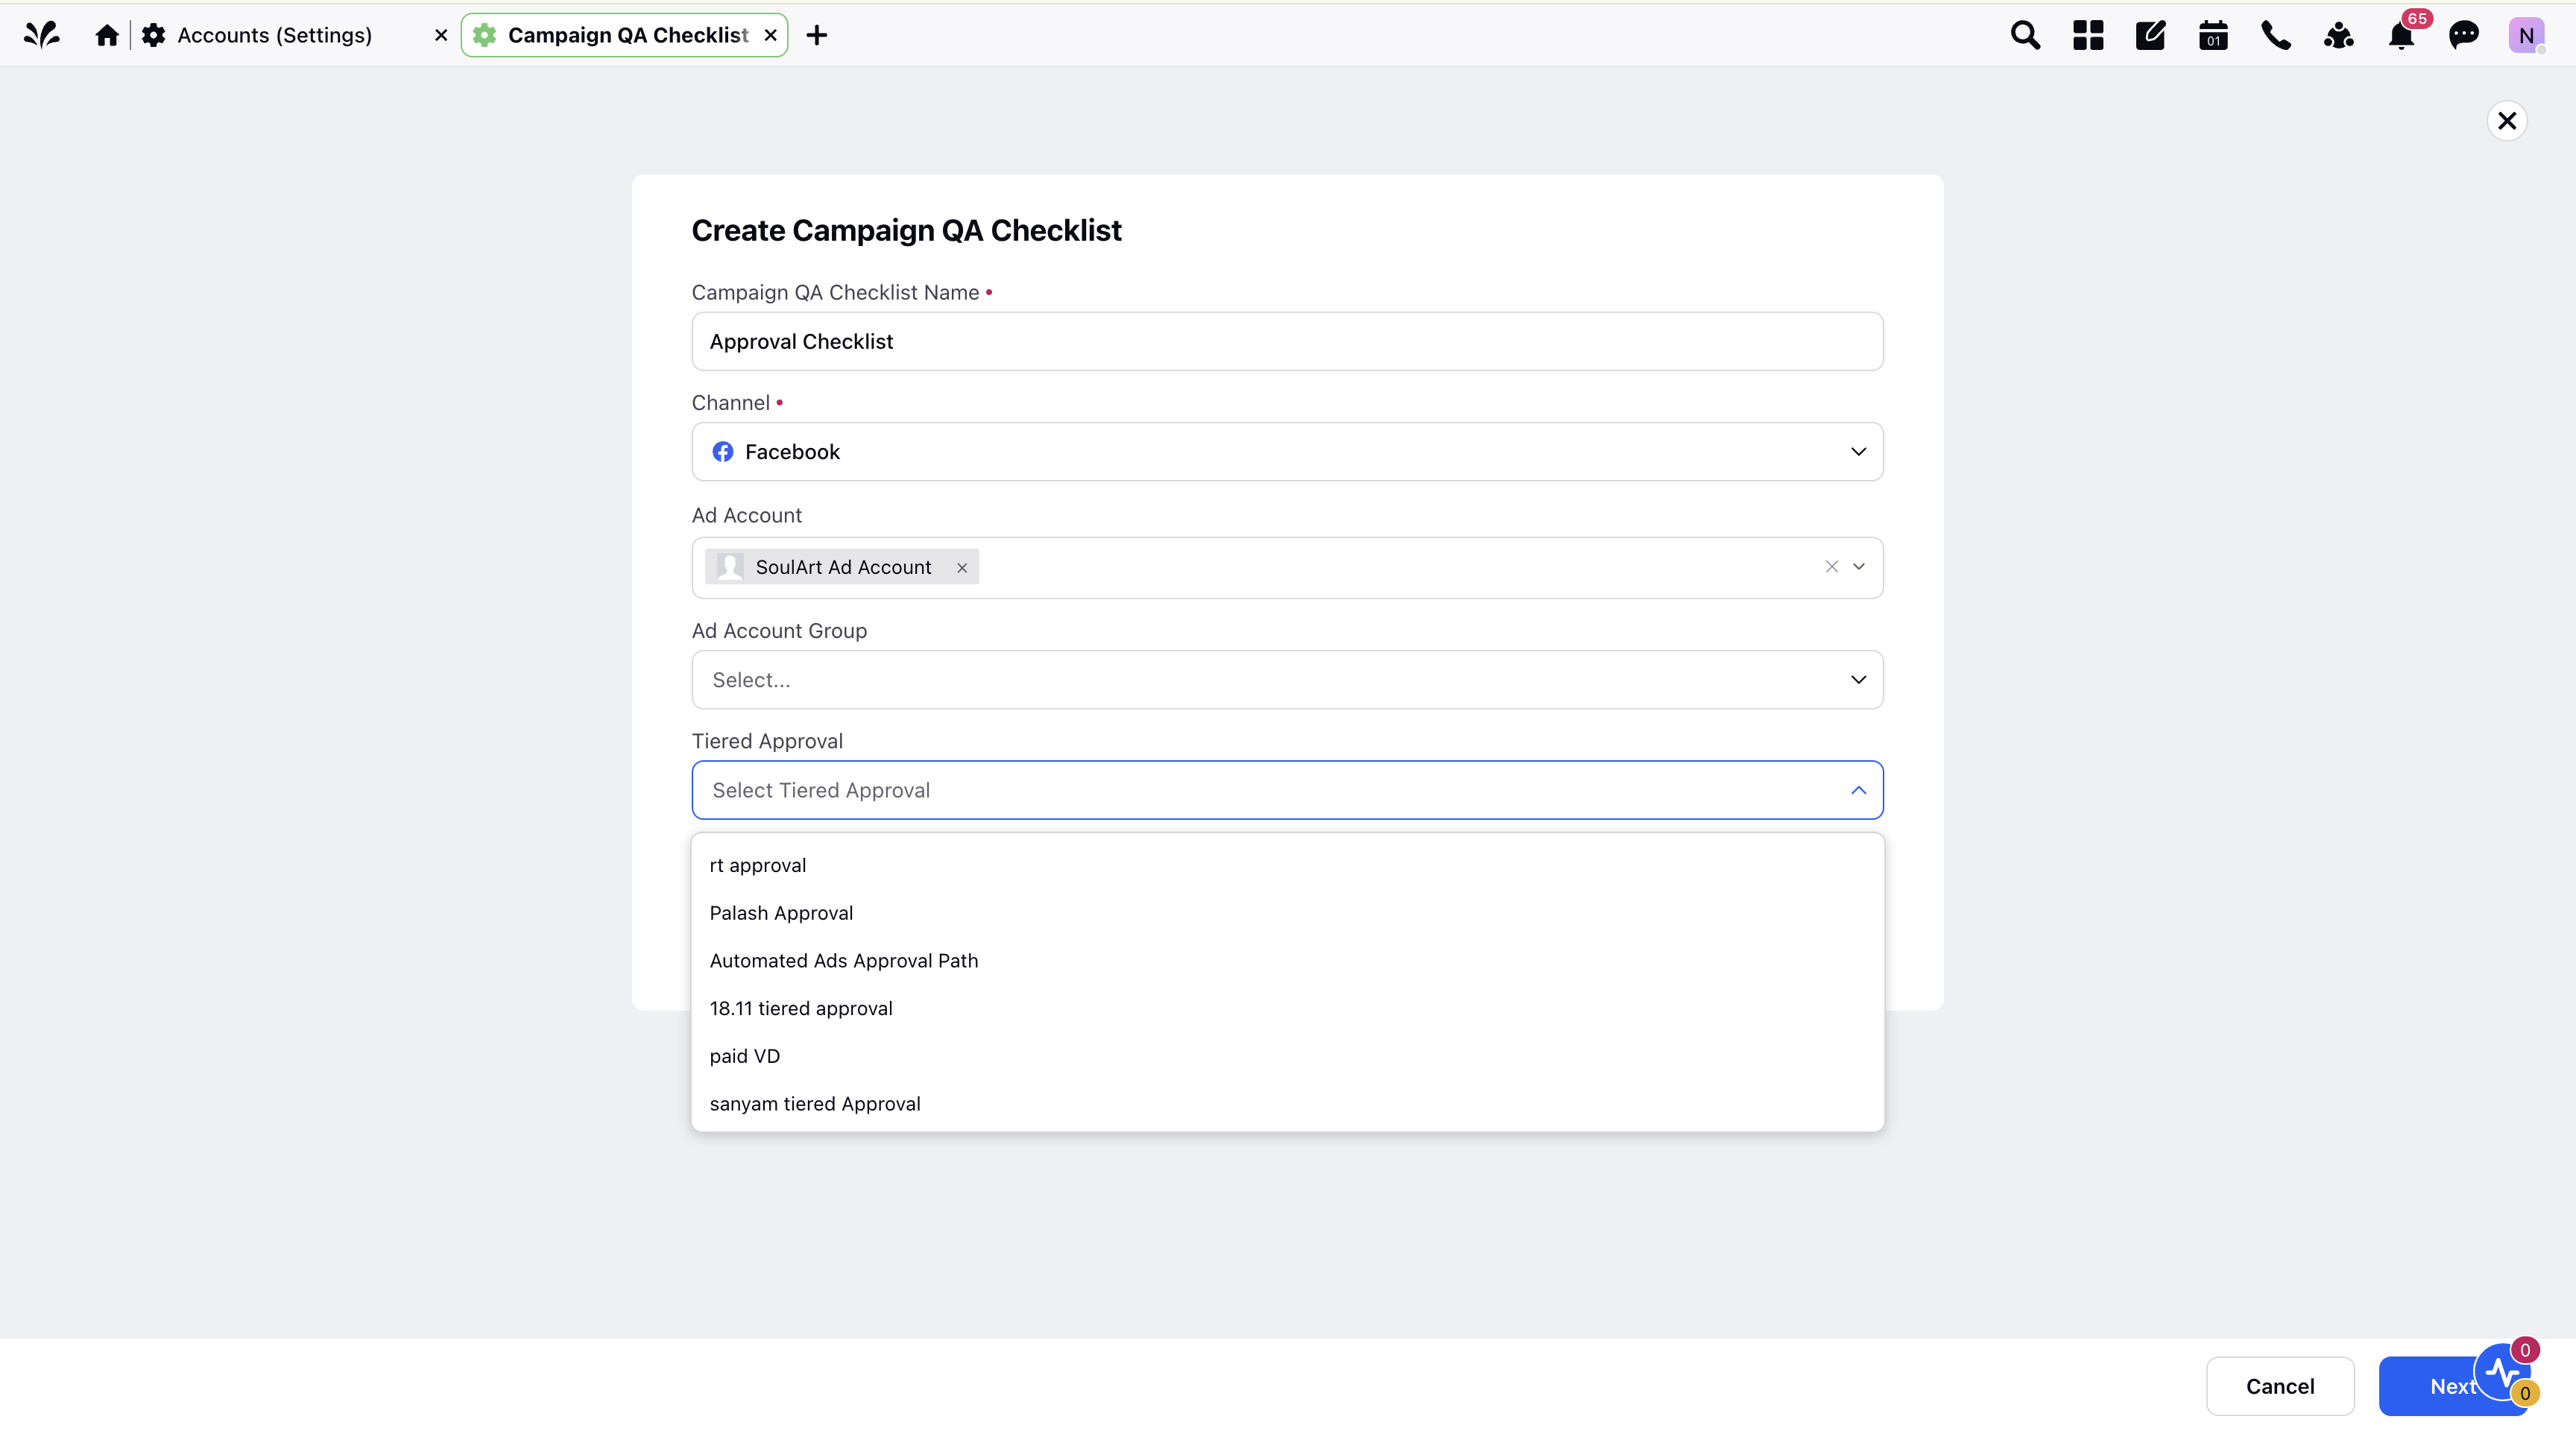
Select the desired tiered approval from the options available in the Tiered Approval field. The tiered approval selected here will be triggered whenever a campaign is launched from any account in this account group.
 Note: The Tiered Approval field will only shows the tiered approvals that meet the following criteria -
Tiered approvals that include the selected Ad account/Ad account group as an entry criteria.
Tiered approvals that do not specify any Ad account/Ad account as an entry criteria.
Click Next once you have filled all the desired fields.
Create your checklist as normal, by entering in checks for each entity level and save the checklist.
Application in Ads Manager/ Ads Composer
After the checklist is applied to the campaign, you will have three options:
Save as Draft - The campaign will be saved as a draft and you can edit the campaign in the future.
Publish - There are two possible scenarios when you click Publish:
The campaign will go live if there is no tiered approval selected in the Campaign QA Checklist.
The campaign will be sent for approval if a tiered approval is selected in the Campaign QA Checklist.
Send for Approval - If no tiered approval selected in the Campaign QA Checklist, you can manually choose your desired tiered approval path. However, if a tiered approval was selected in the Campaign QA Checklist, the campaign will be automatically sent for approval, and the Send for Approval option will be disabled.
Application in Approval Dashboard
Once the campaign is submitted for approval through the Campaign QA Checklist, you, as the approver, will receive both a system and an email notification about the pending approval.
Go to the Approval Dashboard and hover over the ellipsis next to the relevant pending approval.
Click Open Details to see a summary of both correct and incorrect fields verified by the checklist. Incorrect fields will be highlighted and displayed upfront.
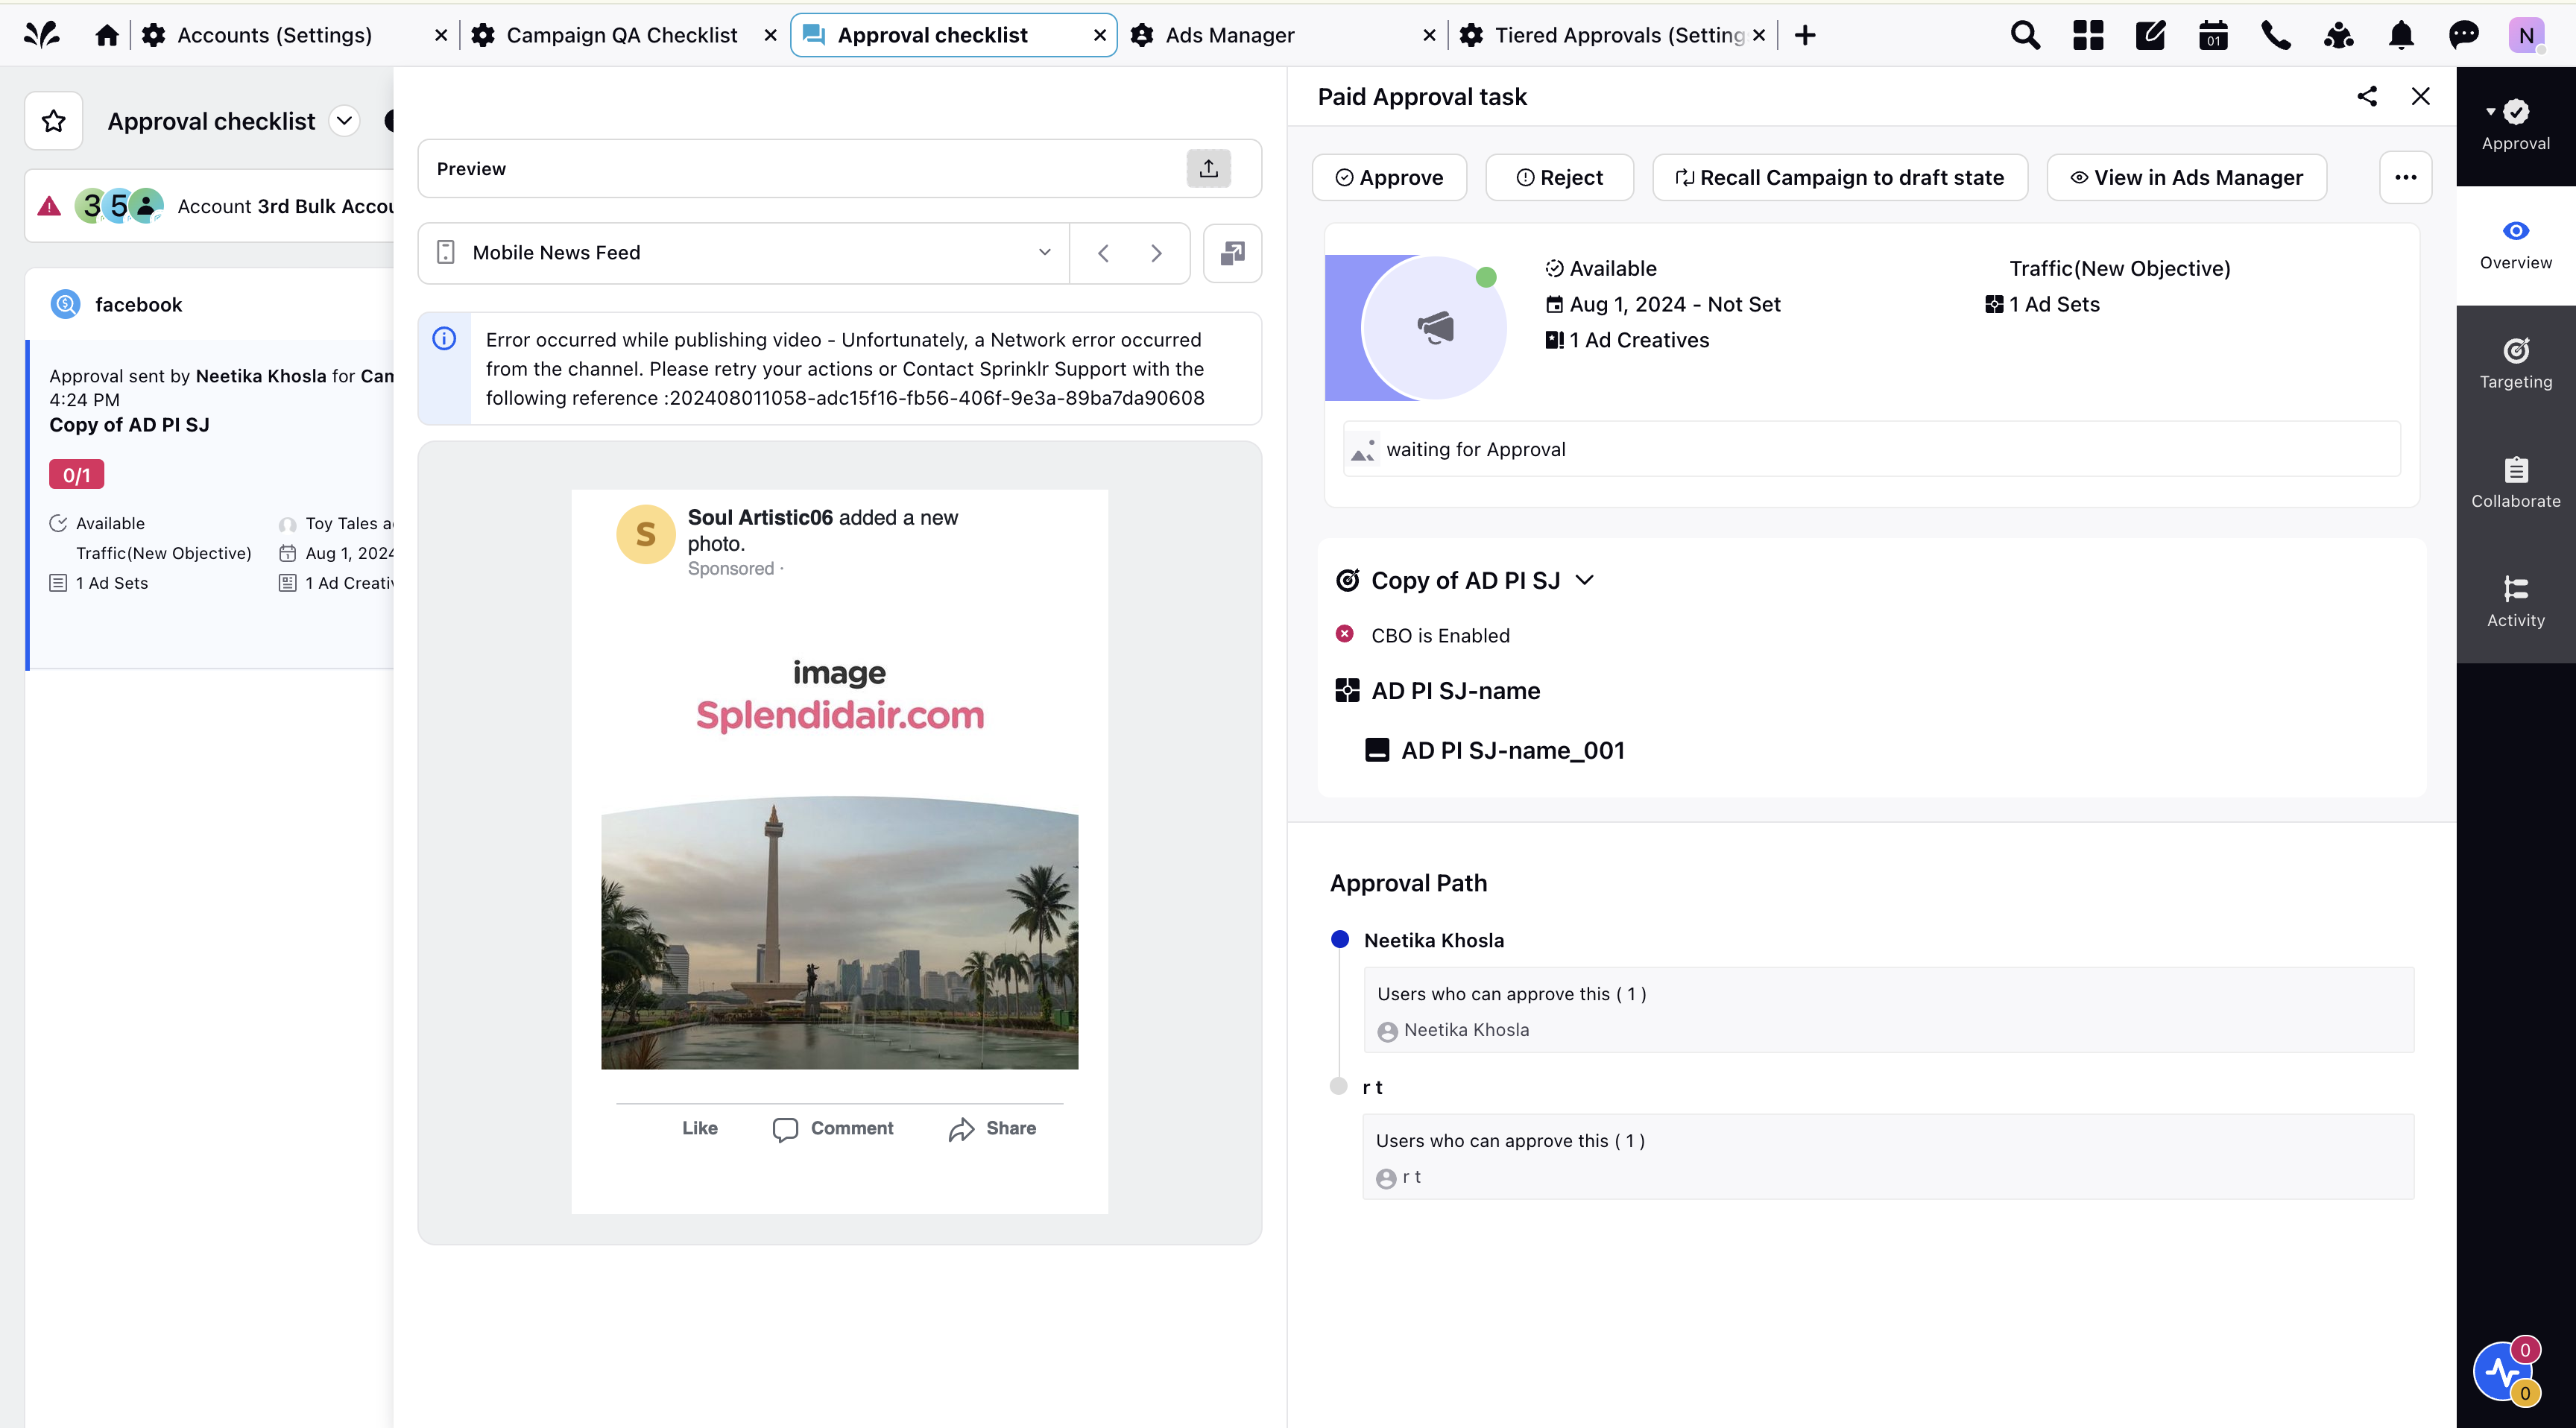
Click on the third pane of an entity to view details of all the available fields.
You can then approve/reject entities accordingly and collaborate with peers by adding reason for rejection of an entity.
If you reject any entity, it will be sent back to the user who created the campaign and they will receive a notification with the details of comments for rejection (if any).
For tiered approvals, once the entity is approved by the first approver, it will move on to the second level of approvals.
The second approver will receive a notification about the pending approval along with any comments provided by the first approver. The campaign will go live only after the final approver has given their approval.
Entity Level Approvals
Entity-level approvals in the checklist allow users to perform manual validations at the individual level. Multiple approvers can validate the same checklist item, and each approver must complete their own validation, ensuring accountability before the task is fully approved.
![]() Note: This feature requires the DP: ADS_CHECKLIST_ENTITY_LEVEL_APPROVAL_ENABLED to be enabled. Please contact your Success Manager or submit a request at tickets@sprinklr.com to enable Entity Level Approvals in your environment.
Note: This feature requires the DP: ADS_CHECKLIST_ENTITY_LEVEL_APPROVAL_ENABLED to be enabled. Please contact your Success Manager or submit a request at tickets@sprinklr.com to enable Entity Level Approvals in your environment.
You can enable entity level approval while creating or updating your Campaign QA Checklist by following these steps -
On the Create/Update Campaign QA Checklist screen, select the required Tiered Approval.
Turn on the Enable entity-level approval toggle to allow independent entity-level approvals for the selected approval path.

Once enabled, multiple approvers will have the option to validate the same checklist item and approve the corresponding tasks assigned to them at the entity level.
.png "image (24).png")
User-Centric Approach and Benefits
The integration of approval queues into the QA checklist phase enhances user experience and operational efficiency in several ways:
Simplified Workflow: Users can set up and manage approval paths seamlessly within the checklist, reducing complexity in campaign management
Enhanced Visibility: Detailed summaries and inspection options in the approval dashboard provide clear insights into campaign status and required actions
Efficient Collaboration: Collaborative features allow for effective communication between campaign creators and approvers, reducing turnaround times for approvals and revisions
Compliance and Control: Automated compliance checks ensure that only compliant campaigns are published, maintaining quality and regulatory standards
![]() Note: For further assistance or queries related to the integration of approval queues in the QA checklist phase, please refer to the comprehensive user guide or contact our support team for personalized assistance.
Note: For further assistance or queries related to the integration of approval queues in the QA checklist phase, please refer to the comprehensive user guide or contact our support team for personalized assistance.