Publish a post using BlueSky
Updated
Introduction
BlueSky is a new social media platform similar to Twitter that enables users to connect more openly and decentralisedly. It empowers individuals to control their data and interact across various apps, facilitating easier sharing and communication without being locked into a single company.
In this article, you can learn how to publish posts from Quick Publisher for multiple accounts. BlueSky guidelines will govern the aspect ratio and image media published via API.
Message Type Supported in BlueSky
Let us look at the message types supported by BlueSky:
Photo Post
Video Post
Repost
Replies
Text/Link Post
Quote Post (Yet to be supported)
Direct Message (Yet to be supported)
Limitations of BlueSky
The text has a limitation of 300 characters and 8 Hashtags.
Here are the image publishing guidelines for BlueSky:
Number of Images: Up to 4 images per post.
File Size: Maximum of 1 MB per image
Aspect Ratio: Any aspect ratio is allowed, but images taller than 2:1 will be cropped in the feed.
Supported Formats: PNG, JPG, and WEBP.
Alt Text: Mandatory for all images.
Here are the video publishing guidelines for BlueSky:
Number of Videos: 1 video per post.
File Size: Maximum of 50 MBMax Duration: 60 seconds.
Allowed Aspect Ratio: 4:1 to 9:22.
Supported Formats: MP4, MPEG, WEBM, and MOV.
Thumbnail: You cannot change the thumbnail.
Subtitles: Cannot add subtitles.
Steps to Access BlueSky on Quick Publisher
Let us understand how to Navigate to Quick Publisher while using BlueSky:
Go to Launch Pad > Sprinklr Social > Quick Publish( Under Publish in Engage).
Go to Create Post and fill details:
Go to Select Account and select the BlueSky account.
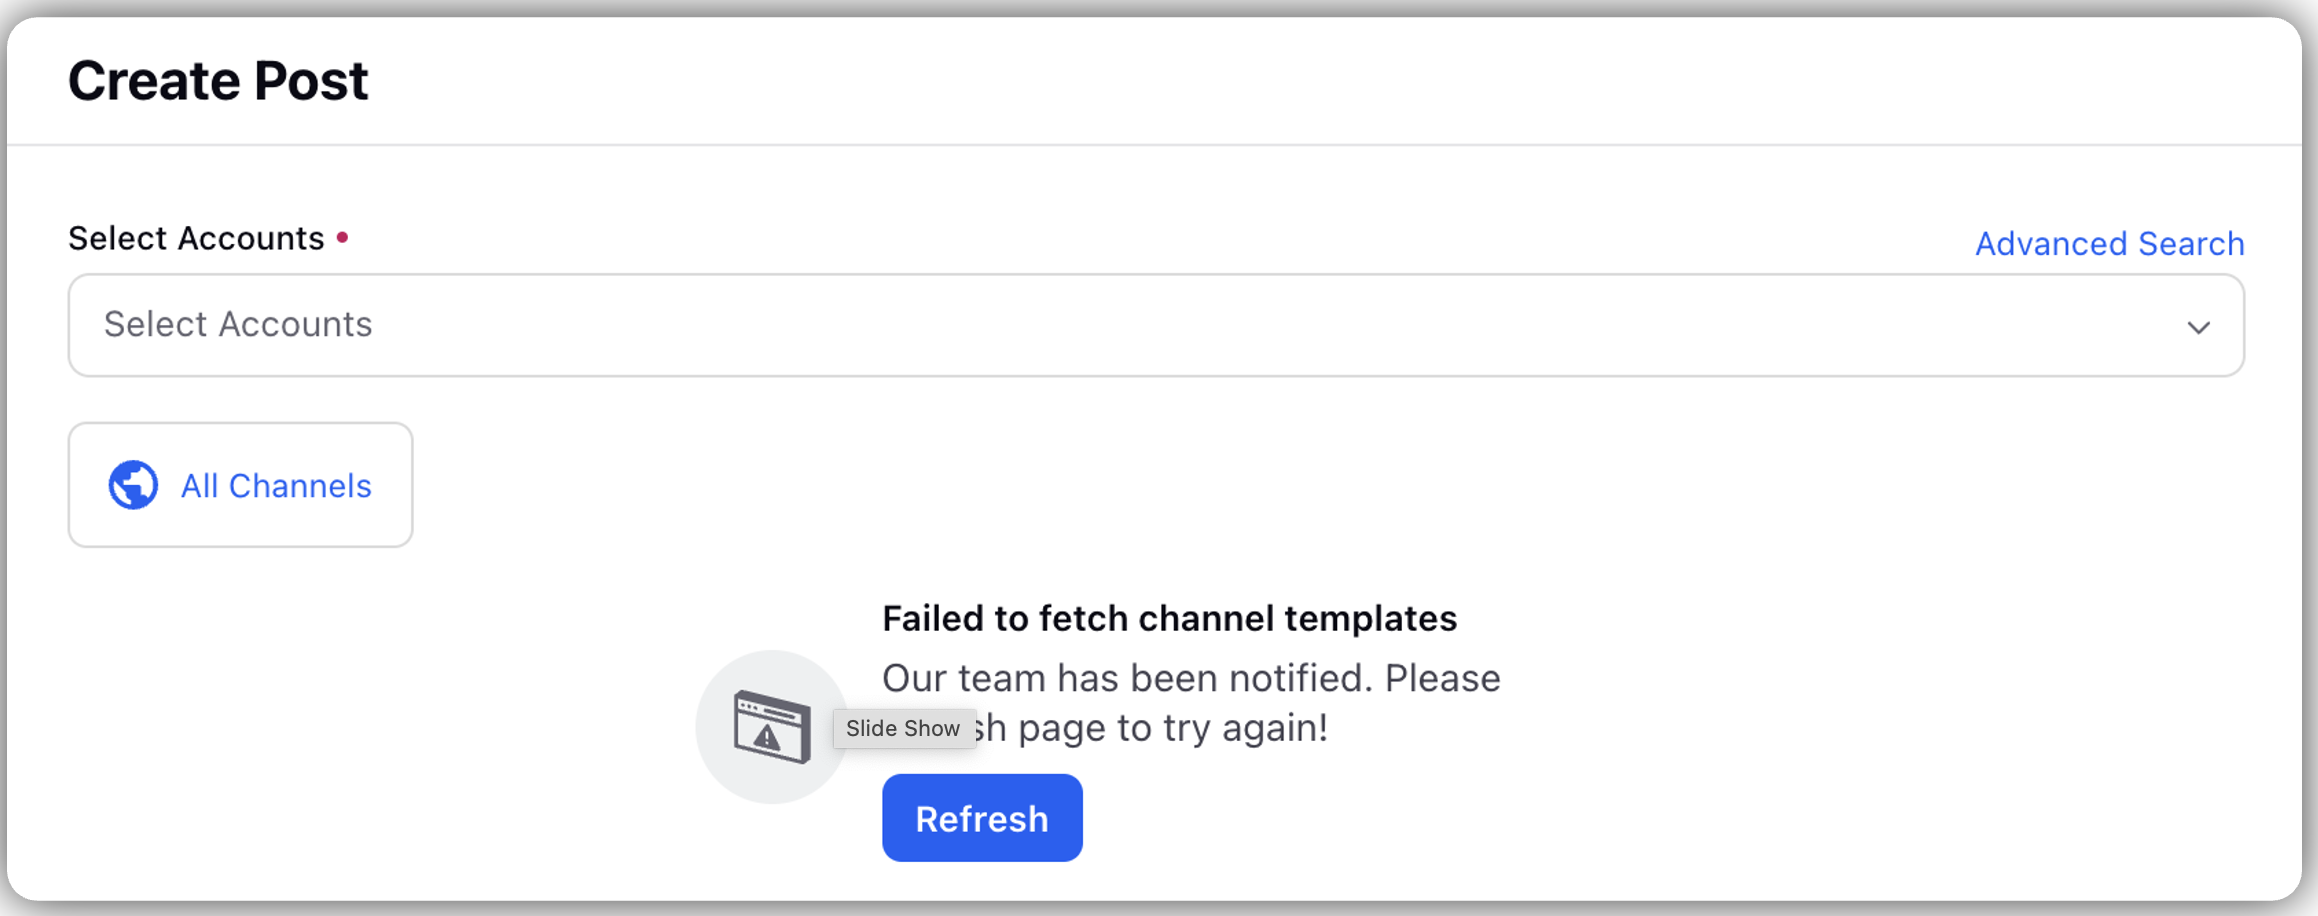
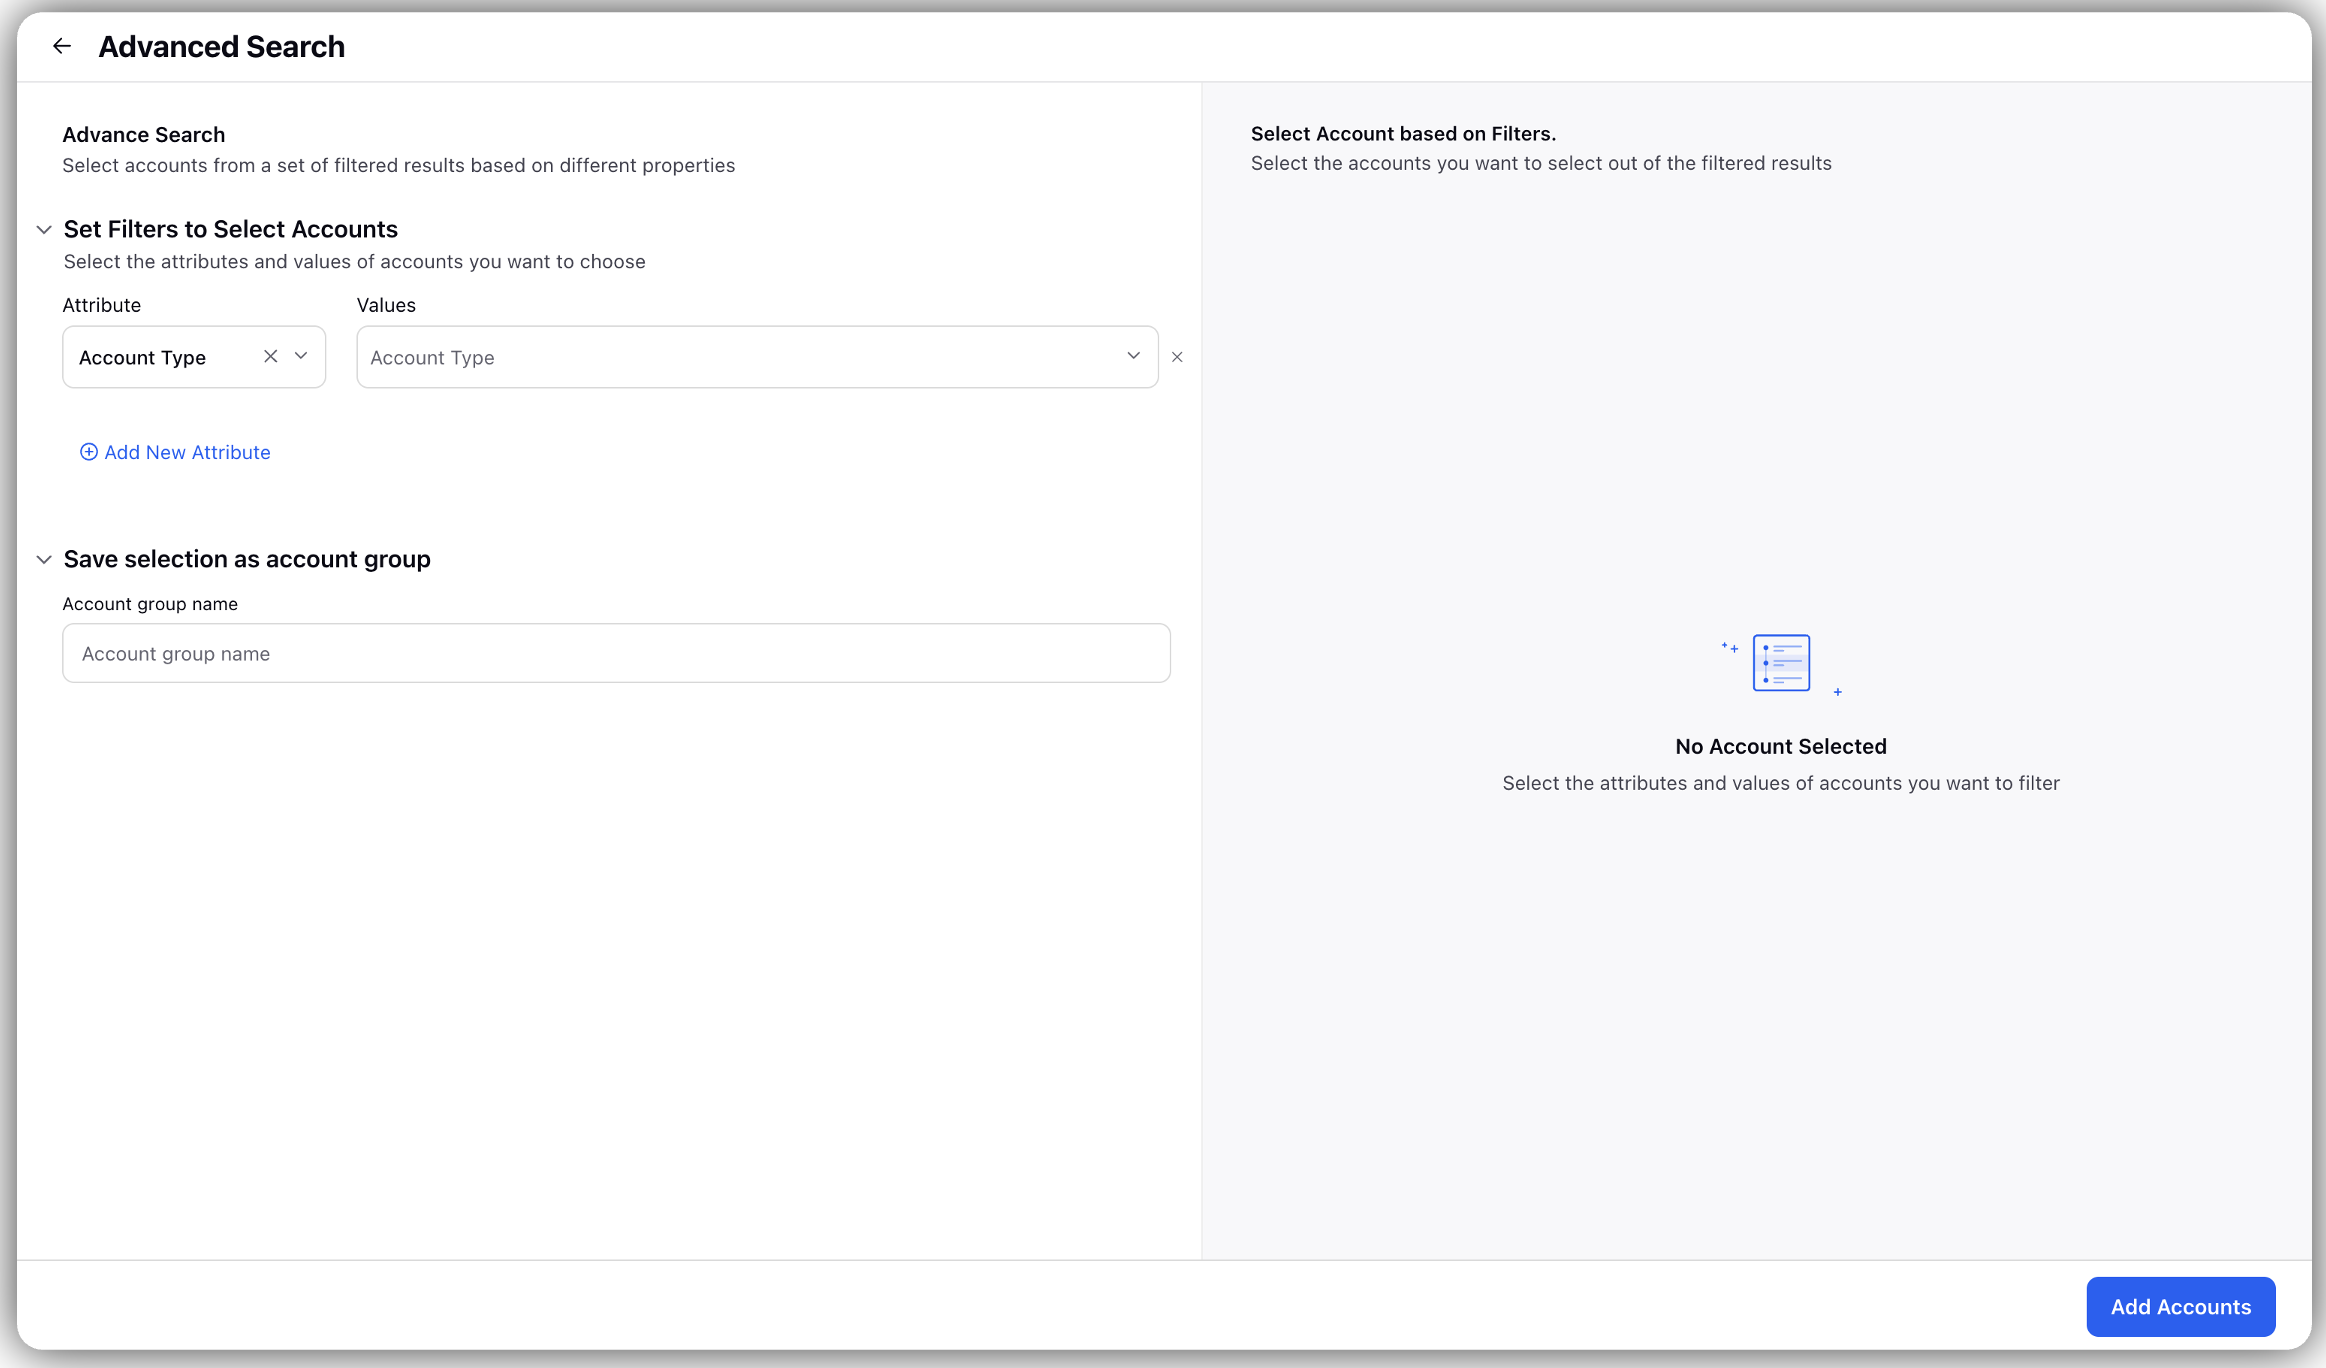
Alternatively, click Advanced Search to find the account:
Select Attributes to select the account type.
Select Values to select account values.
Go to Save selection as account groups to select Account group name.
Click Add Accounts.
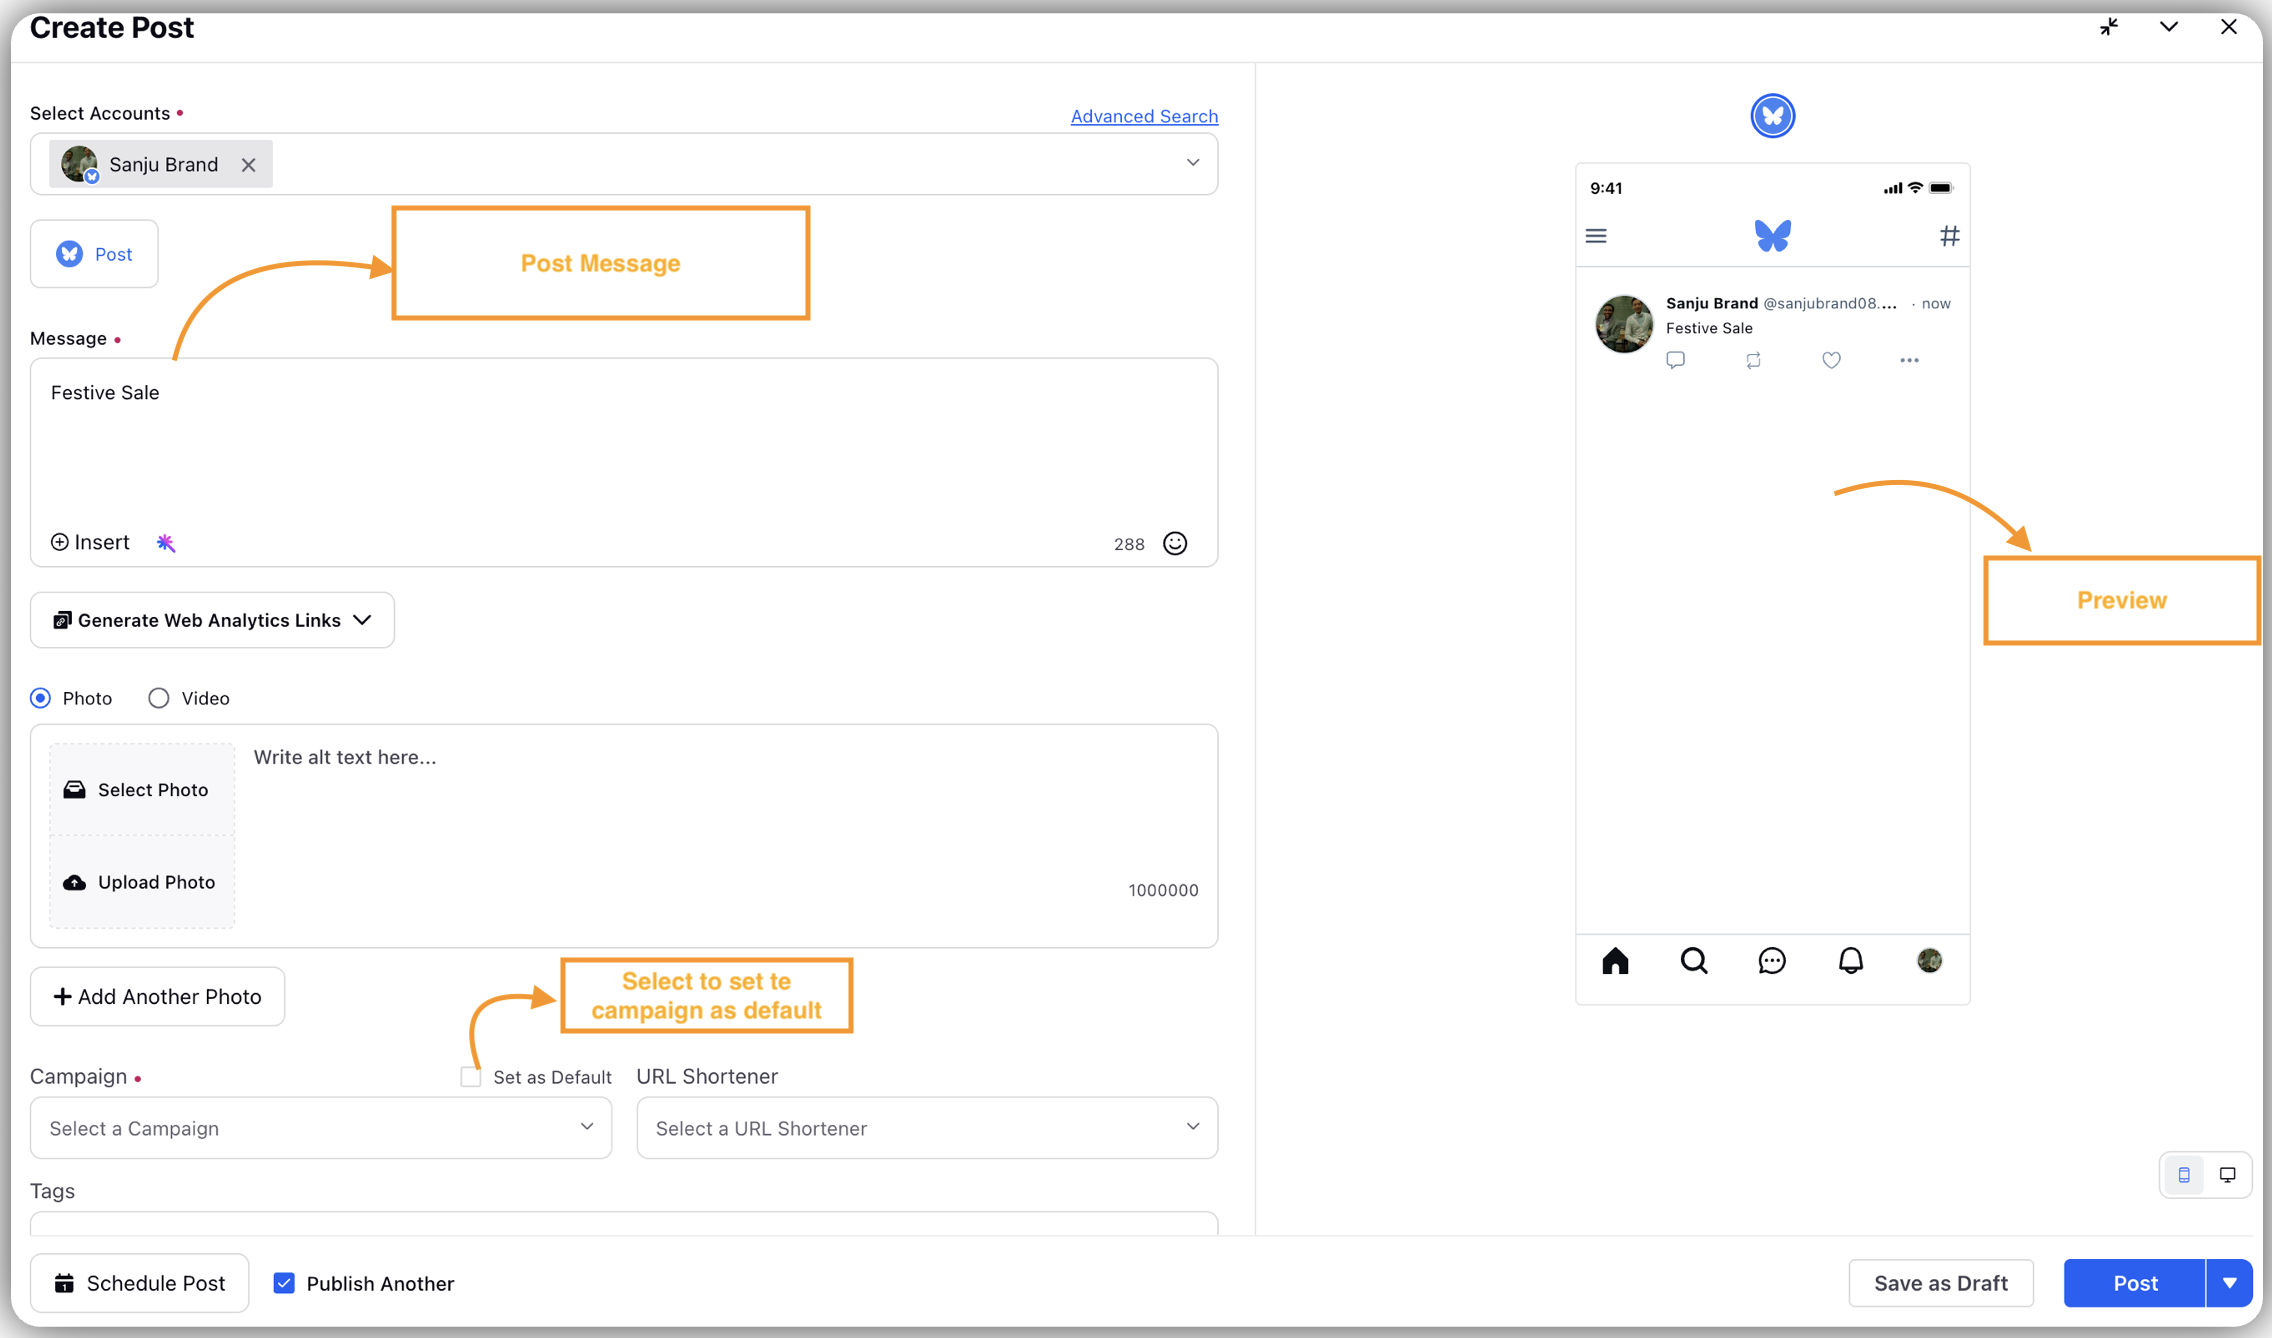
Go to Message and type post message.
Click Insert to add:
Custom Link: to add custom links
Content Placeholder: Add Content placeholder.
YouTube: Add YouTube video.
Link: Add link.
Text Template: Add text template.
Click Sprinklr AI+ to create and refine the content.
Generate Product Description: Helps to get the description of the product.
Generate Content Variations: Helps to get variety of content.
Generate Hashtags: Helps to generate content for hashtags.
Click Emoji Picker to add emojis to the content.
Click Generate Web Analytics Links.
Click Photos.
Click Select Photo to select a images from DAM, URL, UGC, Template, Adobe and can even generate Images through AI.
Click Upload Photos to upload from your device.
Add Alt text for each image.
Click + Add Another Photo to add another image.
Click Campaign to select a campaign.
Check Set as Default to select campaign as default.
Click URL Shortener to add URL shortener.
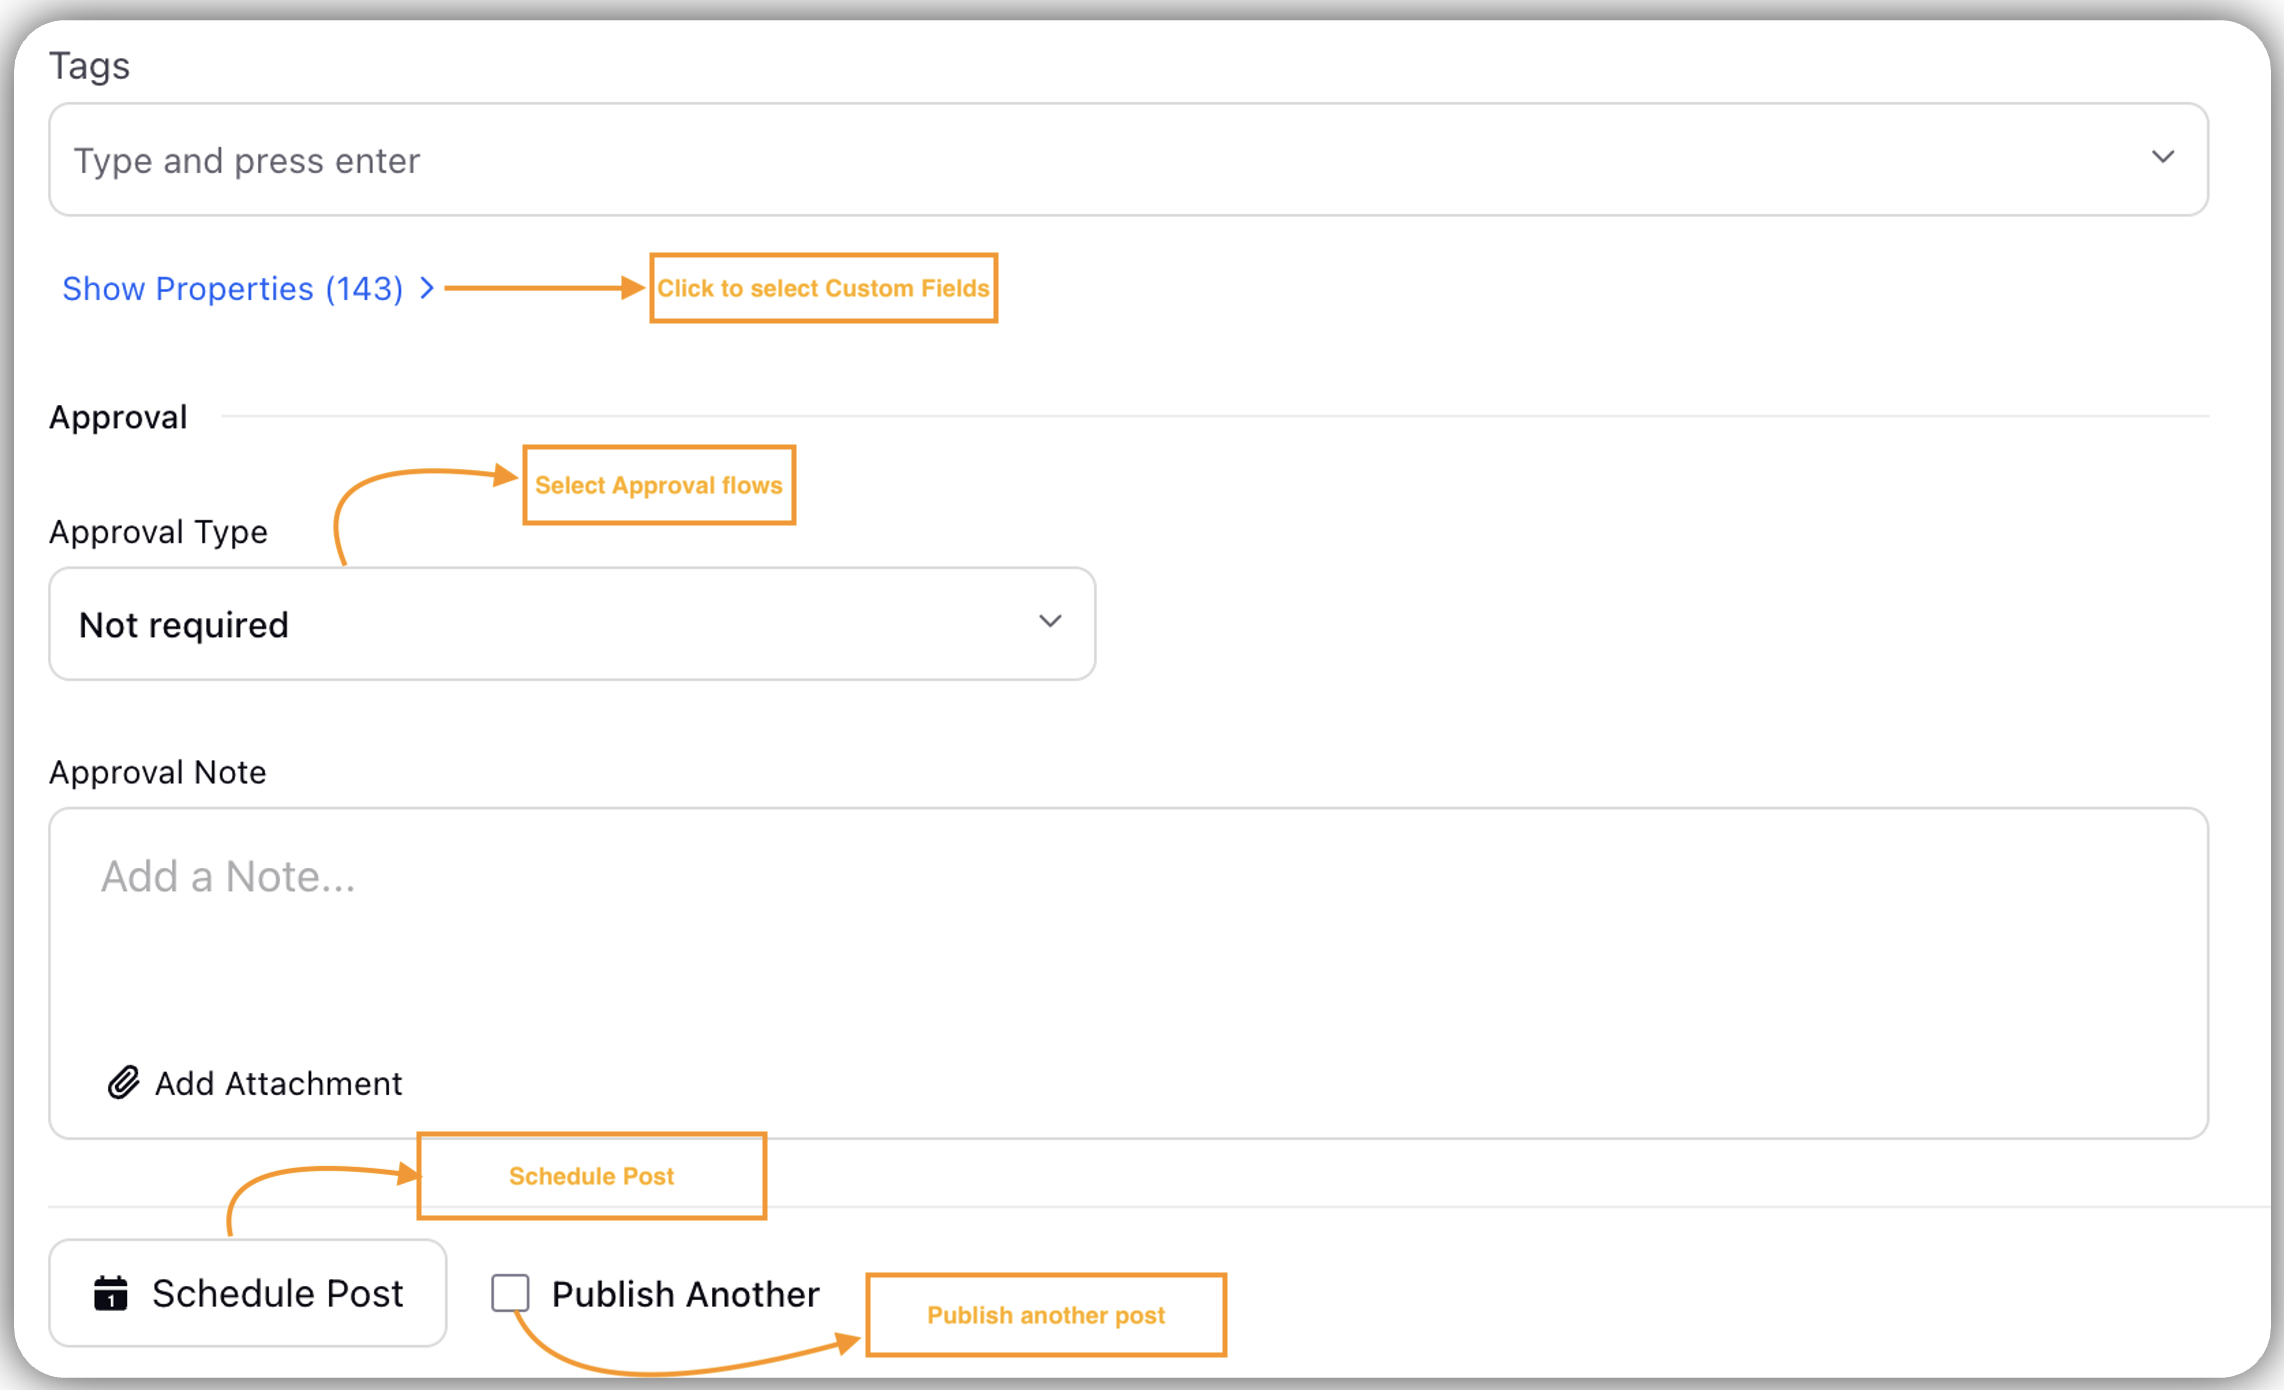
Select Tags to add tags.
Select Custom Fields under Show Properties to select Custom Fields.
Select Approval Type.
Not required: Select if approval is not needed.
Required by Account Owner: Select if approval is needed by account owner.
Follows an approval path: Select if approval path is added.
Go to Approval Note to add approval note for the approver.
Click Add Attachment to add media file.
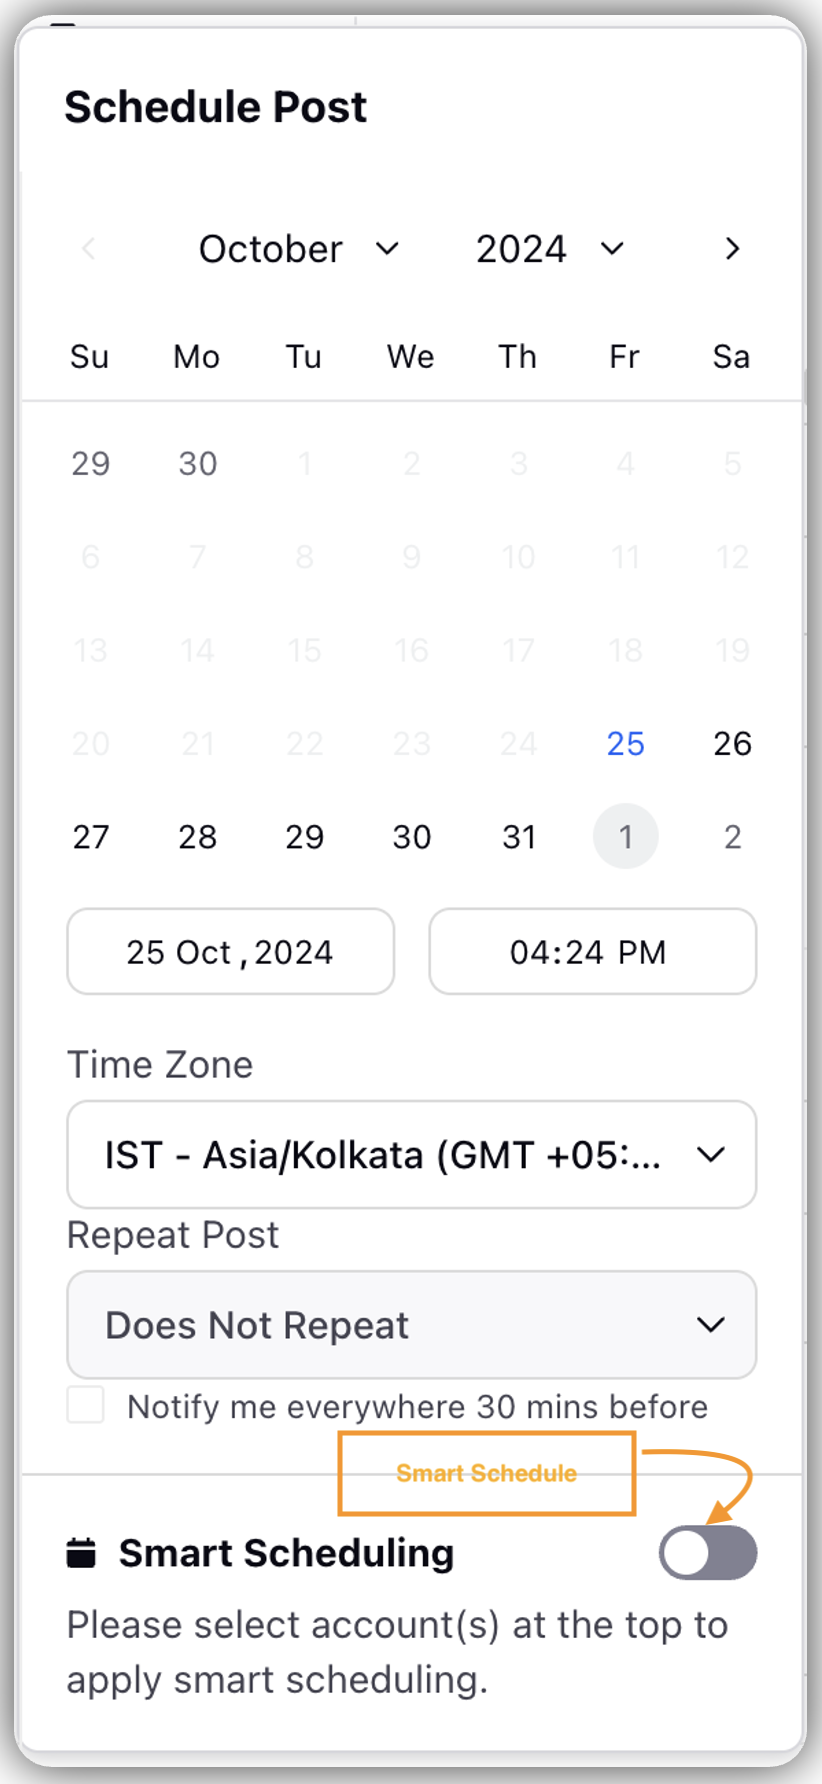
Click Schedule Post to schedule it for a different time.
Date: Select date.
Time: Select time.
Time Zone: Select time zone
Repeat Post: Select the frequency in which you would want the post to be repeated.
You can select Does Not Repeat, Repeat Daily for a week, Repeat Weekly for a month, Repeat Fortnightly for a month, Repeat Monthly for an year and Custom Repetition.
Check Notify me everywhere 30 mins before for notification.
Select Smart Schedule for the AI to suggest best day and time for maximum engagement.
Check Publish Another to publish another post.
Select Schedule(Incase the post is scheduled for a later time) or Post (to post it immediately).
Note: You can preview the post in the right pane before publishing it.