Create an Editorial Calendar Board
Updated
Often users are applying the same set of filters or using the same GroupBy configurations. Users can save these settings in an Editorial Calendar Board, allowing them to easily access a frequently used view without the need to manually apply filters or other such settings each time they wish to see Marketing Calendar content in those display settings. A Marketing Calendar board configuration allows you to specify the Marketing Calendar view, the period selected, the filters applied, and group-by settings.
How to create Editorial Calendar Boards?
The feature is available by default but requires configuration. The steps mentioned below are necessary to set up the Marketing Calendar Boards:
Navigate to the Editorial Calendar.
Select your view settings: Select among the available entities (Campaigns, Sub-Campaigns, Events, Messages, Paid Initiatives, and Tasks) to view the relevant content on the board.
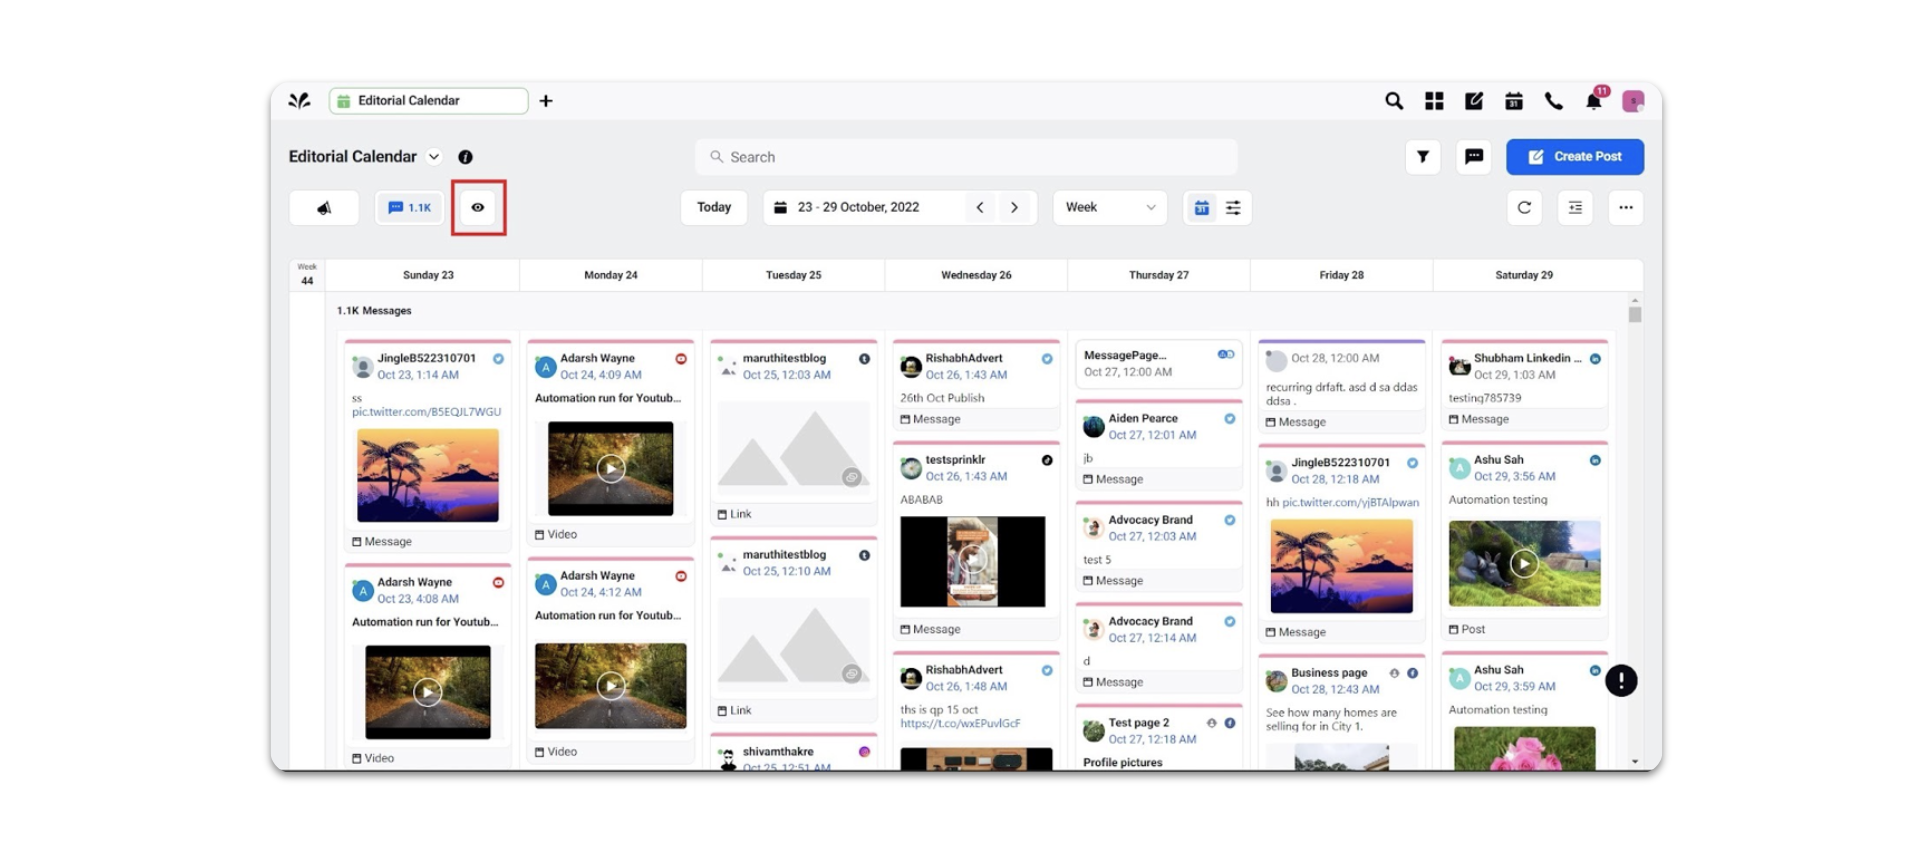
Set your display configurations:
Select the view - Calendar/Timeline for the board.
Select the period - Year/Quarter/Month/Two Week/Week/Day for the board.
Select the card size - Large or Small.
Apply the filters you need for the board.
Apply Group By configurations you need for the board.

Click Save as New Board to proceed to the Board Details page.

Fill in the following fields in the Board Details page.
Basic Information:
Board Name [Mandatory]
View Type [Auto Filled]
Content Type [Auto Filled]
Card Size
Tags [Optional - fill to organize your boards based on various tags]
Sharing and Permissions [Optional - fill to restrict visibility]
Workspaces [the workspaces you want to share this board with]
User / User Groups [the User / User Groups you want to share this board with]
Filters [Auto Filled]
Grouping [Auto Filled]
Click on Save to save the view as a board.