How To Setup Automated Campaigns
Updated
What are automated Campaigns?
Sprinklr's Automated Campaigns is a feature that streamlines social ads publishing, saving time and improving collaboration for more efficient campaign creation and management.
It can be integrated with Google Sheets, where users can leverage the familiar interface and collaborate seamlessly.
Before you start
Before you start making your automated campaign, plan out a few things as making changes halfway through or once the campaign is published will be very difficult for a lot of fields:
Campaign Structure – How you want your final campaign to look like, the number of Paid Initiatives, Ad Sets and Ad Variants you want in your campaign, the timeline, budget for each Ad Set and so on – this will determine what headers to keep in your feed vs the values you will determine while publishing the campaign from Sprinklr
Dynamic vs Static Fields – Think about the fields to keep static such as objective or optimisation goal (these values have to be kept fixed as they determine the campaign flow), and the values that can be kept dynamic, as in the ones that can be pulled from feed, such as creative, headline, call to action, price, ad set budget, etc
Important point to note here would be to keep the fields which require collaboration of multiple stakeholders to be kept dynamic so that they can be changed later by making the changes in the feed only.
If you want to limit the visibility of some of your fields – like your campaign timelines or budget, it would be best to choose them from Sprinklr UI only
The last thing to plan is the type of creatives you want to show in your campaign, their format, the type and the visual aspect, which can be done through our Dynamic Template offering.
Now that the planning part is done, you must start with the next steps of setting up your automated campaign.
Setting Up Automated Campaign
Step 1: Create Feed
The super feed will be the one place for all information for your campaign – with columns like:
Channel
Objectives
Creatives
Budget
Call to Action
Price
Location, etc
The user can choose which fields to be dynamic and to be selected from feed and which ones to be kept static.
Note:
If multiple budgets given for same ad set, then the one given on top will be preferred
In case of clash of any fields (custom included, for Paid Initiative/Ad set, the first one will be considered)
The feed can be set to sync either manually or at a pre-set frequency automatically. For more detailed information on how to set up your feed, please refer to this article.
Step 2: Create Template
Similarly, prepare a Dynamic Image/Video Template for applying it in the campaign later to create multiple dynamic ads in one go. For more details on how to create a template please refer to this article:
Step 3: Apply Template
After a template is created from the creative, it can be applied to create creatives for automated campaign. This helps in creating multiple variants of a similar looking Ads.
After feed is created, hover on three dots and click on “Apply Template”.
Select dynamic template and choose your pre-prepared template (image/video).
Select headers from feed for each field (dropdown in textbox).
Save, template will save in 5-10 minutes.
Then hover on three dots to review your creatives.
For more detailed information on how to set up your feed, please refer to this article.
Step 4: Approve your creatives in Approval Flow
In the approval flow, all the creatives created are visible in a single flow, and the user can approve or reject them at once.
There are multiple options here:
Either manually approve/reject all of them or multi select some of them to approve/reject.
Auto approve option is there for approving all of them at once, and any further changes will be automatically approved without the need for manual intervention.
Now that these basic steps are completed, the time comes to finally set up our Automated campaign. For more detailed information on how to set up your feed, please refer to this article.
Step 5: Campaign Setup
Step 5.1: Starting Campaign Creation
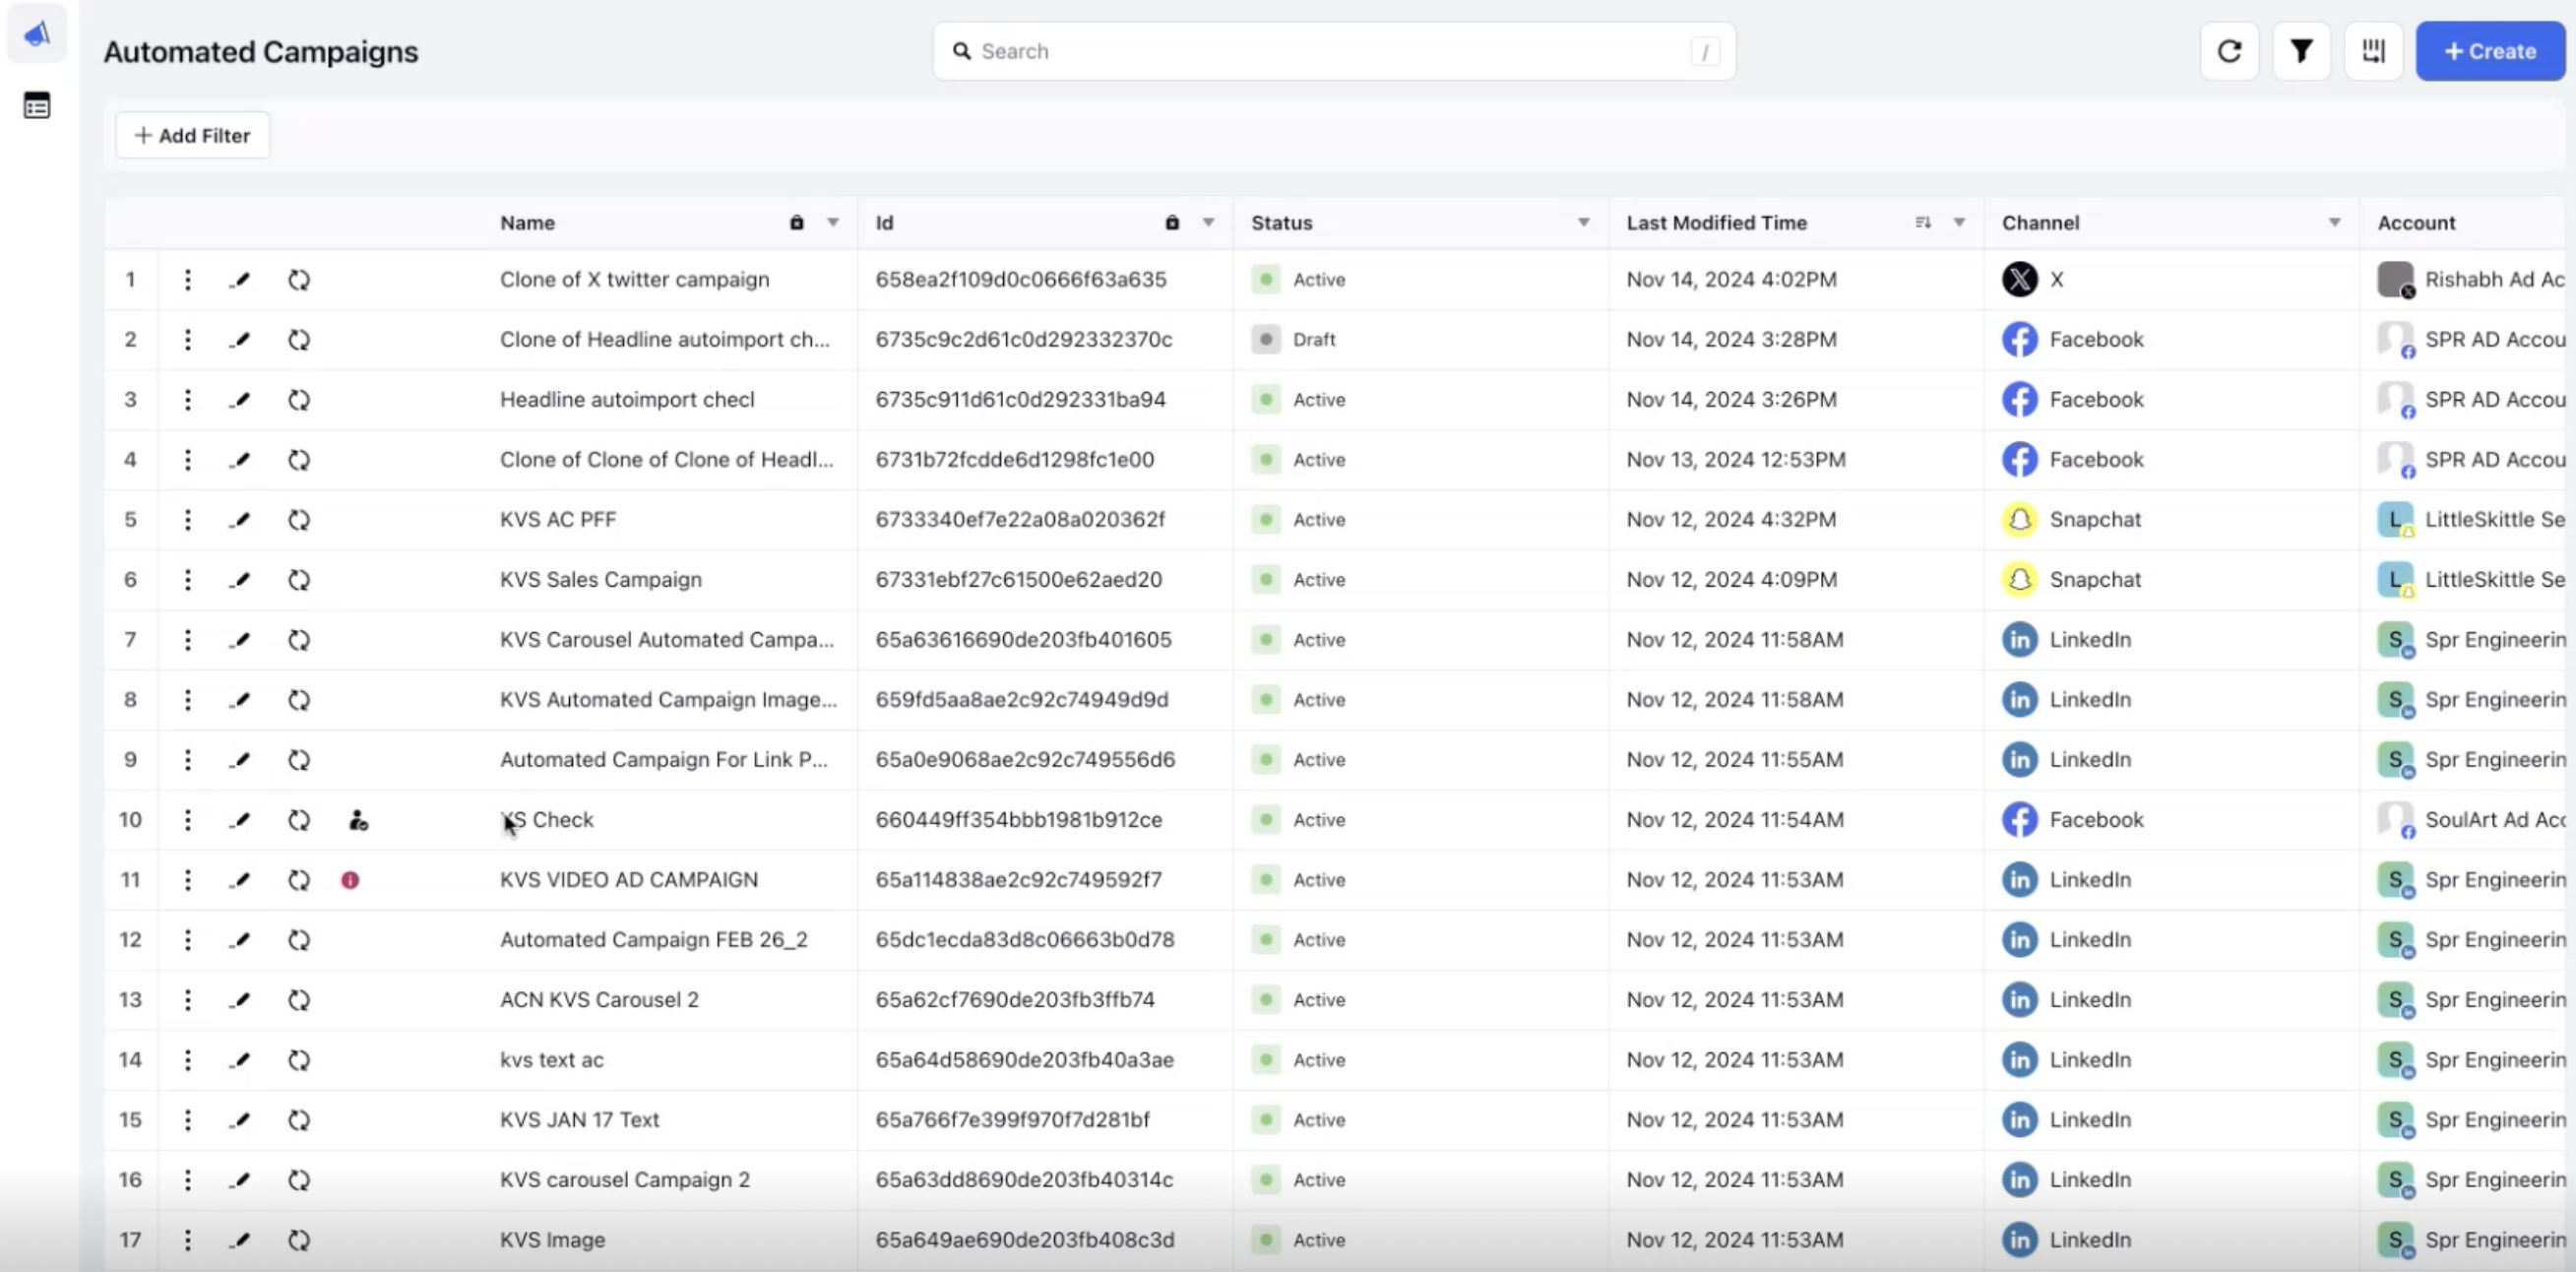
From Sprinklr launchpad, go to Sprinklr Marketing->Advertising->Automated Campaign
Click on “Create Automated Campaign” button.
Step 5.2: Feed Details
The first section that opens is Feed Details. Here the campaign structure is to be created: how many PIs, how many Ad sets and Ad variants to be published
Fill in automated campaign name and select the Ad Account to be used.
Select the feed to be used in the campaign, and filter campaign rows based on requirements; choose grouping fields for PI, Ad Sets, Ad Variants – this will be the field of your choosing like budget, location, audience demographics, etc
Rest of the flow is kept very similar to Ads Composer, so that it is easy for you as a user to publish your campaign.
Step 5.3: Paid Initiative Details
For the Paid Initiative Details section, fill in the PI details like the name – this can be done in three ways:
Choosing a static name, e.g. Watch Campaign – July'23
Using an existing naming convention
An extra option of choosing the name from feed is available here
The objective of the campaign must be selected manually as a lot of fields are dependent on it, hence it cannot be kept dynamic.
Step 5.4: Audience Details
Again, this can be created in three ways:
Selecting from an existing audience (Same audience for all ad sets)
Can be pulled from feed after entering the audience ID, which can generated by creating an audience separately first.
New audience creation from scratch
Note: Lookalike Audiences can not be selected directly. A Saved Audience must be created using the lookalike audience. The Audience ID of this Saved Audience can be used in feed for automation.
Step 5.5: Budget and Placement Details
For Budget and placements, it cannot be set for all Ad sets at an individual level, but can be dynamically controlled at the PI level and Ad set level from feed
Step 5.6: Creative Details
Like audiences, creatives can also be created in three ways:
added from feed after entering their SAM (Sprinklr Digital Asset Manager) IDs in the feed; creative input can be of multiple types, like post ID etc
A new creative can be created from scratch, with Ad accounts and pages that can be selected from feed
Applying pre-created template creatives
A small note here that post type cannot be dynamic as certain fields like creative details change on its basis, however multiple creatives of different post types (post, story, message) can be created by repeating the process as many times as necessary.
Media can be chosen three ways: static, from feed if image link is given, or from a template (only approved ones)
The preview of all the creatives will be available to review.
Multiple placements are also supported by creating variations at the creative level and selecting media in each of them using different feed columns. Same concept can be used for LAC, PAC or LoAC.
Step 5.7: Advanced Configuration Details
In the Advanced Configuration section, you can setup additional optional things like
Ad Set & Ad Naming
Third-party tracking
DCM Settings
Step 5.8: Optimization
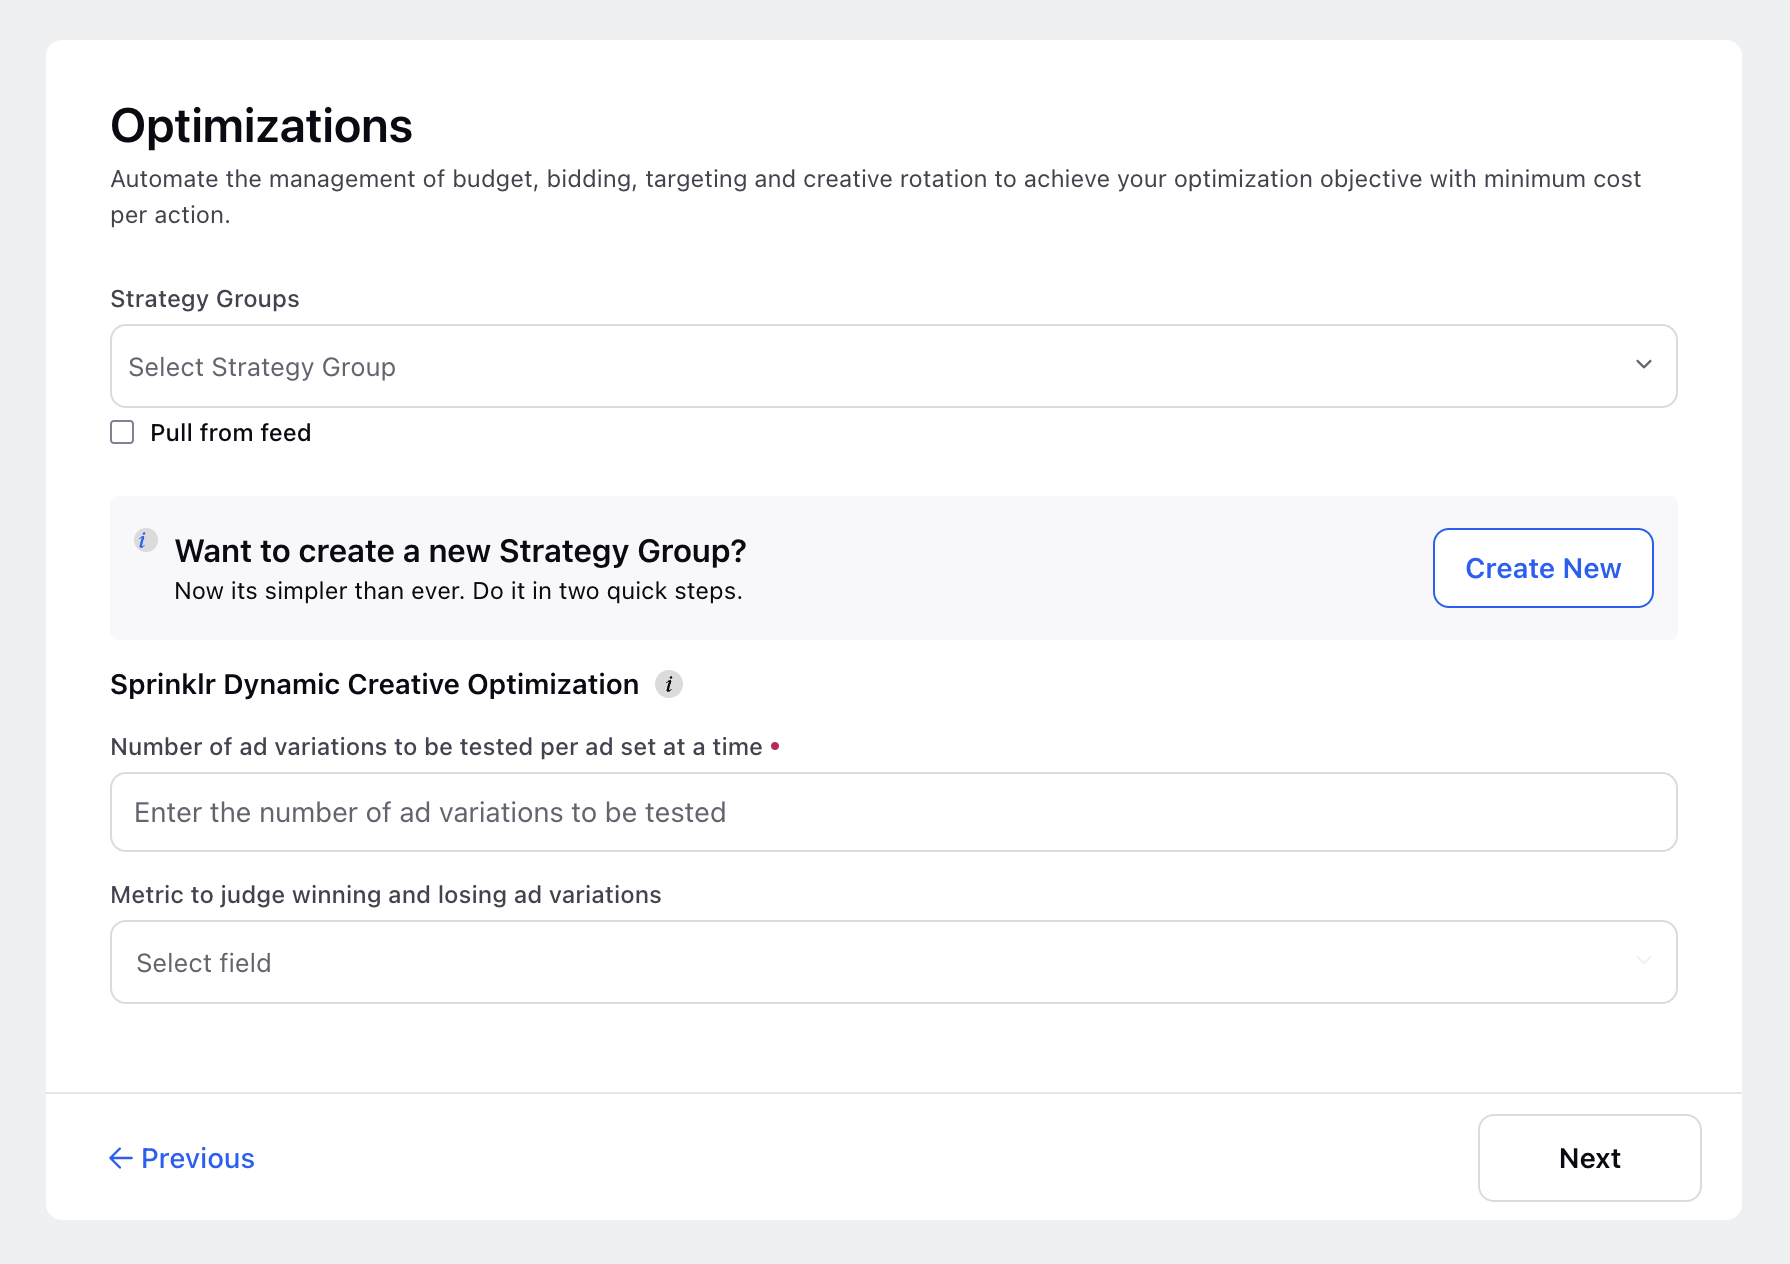
In the Optimization section, you can choose to employ Sprinklr’s Dynamic Creative Optimisation’s capabilities. Or select a Strategic Group you want to apply on the campaign or setting it based on a feed column. Please note that, it can be set at PI level using feed columns only.

Step 5.9: Campaign Review
Finally, review the entire campaign created – a bird eye view of the number of PIs, Ad Sets and Ad Variants created is given – along with a detailed view of their properties.
Publish your campaign and you’re good to go.
Step 6: Manage Existing Campaigns
After your automated campaign is published, and goes live on the platform, there are changes that you can make to it, without pausing it or affecting the existing flow; this is an entirely new capability offered by Sprinklr.
Any changes made to your feed (google sheet), will reflect automatically in your campaign as well when you sync the changes.

You can add new rows, delete existing ones or making changes to the existing values – like changing the price of the products, creative image, call to action, demographics, etc.
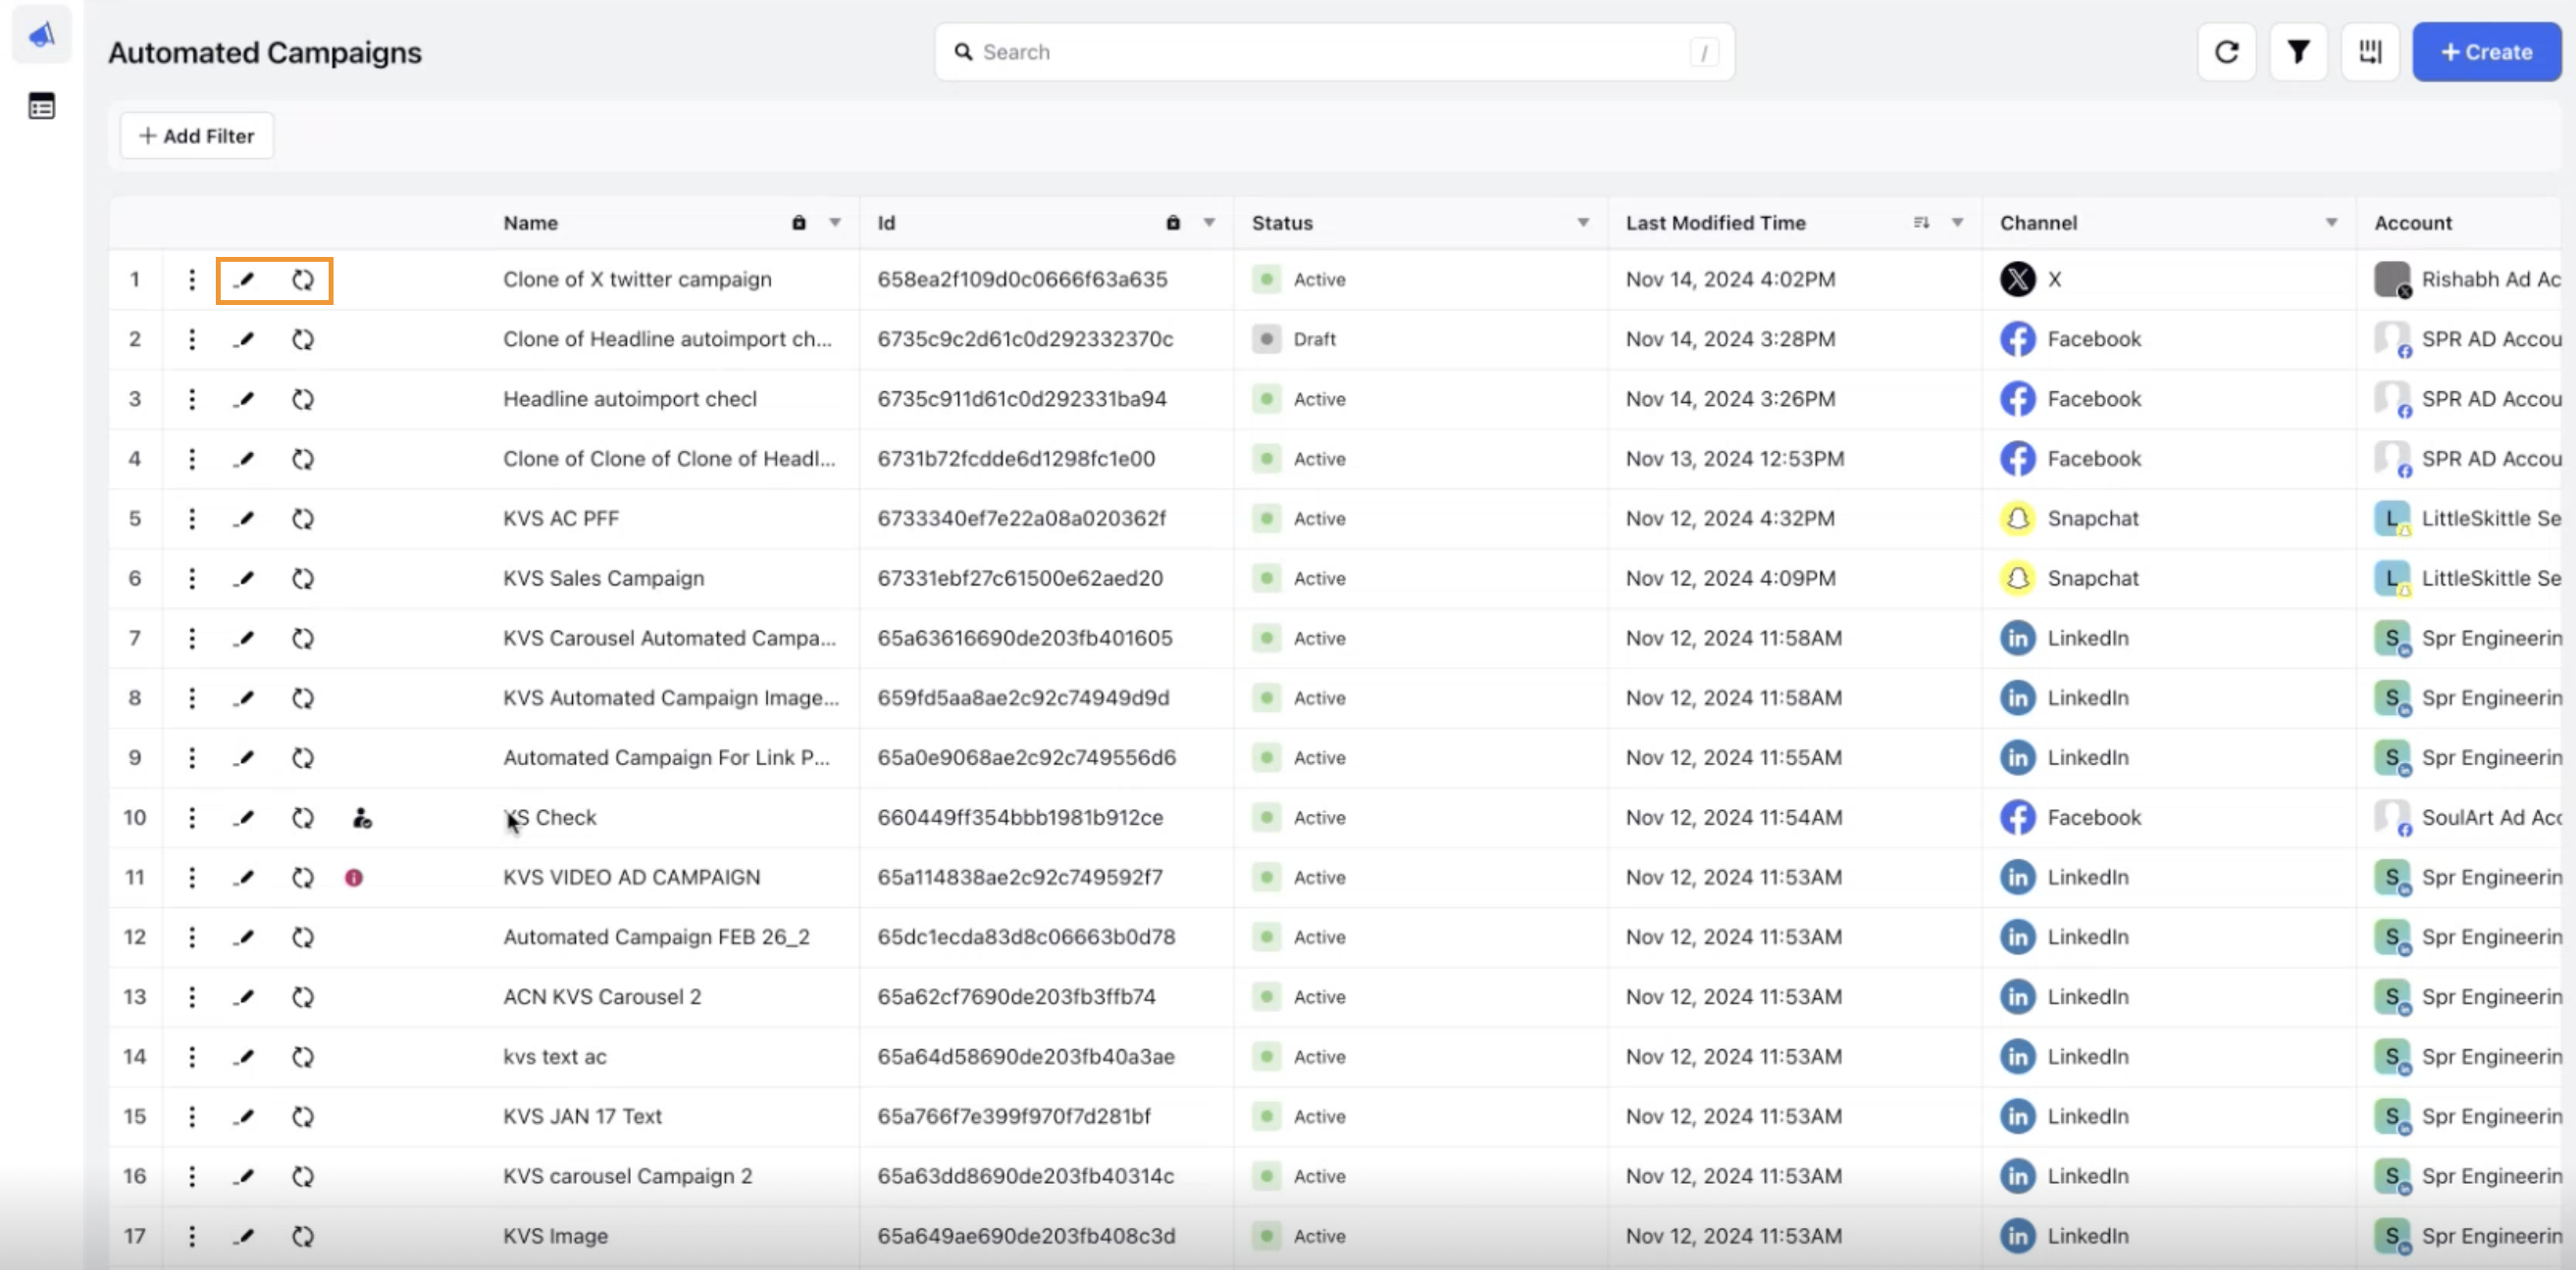
In addition to controlling your campaigns via feed the Automated Ads shell can be edited post publication. Eliminating dependencies on Rule Engine and Ads Manager to save time and effort while managing numerous ads at once.

This ensures seamless changes in your campaign with least amount of effort possible.
Conclusion
In conclusion, to create a new ad, the user will not have to go through the entire process again, they will just have to add a new row in the feed, sync it and a new ad will be created.
Similarly, if any small parameter has to be changed across the published ads, the user will just have to make the changes in the google sheet and they will update automatically.
Hence, Sprinklr’s Automated Ads is a powerful tool that will revamp the Ads creation and publishing process entirely, making it much easier to use and increase output at the same time.