Automated Checklist Rule: Functionalities
Updated
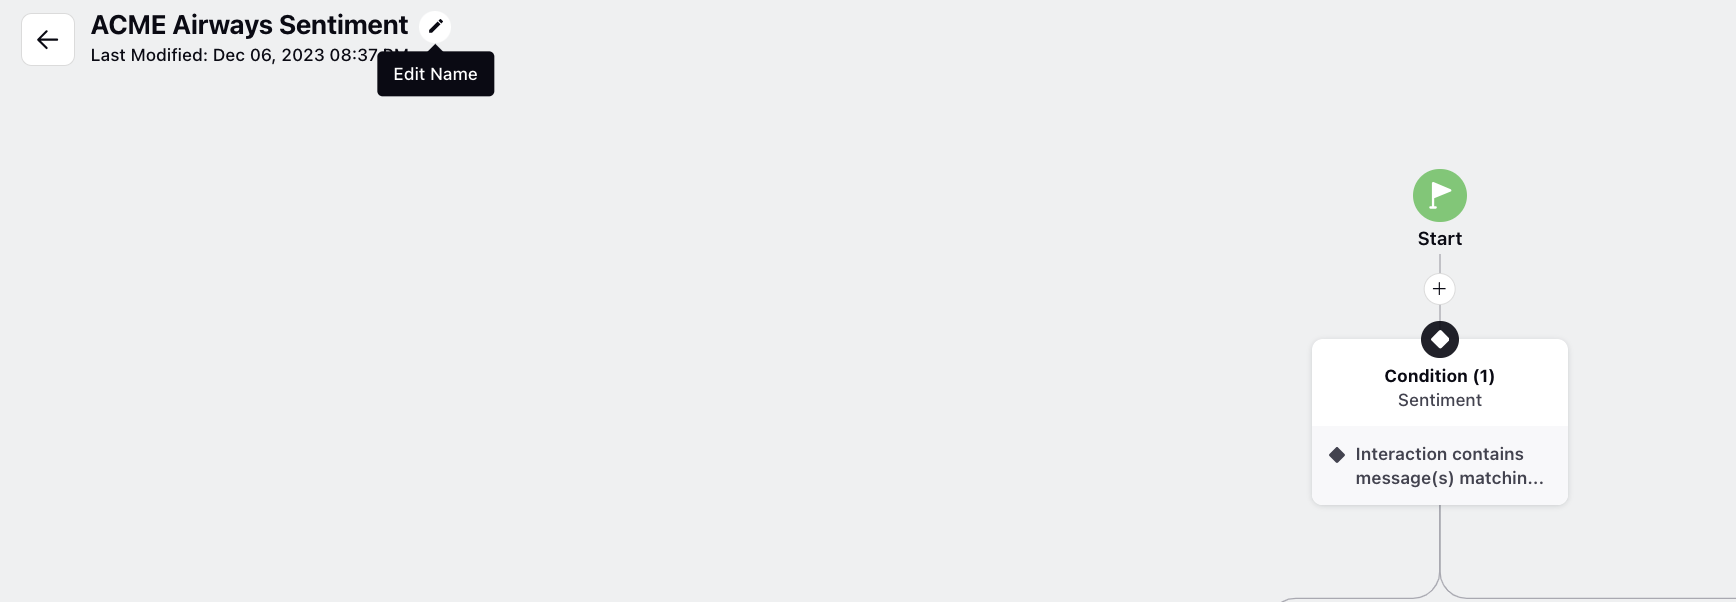
Edit the Rule Name
Edit the rule name by simply navigating to the top left corner of the canvas.
Clone or Delete a Rule
For further actions, such as deletion or creating a copy, utilize the options available in the top right corner. Deleting the rule deletes it from all the audit checklists where it is being used.

Edit or Delete Nodes
Additionally, you have the option to edit or delete individual nodes by hovering over them and selecting the appropriate action. Deleting a node also removes the entire subtree branching from it.
![]() Note: You cannot delete or make any changes to the standard Sprinklr rules.
Note: You cannot delete or make any changes to the standard Sprinklr rules.

Clone Nodes
You have the capability to duplicate existing nodes, either individually or along with their respective subtrees, and paste them elsewhere within the rules, streamlining the rule creation process and enhancing efficiency without the need to recreate similar structures.
Here's how it works:
Hover over the Options icon on the desired node and select Copy Single Element or Copy Element With Subtree.

After making your selection, a prompt appears at the bottom of the screen, instructing you to "choose the destination node after which you want to attach this node." At the same time, the copied node(s) are highlighted with a blue border color, and potential paste points in the flowchart indicated by the "Add Element" icon, offering visual cues.

You must then select a destination node or cancel the operation to return to normal editing.
 Note: If you select Copy Single Element:
- If the selected node is a "condition" block, it can be pasted after or in between any node, and the subtree is attached to the "Yes" path of the pasted condition.
- If the selected node is an "action" block, it can be pasted after or in between any node.
If you select Copy Element With Subtree:
- It can only be pasted at the end of the last nodes.
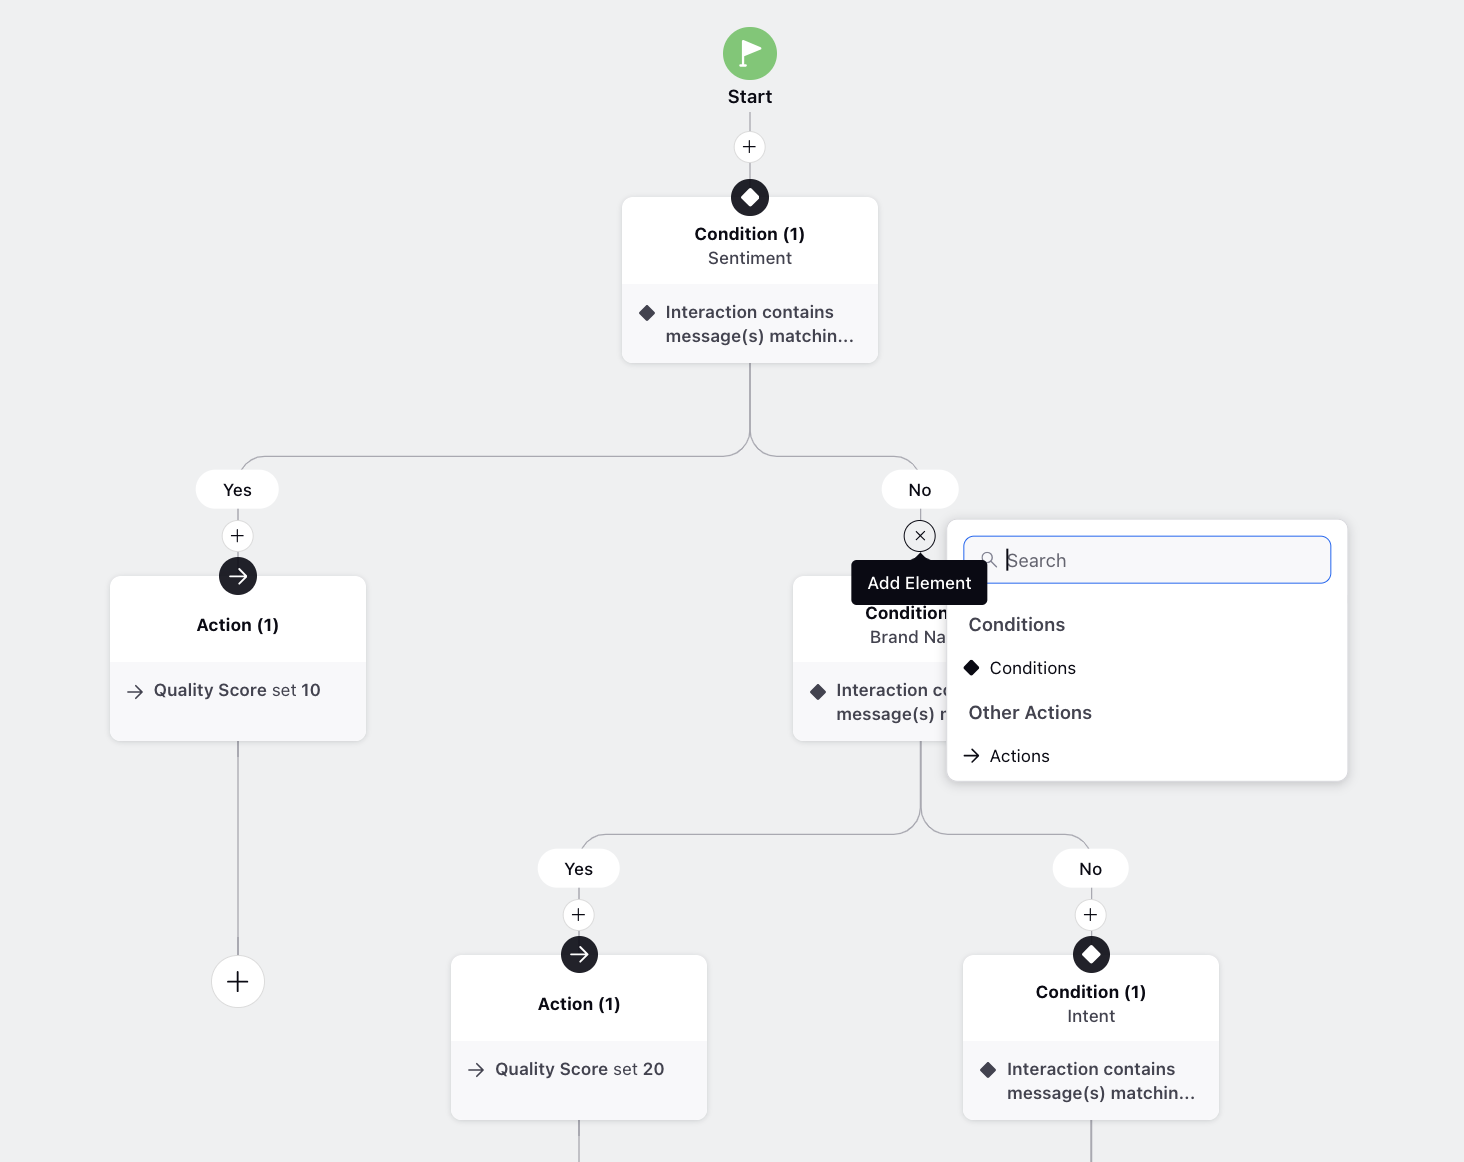
Add Element
Click the addition icon on the connecting line between nodes to insert either a "Conditions" block or an "Actions" block.
If you select "Conditions," the subtree is added along the "Yes" path of the new condition block by default. If you select "Actions," the new action block is added between the nodes.
Overview Map
As rule flows become more complex, navigating through the entire structure efficiently can become challenging for users. For enhanced efficiency and smoother navigation, you can utilize the overview map feature. This feature provides an accurate representation of the entire flow, displaying various nodes and branches.
The overview map is constantly visible in the bottom left corner of the rule builder interface. You can click on any location within the overview map to instantly navigate to that specific location within the flow.
Test Rule
With the "Test Rule" feature, you can independently test any checklist rule on various conversations through a dedicated interactive UI. This functionality significantly reduces debugging time, allowing for the early identification and resolution of potential issues.
Click "Test Rule" located in the top right corner of the interface. Choose the specific case and interaction you want to test the rule on. Click "Test Rule" to initiate the test.
.png)
The system displays the insights and scores generated by the rule.
It also highlights the path followed by the rule, helping you understand the decision-making process.
.png)
You also precisely determine which conditions were met or unmet when testing a checklist rule on a case. This feature also helps identify any blocks causing errors, significantly reducing debugging time and improving efficiency. The test results will be categorized into five states:
Test Passed: If a condition within the block is satisfied for the selected case, a "Test Passed" icon is displayed.
Test Failed: If a condition within the block is not met for the selected case, a "Test Failed" icon appears.
Test Error: If a condition within the block triggers an error and stops execution, a "Test Error" icon is shown.
Test Ignored: If a condition within the block is skipped due to a prior failure in the block, a "Test Ignored" icon is displayed. For example, if a block has three conditions, and the first passes while the second fails, the third condition won't be evaluated, resulting in a "Test Ignored" icon. Only one failure state is sent from the backend.
Default: If the execution path does not visit certain conditions or actions within the block, it is marked with a "Default" icon.
![]() Note: When creating a new rule, be sure to save both the rule and checklist. After saving, edit the checklist and open the rule again to view the "Test Rule" option.
Note: When creating a new rule, be sure to save both the rule and checklist. After saving, edit the checklist and open the rule again to view the "Test Rule" option.
.png)
Version Management and Activity Log
The Automated Checklist Item Rule has two fields, Activity Log and Revision History. Any modification within the rule and the user who modified it and the time of modification gets logged in the Activity Log. Any older version of the checklist rule gets captured in the Revision History.
Click the three dots appearing on the top right corner of the Checklist Item Rule page. Click on the History tab.

The Revision History screen is displayed.

On the Revision History screen versions are sorted from newest to oldest. The current deployed revision appears at the top and has a text, Current version and a green circle icon.
When you click on an older version, rule corresponding to that older version gets displayed on the screen. Along with this, two other fields are also displayed on that older version:
View Update Summary
For any changes in the rule version, the relevant activity is displayed when clicked on this.
If that version was created by restoring any previous version, it gets displayed as “Rule was restored from Version x to Version y.”
Hide Update Summary
It appears only when View Update Summary was clicked for a version.
Restore this version
Click on this to restore the selected version.
Click on the Activity tab to view the Activity logs.

On the Activity screen, All the activities gets logged and are sorted from newest to oldest. For each log, user name, date-time of modification and the modification detail is displayed.
Create Agent Quality Model within Checklist Rules
You can create an agent quality model within checklist builder, for this perform the following steps:
Click on Edit Element on the Actions block on the rules screen.
The Action screen is displayed.
When there is no model added, a "+" button appears on the screen.

Click on the + button to create the agent quality model within the checklist builder.
To know further steps on how to create the agent quality model, refer Creation of Contextual Model.
When there is a model already selected, three dots appear on the screen.

Click on the three dots.
Click + Create Agent Quality Model if you want to create a new model. To know further steps on how to create the agent quality model, refer Creation of Contextual Model.
OR
Click on Edit Agent Quality Model if you want to update the existing and selected model.
 Note: If you have edit permission of the agent quality model then, Edit Agent Quality Model option is displayed, else, View Agent Quality Model is displayed since you have view-only permissions.
Also, if a checklist rule action block has a pre-selected model that is not shared with you, a “+” CTA is displayed.