Create a Post using Quick Publisher
Updated
In this article, you will learn how to use Quick Publisher to create and publish/schedule posts on multiple accounts and across multiple channels in Sprinklr. Understand how to leverage your social account in the best possible way with key publishing functionalities to enhance the content you publish.
How it works
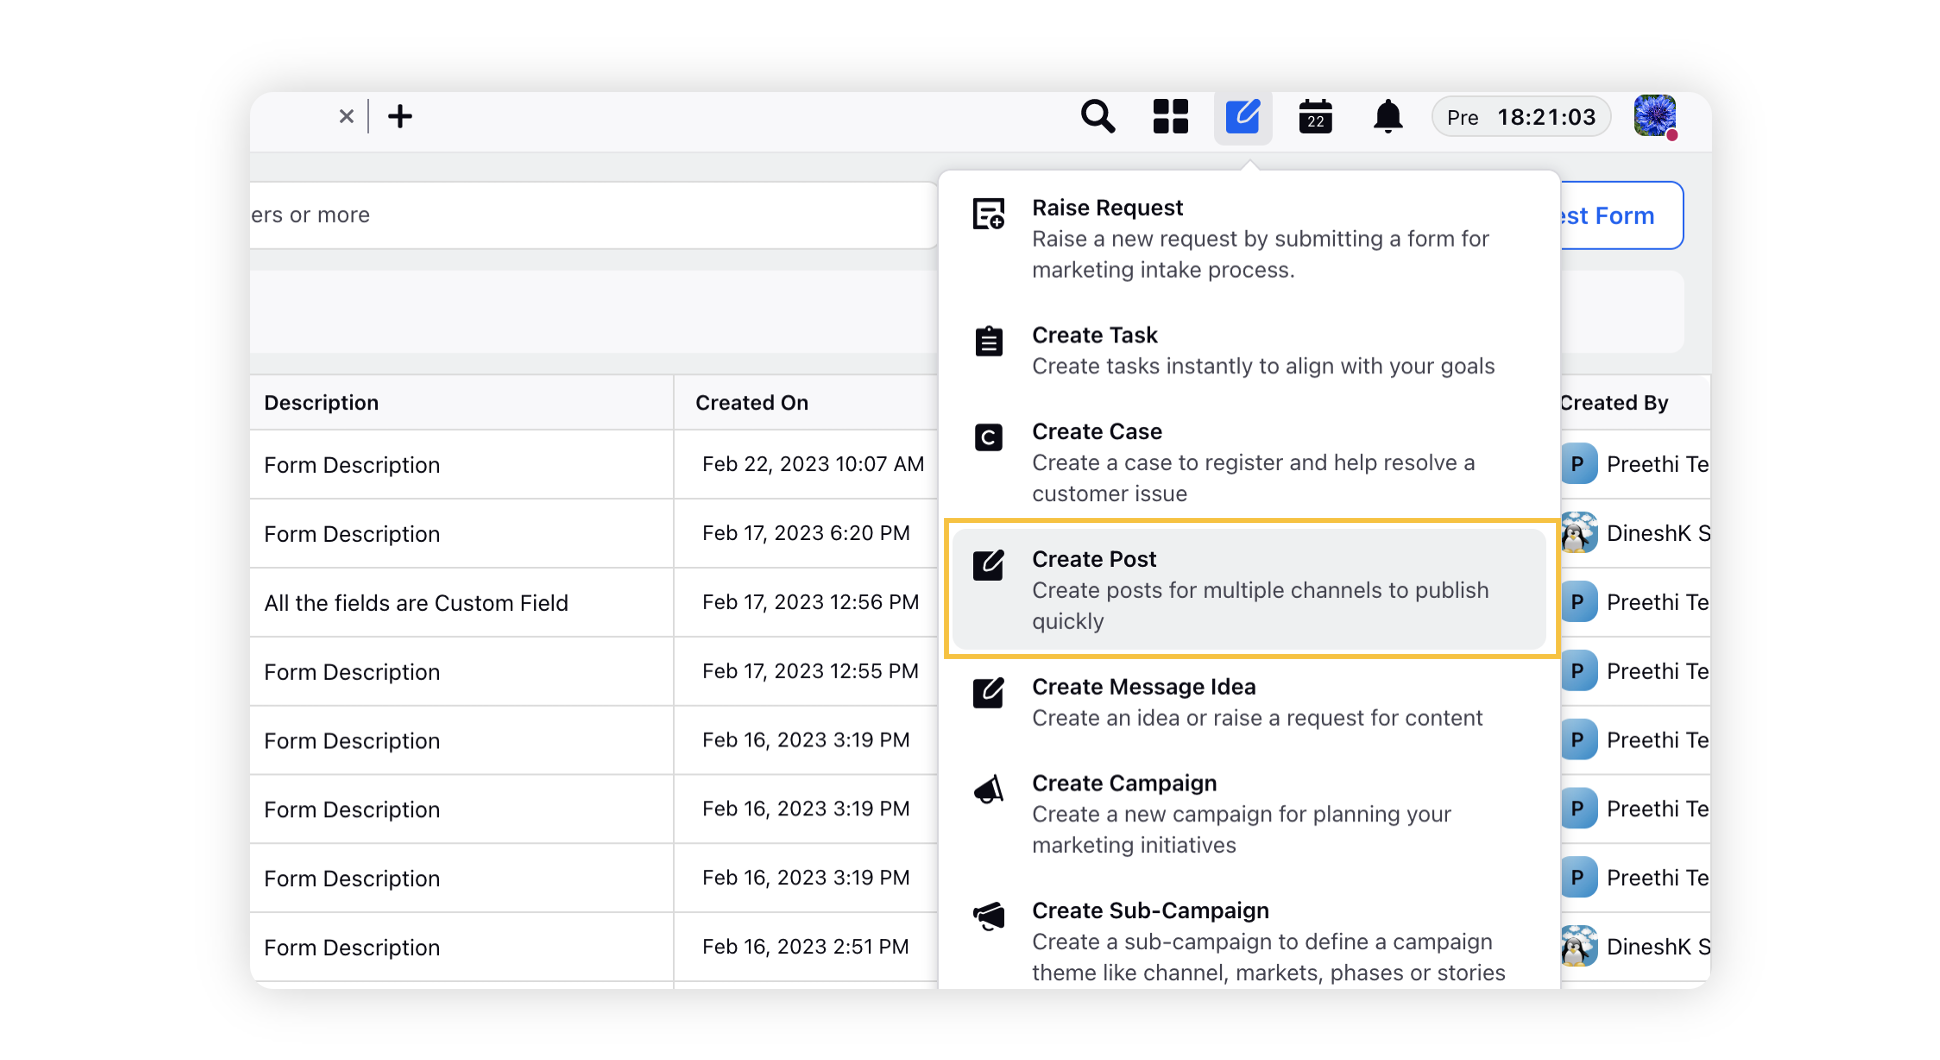
Click the Publishing Options icon in the top right corner of the Navigation Bar.
Select the Create Post option from the available dropdown.
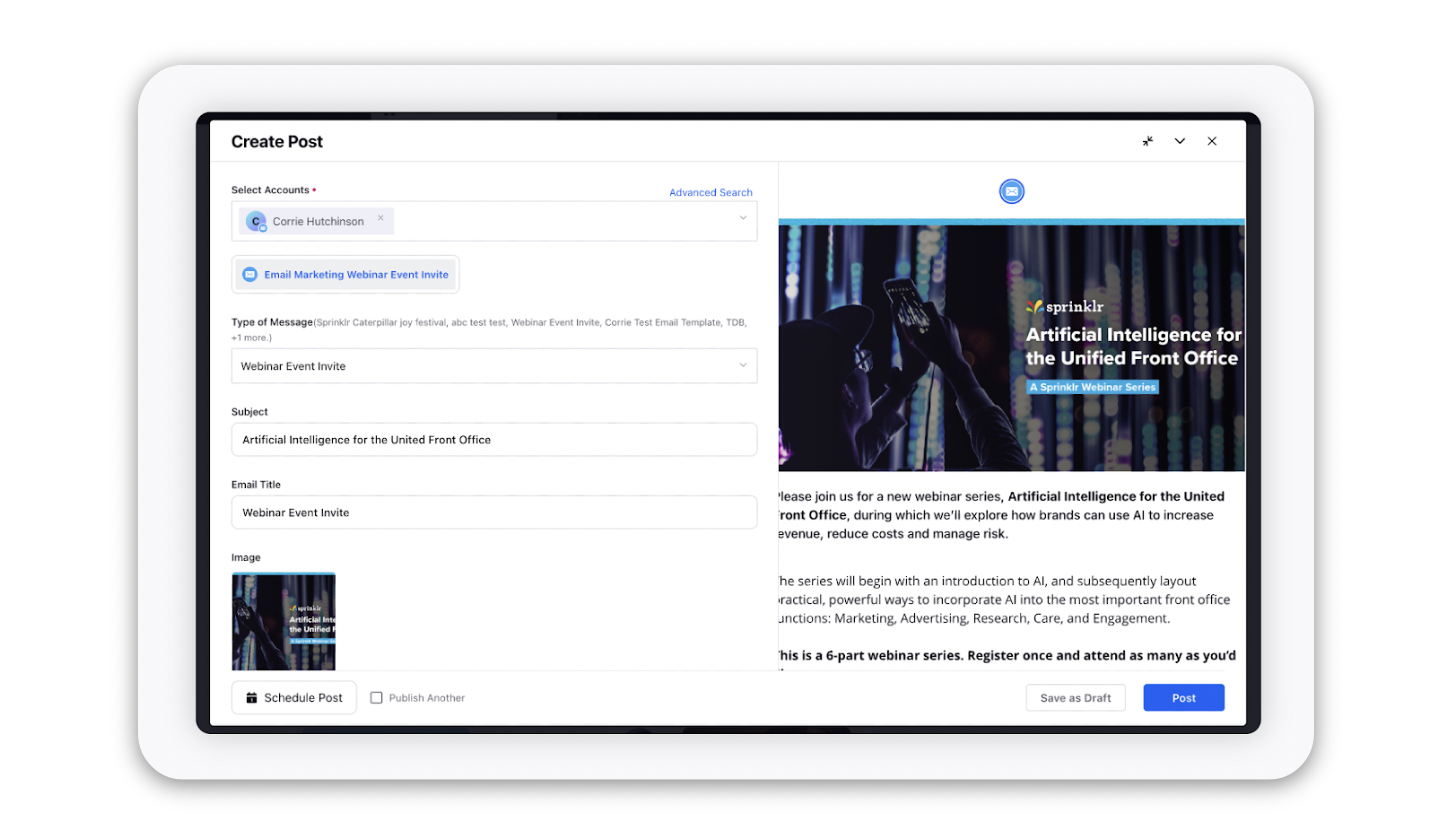
In the Create Post window, search and select the required Account from the Select Accounts field.
Once you have selected the Account you would like to publish to, enter the content for the post.
You can also click the Maximize icon in the top right of the Create Post window to view its full screen version.

Either select Photo to add an image or select Video to add a video. Next, click the Select Photo icon to open the Media Uploader window.
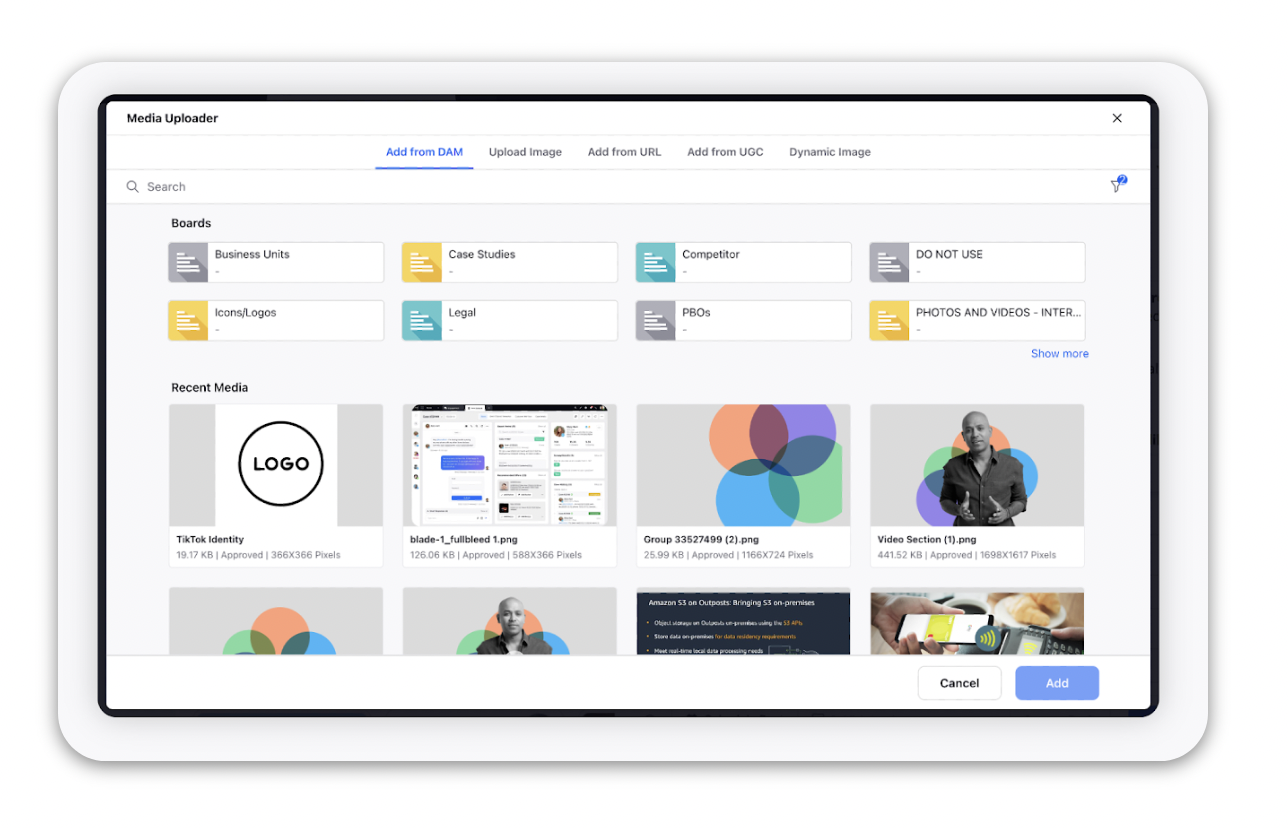
To directly upload an image/video, click Upload Photo and select a file from your device (alternatively drag and drop from your device).
When uploading a media asset in the Quick Publisher, the platform automatically detects whether or not the asset meets the upload guidelines for the relevant channel. If the asset does not meet the upload guidelines, users now have the option to optimize the file before upload to prevent issues.
 Note: You can contact your Success Manager to enable auto-optimization of media assets before upload.
The preview of the post will render on the right pane. Also, for the scaled-down version, you can click the Preview icon in the top right corner of the Create Post window.
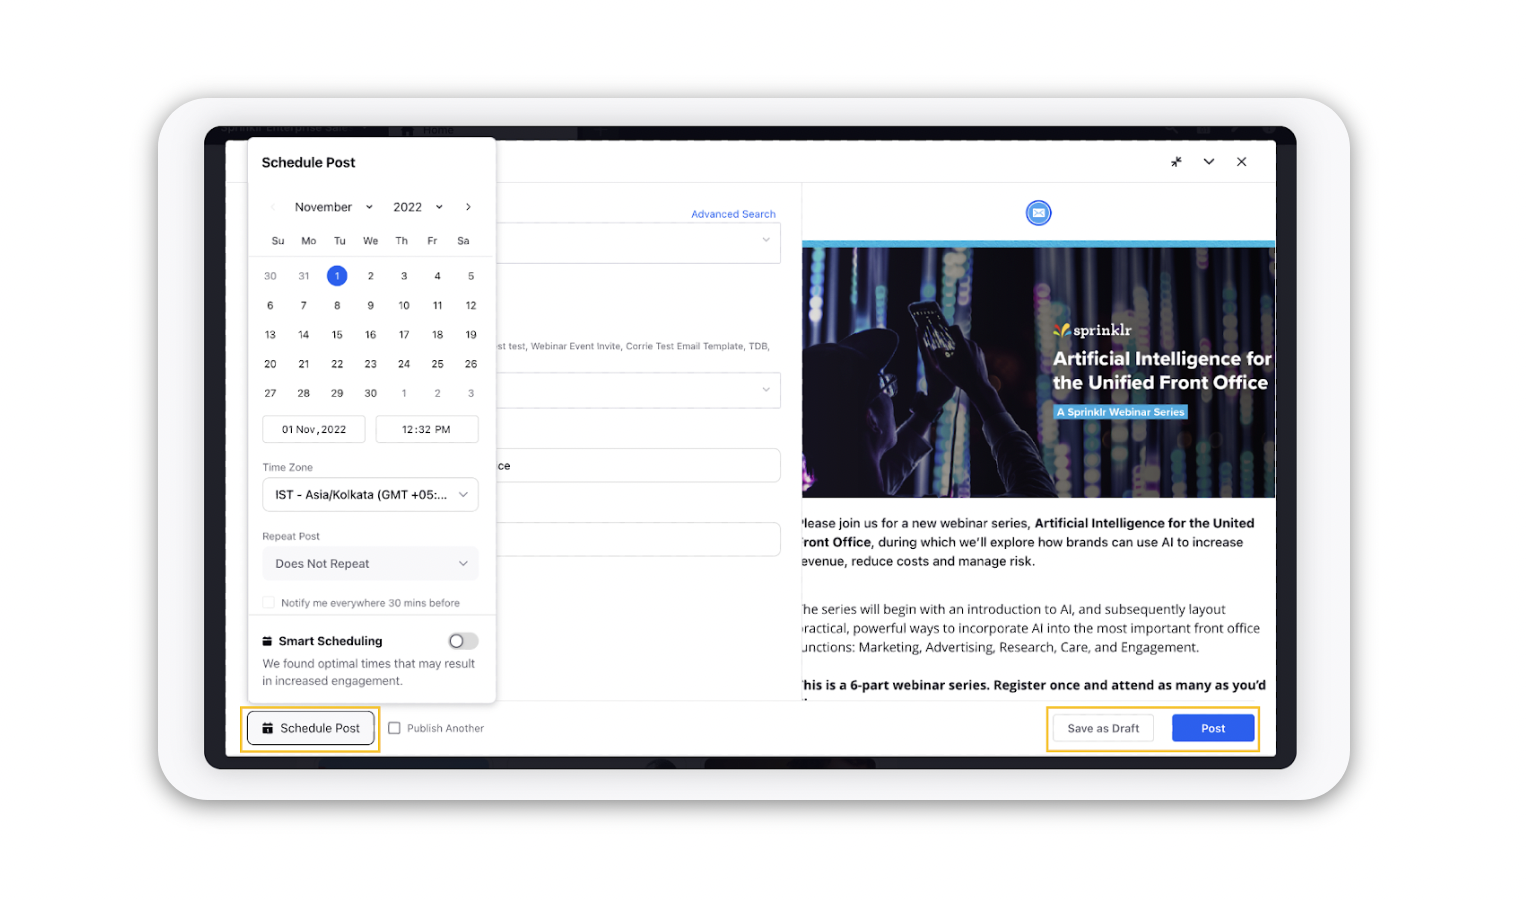
Click Post in the bottom right corner to publish the content on the selected account immediately. If you are not ready to publish and want to save your post as a draft, click Save as Draft.
You can also schedule your post for a future date and time by clicking the Schedule Post icon in the bottom right corner. Select the month, date, and time of publishing. Click Apply to save your changes.
To continue publishing the post, check the given Publish Another box at the bottom.