Schedule a message to a later date
Updated
In this article, learn how to schedule messages in Advanced Publisher to plan content and to give other teams insights into your planned content. Scheduled content can be viewed and rearranged in the Editorial Calendar.
To schedule a post in the Publisher
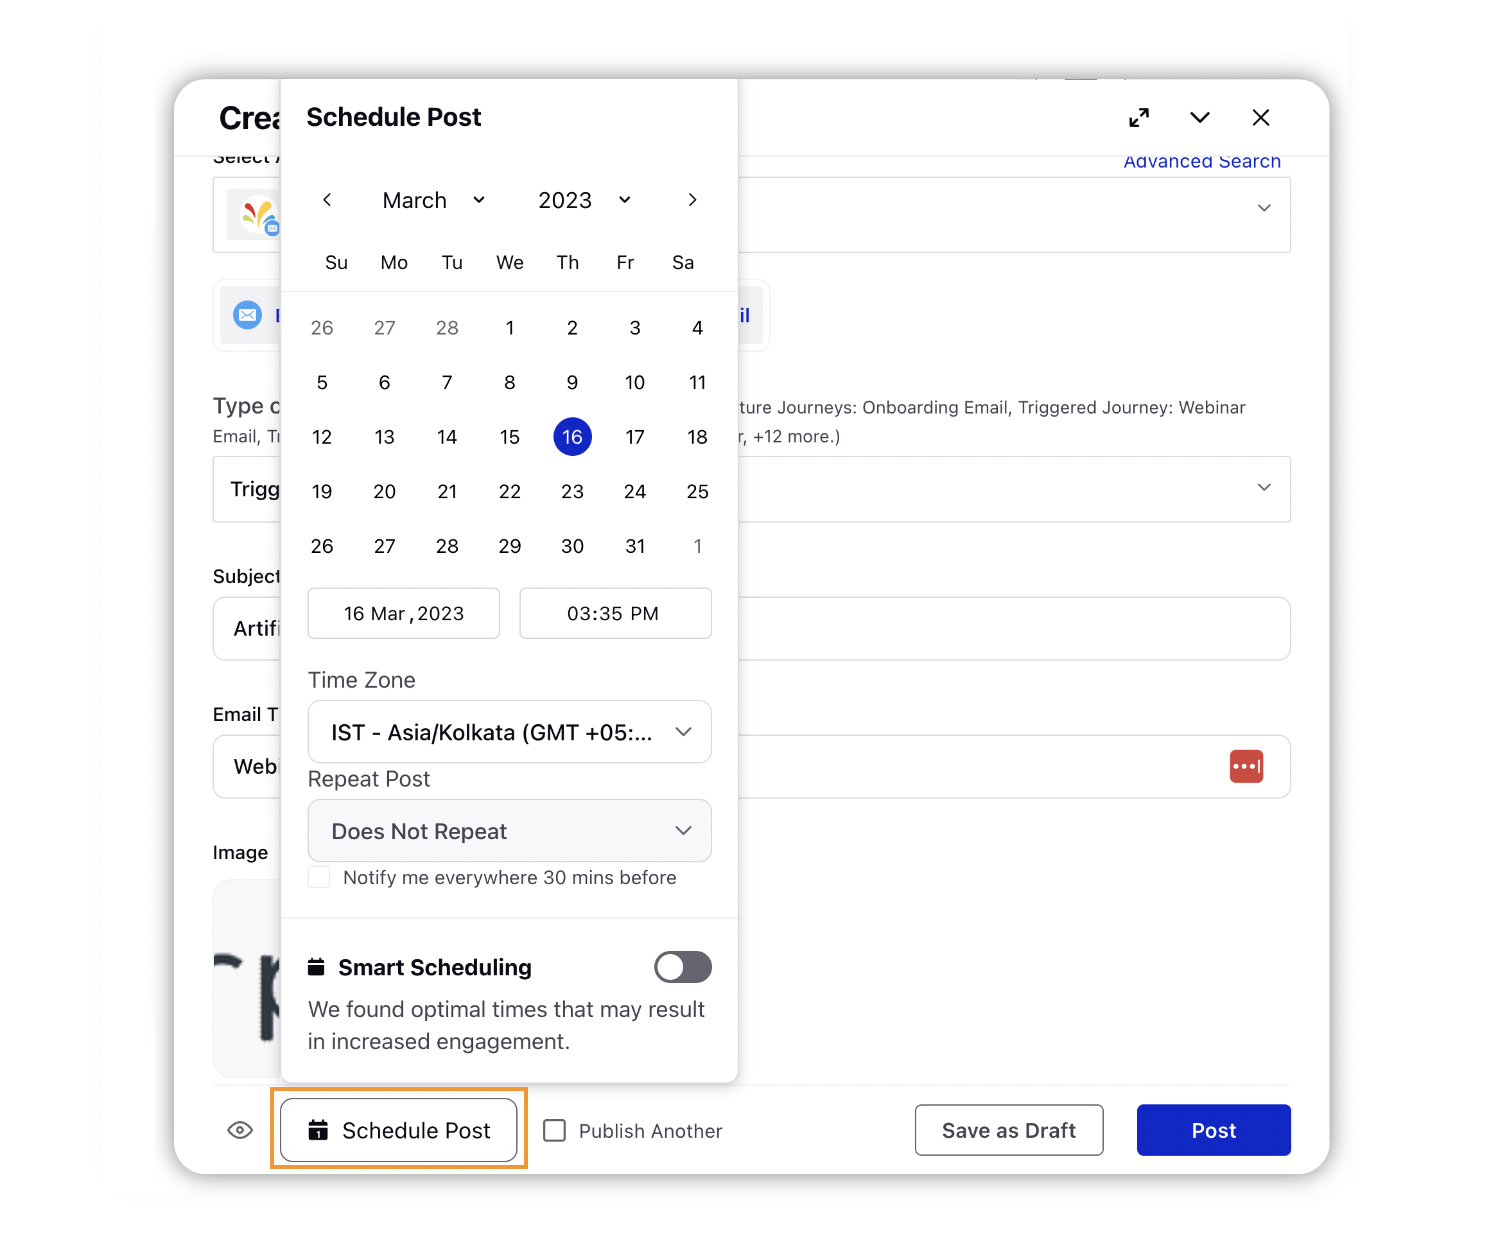
Create a message in the Advanced Publisher.
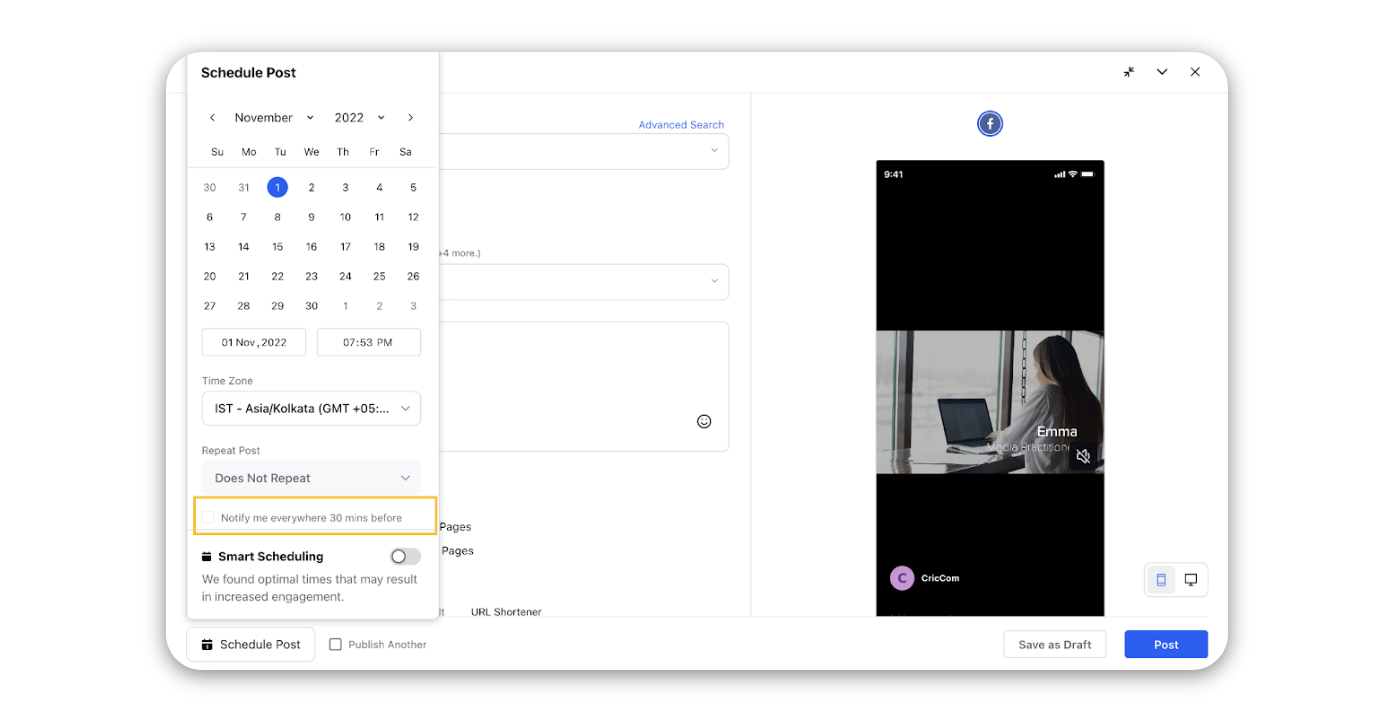
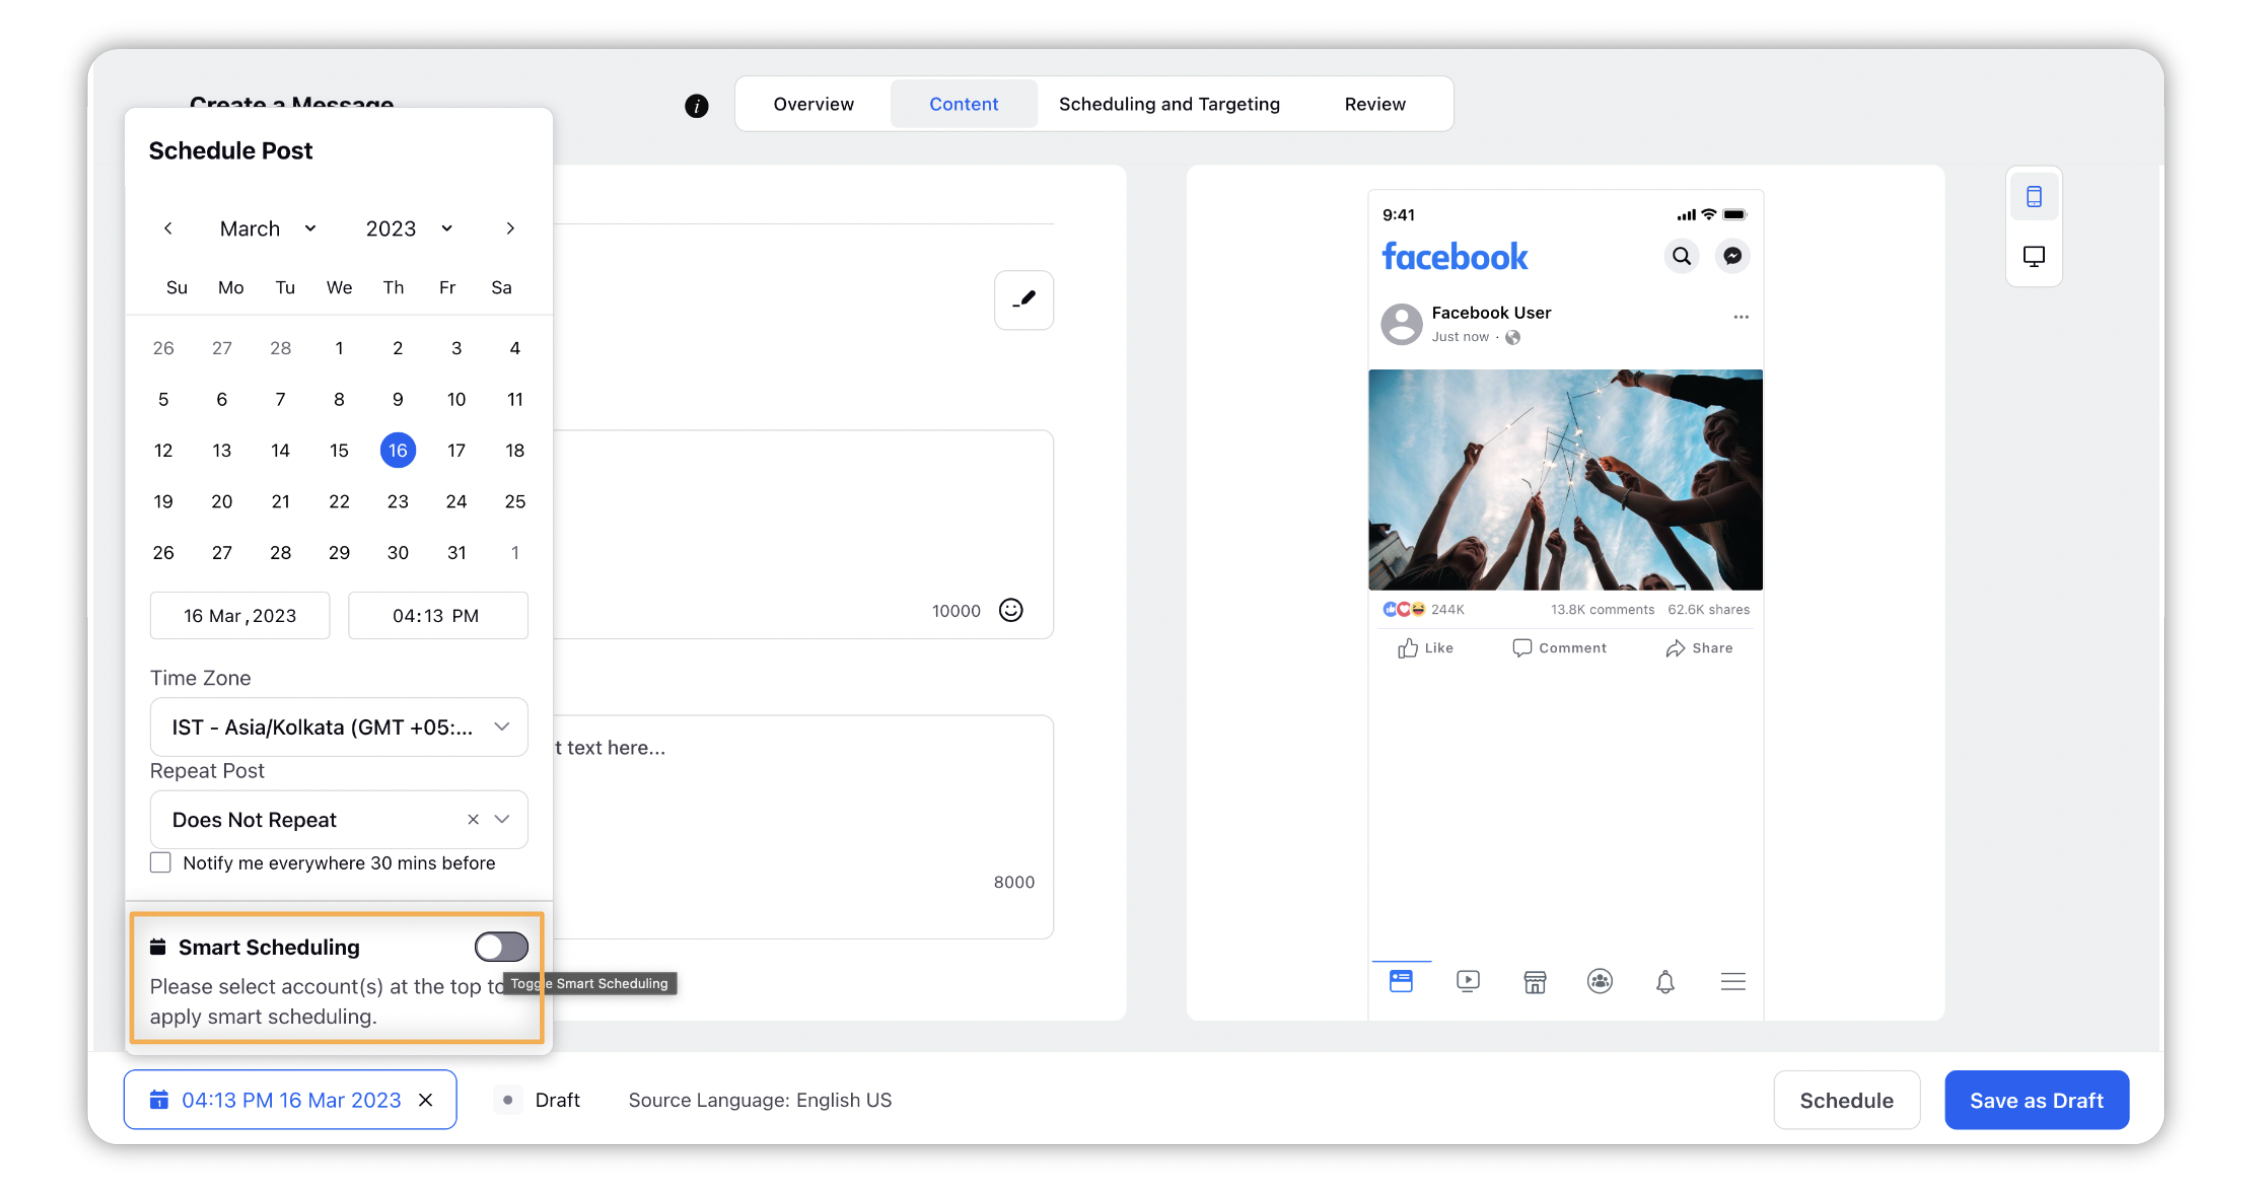
Click the Schedule Post icon in the bottom left corner to schedule your post for a future date and time.
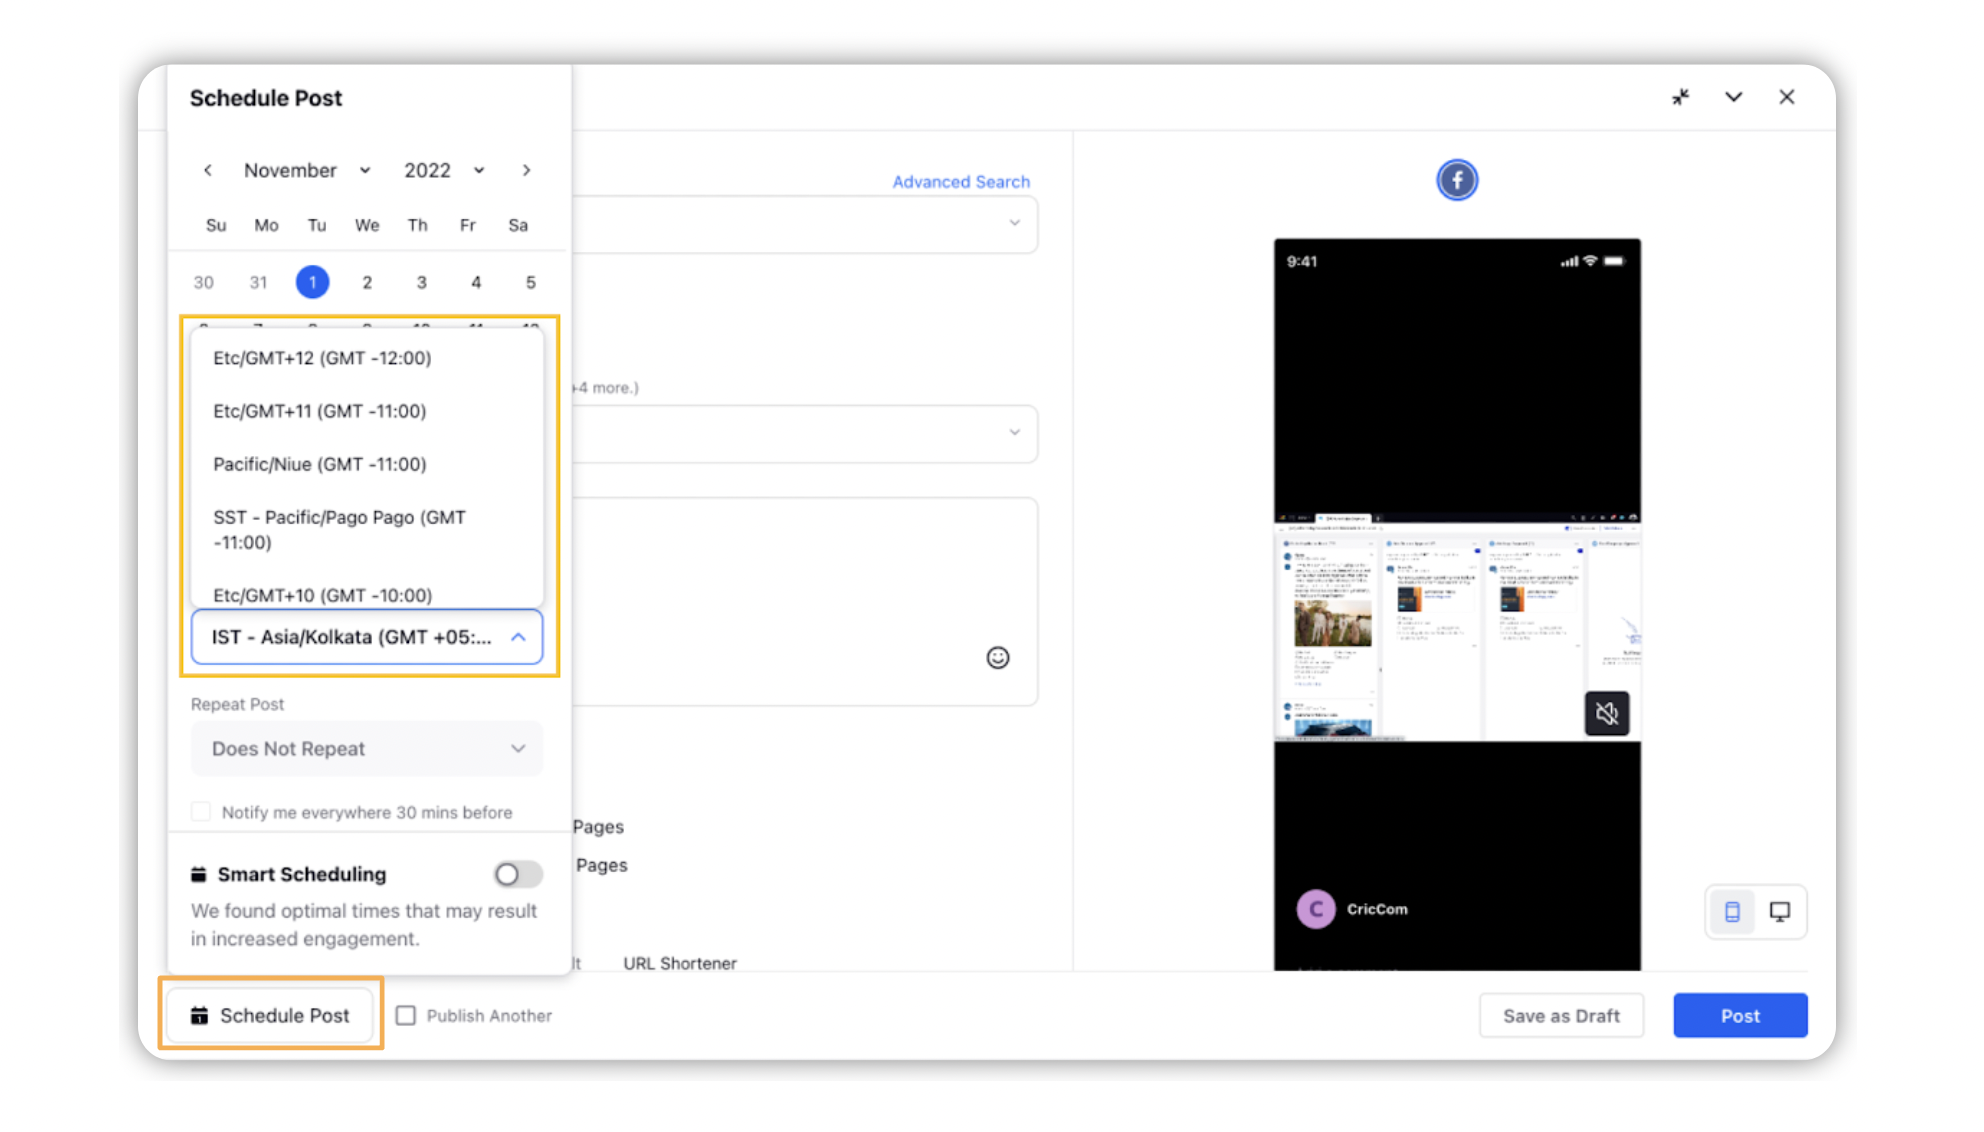
Select the desired Time Zone from the drop-down menu in the top of the Scheduler box.
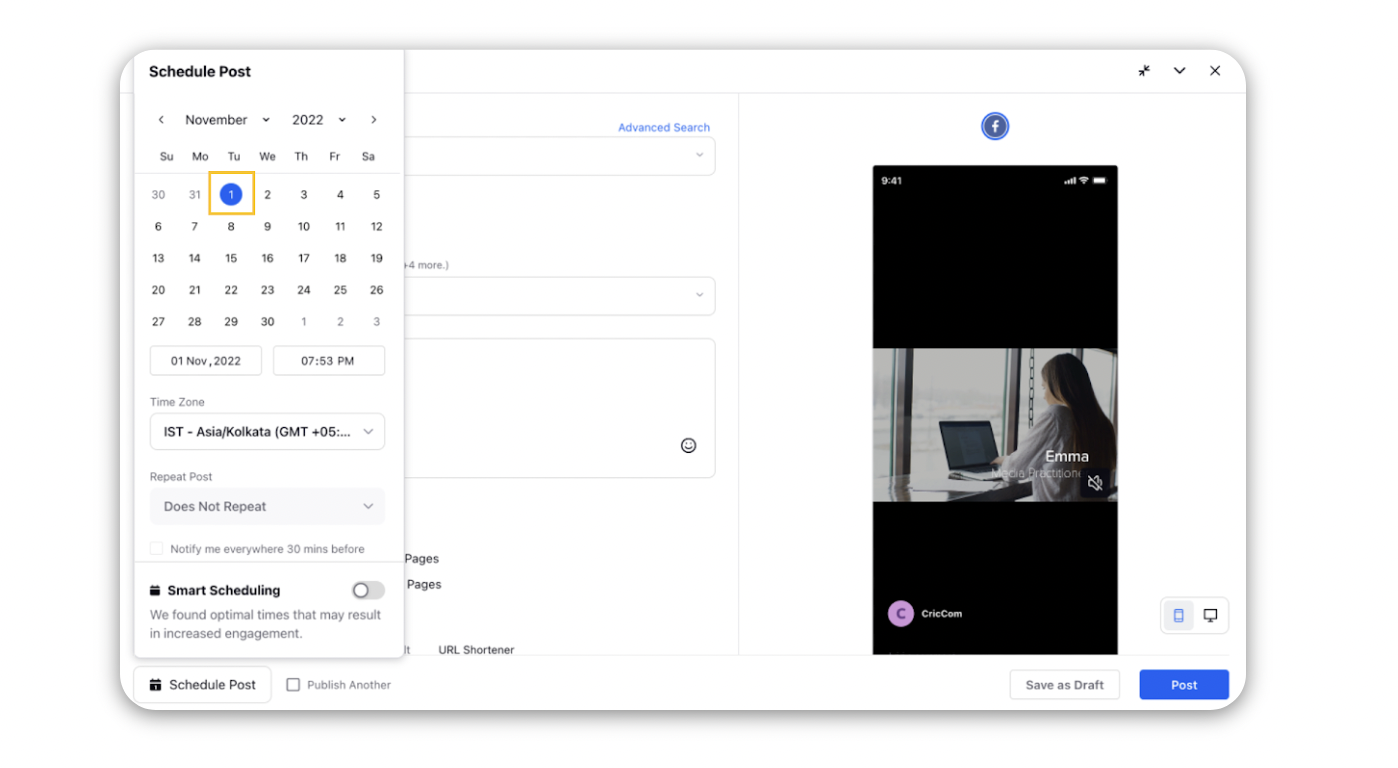
Select a date for scheduling from the given calendar.
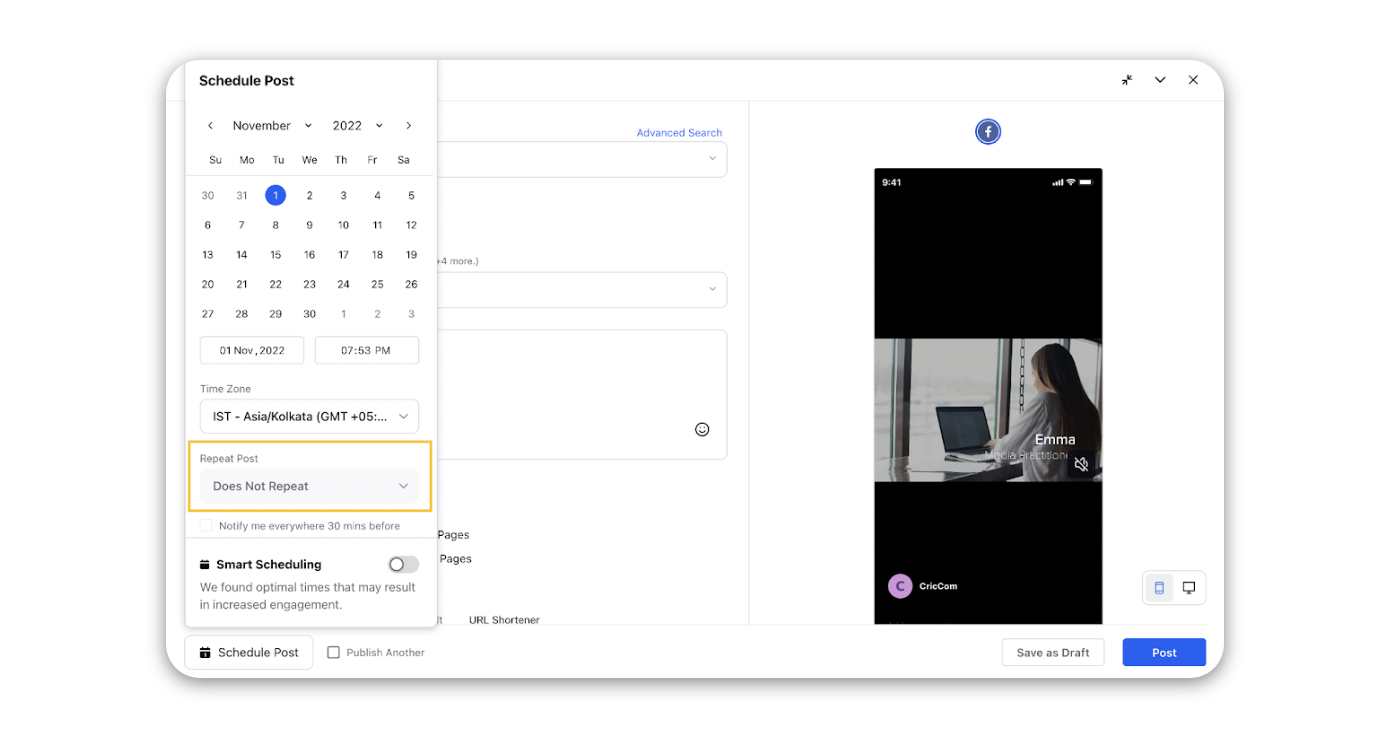
From the Repeat Post field dropdown, select an option as when to repeat your post from these options: Does Not Repeat, Repeat Daily for a Week, Repeat Weekly for a Month, Repeat Fortnightly for a Month, Repeat Monthly for a Year, or Custom Repetition. The Does Not Repeat option will be set as default.
Check the Notify me everywhere 30 minutes before checkbox to set reminders for the scheduled post.
Additionally, you can set the customize repetitions and notifications by selecting Custom Repetition from the Repeat Post field dropdown.
Smart Scheduling decides what time of the day you should schedule your post to receive maximum engagement per post — which is different for each social account and varies by the time of day you’re scheduling
Click Apply to save your changes.
You can similarly schedule post via the Quick Publisher too.