Create an Announcement in Advocacy
Updated
Announcement posts are used to convey some piece of information to the users upfront with a pop-up. Whenever an announcement is live on the site, it shows up as a pop-up as soon as the user logs on to the site.
How to Use Announcements
Apart from the most common use case of Announcement being the method of presenting some important information to users, announcements can also be used to fulfill some other specific use cases as well.
They can be used to gather consent on some policies like the Social Media Usage Policy or even used to share links to surveys or other external links.
Steps to Create an Announcement
Click the New Tab icon
. Under the Sprinklr Social tab, click Quick Publish within Engage. You can also publish through the publishing option available directly on Advocacy sites.
On the Create Post window, search and select the required Advocacy account(s) in the Accounts field. You can also use Advanced Search to narrow your searches by a series of different filters.
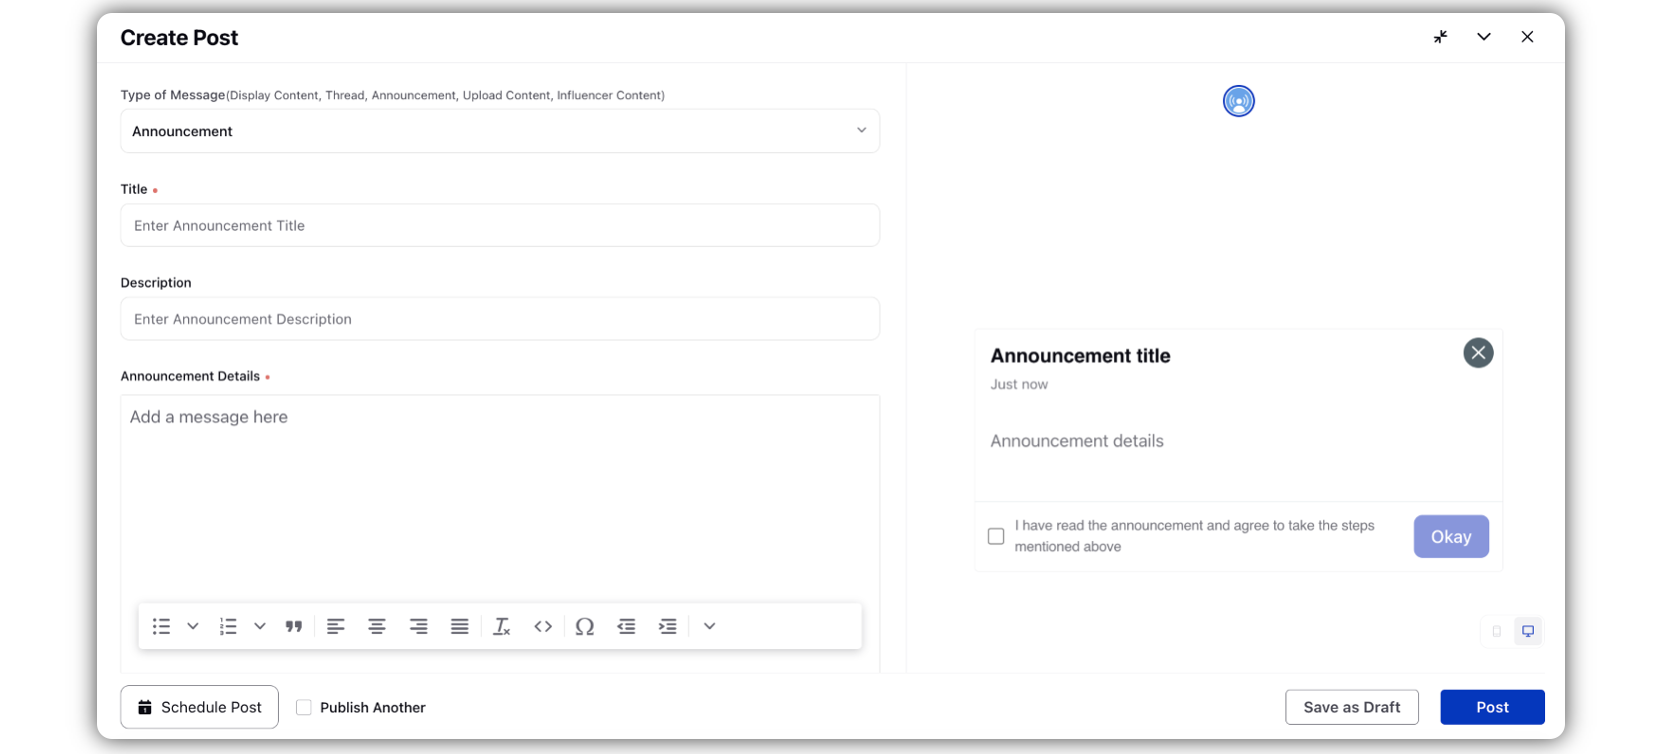
Select Announcement as the Type of Message.

Add the Title and Announcement Details of the announcement in their respective fields.
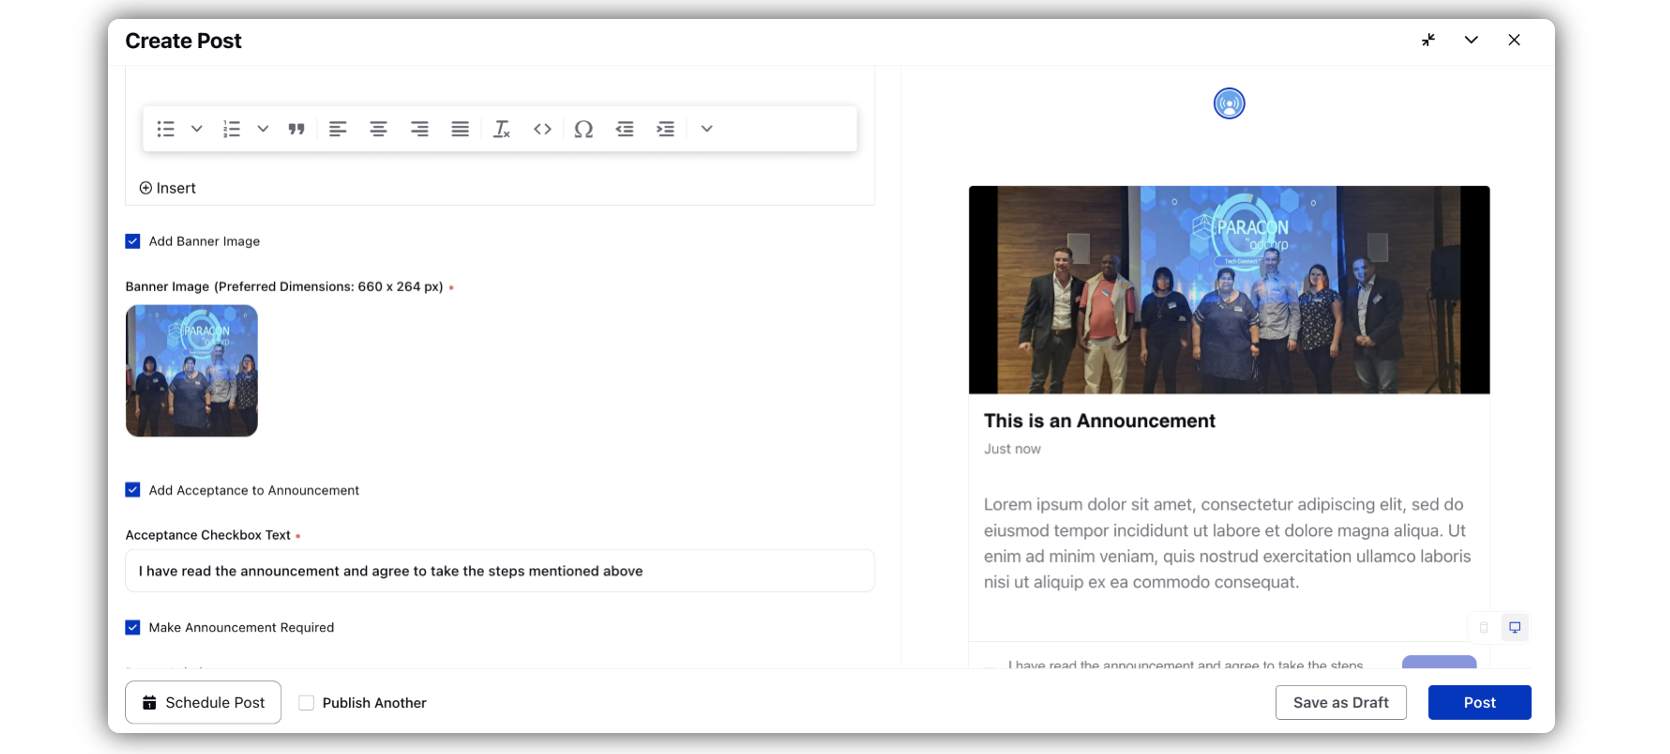
Add any banner image if required. You can also add GIFs in this.

Click Add Acceptance to Announcement to keep showing the announcement to users until they accept the Acceptance Checkbox Text.
You can also select Make Announcement Required so that it is mandatory for users to accept the announcement before they can continue using the site.
Add any necessary targeting related information to the post by selecting a Target Audience.
Publish the post directly by clicking Post or Schedule it for later. You can also save it as a draft to continue to publish later on.