Create Language groups for your message
Updated
In this article, you will learn how to create language groups to quickly translate all your messages into languages of your choice instead of selecting all languages individually every time you create localized copies.
How to create a Language Group?
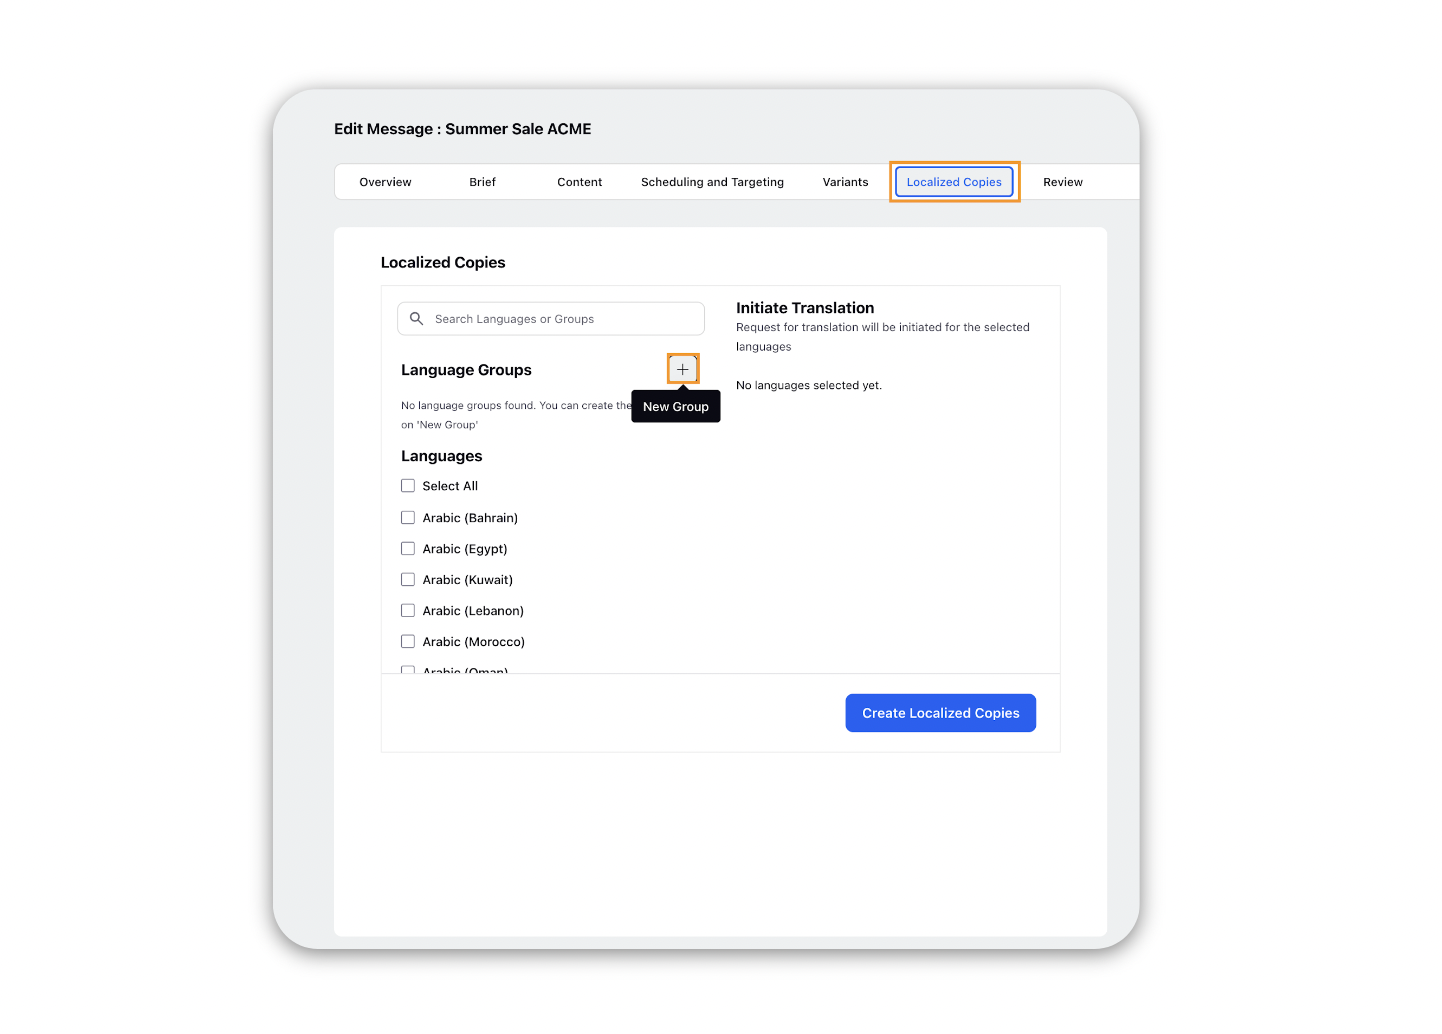
Navigate to the Localized Copies tab in the Advanced Publisher.
Click on the New Group button in the Language Groups section.
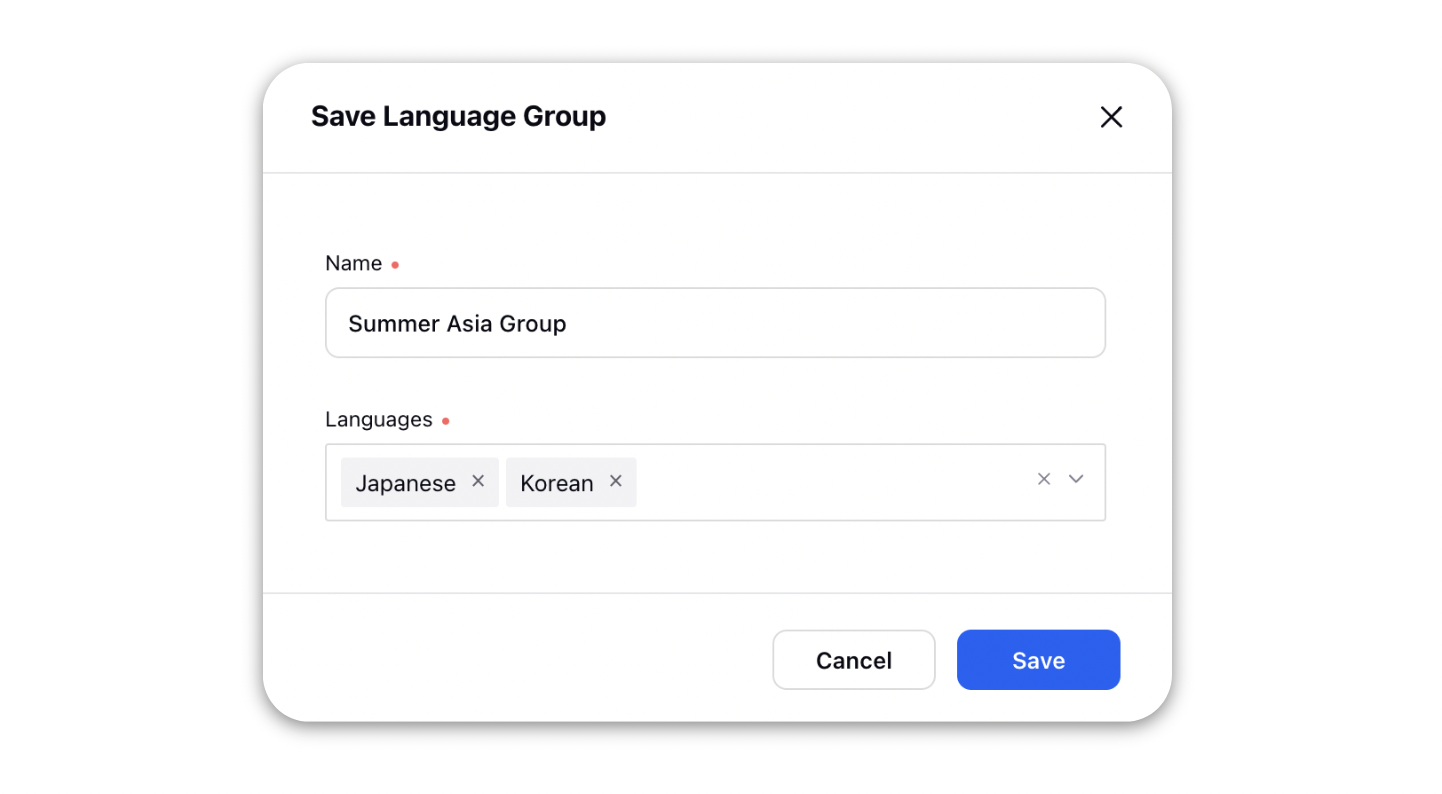
In the popup window, enter the name for your language group and select the desired languages you want to include in it.
Click Save to create the language group.
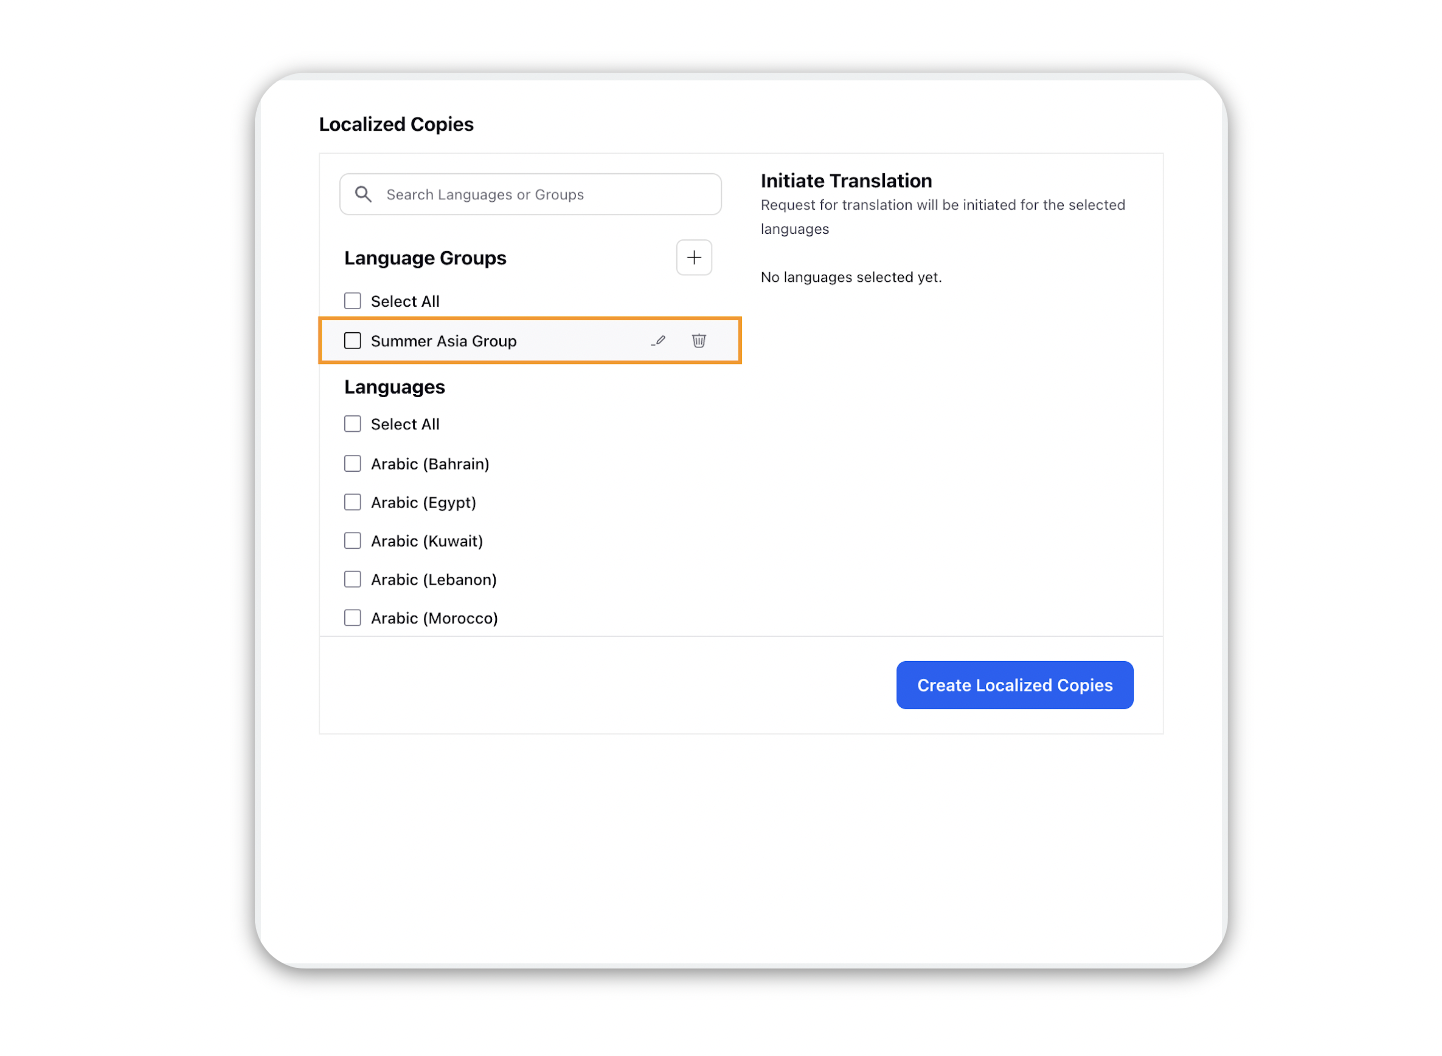
The language group created will be visible in the Language Groups section now.