Create a Facebook Video Post
Updated
This article will cover the steps and guidelines on how to create a video post to one or more Facebook accounts using Quick publisher. We can add custom thumbnails and SRT caption files to Facebook videos and enable monetisation while publishing from Sprinklr.
Steps
Click the Publisher icon
in the top right corner of the top navigation bar and select Create Post. In the Create Post window, select your Facebook Page where you want to publish. You can also use Advanced Search to narrow your searches by a series of different filters.
Select Post as the Type of Message from the drop-down menu.
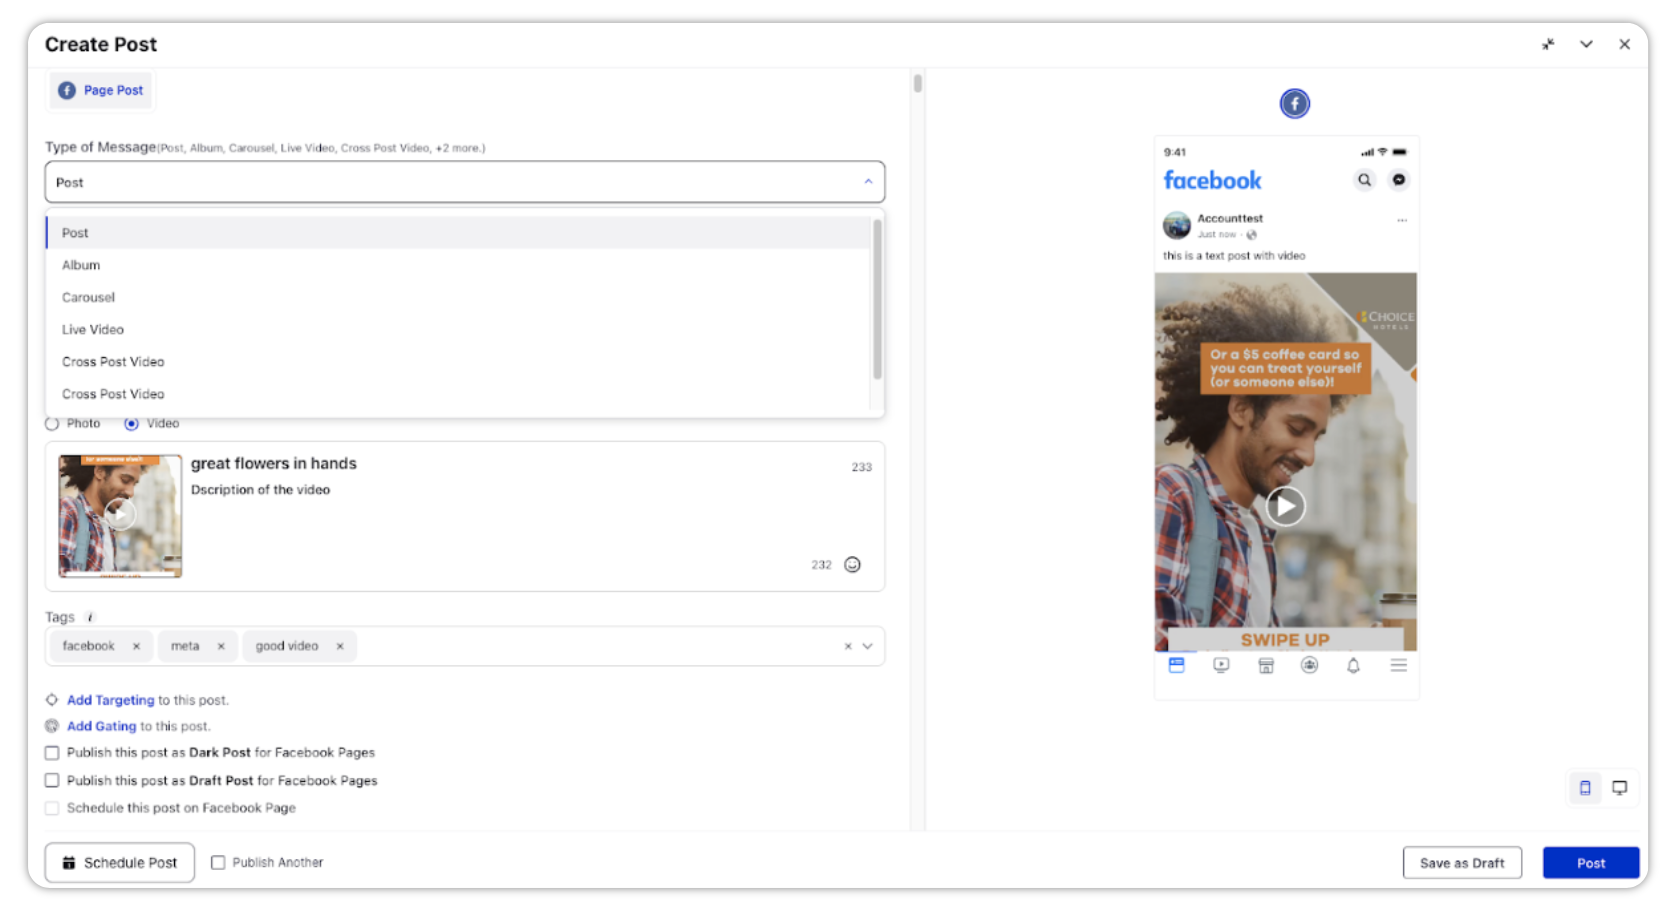
Once you have selected Post as the Type of Message, you would like to publish to, enter the content for the post in the Message box. You can tag or @mention Facebook pages in your posts. Type "@" and then begin typing a Facebook Page name in the box. You’ll then see a drop-down list of potential accounts you can mention. Select the page you want from the list and continue typing your message.
You can also add Custom Links, Content Placeholders, previously created Text Templates or YouTube Videos to the post by clicking the Insert icon
.
Click the Emoji Picker icon from the Message box to open the emoji menu. Use the icons at the top to browse categories, or search the emoji. Click your chosen emoji, and it'll be added to your message.
Click Select Video to add a photo from the Media Uploader (or Upload Video to select media to upload from your device).
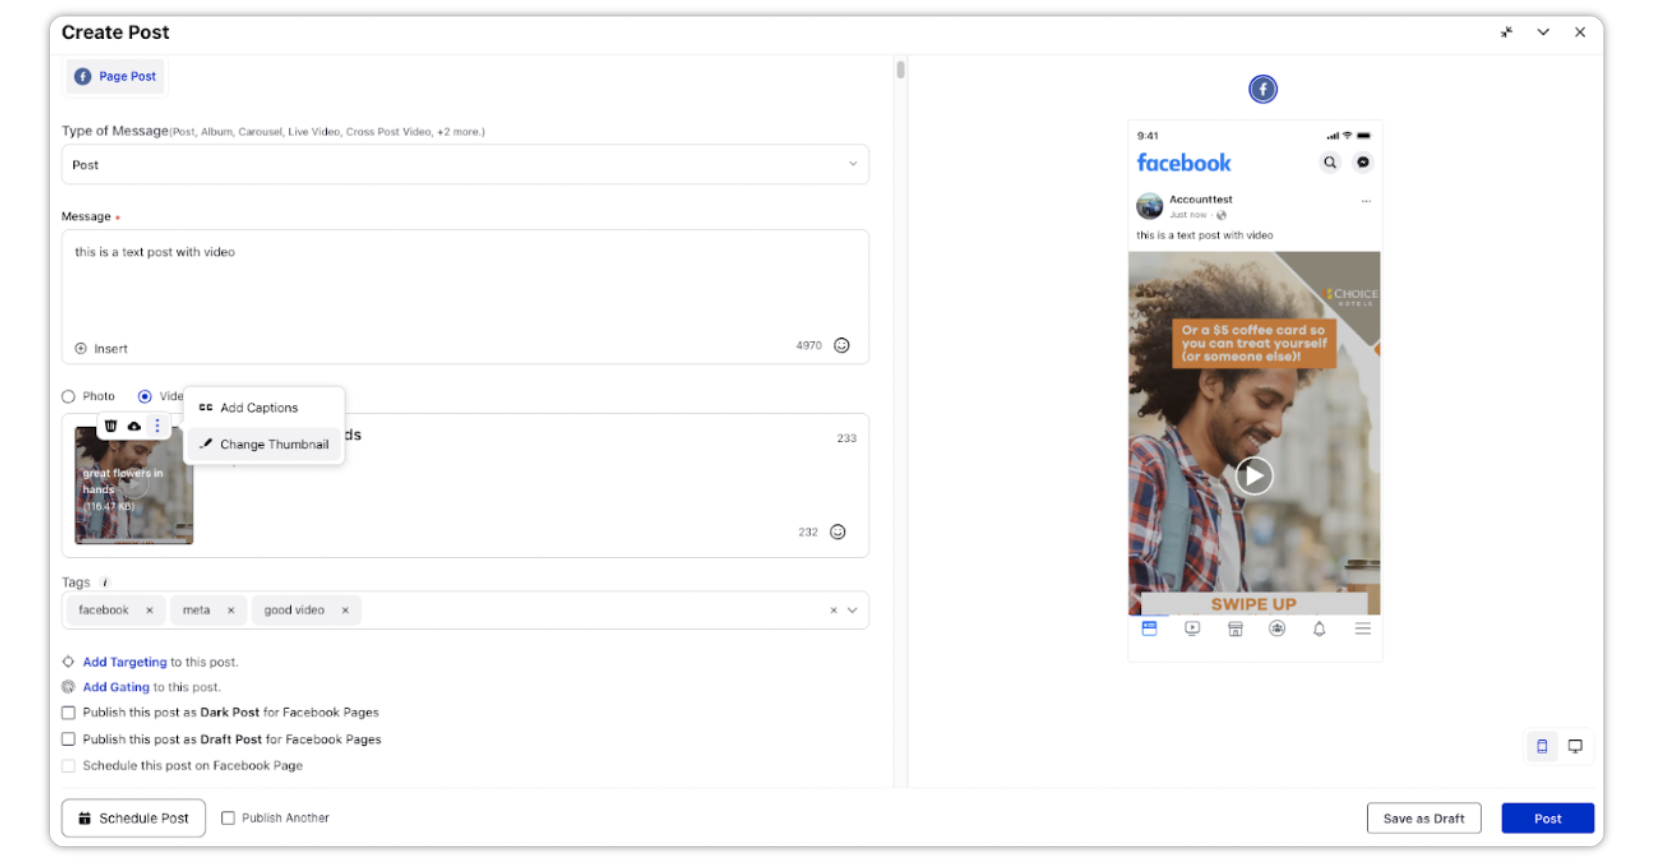
After adding the video, you can Add Caption and Change Thumbnail for the video.
To Add Caption to the Video
After you've selected a video, click Add Caption at the bottom left corner of the video.

In the Add Video Captions pop-up window, click Add New Language and search your desired language from the drop-down menu.
You can upload the caption in the following format: SRT.
Maintain the character count of 109 characters for each group of the subtitles.
If the locale of the native account matches the language code with the subtitles, only then will the subtitles be visible to the user.
Next, click Add alongside the desired language to upload the subtitles for the video.
Click Save in the bottom right corner of the Add Video Captions pop-up window.
To Change Thumbnail of the Video
After you've selected a video, click Change Thumbnail at the bottom right corner of the video.
In the Media Uploader window, select the Prominent Frame for the video.
Click Use this frame in the bottom right corner of the Media Uploader window.
 Note: The capability to add ot edit thumbnails is permission-controlled. You must have the Update Thumbnail permmission.
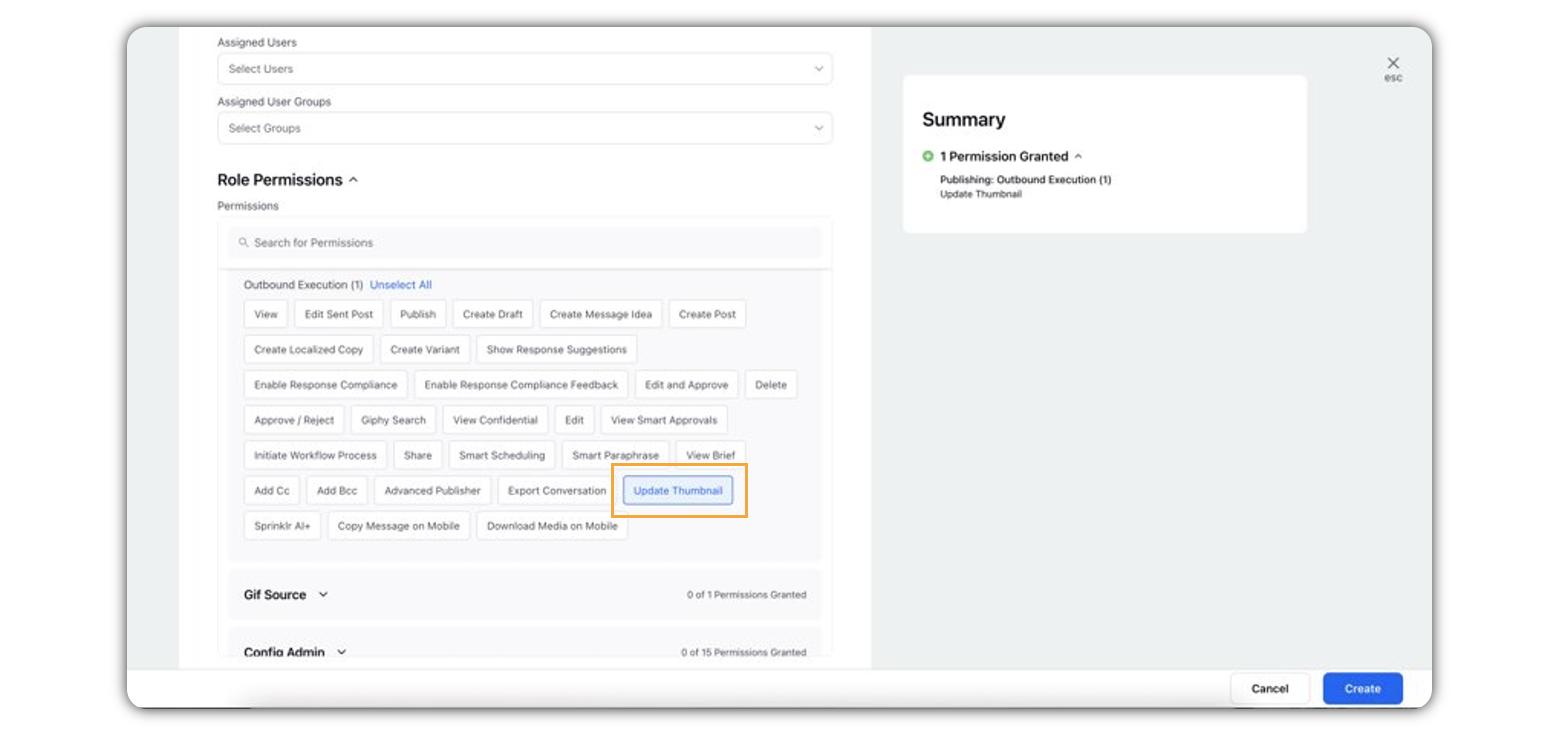
Enter a Video Title and Description to your selected video. Next, click the Emoji Picker icon from the Content box to open the emoji menu. Use the icons at the top to browse categories, or search the emoji. Click your chosen emoji, and it'll be added to your description.
Note -
If you don't enter a Title and Description, the title and description of the video will be replaced with the name of the video.
Character Limits for Title and Description:
Title — 255 Characters
Description — No Characters Limit
Add keywords to help people find your video by creating custom Facebook tags in the field named Tags.
If you wish to add more photos/videos in the post, click
Add Another Media.
You can publish Monetised Videos on Facebook from Sprinklr. To know more about this functionality please check out Monetise Videos from Sprinklr .
Click
Add Preferred Audience to this post or
Add Audience Restrictions to this post. For more information, see Targeting & Gating Facebook Posts.
You can also publish the post as a Dark Post or Draft Post and enable Native Scheduling by checking the respective boxes. You can only select one of them at a time, the other two fields will be disabled.
Select a campaign from the Campaign drop-down menu to associate your post with. You can also set your campaign as default by clicking Set as Default. Select a sub-campaign from the Sub-Campaign drop-down menu to associate your post with.
Select Tags and Social Bars from the drop-down menu respectively and apply Properties to the post.
You can select URL Shortener to shorten every link that you paste in your message. This helps you make the most of the character limit.
Under Approval, set an Approval Type for your post. You can also add an Approval Note.
The preview of the post will render on the right pane. Also, you can click the Preview icon
in the bottom left corner if you have minimized the Create Post window.
Click Post in the bottom right corner to publish the post on the selected Facebook Page immediately. If you are not ready to publish and want to save your post as a draft, click Save as Draft.
You can also schedule your post for a future date and time by clicking the
Schedule Post in the bottom right corner. Select the month, date, and time of publishing. Click Apply to save your changes.
To continue publishing the post, check the given Publish Another box in the bottom.