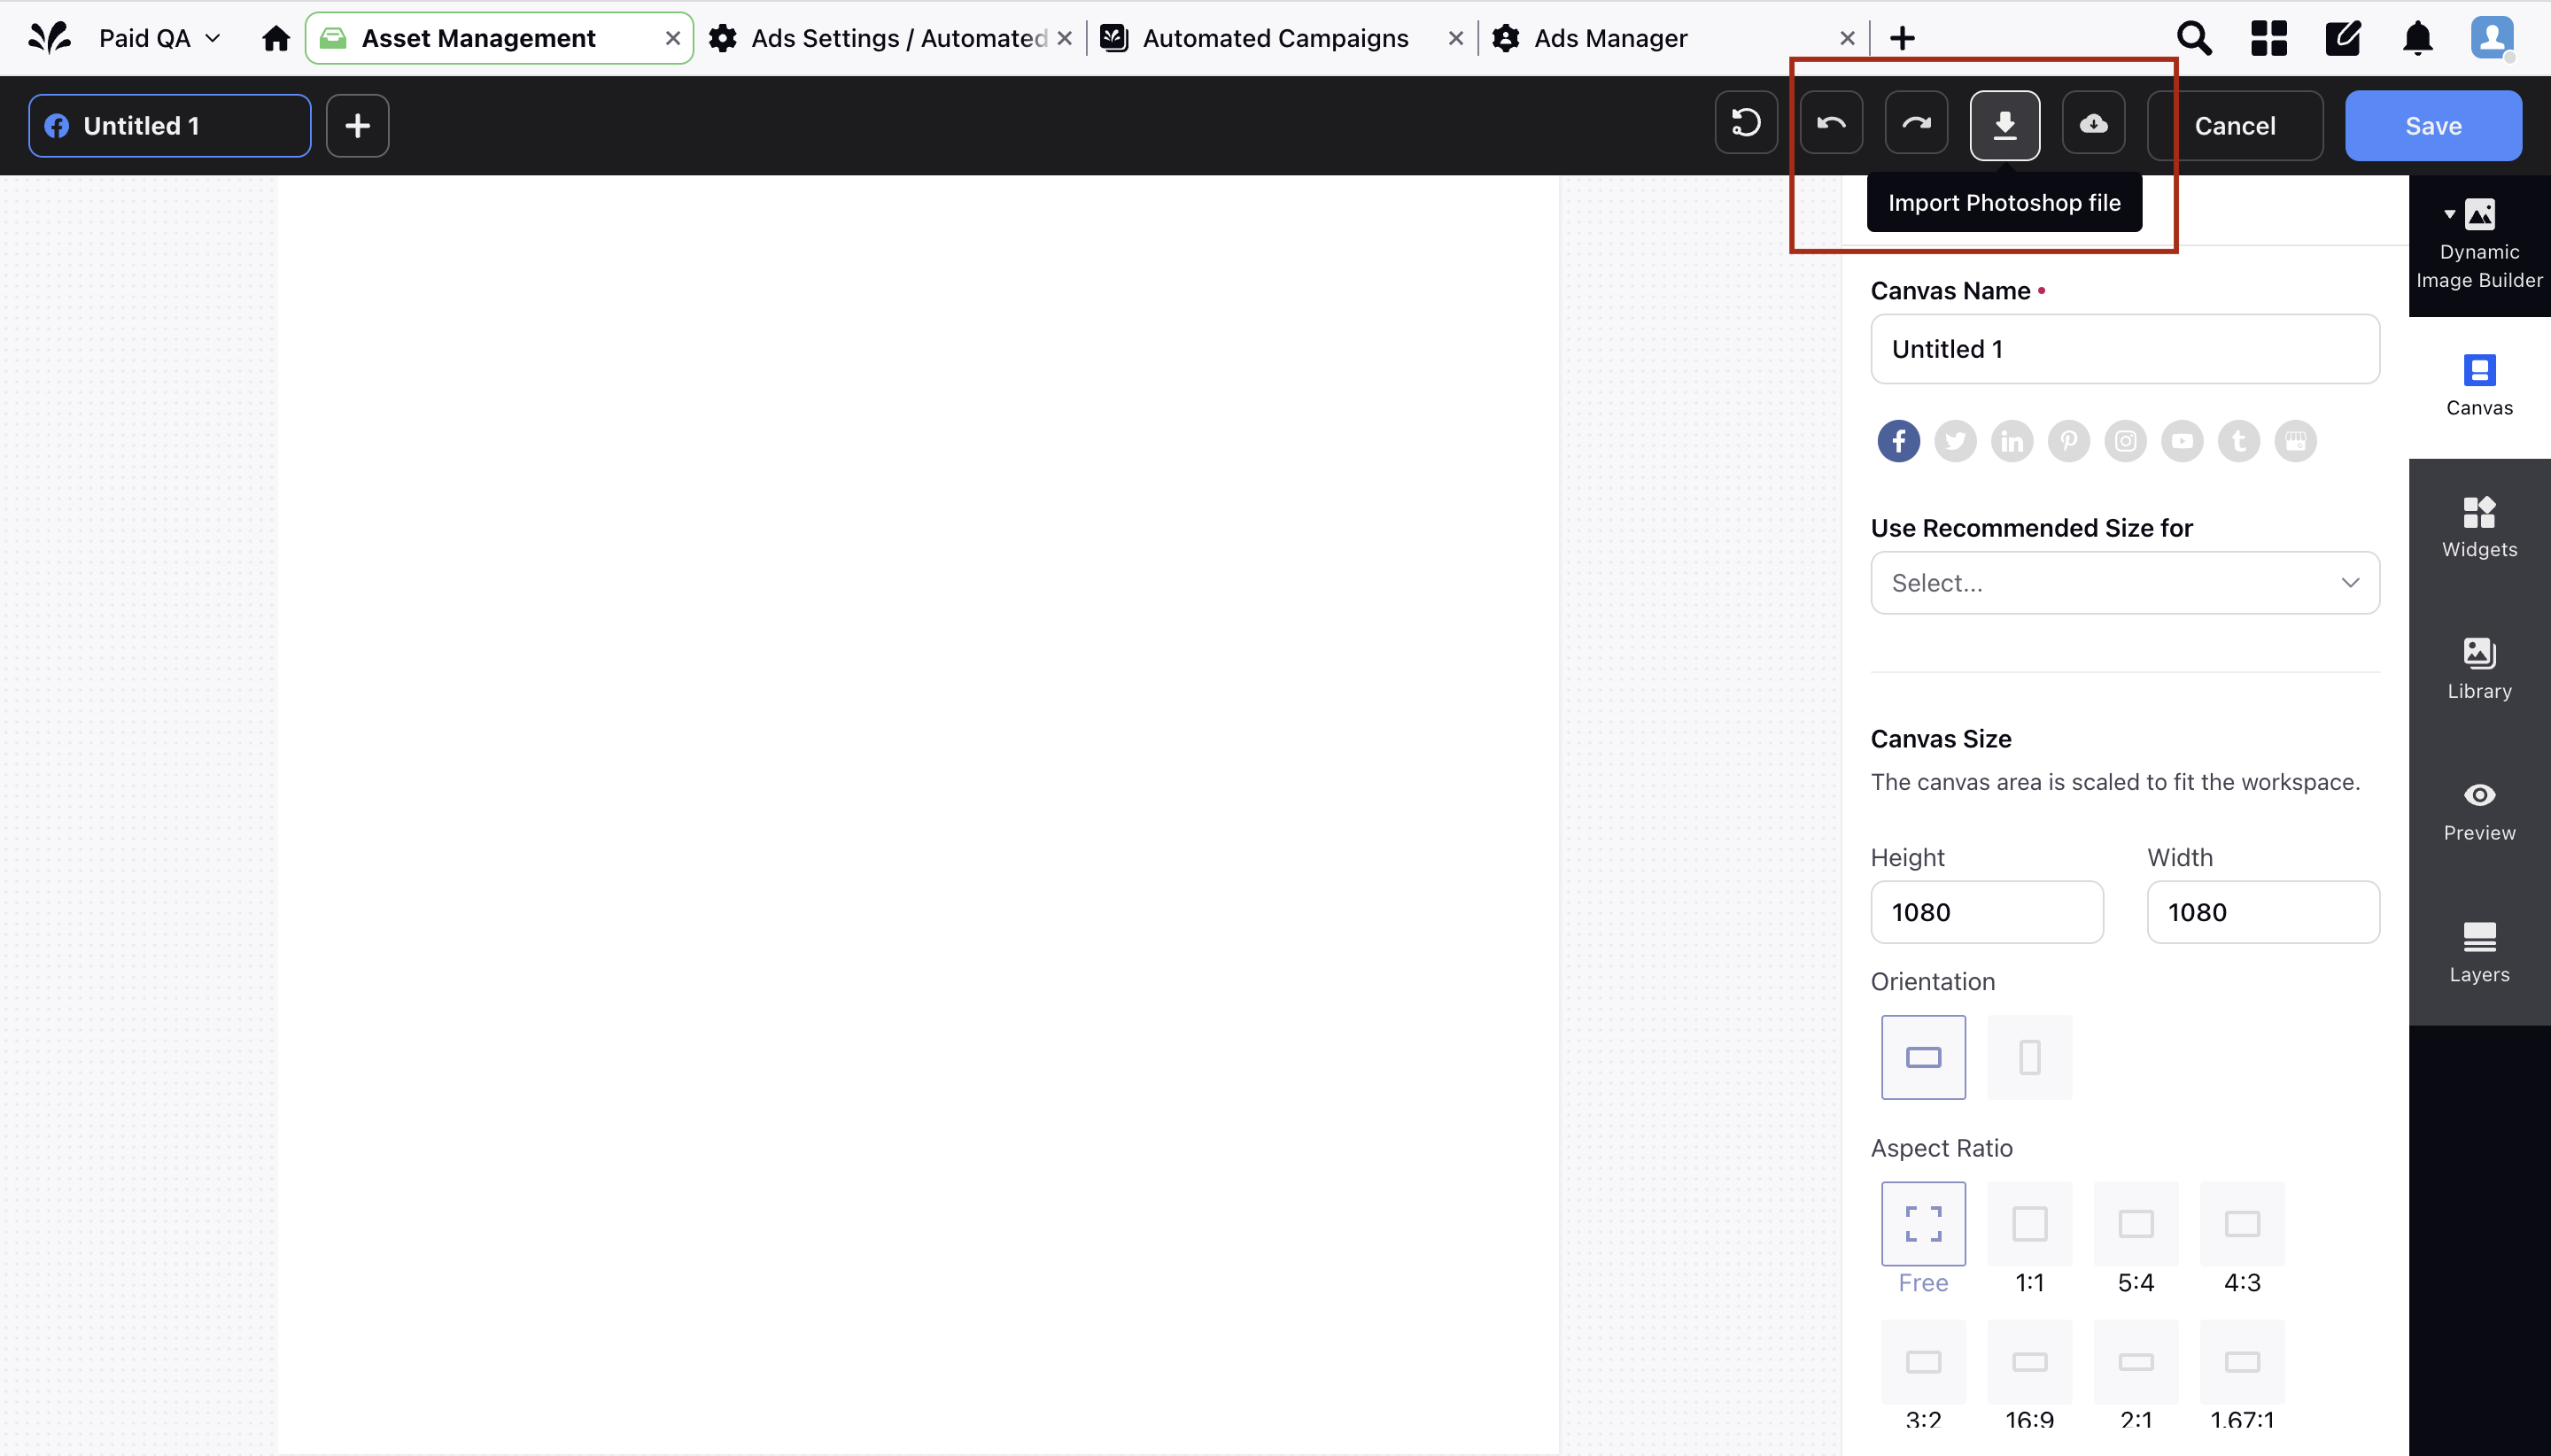
How to Import Photoshop Files to Create Dynamic Image Templates
Updated
![]() PSD Import needs to be enabled:
PSD Import needs to be enabled:
Please note that the PSD import capability is now available again, but it is in Beta phase right now and have to be enabled. Please reach out to support and get the DP enabled "IMAGE_TEMPLATE_EDITOR_PSD_IMPORT_ENABLED"
Introduction
Photoshop files, commonly known as PSD files, are widely used for designing graphics and layouts. Sprinklr offers the ability to import PSD files and create image templates that can be utilized for efficient content creation. This article provides instructions on how to prepare your PSD files for seamless integration with Sprinklr's image template feature.
Section 1: What are Photoshop Files
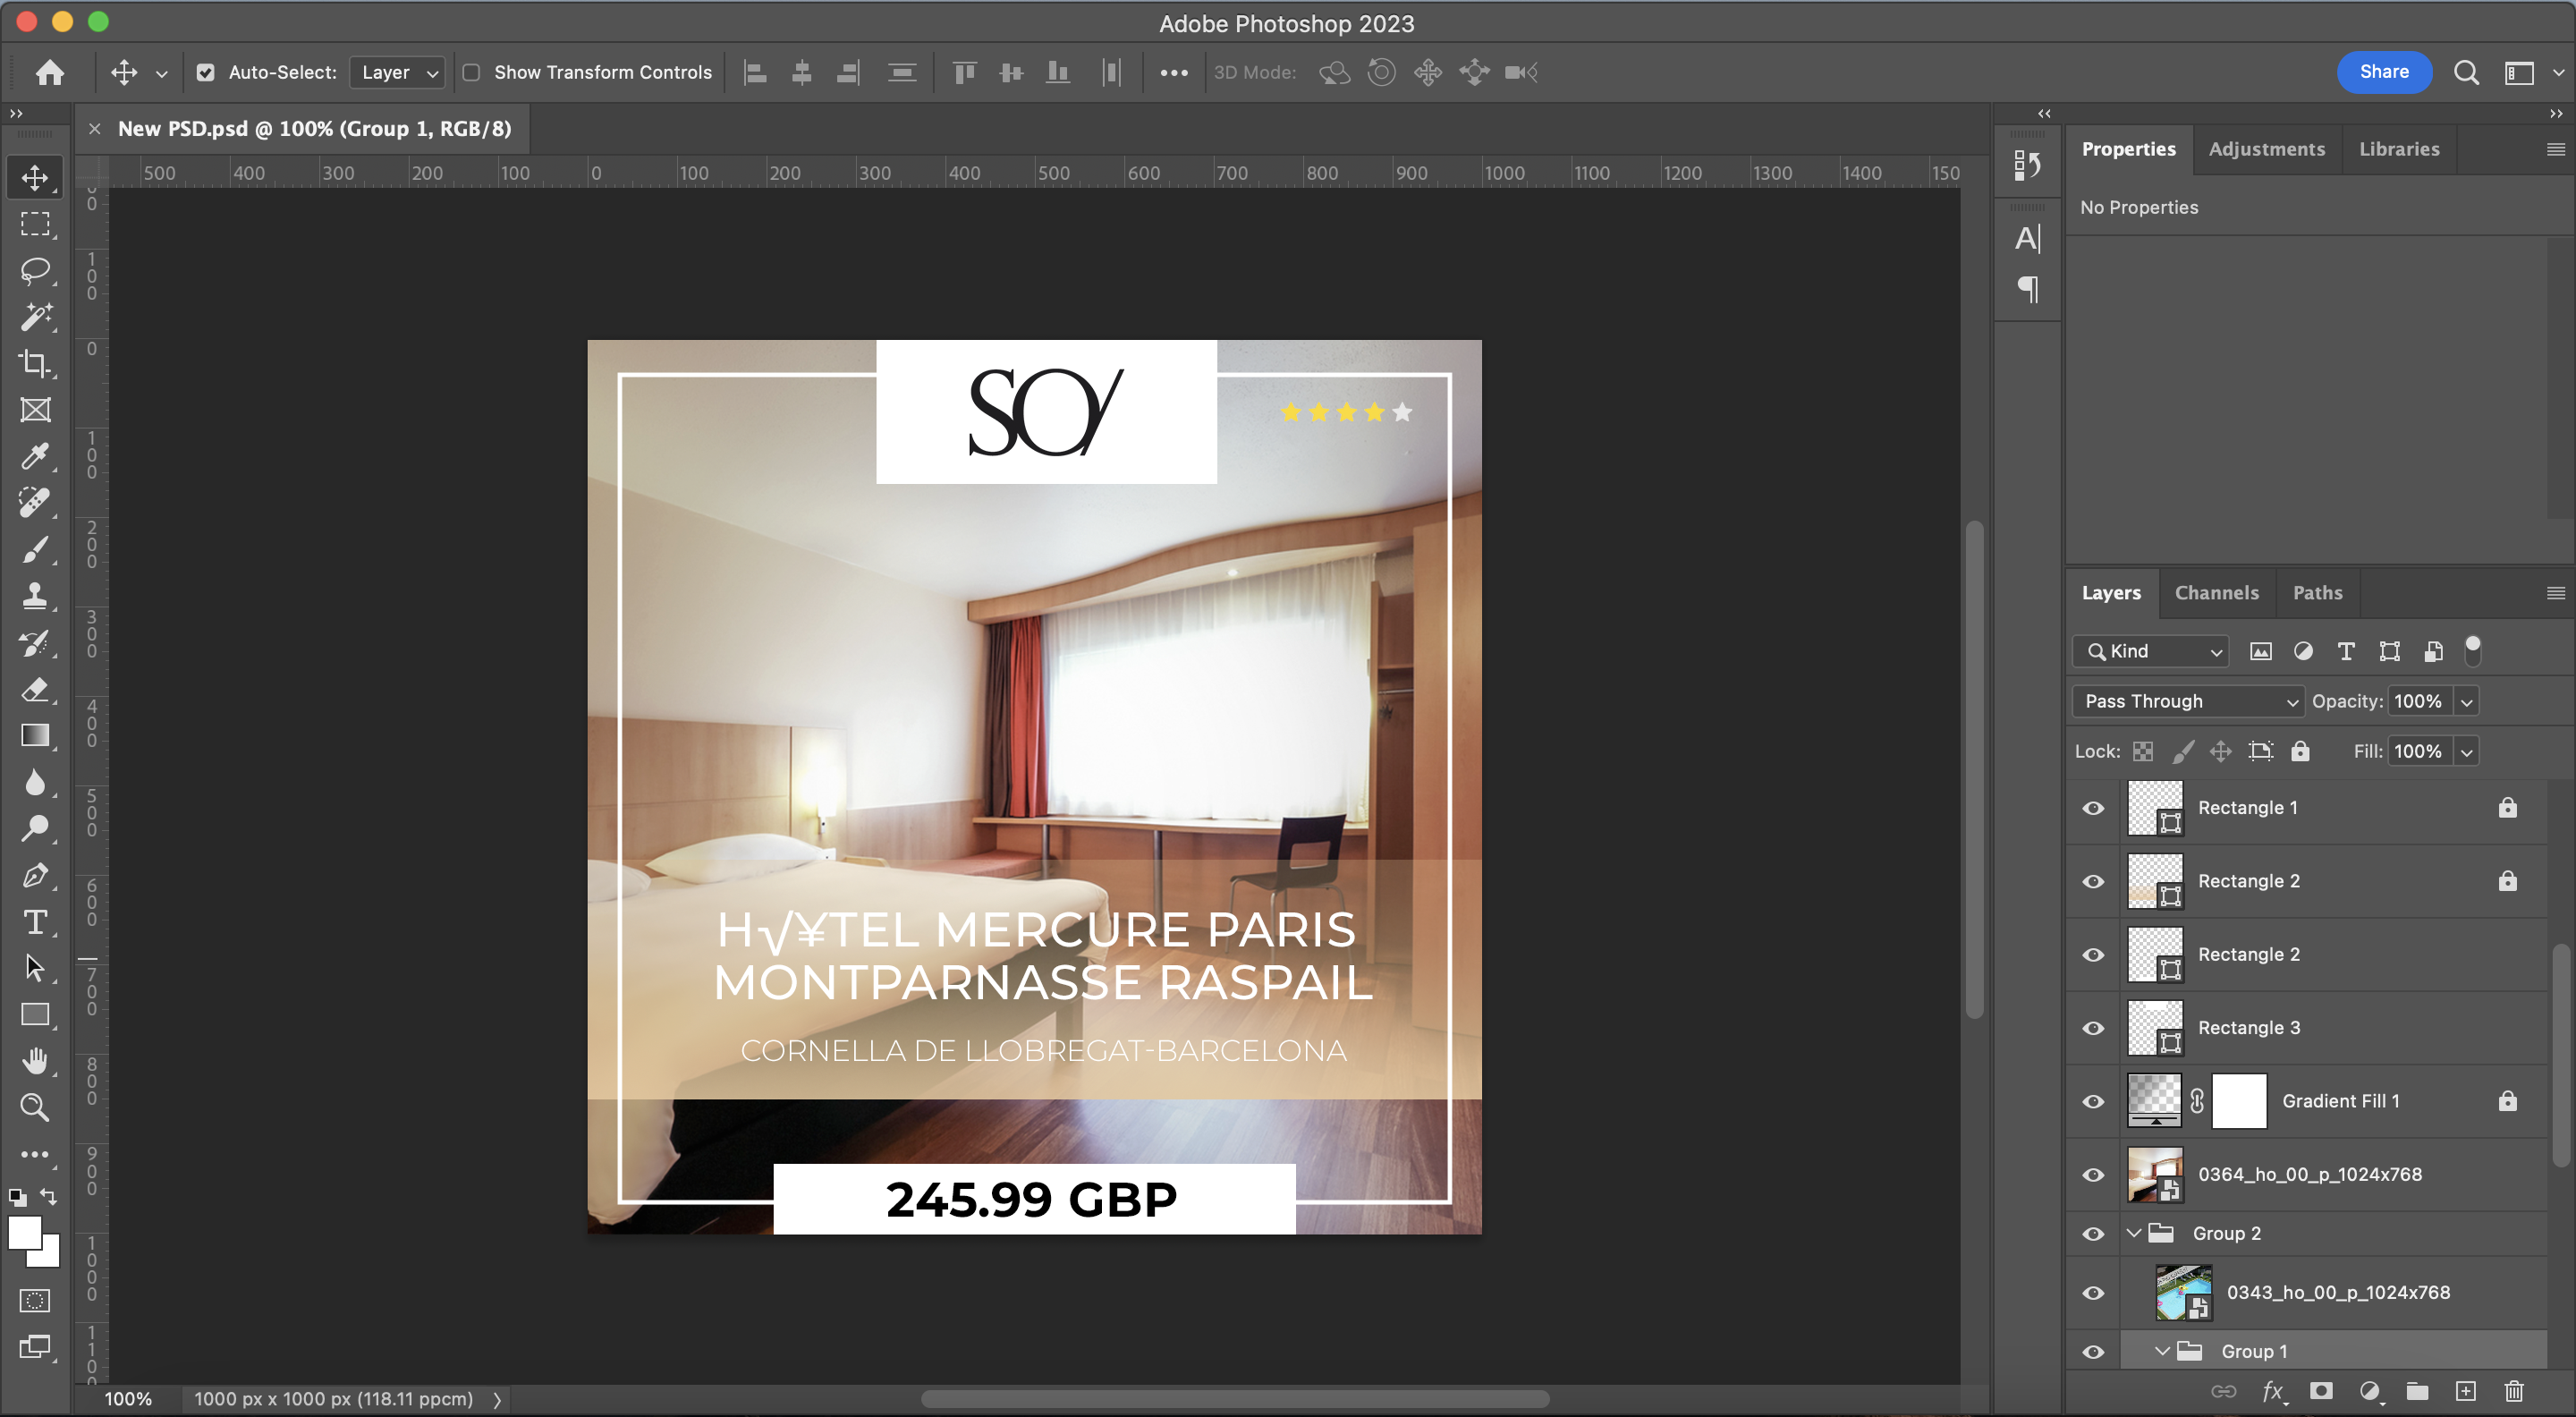
Photoshop files (PSD) are proprietary file formats created by Adobe Photoshop. They contain layers, images, text, effects, and other design elements. PSD files offer flexibility and non-destructive editing capabilities, making them ideal for creating customized templates in Sprinklr.
Section 2: What to Keep in Mind While Creating a PSD File for Sprinklr
Design Considerations:
Use a single canvas: Sprinklr supports PSD files with a single canvas configuration, rather than using artboards. Ensure that your design is directly placed on the defined canvas. The maximum allowed PSD file size is 40MB.
 Note: Do not Create Artboards in PSD file. Creating a single canvas PSD file is important for it to work in Sprinklr.
Aspect Ratio and Resolution: Note that the aspect ratio and resolution of the PSD file will be imported if the canvas is blank in Sprinklr. If the canvas is not blank, the files will be imported based on the currently set canvas in Sprinklr.
Color Mode:
Use RGB Color Mode: Sprinklr supports PSD files with 8-bit RGB color mode. Convert your PSD file to this color mode for compatibility.
Font Selection:
Embed Fonts for Image Layers: If you want to import text layers as image layers, embedding the fonts is necessary. This ensures accurate rendering in Sprinklr.
Import Correct Fonts for Text Layers: If you want to import text layers as editable text layers in Sprinklr, make sure to separately import the correct fonts in Sprinklr's asset manager.
Layer Organization:
Proper Layer Naming: Label layers and groups appropriately to maintain clarity and ease of use.
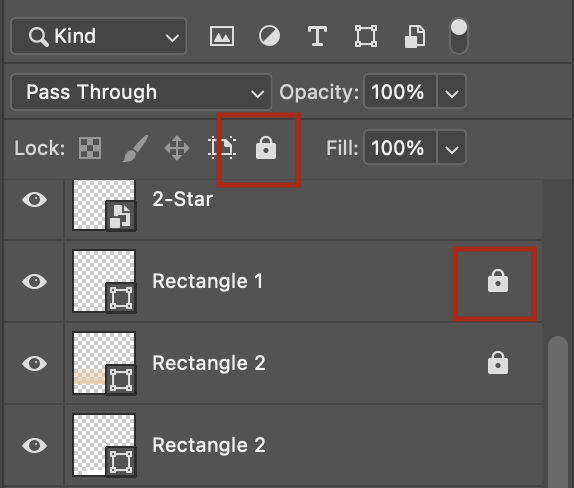
Locked Layers: Locked layers in the PSD file will be imported as image layers in Sprinklr and won't be editable. Consider locking layers that contain complex shapes, effects, layer masks, or custom shapes created using the pen tool.
Layer Grouping: Sprinklr does not import layer grouping from PSD files. All layers will be separately added in Sprinklr.
Layer Visibility and Complex Elements:
Layer Visibility: Layer visibility in PSD files, whether hidden or visible, will be imported as visible layers in Sprinklr.
Complex Elements: For complex shapes, text layers, solid layers, gradient layers, masking, and special effects, consider locking them before importing to ensure they are imported as images and work correctly in Sprinklr. Only text layers intended to be dynamic and editable in Sprinklr should be kept unlocked.
Preparing Complex Layers:
Render Complex Layers: For complex layers with effects, overlays, or blend modes, it is recommended to pre-render them as separate PNG images. Use these rendered PNG images as normal layers in the template for optimal functionality in Sprinklr.
Section 3: Steps to Follow After Importing the PSD File
Layer Review:
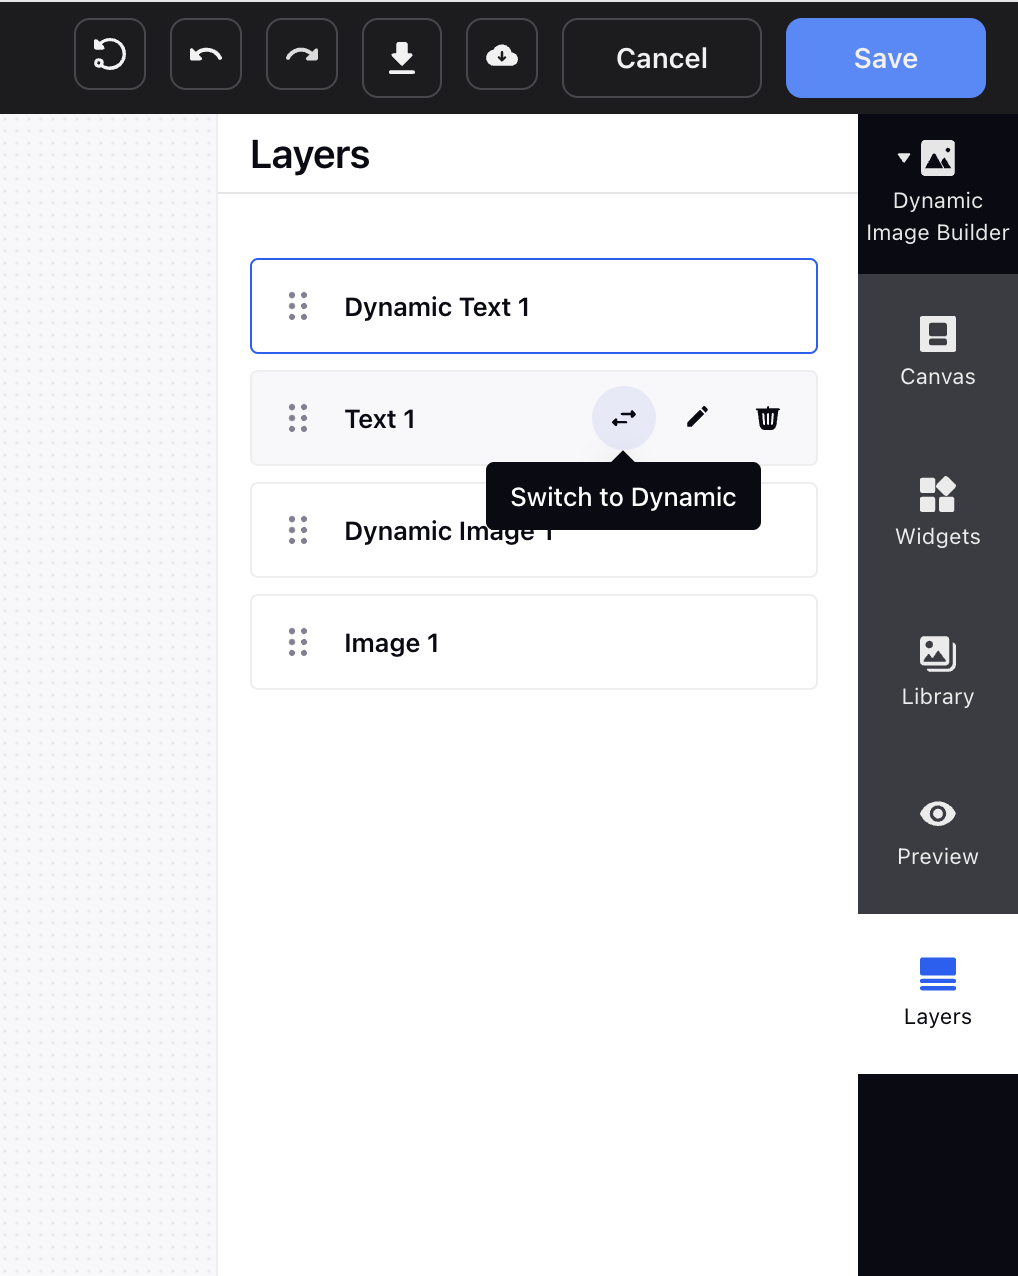
After importing the PSD file in Sprinklr, review all layers to ensure they are correctly recognized and imported.
Making Layers Dynamic:
While reviewing the layers, you will see a button in the Layers tab for each layer. Use this button to make a layer dynamic, allowing it to be modified during application or bulk creations dynamically.
Font and Text Position Corrections:
In some cases, fonts may not import correctly, or text positions may not be accurately imported. In such instances, manually select the correct fonts and make necessary text position corrections within Sprinklr.
Save and Reuse:
Once satisfied with the imported PSD file, save it as an image template in Sprinklr's asset manager. You can reuse this template for creating new images or adapting them to different campaigns.
Conclusion
By following these instructions, you can effectively prepare your PSD files for creating image templates in Sprinklr. Proper PSD file preparation ensures compatibility, ease of use, and optimal customization capabilities within Sprinklr's image template feature, empowering you to create engaging and visually appealing content.