How to Create Facebook Custom Audiences

Updated 

A custom audience allows you to find existing audiences among people who are on Facebook and target your ads. While creating a Facebook custom audience in Sprinklr, you can use sources such as websites, customer lists, or engagements on Facebook to create your audience.

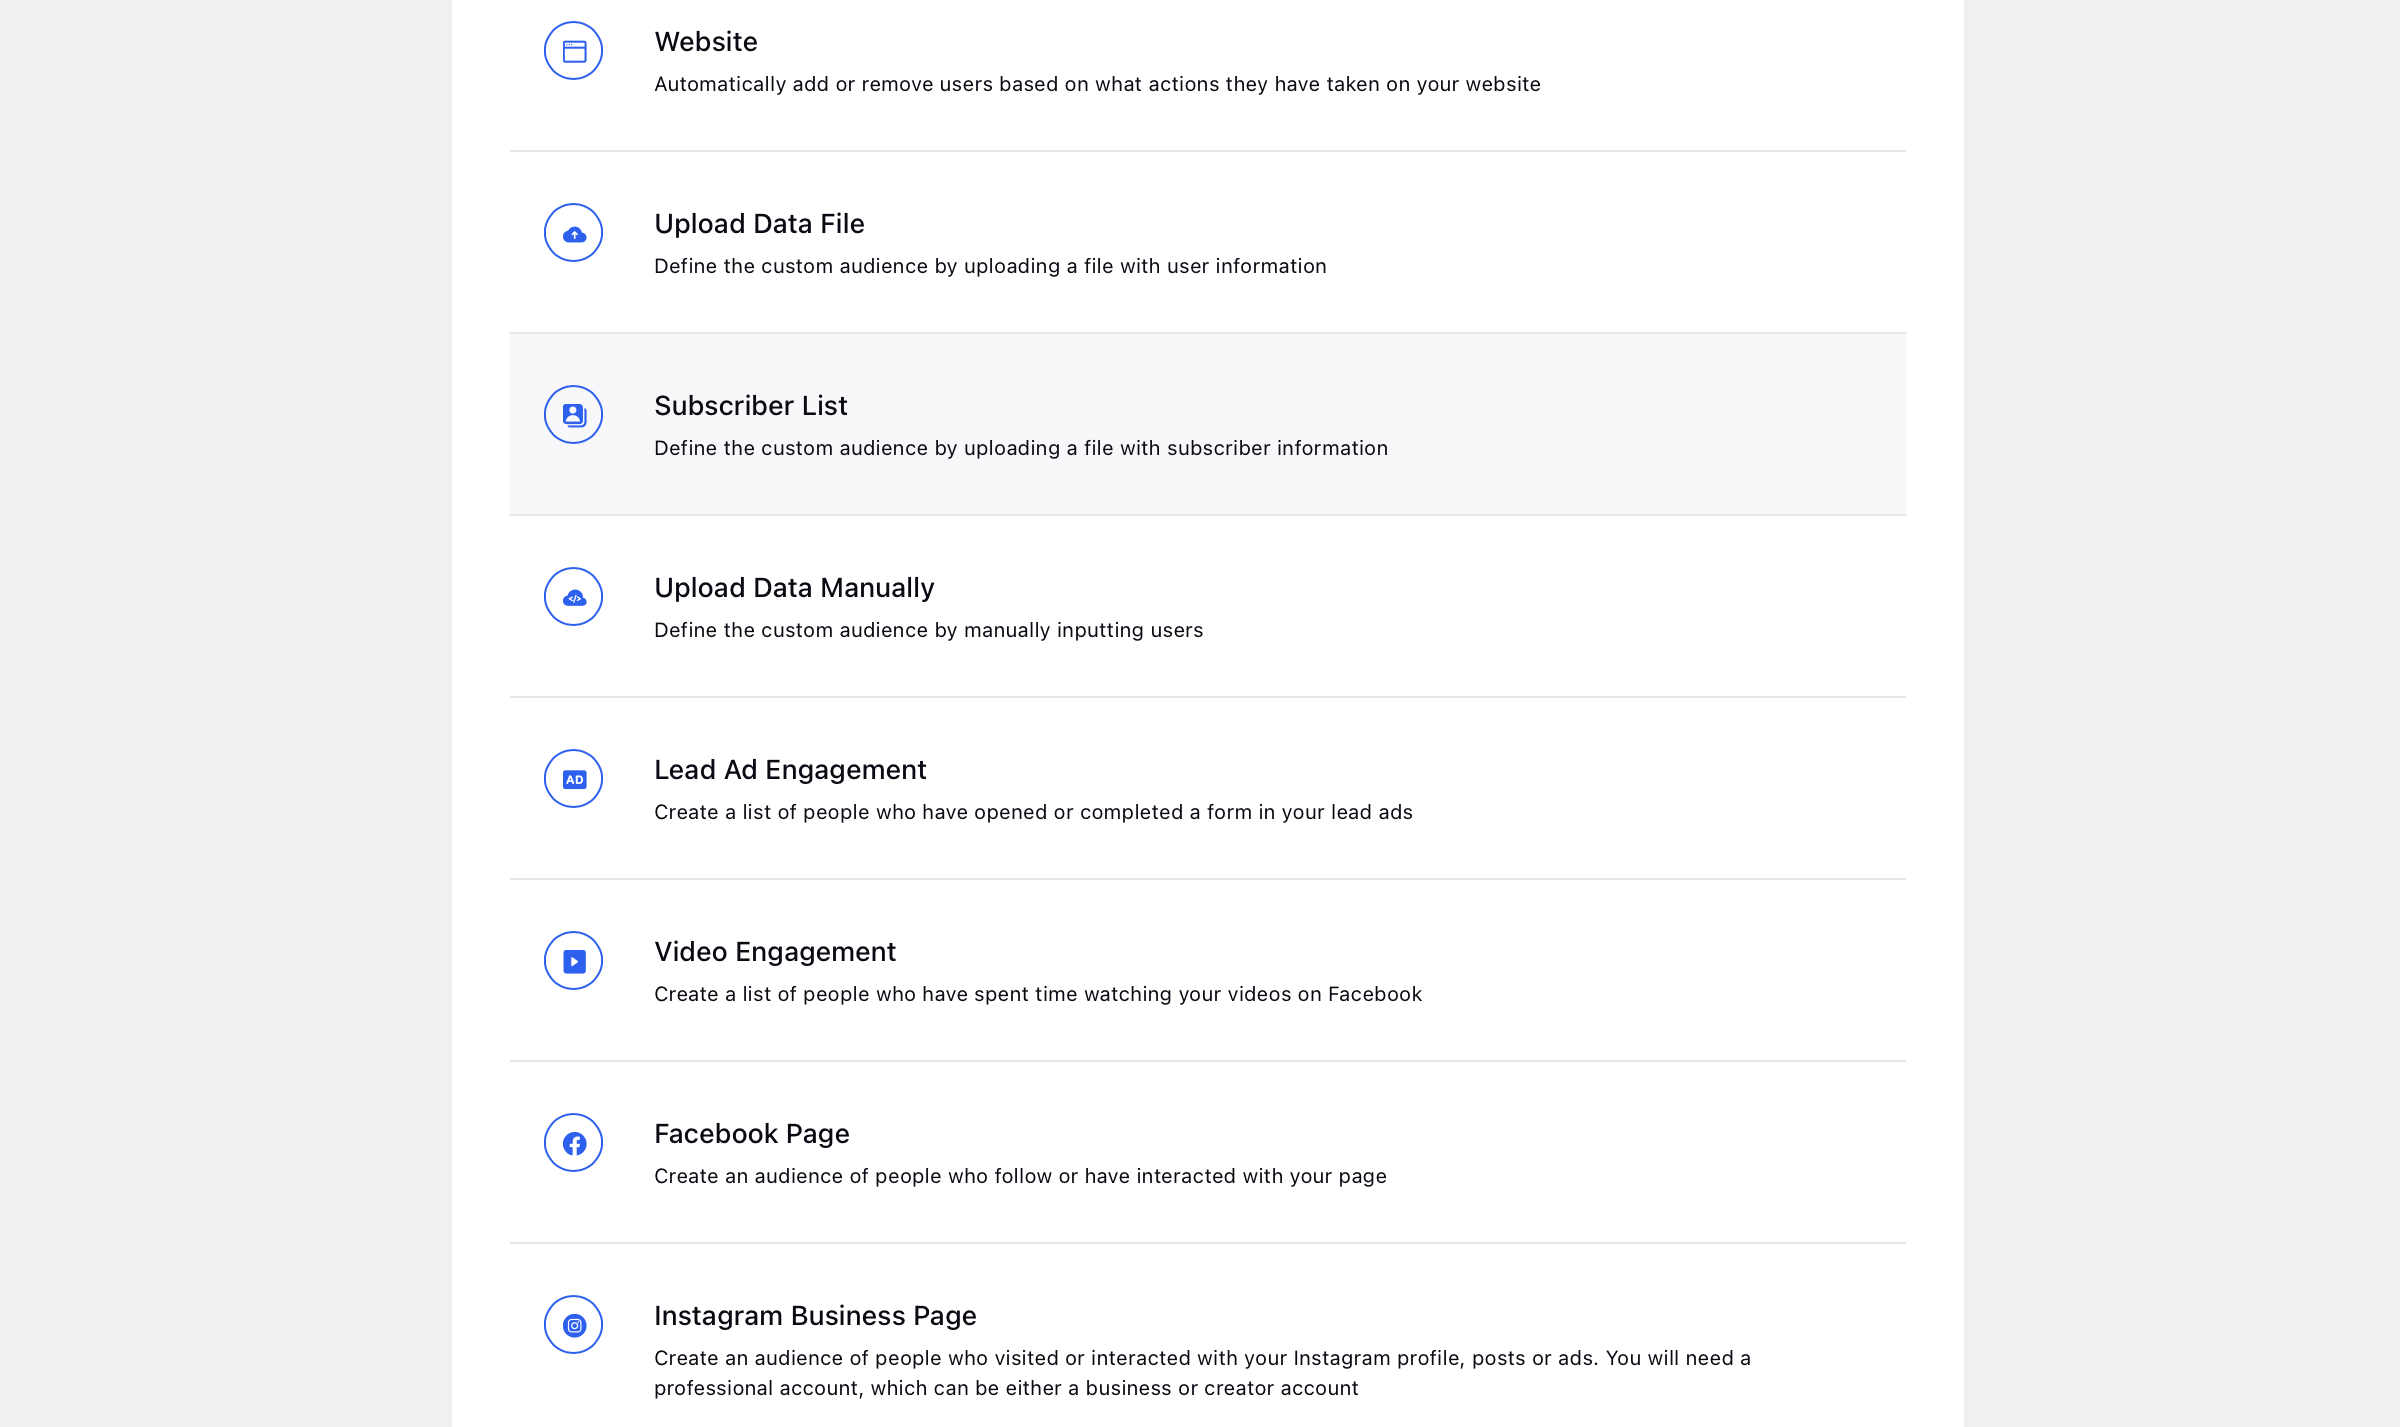
Choose the type of audience you want to create from the following:
Before You Begin

Familiarize yourself with how to create a Custom Audience in Audience Manager.

Custom Audiences from your website is a targeting option that matches people who visit your website with people on Facebook, using the Facebook pixel. You can then create an ad to show to that audience.

For example, you can run a campaign to target people who had visited a product page but didn't complete a purchase so as to encourage them to go back to the website to do so.

  1. From the Pixel drop-down, select the conversion pixel you would like to use to build your audience.

  2. Slide the Retention Days slider to increase or decrease the time period for users who have visited your website for that time frame. By default, it will be set to 30 days and can be increased up to 180 days.

    This will allow you to decide how far back you want to go, so you can select to target only your most recent website visitors.
    Facebook Website Custom Audience

  3. Check the box alongside Include past website traffic to consider the traffic on your website from the past.

  4. From the Website Traffic drop-down, select one from the following:

Options
Pictorial Reference (Hover to Zoom)

Anyone who visits your website

Include anyone who has visited your website

Facebook Website custom audience for anyone who visits your website

Anyone who visits specific web pages

Specify comma-separated website URL(s) using the operator Url Equals or Url Contains.

This will include people who visit any web page that meets the above rule.

Facebook Website custom audience for anyone who visits a specific website

People visiting specific web pages but not others

Specify comma-separated website URL(s) in the respective field using the operator Url Equals or Url Contains.

This will Include and Exclude people simultaneously who visit the web page that meets the above rules.

Facebook Website custom audience for anyone who visits a specific website but not others

Custom Combination

Create a custom rule using the following options:

Rule Conditions

  • URL

  • Domain

  • Path

  • Event

Operators

  • Contains (Case Insensitive)

  • Doesn't Contain (Case Insensitive)

  • Contains (Case Sensitive)

  • Doesn't Contain (Case Sensitive)

  • Equals

  • Not Equal To

Specify comma-separated parameters as per the above rule condition.

Add Condition

Add another condition inclusive to the rule.

Add Rule

Add another exclusive rule.

This will include people who visit any web page that meets all the above rules.

Facebook Website custom audience for anyone who visits a specific website based on a custom rule

Note

For Custom Combination, you will not have a drop-down of your parameters like that in the native platform. You will need to manually input your parameter details after selecting an Event.

Proceed to save your Facebook custom audience.

  1. In the Select Action field, you will find Add Users selected by default. This is because you are required to manually upload a file containing customer details.

  2. From the Select Data Source drop-down, select the source of your customer list from the following:

    1. User Provided

    2. OnlyPartner Provided

    3. OnlyBoth User and Partner Provided

  3. In the Upload File section, click Upload to upload an already prepared file from your system. Alternatively, you can click Download to download a sample file that you can edit and upload.

    Note:

    • The file needs to be in xlsx, xls, txt, or csv format with one record per row.

    • Given below are the import file format guidelines to be followed.

    • The header names in the file template for “Upload Data File” in Custom Audiences have been updated as per the headers in the native platform.

  4. Proceed to save your Facebook custom audience.

Facebook Custom Audience Import File Guidelines

Upload Data File for Facebook Custom Audience

1. In the Select Action field, you will find Add Users selected by default. This is because you are required to manually upload a file containing customer details.

2. From the Select Data Source drop-down, select the source of your customer list from the following:

  • User Provided Only

  • Partner Provided Only

  • Both User and Partner Provided

3. In the Data Type section, you can copy and paste customer data within the given fields. By default, All Types will be selected as the data type that includes the following identifiers:

  • Email

  • User IDs

  • Facebook Apple IDs

  • Phone Numbers

  • Apple Advertising IDs

  • Android Advertising IDs

Note

  • You can manually select the data type(s) you want to include from the options adjacent to All Types.

  • To deselect a data type, click on that option again.

Upload data manually for Facebook Custom Audience

3. Proceed to save your Facebook custom audience.

Create a custom audience based on the engagement on your Facebook Lead Forms.

  1. From the Page drop-down, select a Facebook page. It will be selected by default and you can change the selection.

  2. Select a lead form you want to track engagement for from the Lead Form drop-down.

  3. From the Include drop-down, select from the following engagement options to build your audience upon:

    • Anyone who opened this form

    • People who opened but didn't submit form

    • People who opened and submitted form

  4. Slide the In the past slider to set the number of days you want to go back and collect engagement data. By default, it will be set to the past 90 days.

Note

If you go back 30 days and a person has engaged 29 days ago, they will be added to your audience. However, if they fail to engage the next day, they will be removed from the audience.

Lead Ad Engagement for Facebook Custom Audience

5. Proceed to save your Facebook custom audience.

  1. On the Create Custom Audience window, select Paid (selected by default) as the Audience Type.

  2. Enter the basic details for your Custom Audience, including the Audience Name (Enter a name or Use a Naming Convention) and an optional Description.

  3. Select Facebook from the Select channel for audience creation drop-down and the associated ad account from the Select an ad Account for the channel drop-down.

  4. Under Select Audience Type, select Video Engagement as the type of audience you want to create.
    Select Video Engagement as the type of custom audience you want to create

  5. Under Custom Audience Details, select the desired options from the Engagement drop-down:

    • People who have viewed at least 3 seconds of your video

    • People who have viewed at least 10 seconds of your video

    • People who either completed or viewed at least 15 seconds of your video (ThruPlay)

    • People who have viewed at least 25% of your video

    • People who have viewed at least 50% of your video

    • People who have viewed at least 75% of your video

    • People who have viewed at least 95% of your video

  6. Click Add Video for Engagement for each of the selected Engagement option.
    Select the engagement type for your video engagement custom audience and add videos

  7. On the Media Uploader pop-up window, select the video(s) for engagement using the available filter options and click Select in the bottom-right corner. For more information, see Facebook Video Engagement Filters.

    Note: Videos used in Carousel Ads and Dynamic Ads are not supported for the creation of custom audiences via API.

  8. Slide the For The Last slider to the number of days people will remain in your audience after they engage with your video(s). People are removed from your audience after the set time period unless they engage with the video(s) again.
    Slide the For the Last slider for your video engagement custom audience

  9. Select the Custom Properties and Visibility and Permissions as desired.

  10. Click Save in the bottom-right corner to save your Facebook Video Engagement custom audience.

Facebook video engagement filters

Filter
Description
Paid Initiative

Select one or more Paid Initiative filter(s). All videos of the selected Paid Initiative(s) will appear.

Ad Set

Select one or more Ad Set filter(s). All videos of the selected Ad Set(s) will appear.

Ad Variant

Select one or more Ad Variant filter(s). All videos of the selected Ad Variant(s) will appear.

Facebook Page

Select one or more Facebook Page filter(s). All videos of the selected Facebook Page(s) will appear.

Instagram Business Profile

Select one or more Instagram Business Profile filter(s). All videos of the selected Instagram Business Profile(s) will appear.

Video ID
Enter up to 50 video IDs and click Add Videos. You can separate IDs with a comma or a semicolon, or place each ID on its own line.
You can also filter videos by their Facebook Page.
Steps get the video ID —
  1. Go the the FB page on native

  2. Go to the videos section on the page

  3. Select the video for which you need the id

  4. The URL will have the id of video. For example — https://www.facebook.com/carnnottpalace/videos/842380996975378 — the ID here is 842380996975378

  1. Select 'Create Custom Audience' from Ads Audience Manager

  2. Select the Facebook Ad account through which you want to make your custom audience

3. Select 'Facebook Page' from the list

4. Choose the Facebook account you want to use for your audience.

5. Choose the engagement type that you want to include.

6. Add the number of days you want to include when finding people who have engaged with your account. (Maximum of 90 days.) The number of days is dynamic and indicates how long people who've engaged with your content will remain in your audience.

7. Click on Save

You can make an engagement custom audience from people who started following or engaged with your Instagram professional account. (An Instagram professional account means that you have either an Instagram for Business account or an Instagram creator account).

  1. Select 'Create Custom Audience' from Ads Audience Manager

  2. Select the Facebook Ad account through which you want to make your custom audience

3. Select 'Instagram Business Page' from the list

4. Choose the Instagram account you want to use for your audience.

5. Choose the engagement type that you want to include.

6. Add the number of days you want to include when finding people who have engaged with your account. (Maximum of 90 days.) The number of days is dynamic and indicates how long people who've engaged with your content will remain in your audience.

7. Click on Save

  1. In the Messaging App field, select the WhatsApp business account linked to the ad account where you want to drive messages .

  2. In the Select Action field, you will find Add Users selected by default. This is because you are required to manually upload a file containing customer details.

  3. From the Select Data Source drop-down, select the source of your customer list from the following:
  4. Upload your file with subscribers list. Phone number is a required field for WhatsApp custom audiences​. Other parameters such as First Name, Last Name, Email and so on are optional. You can also download a sample file for reference.
  5. Click Save in the bottom right corner to save your subscriber list.