Creating a Live Chat Application
Updated
You can create a Live Chat application in the Sprinklr Platform. The Live Chat application offers an extensive range of supported languages, including Hindi, Hungarian, Indonesian, Italian, Japanese, Kannada, Korean, Latvian, Lithuanian, Macedonian, Malay, Malayalam, Marathi, Polish, Portuguese, Romanian, Russian, Serbian, Slovak, Slovenian, Spanish, Swedish, Tamil, Telugu, Thai, Turkish, and Vietnamese.
Prerequisites
Before you begin, ensure the following prerequisites are met:
You must have a Sprinklr Service account.
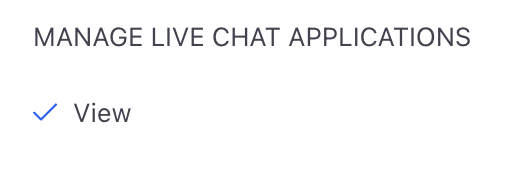
You have the permissions to manage Live Chat applications. A user should have the following permission to be able to view Manage Live Chat applications:
Service Cloud > Manage Live Chat Application > View
Create a Live Chat Application
To create a Live Chat application, follow these steps:
1. Click the New Page (+) icon to open the Launchpad.
2. Under Sprinklr Service > Listen > Brand Care, click Live Chat Care.
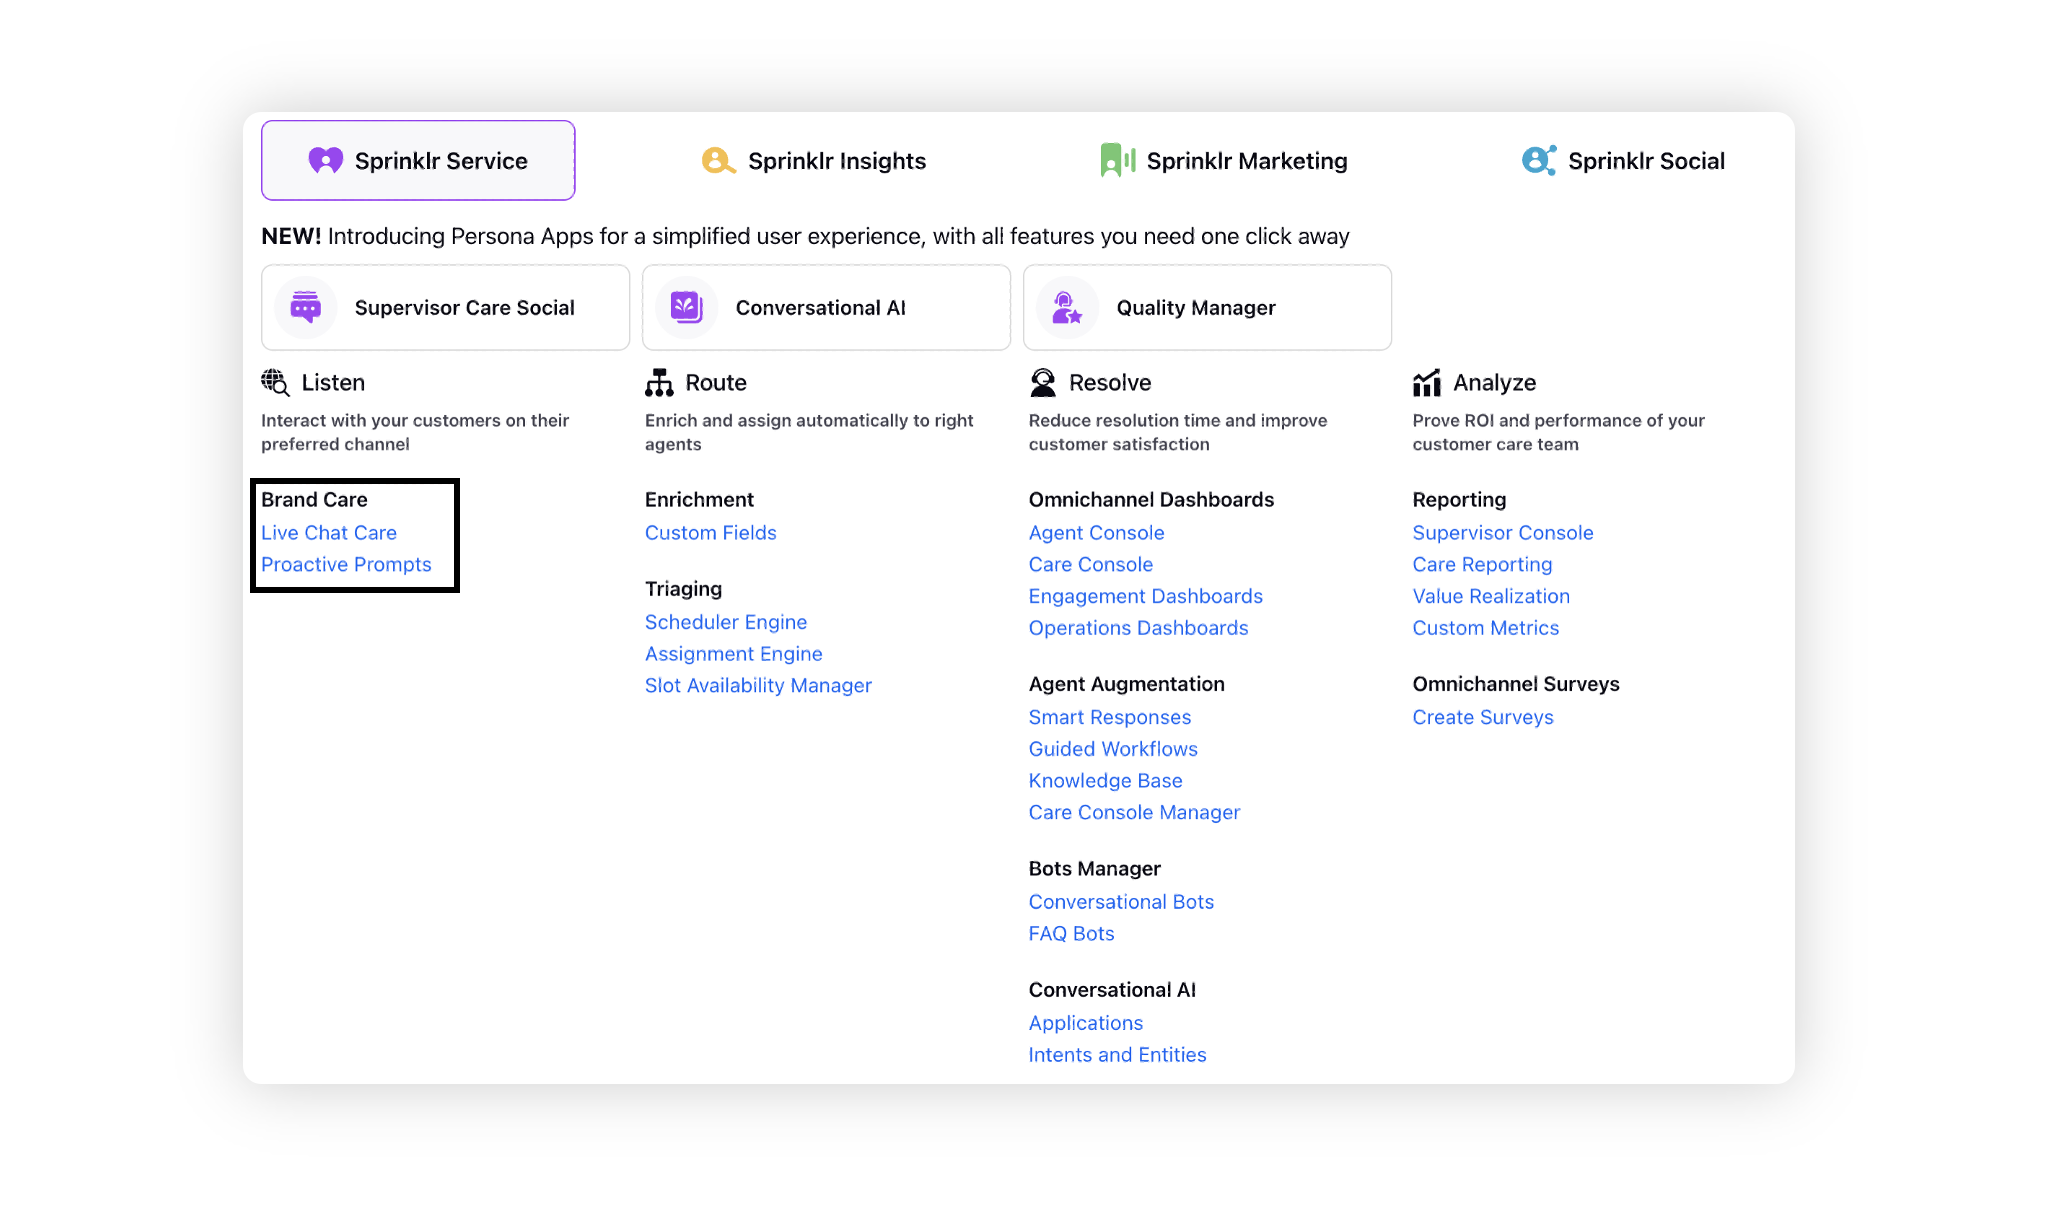
The Live Chat Applications page lists all Live Chat applications that have already been created. On this screen, you can view, search, edit your previous applications, or create a new one.
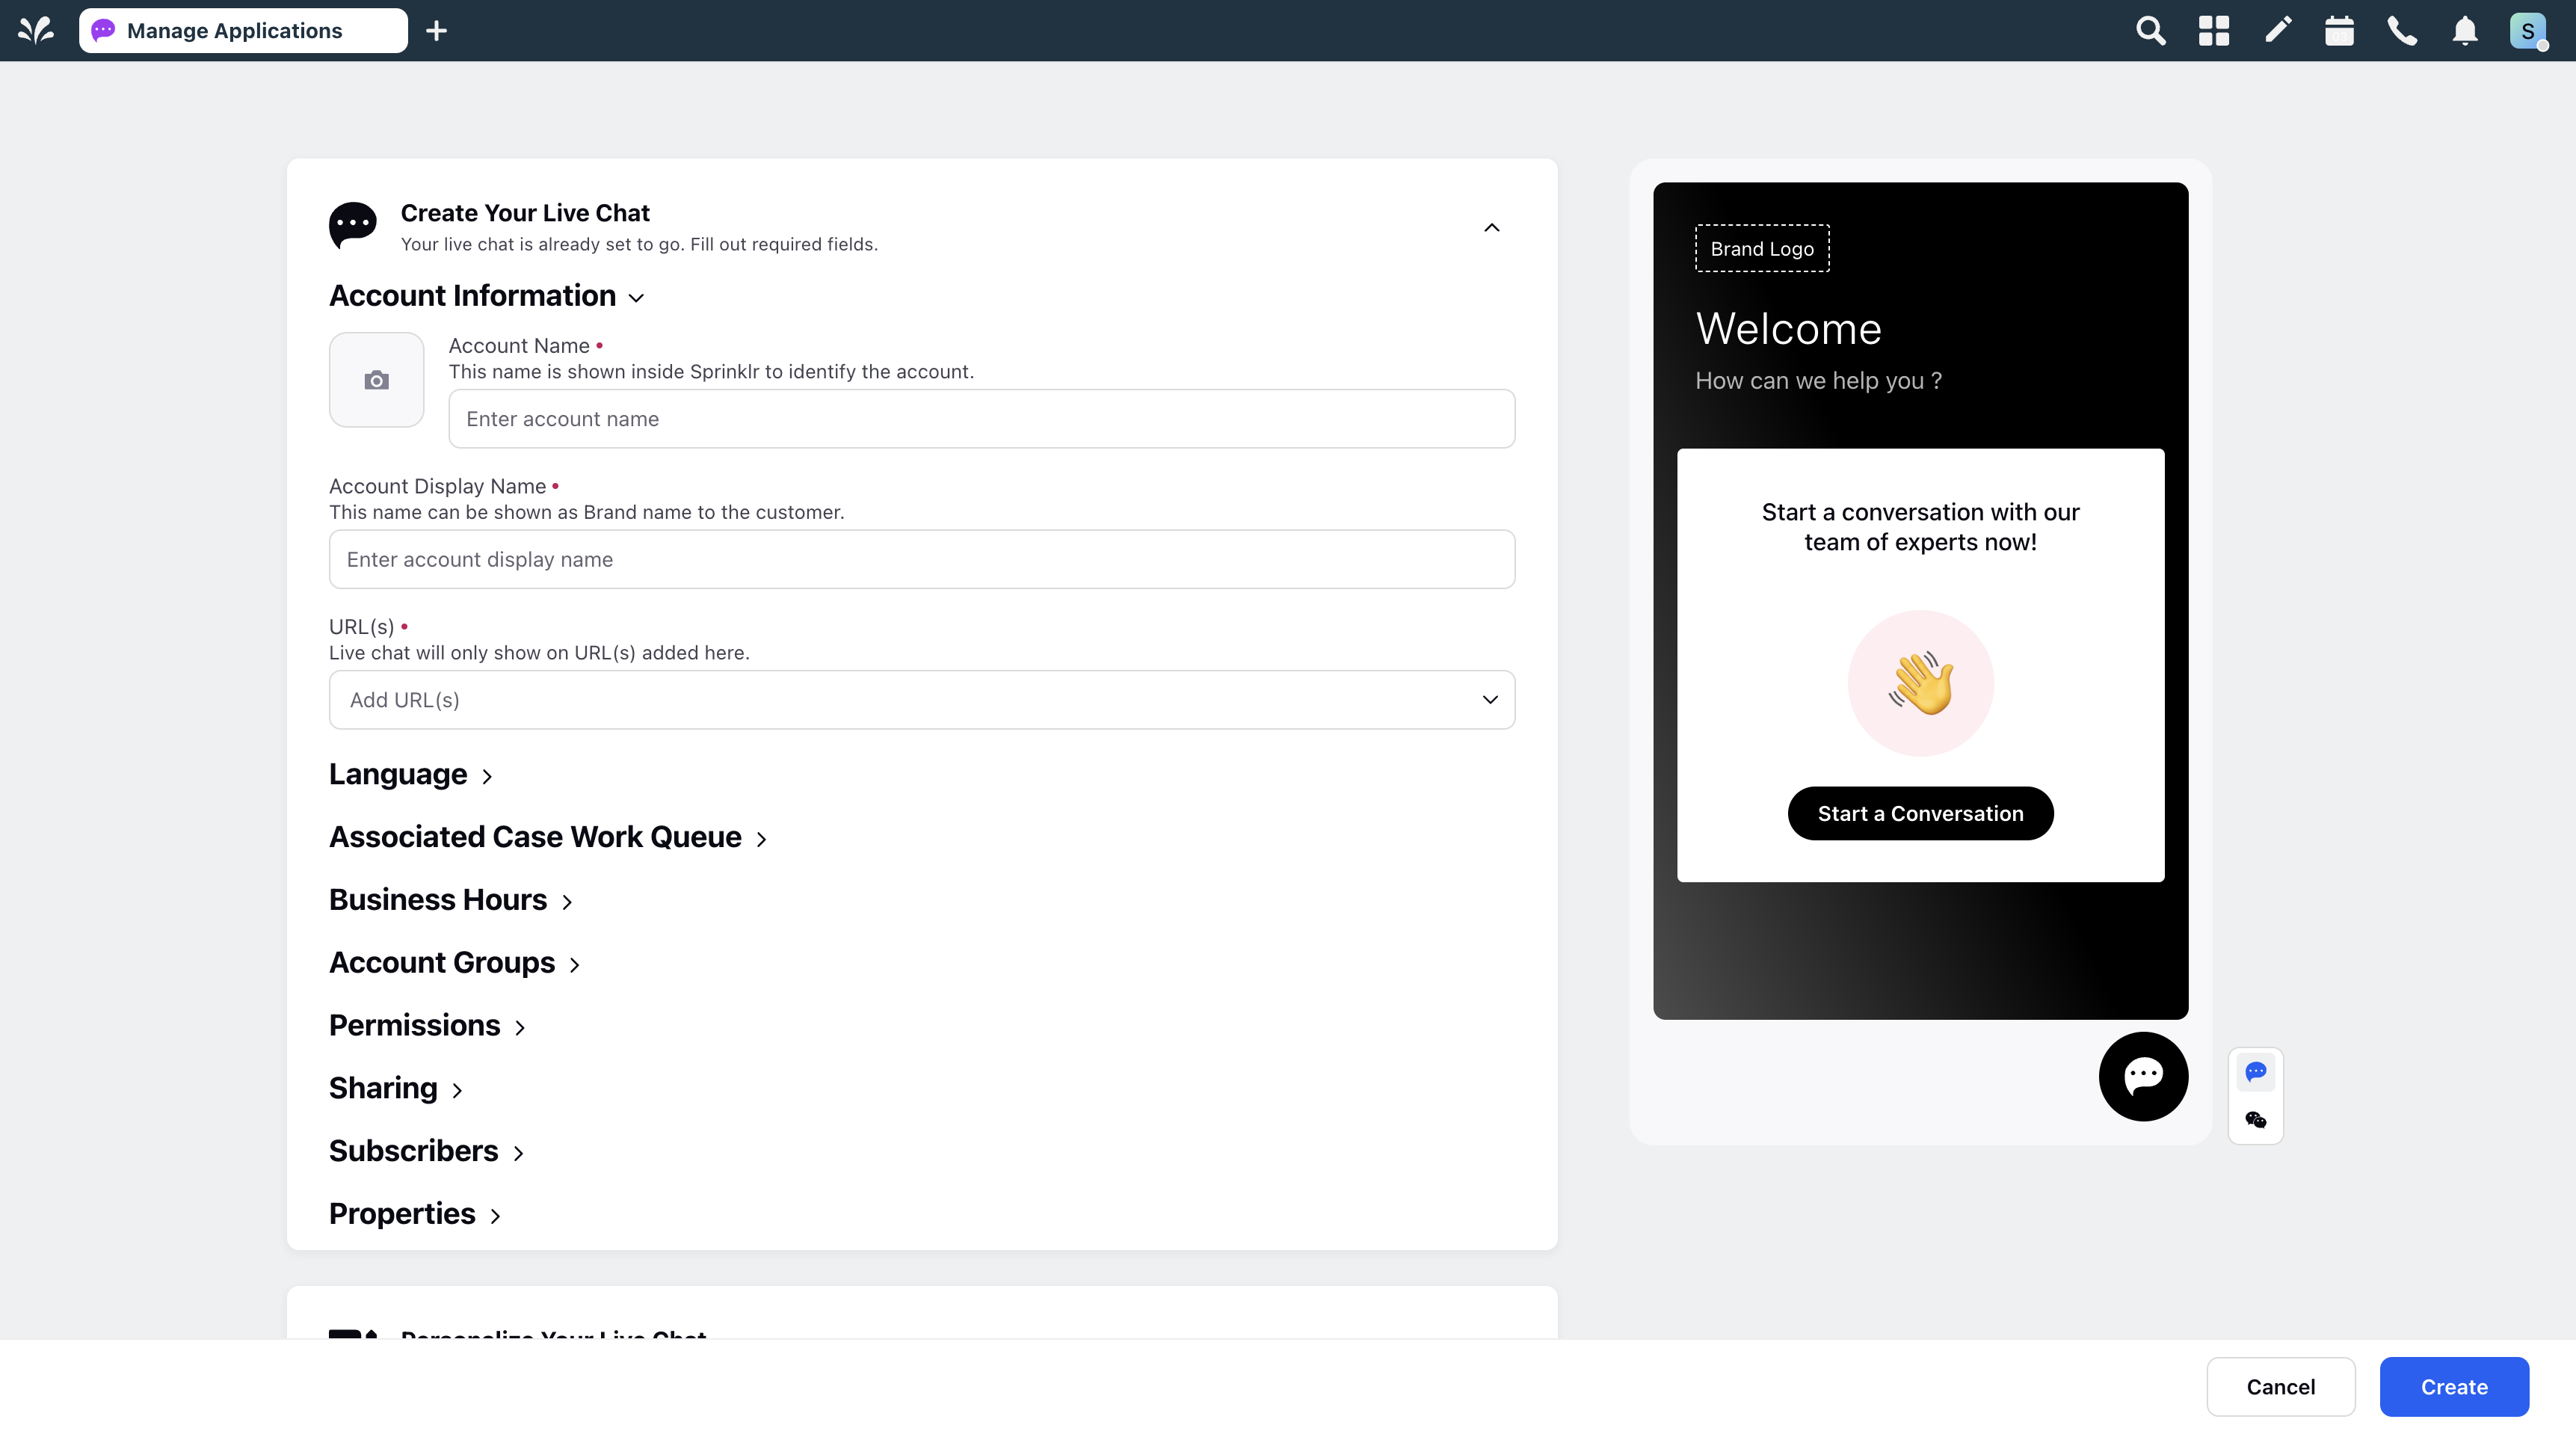
3. To create a new application, click Create New on the top-right corner.

4. Upon clicking Create New, you will be directed to the Live Chat builder. For more information, see Sprinklr Live Chat Builder Guide.
Manage Your Live Chat Application
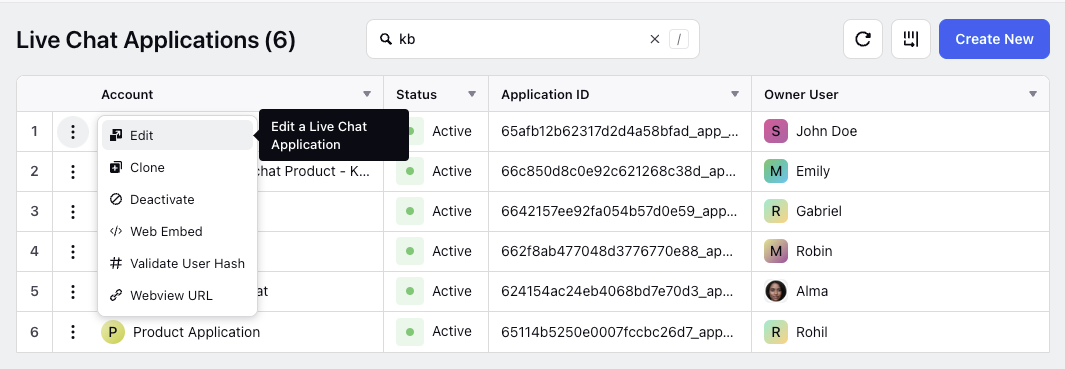
After a Live Chat application is created, you'll be redirected to the Live Chat Applications page. The three-dots (![]() ) icon alongside the application gives you quick access to several important actions that you can perform on your Live Chat application.
) icon alongside the application gives you quick access to several important actions that you can perform on your Live Chat application.
Live Chat Web Embed Code
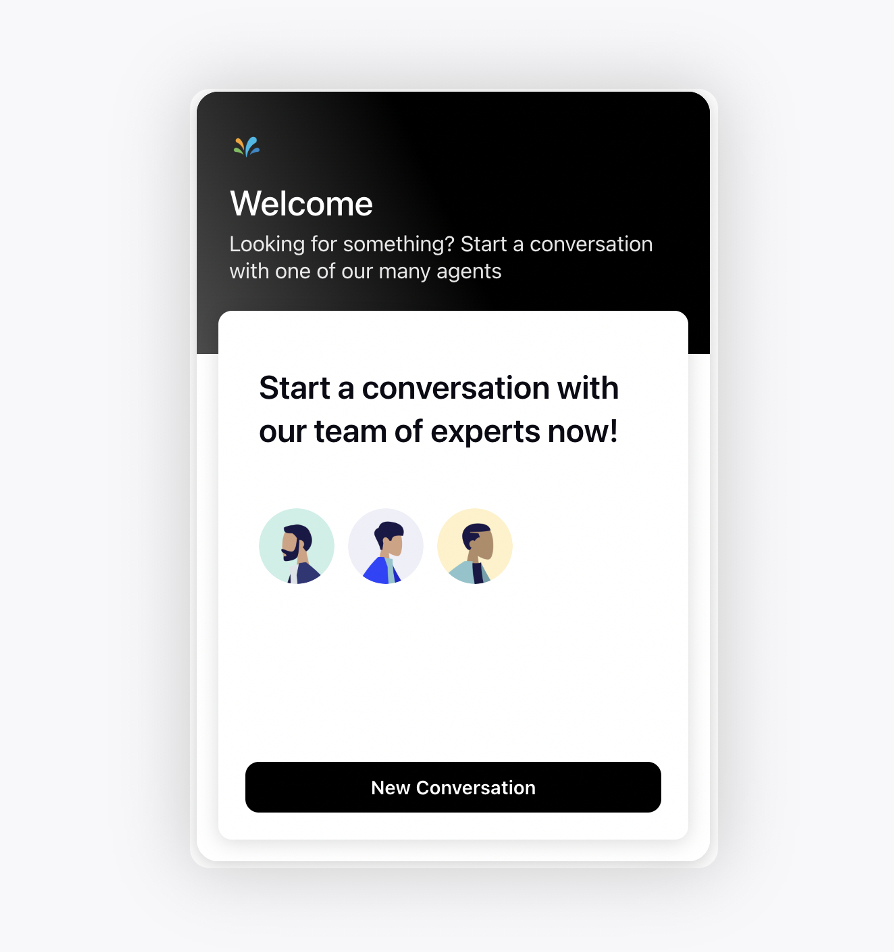
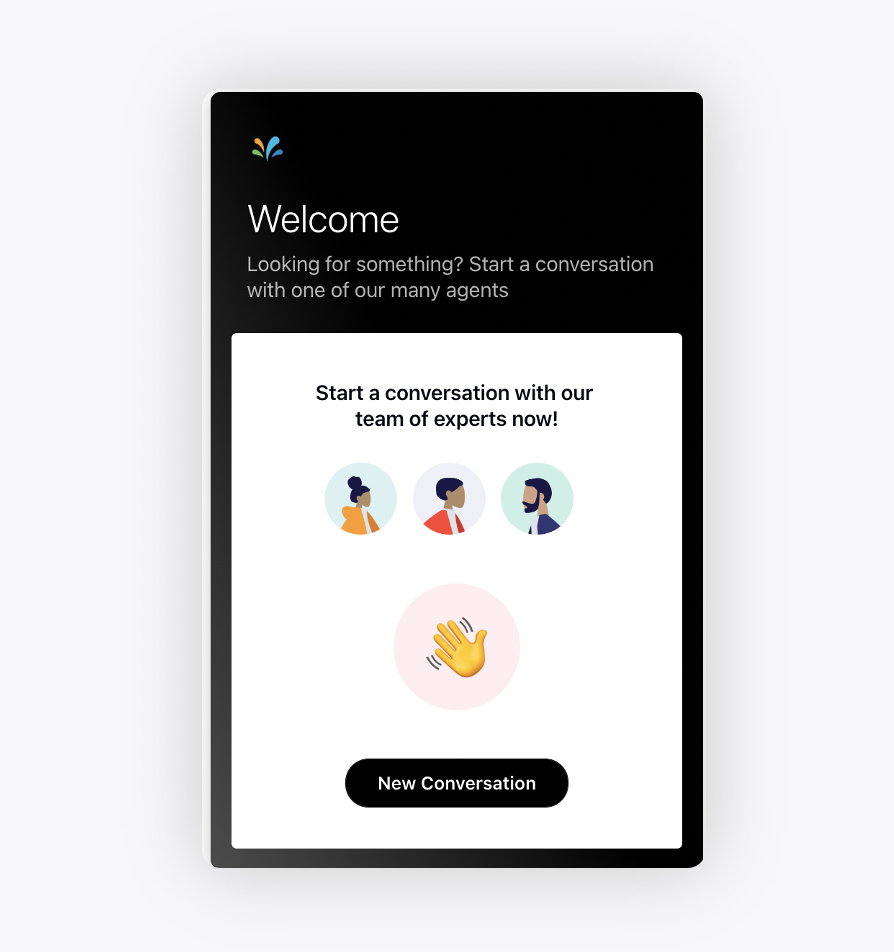
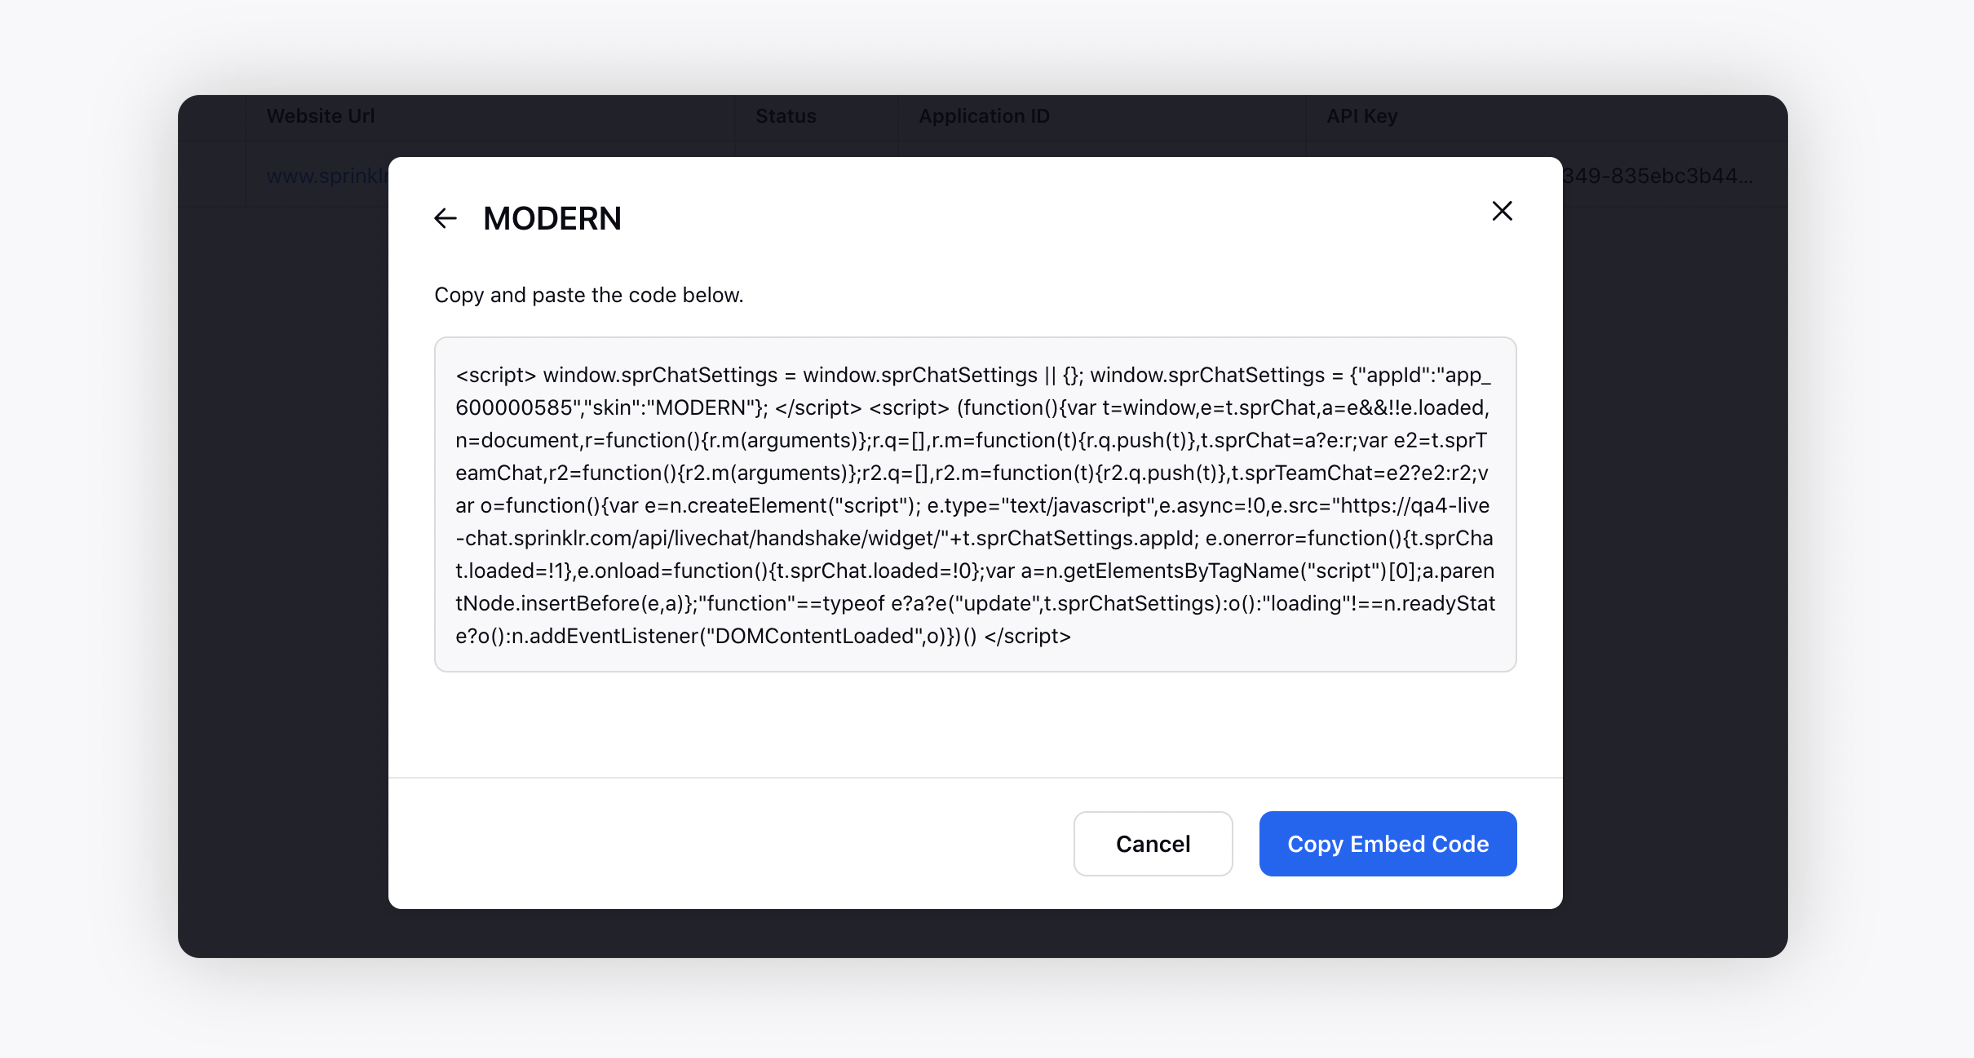
The Web Embed Code provides the HTML snippet you need to integrate the chat functionality directly into your site. You can use either Modern skin or old Classic skin. It defines the overall look and feel of the Live Chat application.
Modern | Classic |
| |
We recommend using the Modern skin as it has the following advantages over the Classic skin.
Better UI/UX
Support of new features (new customizations will only be available in Modern skin)
Next, click Copy Embed Code. Paste the copied JS script in the HTML page source of your website just before the </body> tag.
Editing Your application
Clicking Edit allows you to modify the settings and configurations of your Live Chat application.
Cloning your application
To clone your Live Chat application, go to Sprinklr Service > Listen > Brand Care > Live Chat Care and search for your application.
Then hover over the Options icon next to your application, and select Clone. This will open the Live Chat Builder for the cloned application.
Deactivate your application
Selecting Deactivate disables your Live Chat application. While the application remains in your account, the chat widget will not appear on your website, and visitors will be unable to interact with it.
Validate User Hash
To check the expected hash for any authenticated user passed inside chat settings, click Validate User Hash in the Options menu. On the Validate User Hash window, enter the following:
Field | Description |
User ID | A unique identifier for the user. |
Profile Image URL | The URL pointing to the user's profile image. |
First Name | The user's first name. |
Last Name | The user's last name. |
Phone Number | The user's contact phone number, including country code. |
The user's email address. | |
Hash Creation Time | The timestamp (in epoch milliseconds) when the hash associated with the user was generated. The hash will only be valid within the configured expiry window (default: ±1 minute), after which it will be considered invalid. |
Once done, click Copy Generated Hash.

Webview URL
Use the Webview URL when you want to embed the Live Chat interface inside your mobile app.
Note: For Live Chat to be operation on a website (say www.example.com), two things need to be there
1. Live Chat code needs to present on www.example.com ( See Installation Section for more information).
2. www.example.com URL needs to be put in "Website URL on which Live Chat will be placed" section in Live Chat builder.
3. Webview URL should not be used in web as it is not the best practice and has some limitations.
