Custom Fonts in Content Templates
Updated
In this article, you will learn how to import Custom Fonts in Sprinklr to be used in Content Templates using the Digital Asset Manager.
Importing Custom Fonts
Click the New Tab icon. Under the Sprinklr Marketing tab, switch to Marketing and select Digital Asset Management within Planning and Reuse.
In the top right corner fo the Digital Asset Manager window, click the Upload button.

Select the Font file to upload within Sprinklr.
Fill in the required details such as Name and Approval Status for the Font Asset.
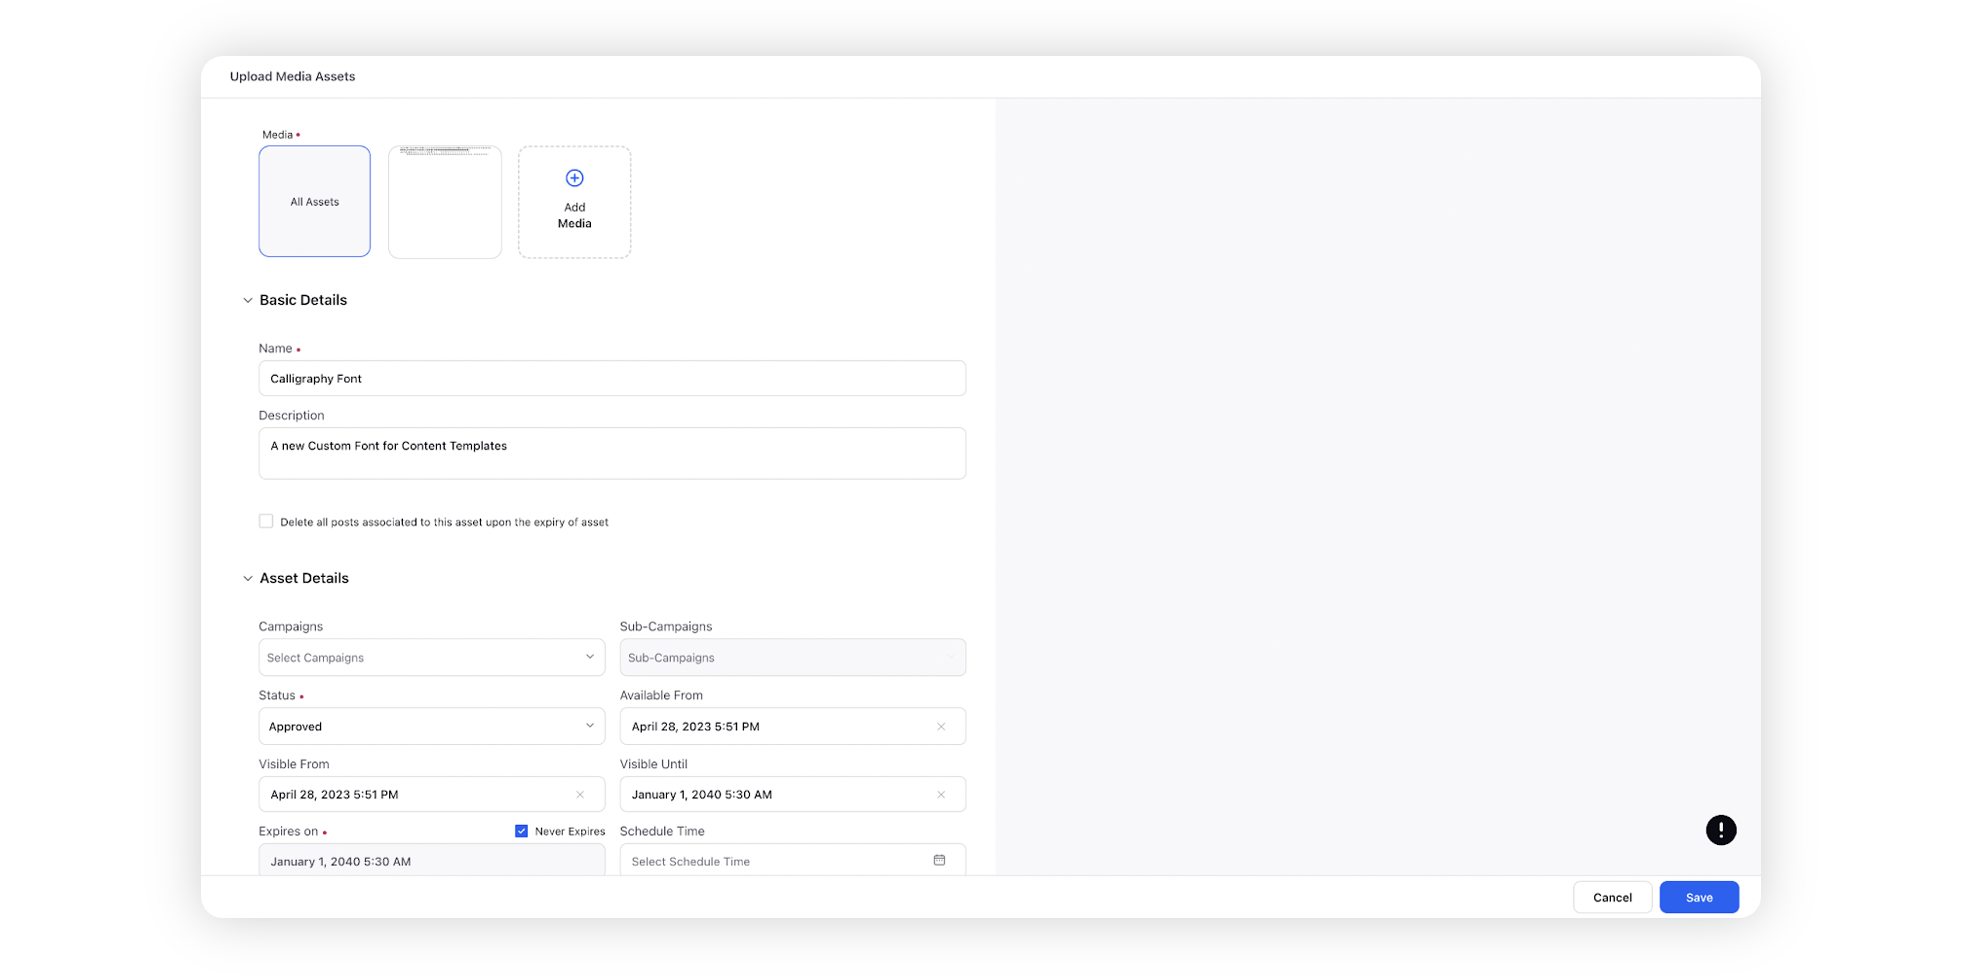
Click Save to import the font.
Using Custom Fonts in Content Templates
Click the New Tab icon. Under the Sprinklr Marketing tab, switch to Marketing and select Content Templates within Creation.
In the top right corner of the Content Template Builder window, click New Content Template to create a content template or edit an existing one.
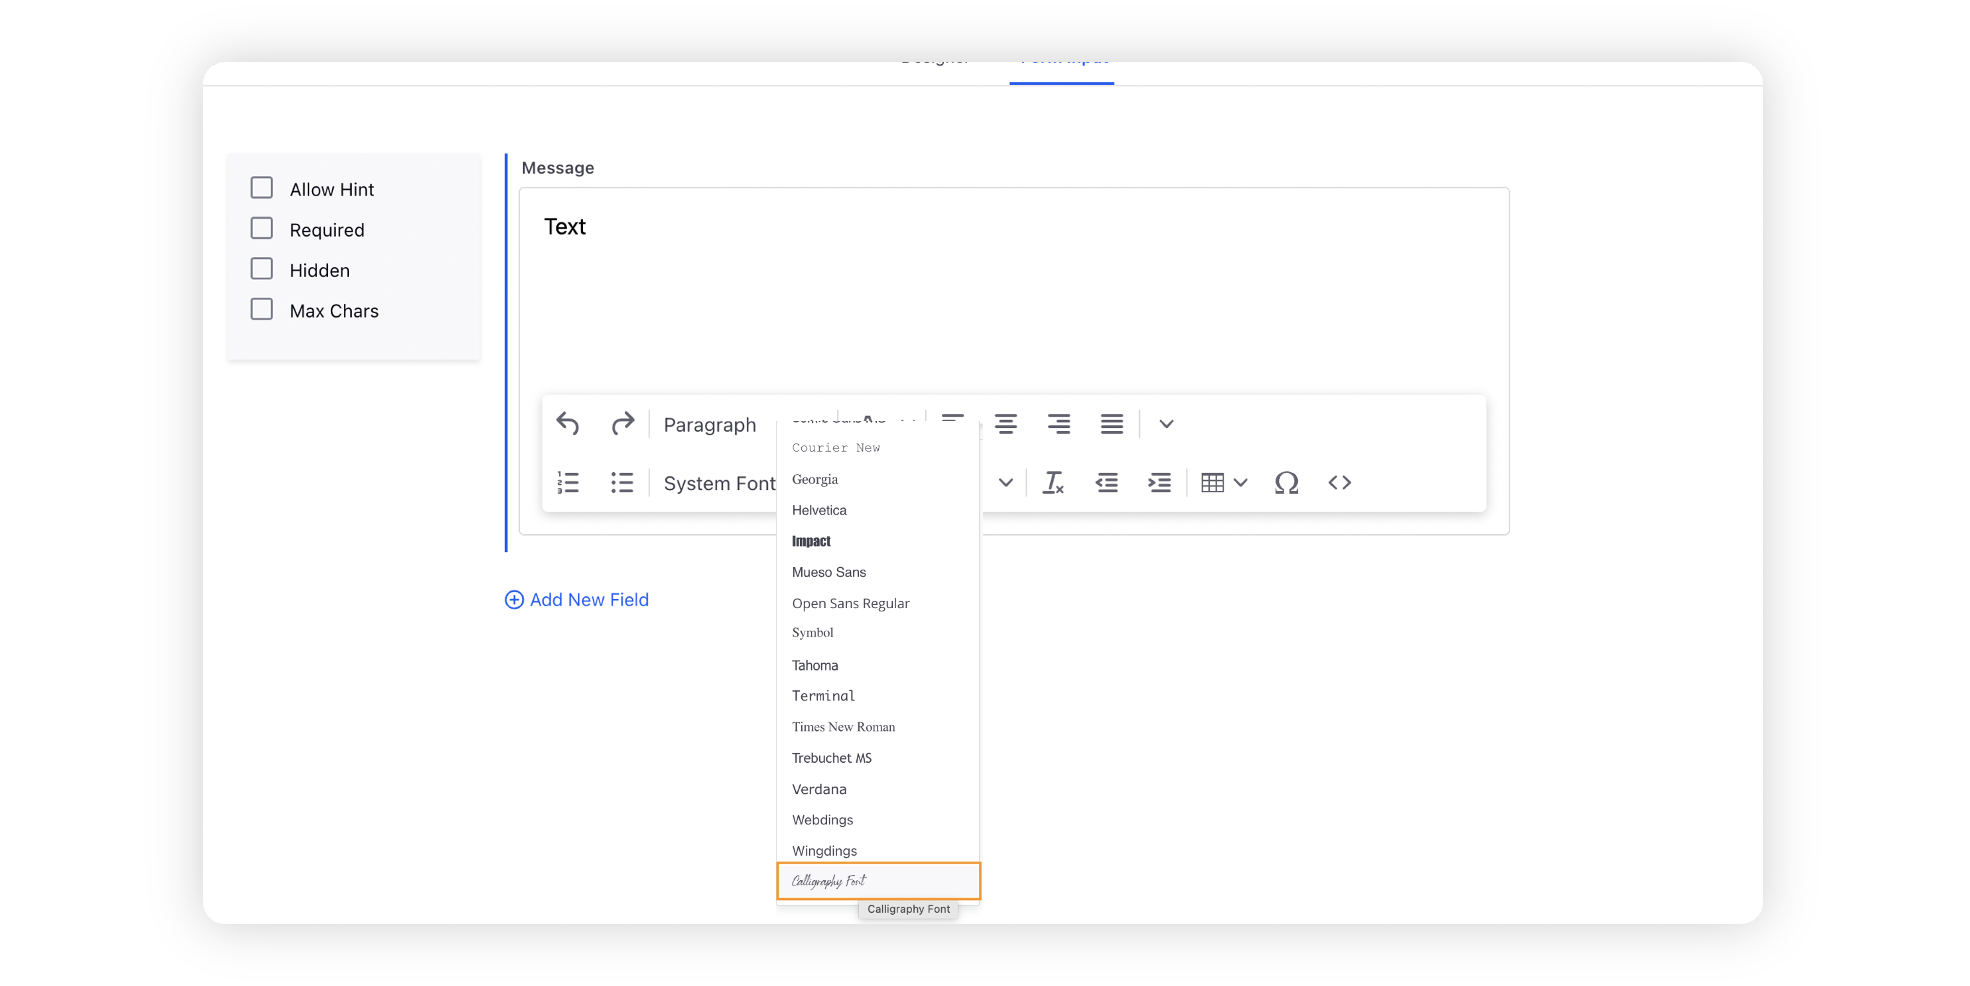
 Note: Custom Fonts are only available in the Classic Editor for Content Templates.
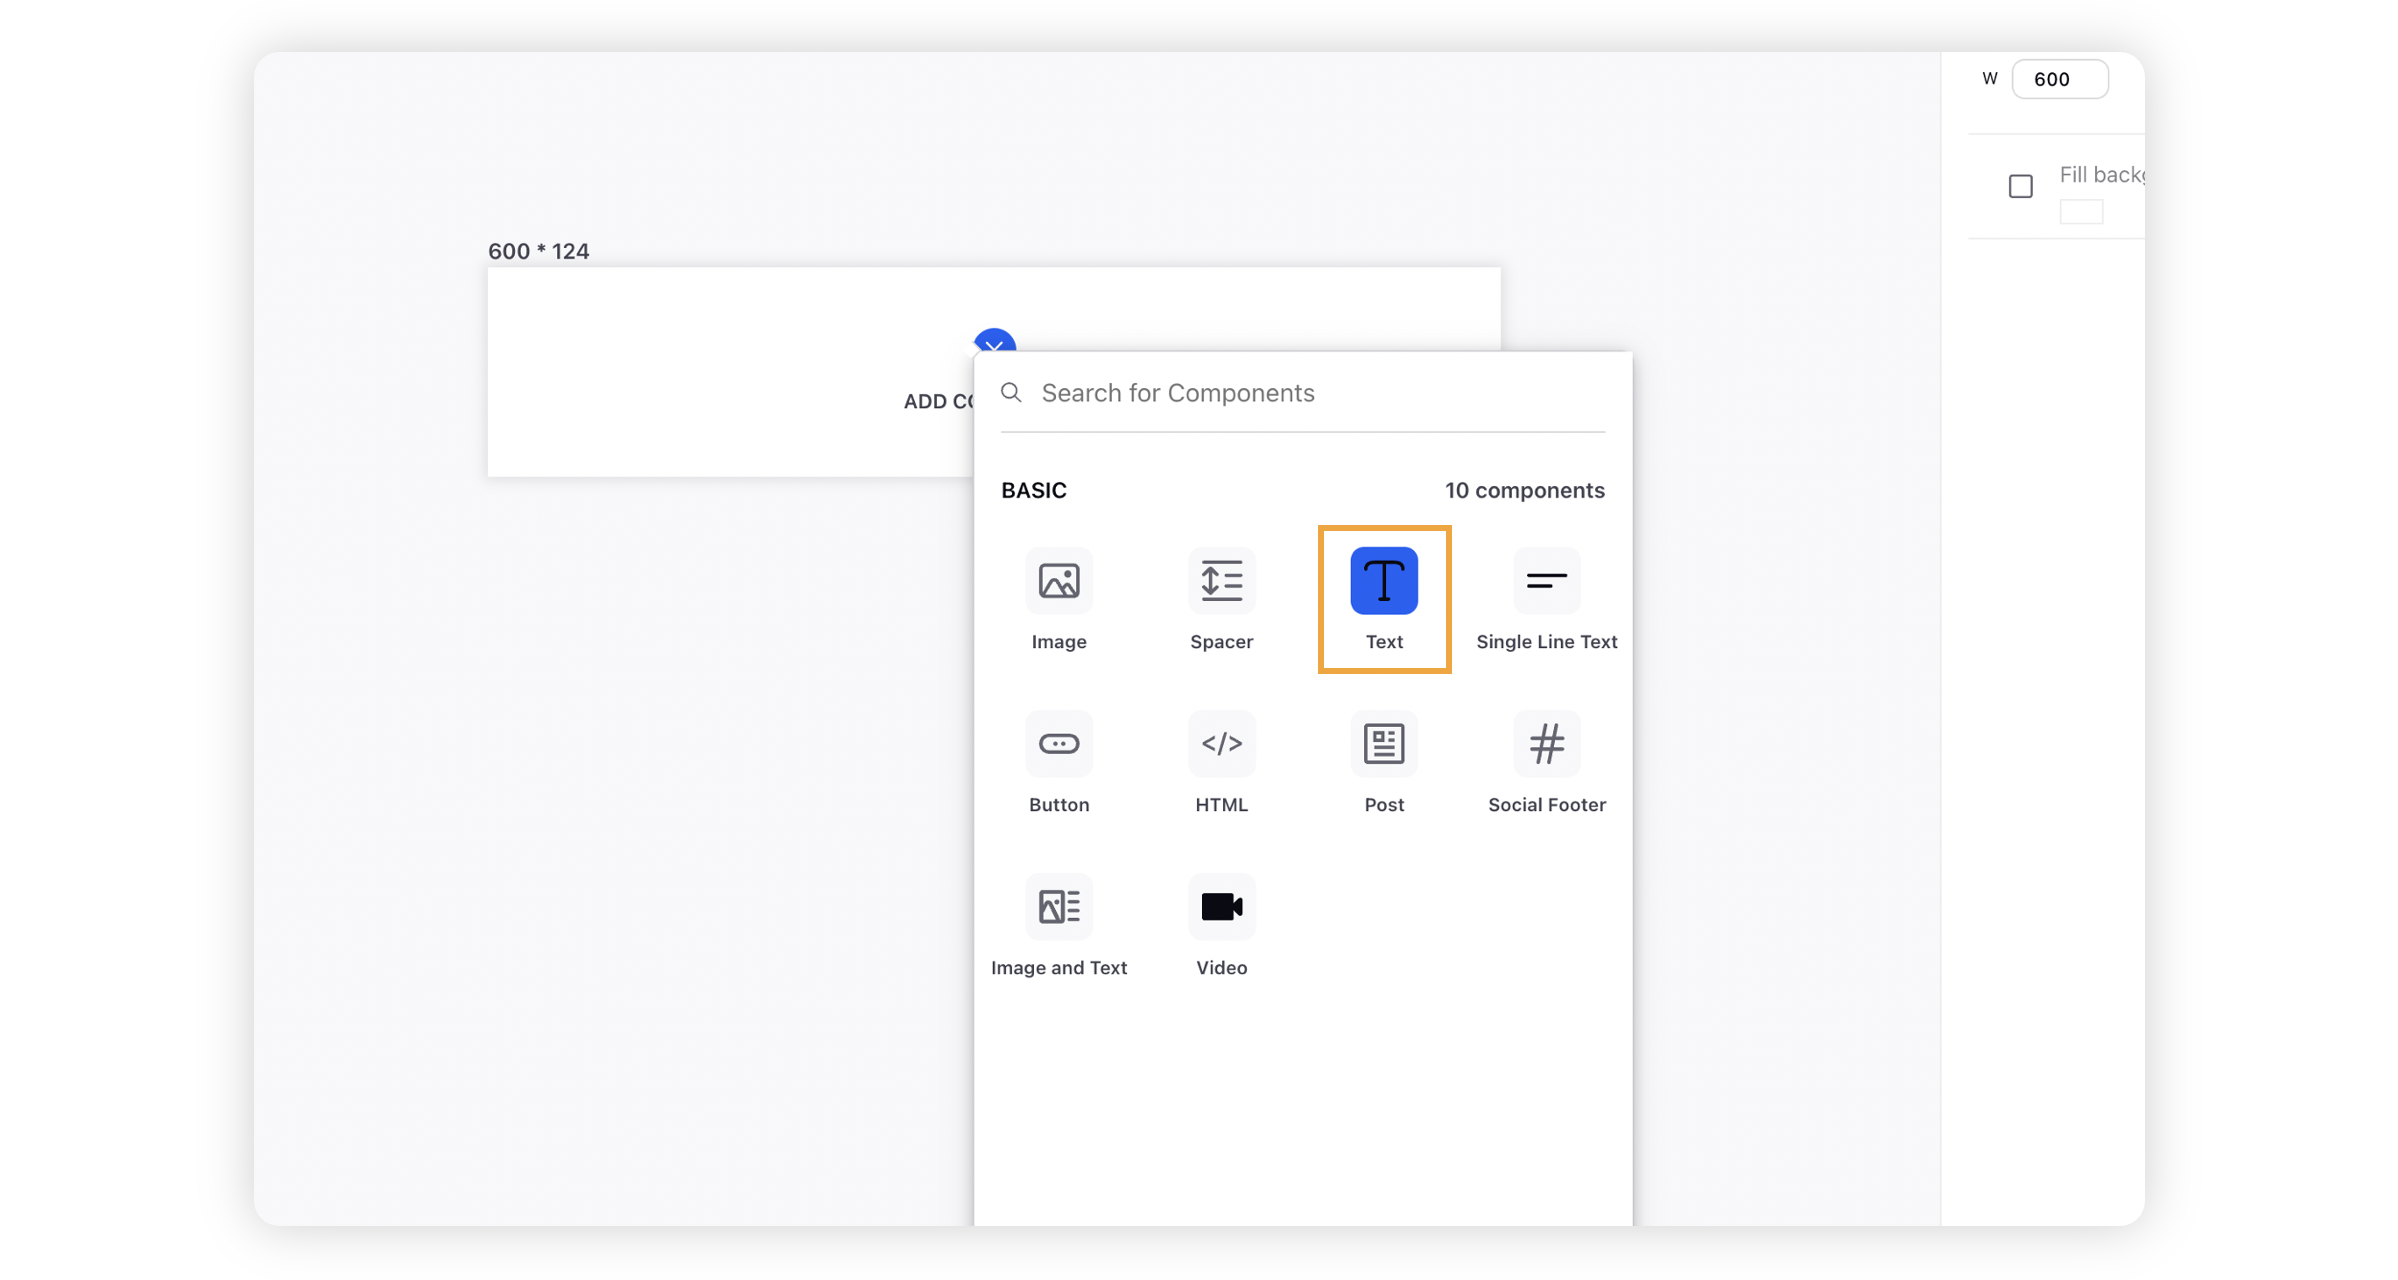
Add a Text component in which you wish to use the Custom Font and switch to the Form Input Tab.
In the Form Input Tab, click on the Dropdown icon inside the text component and select the Custom Font that you imported from the All Fonts dropdown.