User State Builder
Updated
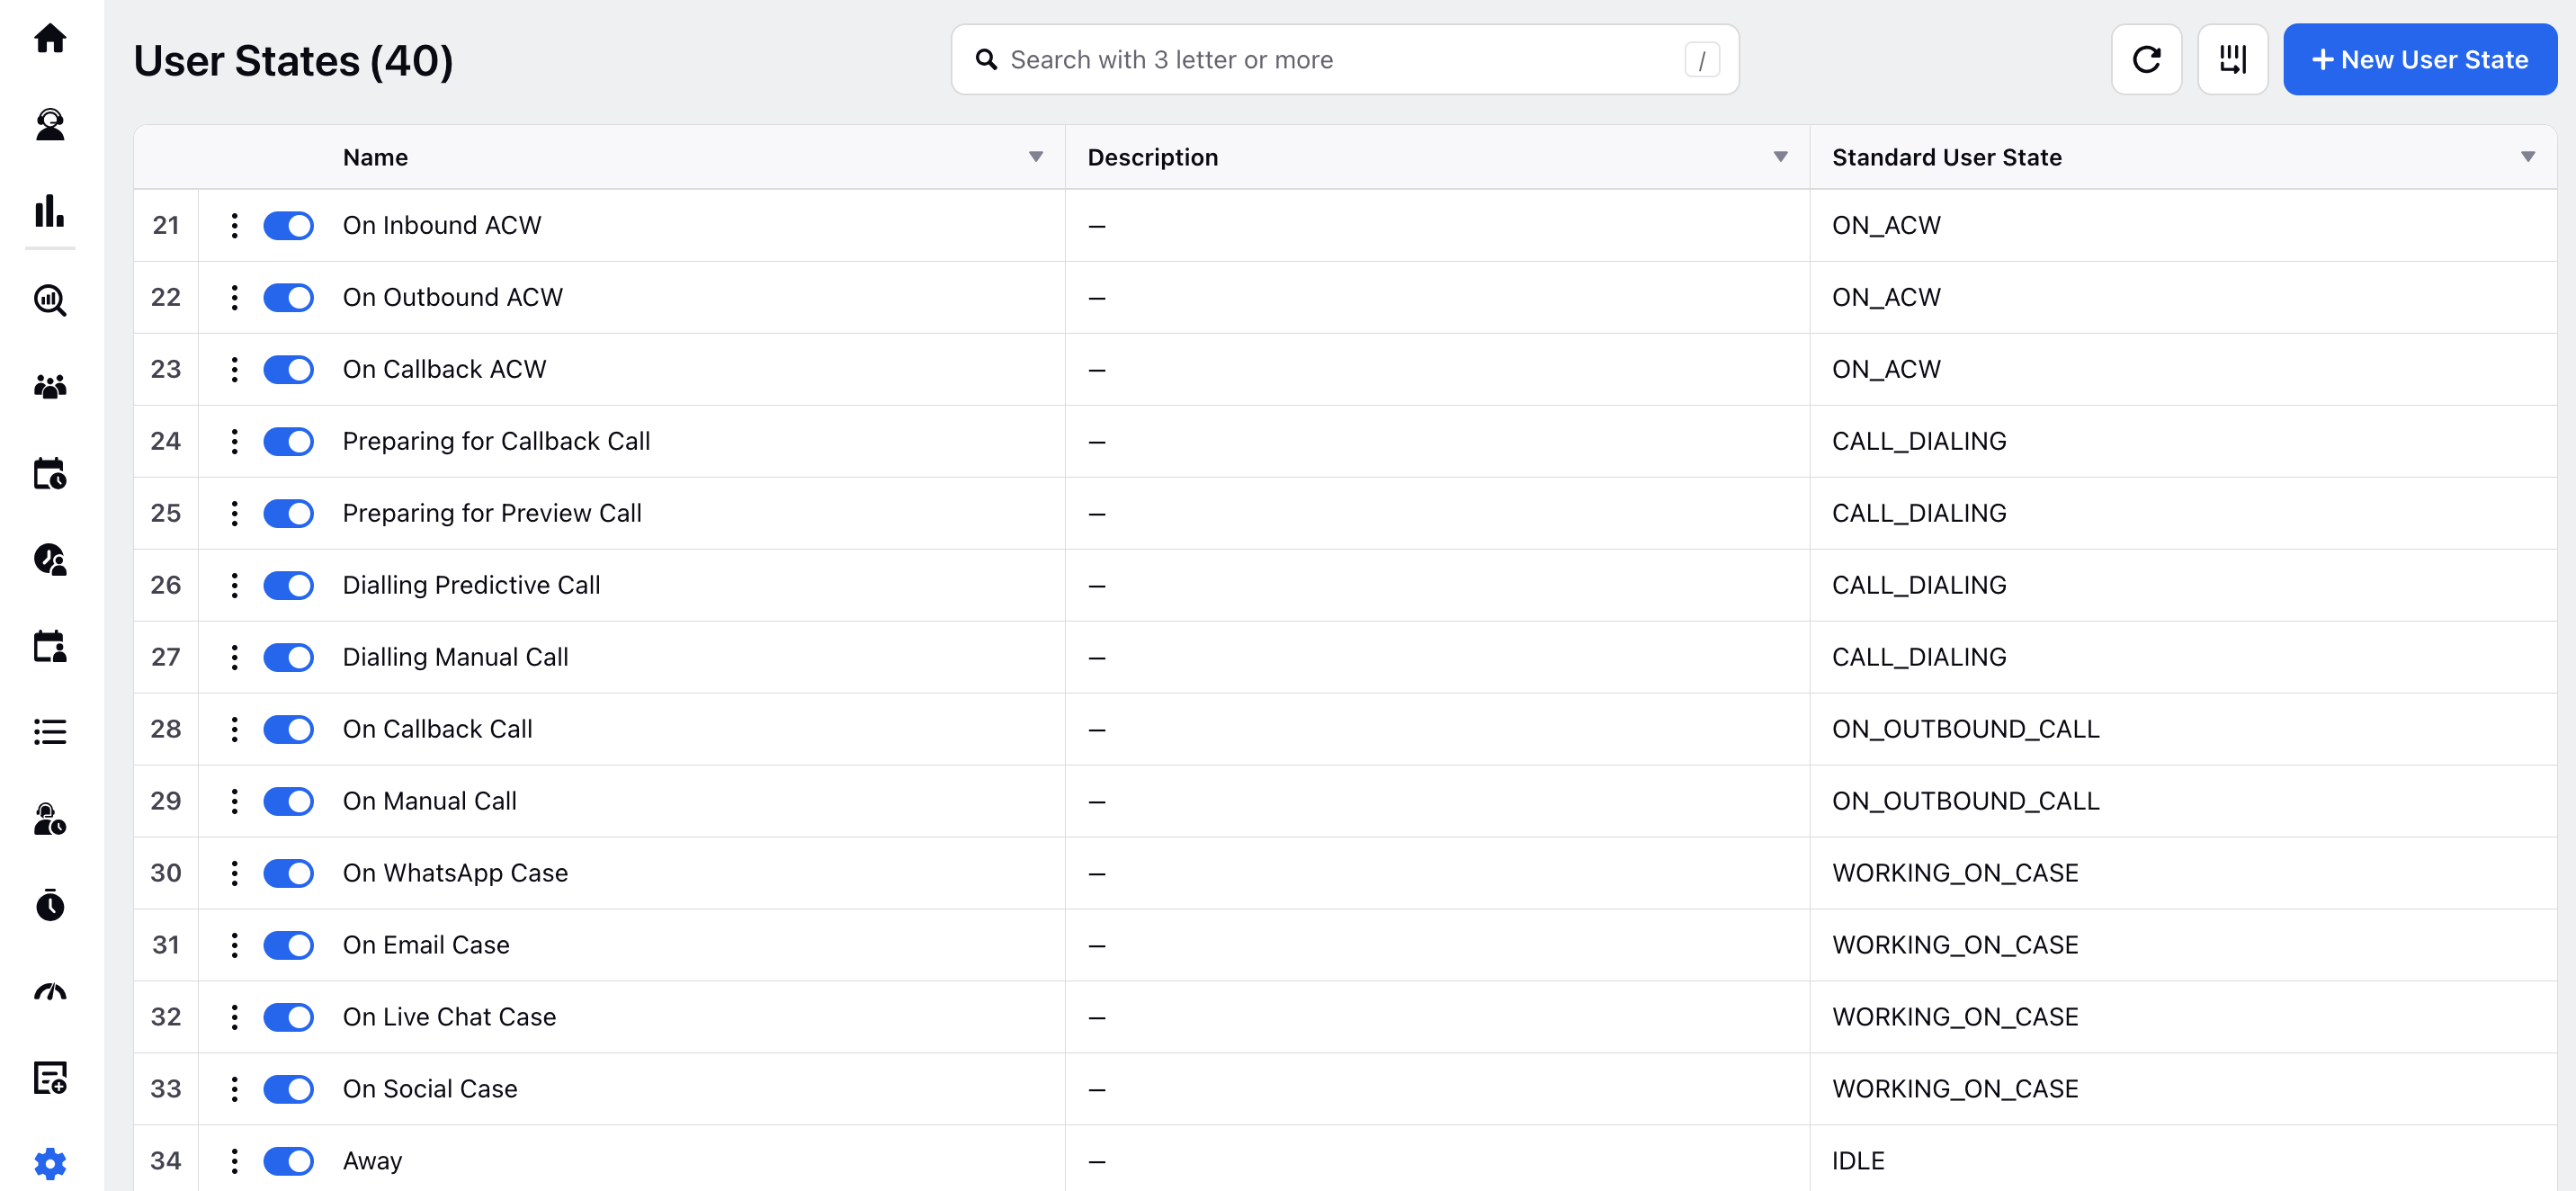
Agent State provides a summary of agents' current activities, such as being on an outbound call, inbound call, call ringing, idle, or working on a case. This feature helps in understanding the real-time actions performed by agents.
With the User State Builder, users can create more granular views of Agent States, allowing supervisors to visualize performance and current states more effectively. For instance, when an agent is in After Call Work (ACW), the Agent State previously displayed this as simply "On ACW." Now, using the Builder, admins can configure the User State to show specific details such as "On Inbound ACW," "On Outbound ACW," or "On Callback ACW," depending on the type of call.
Similarly, if an agent is working on a case, the previous state was shown as "Working on a Case." However, supervisors couldn't determine the type of case being handled. With the Builder, this can now be specified to display states like "Working on an Email Case," "Working on a Live Chat Case," or "Working on a Social Case," based on the case's channel.
To enable this feature, please raise a Support Ticket.
To Create User States
On the User States window, click + New User State in the top right corner.

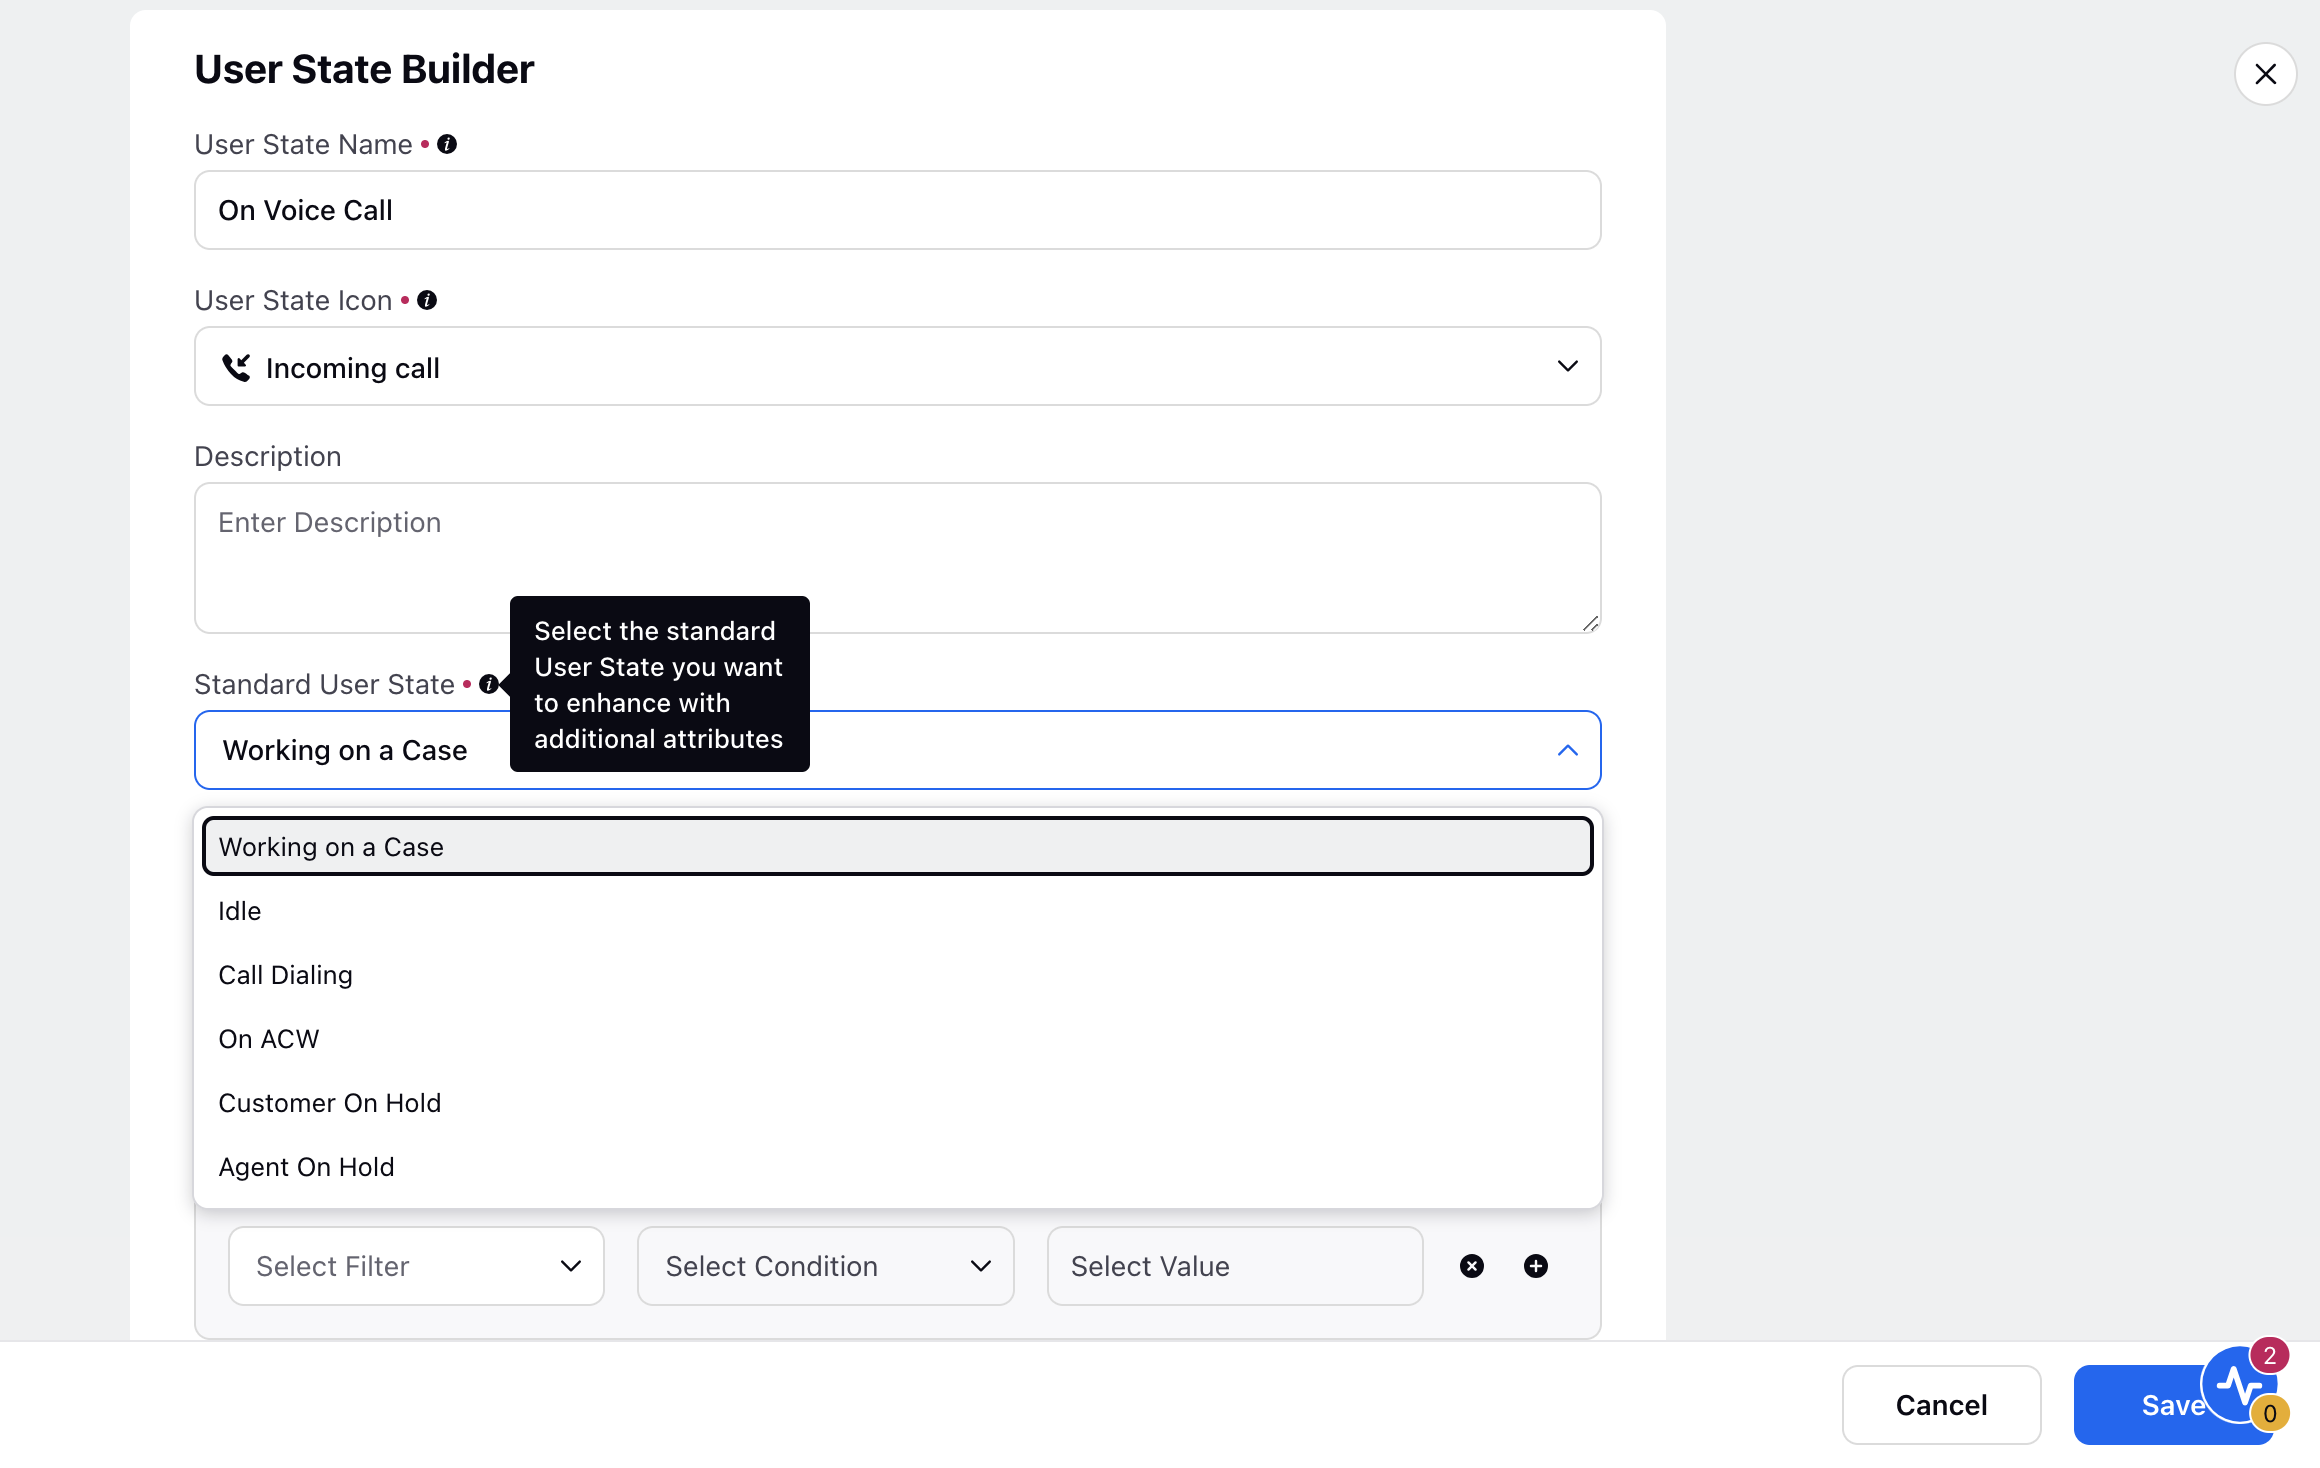
On the User State Builder window, add the following details:
User State Name: Enter a custom name for the User State. This will appear in the Supervisor Console and Reporting.
User State Icon: Choose an icon for the User State to display in the Supervisor Console.
Description: Provide a brief description of the User State.

Standard User State: Select the standard User State you want to enhance with additional attributes.
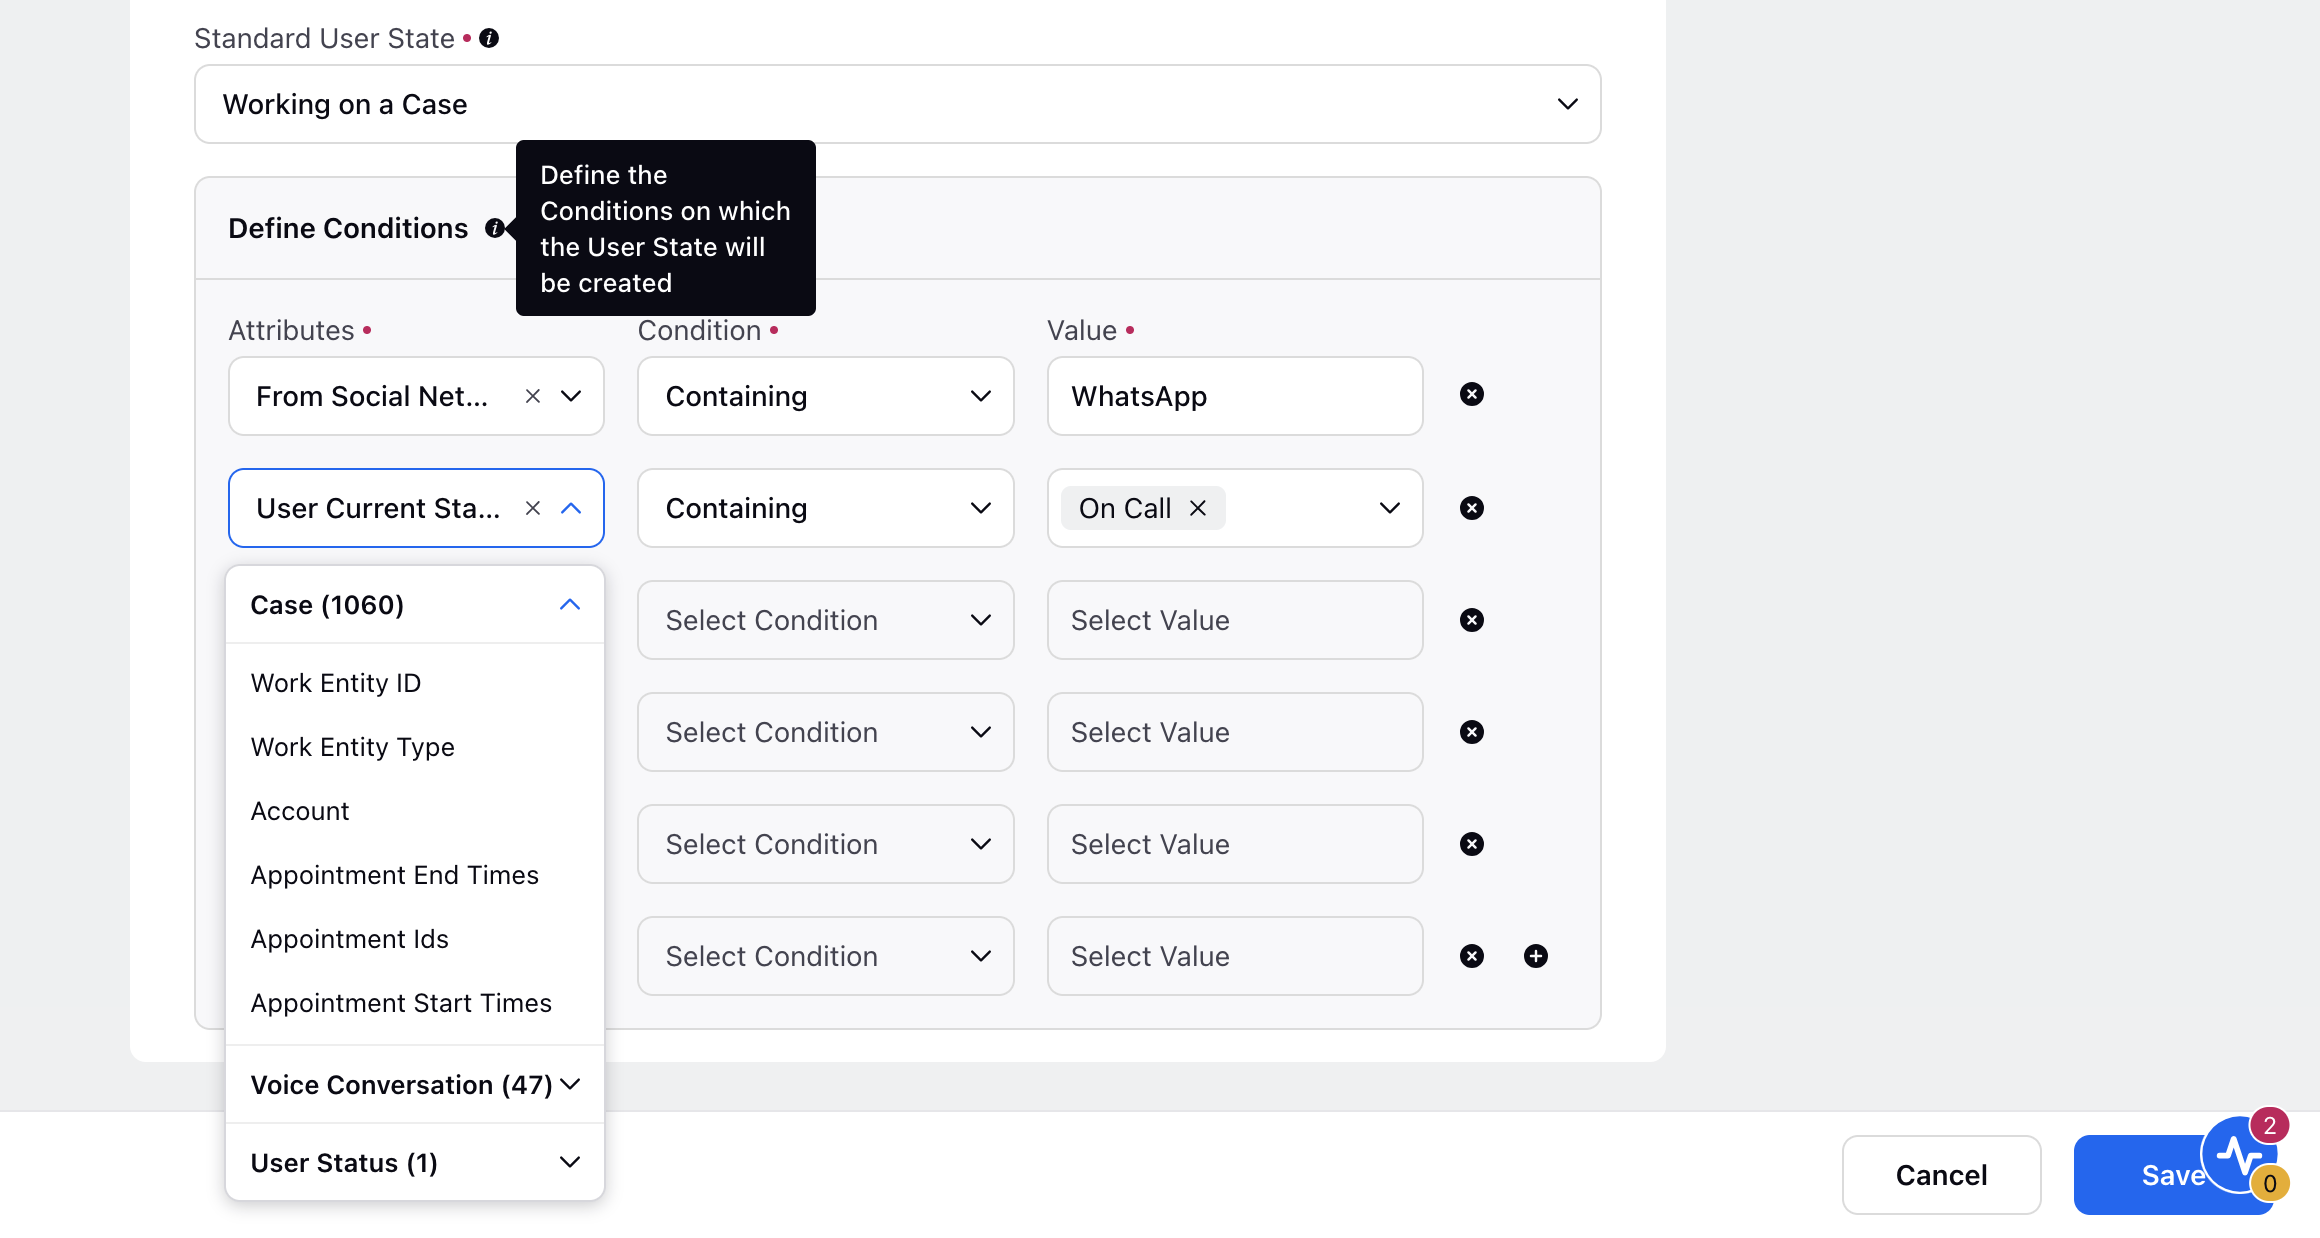
Define Conditions: Define the conditions for creating the User State, such as case custom fields, voice conversation attributes, and user status.

Click Save at the bottom.
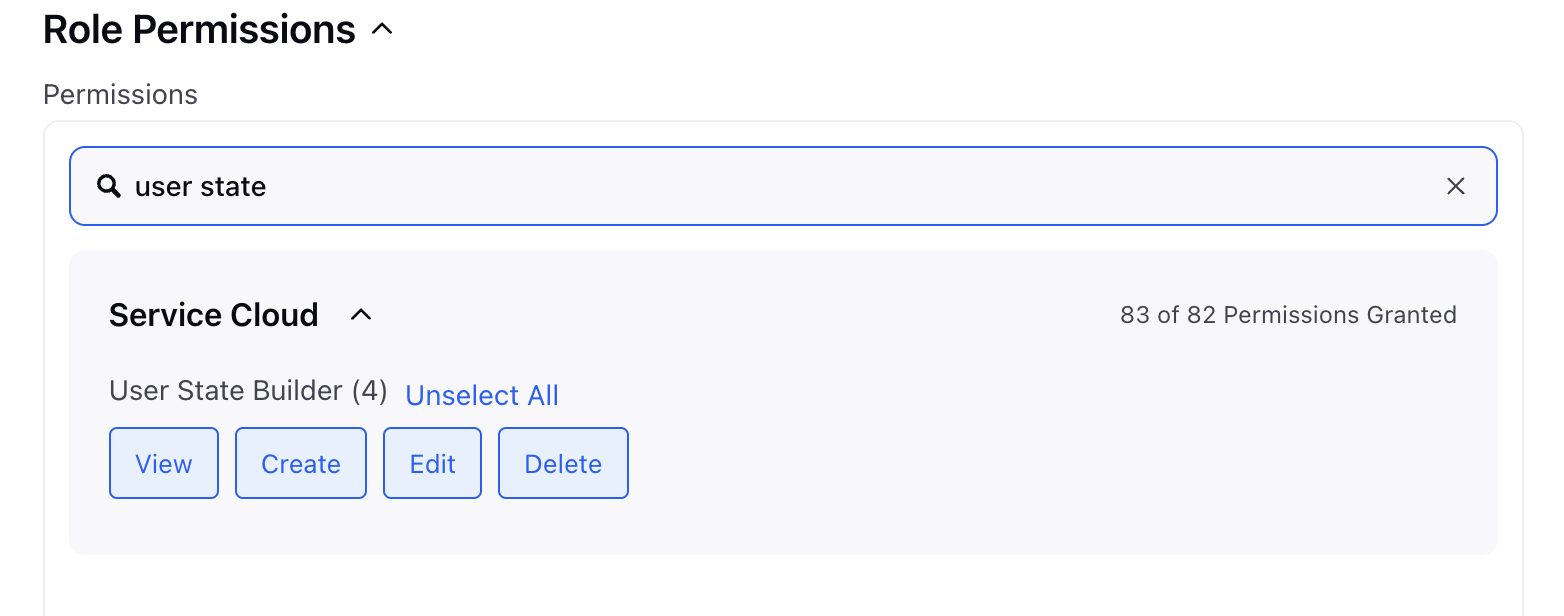
Governance for this feature is based on the below Permissions of your Role

This feature is added in a Persona (raise a Support Ticket and ask them to get it enabled in any Persona)
Once it enabled then Users can utilise this feature by clicking on the respective menu item of the Persona.