Customizing Personas with Persona App Manager
Updated
A Persona App is a simplified interface designed specifically for a user that helps them manage their daily activities. In Sprinklr, a set of standard persona apps are available based on common use cases, across product suites that do not need any customization.
The users might have various roles such as Agents, Supervisors, Quality managers, Insight Analysts, and more. Even users with the same role might have different tasks based on their organization. To meet the varying needs of the user, the existing persona app can be customized using the Persona App Manager.
In this article, we will learn what customizations can be done via the persona app editor and how one can use it to make changes to the persona app.
Access Persona App Manager
To access Persona App Manager, follow these steps:
1. In Sprinklr, click the New Page (+) icon to open the launchpad, or click the Launchpad (![]() ) icon in the top-right corner.
) icon in the top-right corner.
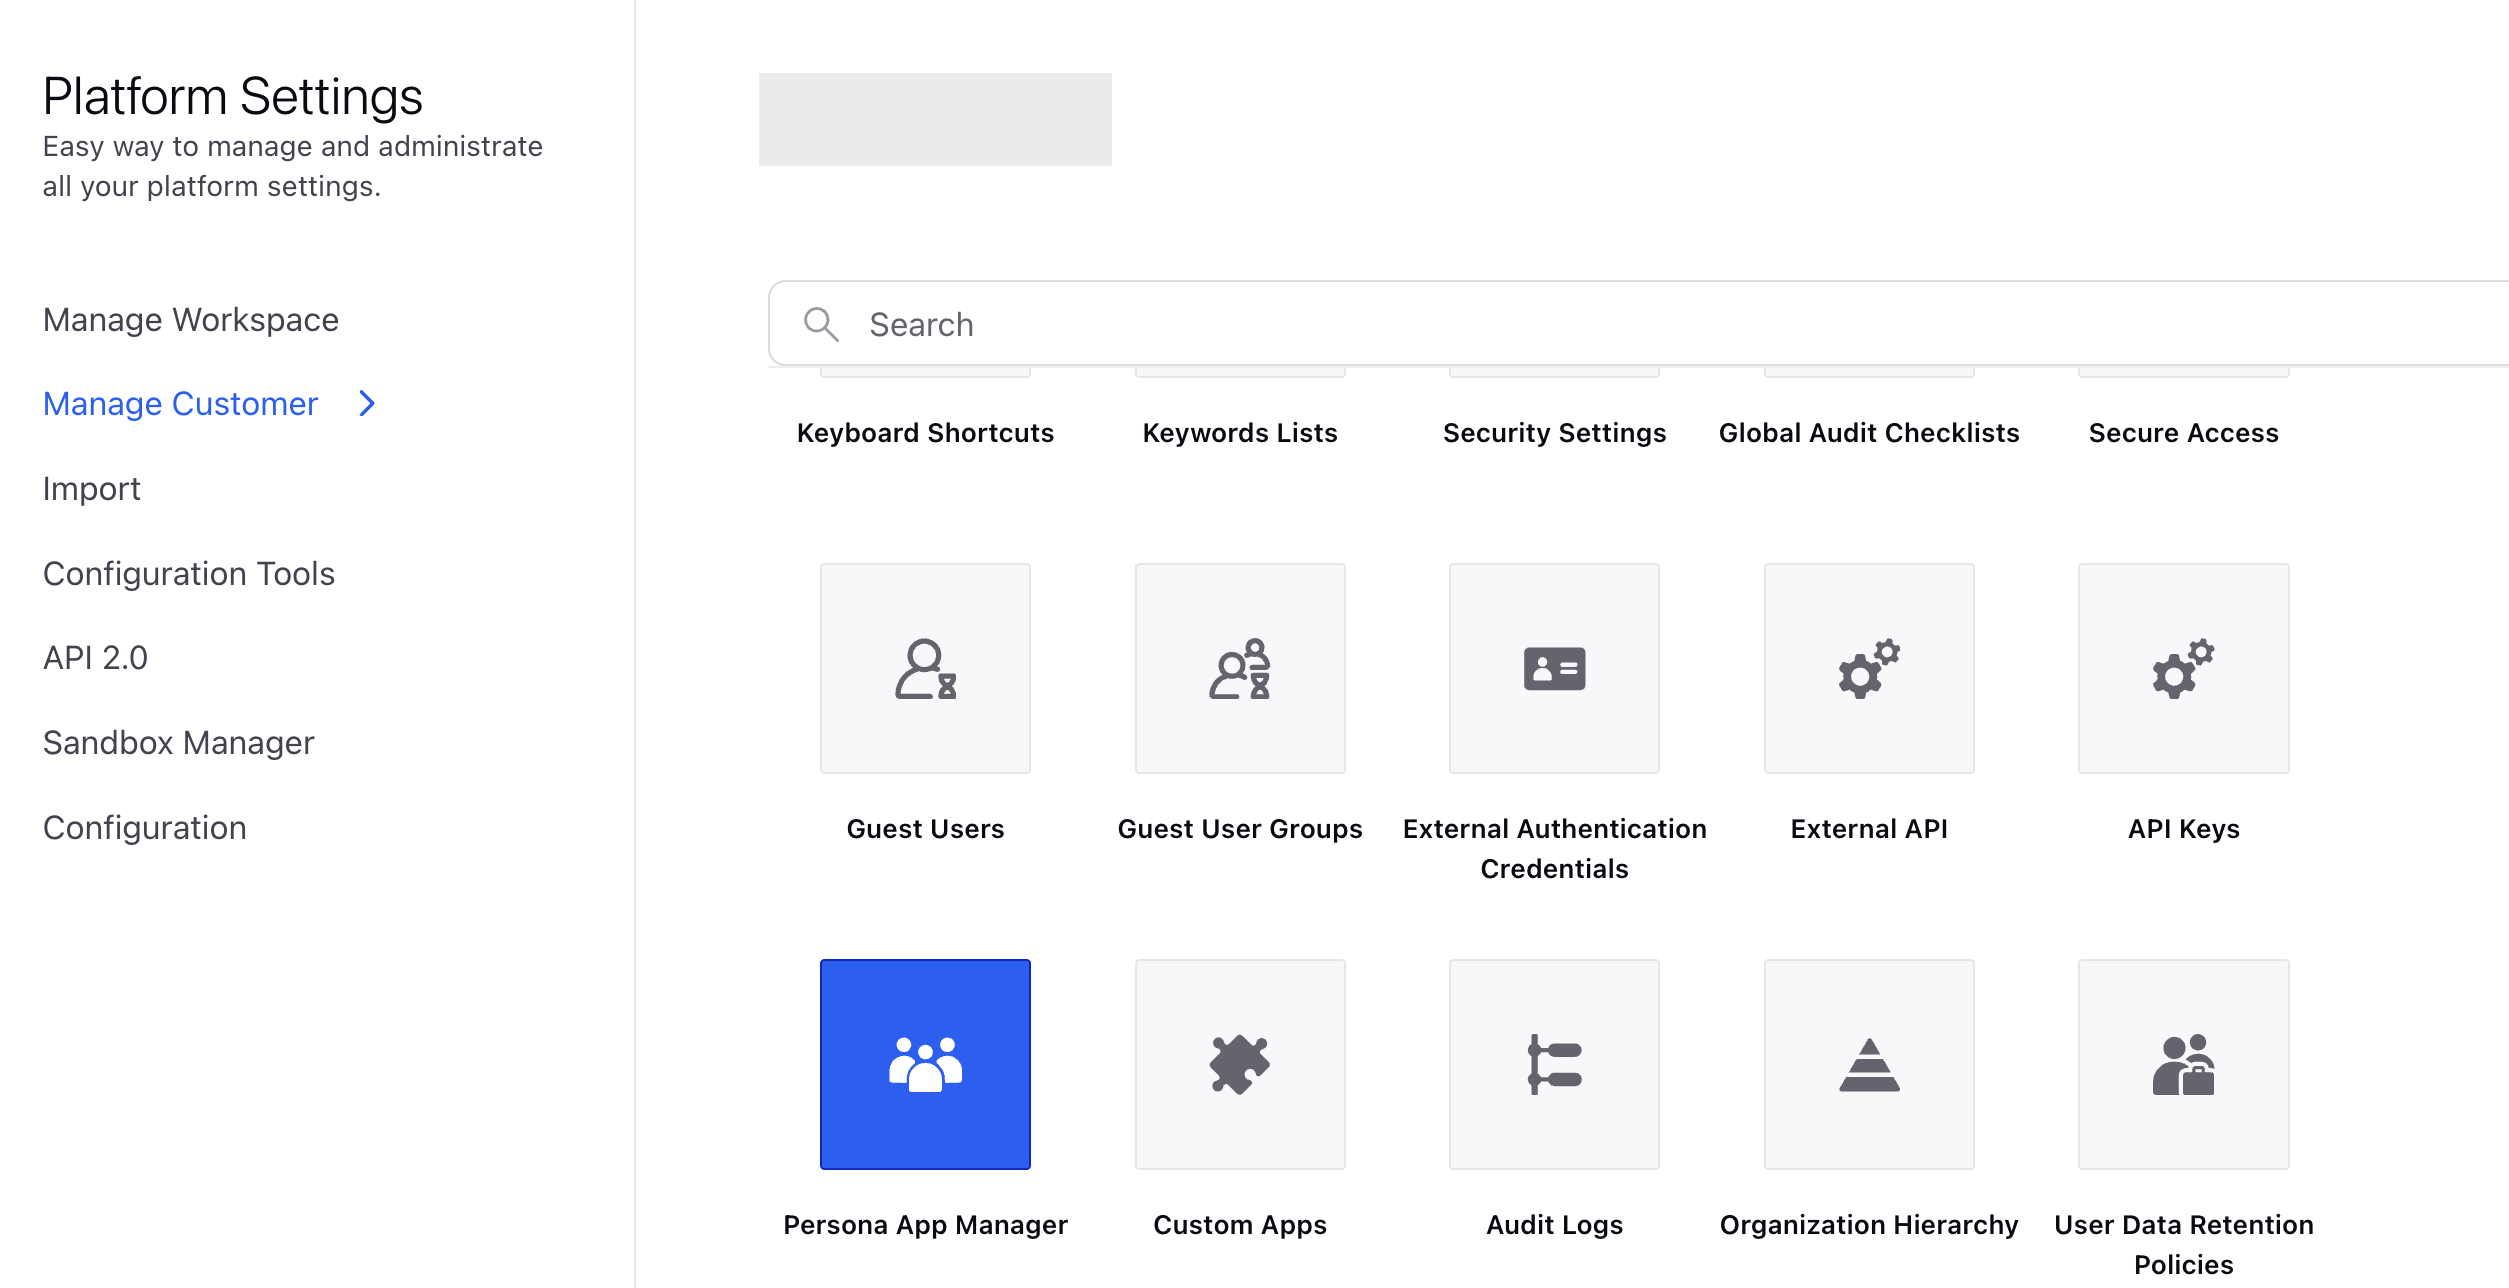
2. In the search bar, type All Settings.
3. Go to the Manage Customer tab.
4. Click Persona App Manager.

Create a new Persona App
The user can create the clone of standard persona apps and customise it based on the use case.
Create a new persona app by cloning the standard personas
1. Click the three-dot icon next to the persona app name. Here, the user can clone a standard persona app with pre defined configuration.
2.After clicking on clone – a pop up will open from where the name of new persona can be set, and persona app icon be defined.
Editing an Existing Custom App
To edit an existing custom app, follow these steps:
1. Open the persona app manager and double click on the persona app you want to edit. This opens the app within the editor screen.
2. The editor screen lists all of the menu items which are part of the app currently. Menu items are grouped into primary, secondary and footer based on the location in the left navigation
Add new modules in persona
1. Click the Plus button to add a new menu item.
2. Search for the required menu item name to be added and choose.
3. Select the location the menu item has to appear - primary/secondary/footer.
The selected menu item gets added and reflects in the list of menu items.
Frequently used modules that are added in persona app manager
Call - This helps to add call icon in persona.
Dashboard - You can integrate dashboards into the persona app manager and track key metrics, manage operations, and monitor streams in real-time.
Voice Campaign Console – This helps to add campaign monitoring screen in persona.
Queues – This helps to add Unified Routing Queue Page in persona.
Campaign Manager – This is used to add Campaign Manager screen in persona from where persona user can create campaigns.
Voice Segment Manager - This is used to add segment manager screen in persona from where persona user can create campaigns.
Create Case - From here persona user can create case.
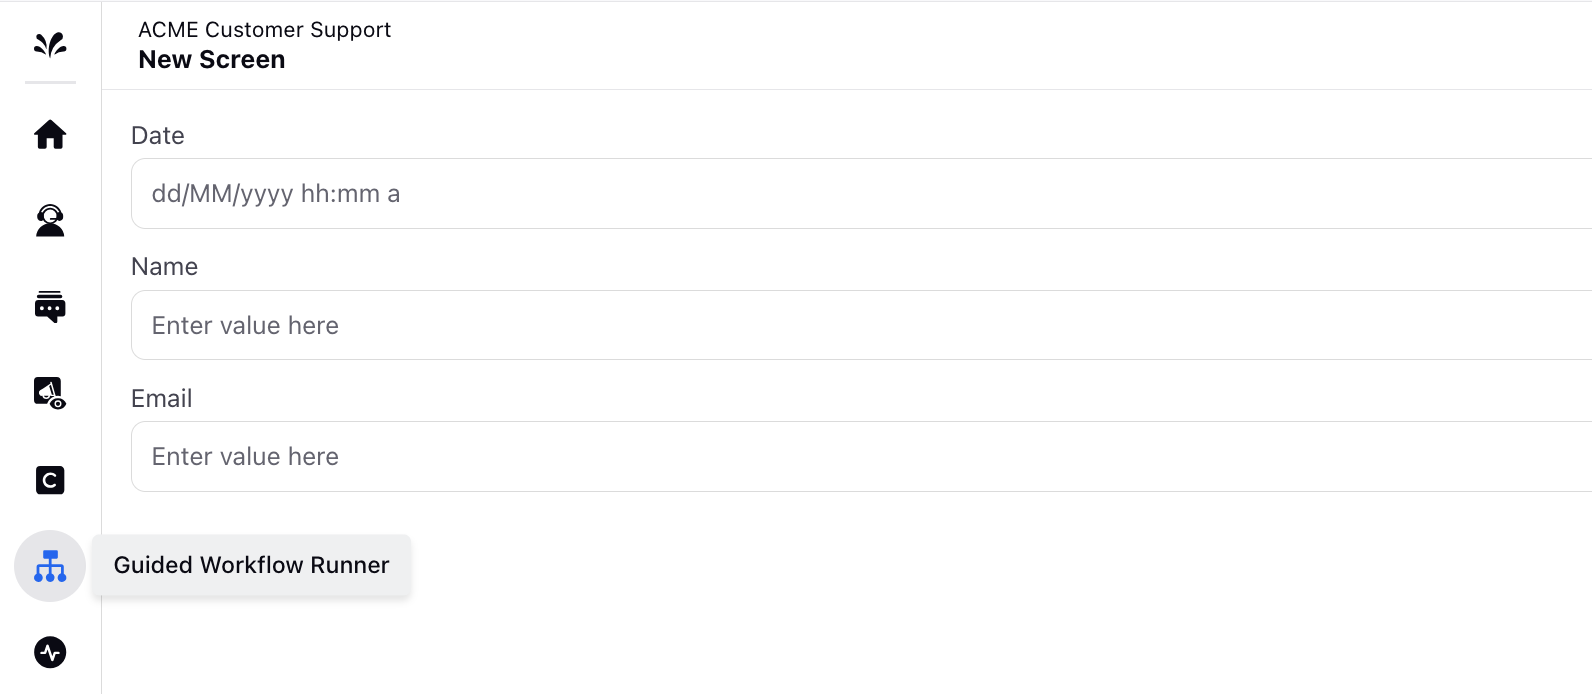
Guided Workflow Runner - The Guided Workflow Runner enables users to incorporate a guided workflow directly into their persona, facilitating seamless execution. Users can select the specific Guided Workflow to execute simply by clicking on the corresponding tab.
.png)

Adding Sub Navigations for Menu Items
When users need to see related modules together as a sub navigation, this is the best approach.
1. Click the Plus button and search for “Sub Navigation Item”. Choose this menu item and location.
2. Click the sub nav item to open configurator.
3. Under the configurator, click “Add Item” and choose the modules you need to get added.
4. Clicking on any item within the table lets you edit its settings.
Add sub navigation item
Add sub modules
Final UI post saving the changes
Reorder or Delete Menu Items
1. Hover over any menu item and drag to reorder it.
2. Drop the menu item in the new location, you can also drop it in a different section (Primary, Secondary or Footer).
3. Use the Trash icon near any of the menu item to remove it.
Menu Item Configurations
Configuration | Use case | Menu items |
Label | Choose the label users see in the left navigation on mouse over | All |
Icon | Choose the icon shown in the left navigation | All |
Ignore last visited URL | When users do not want to go back to the last screen they were in within a menu item, this has to be checked | Most items |
Persona Level Configs
Univeral Search Categories
Search Categories
Choose what all items you would need to search from when using the persona app
User Menu
Choose options under the Avatar button in the persona-only mode
Brand Icon
Add support to make Sprinklr brand icon non clickable.
Control User Status Visibility
From persona app manager use can control for which status we need to show status icon upfront.
Configuration
For Available, Outbound and Email/Chat status icon won’t come upfront.
Make drilldowns on reporting widget
Refer to this article - Drill-down into reporting widgets with Explore Lenses