How to create a Discord column in Sprinklr?
Updated
After the Discord server account is added to Sprinklr, you will be able to pull in all your Discord messages and replies for that server. In the Engagement Dashboard, Sprinklr offers different column types for Discord that can be added to the dashboard.
Before you begin
Before you can add the Discord column and begin engaging with users, you will first need to add your Discord server account. Once your server has been linked, you can add the Discord column using the instructions below.
Enablement note: The bot adding the private channel should have admin permissions for accessing all functionalities related to discord. |
To create a Discord column
Click the New Tab icon
. Under the Sprinklr Social tab, click Engagement Dashboards within Engage.
In the Engagement Home, search & select the desired engagement dashboard.
In the desired Engagement Dashboard, click Add Column in the top right corner to create a new column.
In the Add New Column window, search and select Discord as a source for adding a new column.
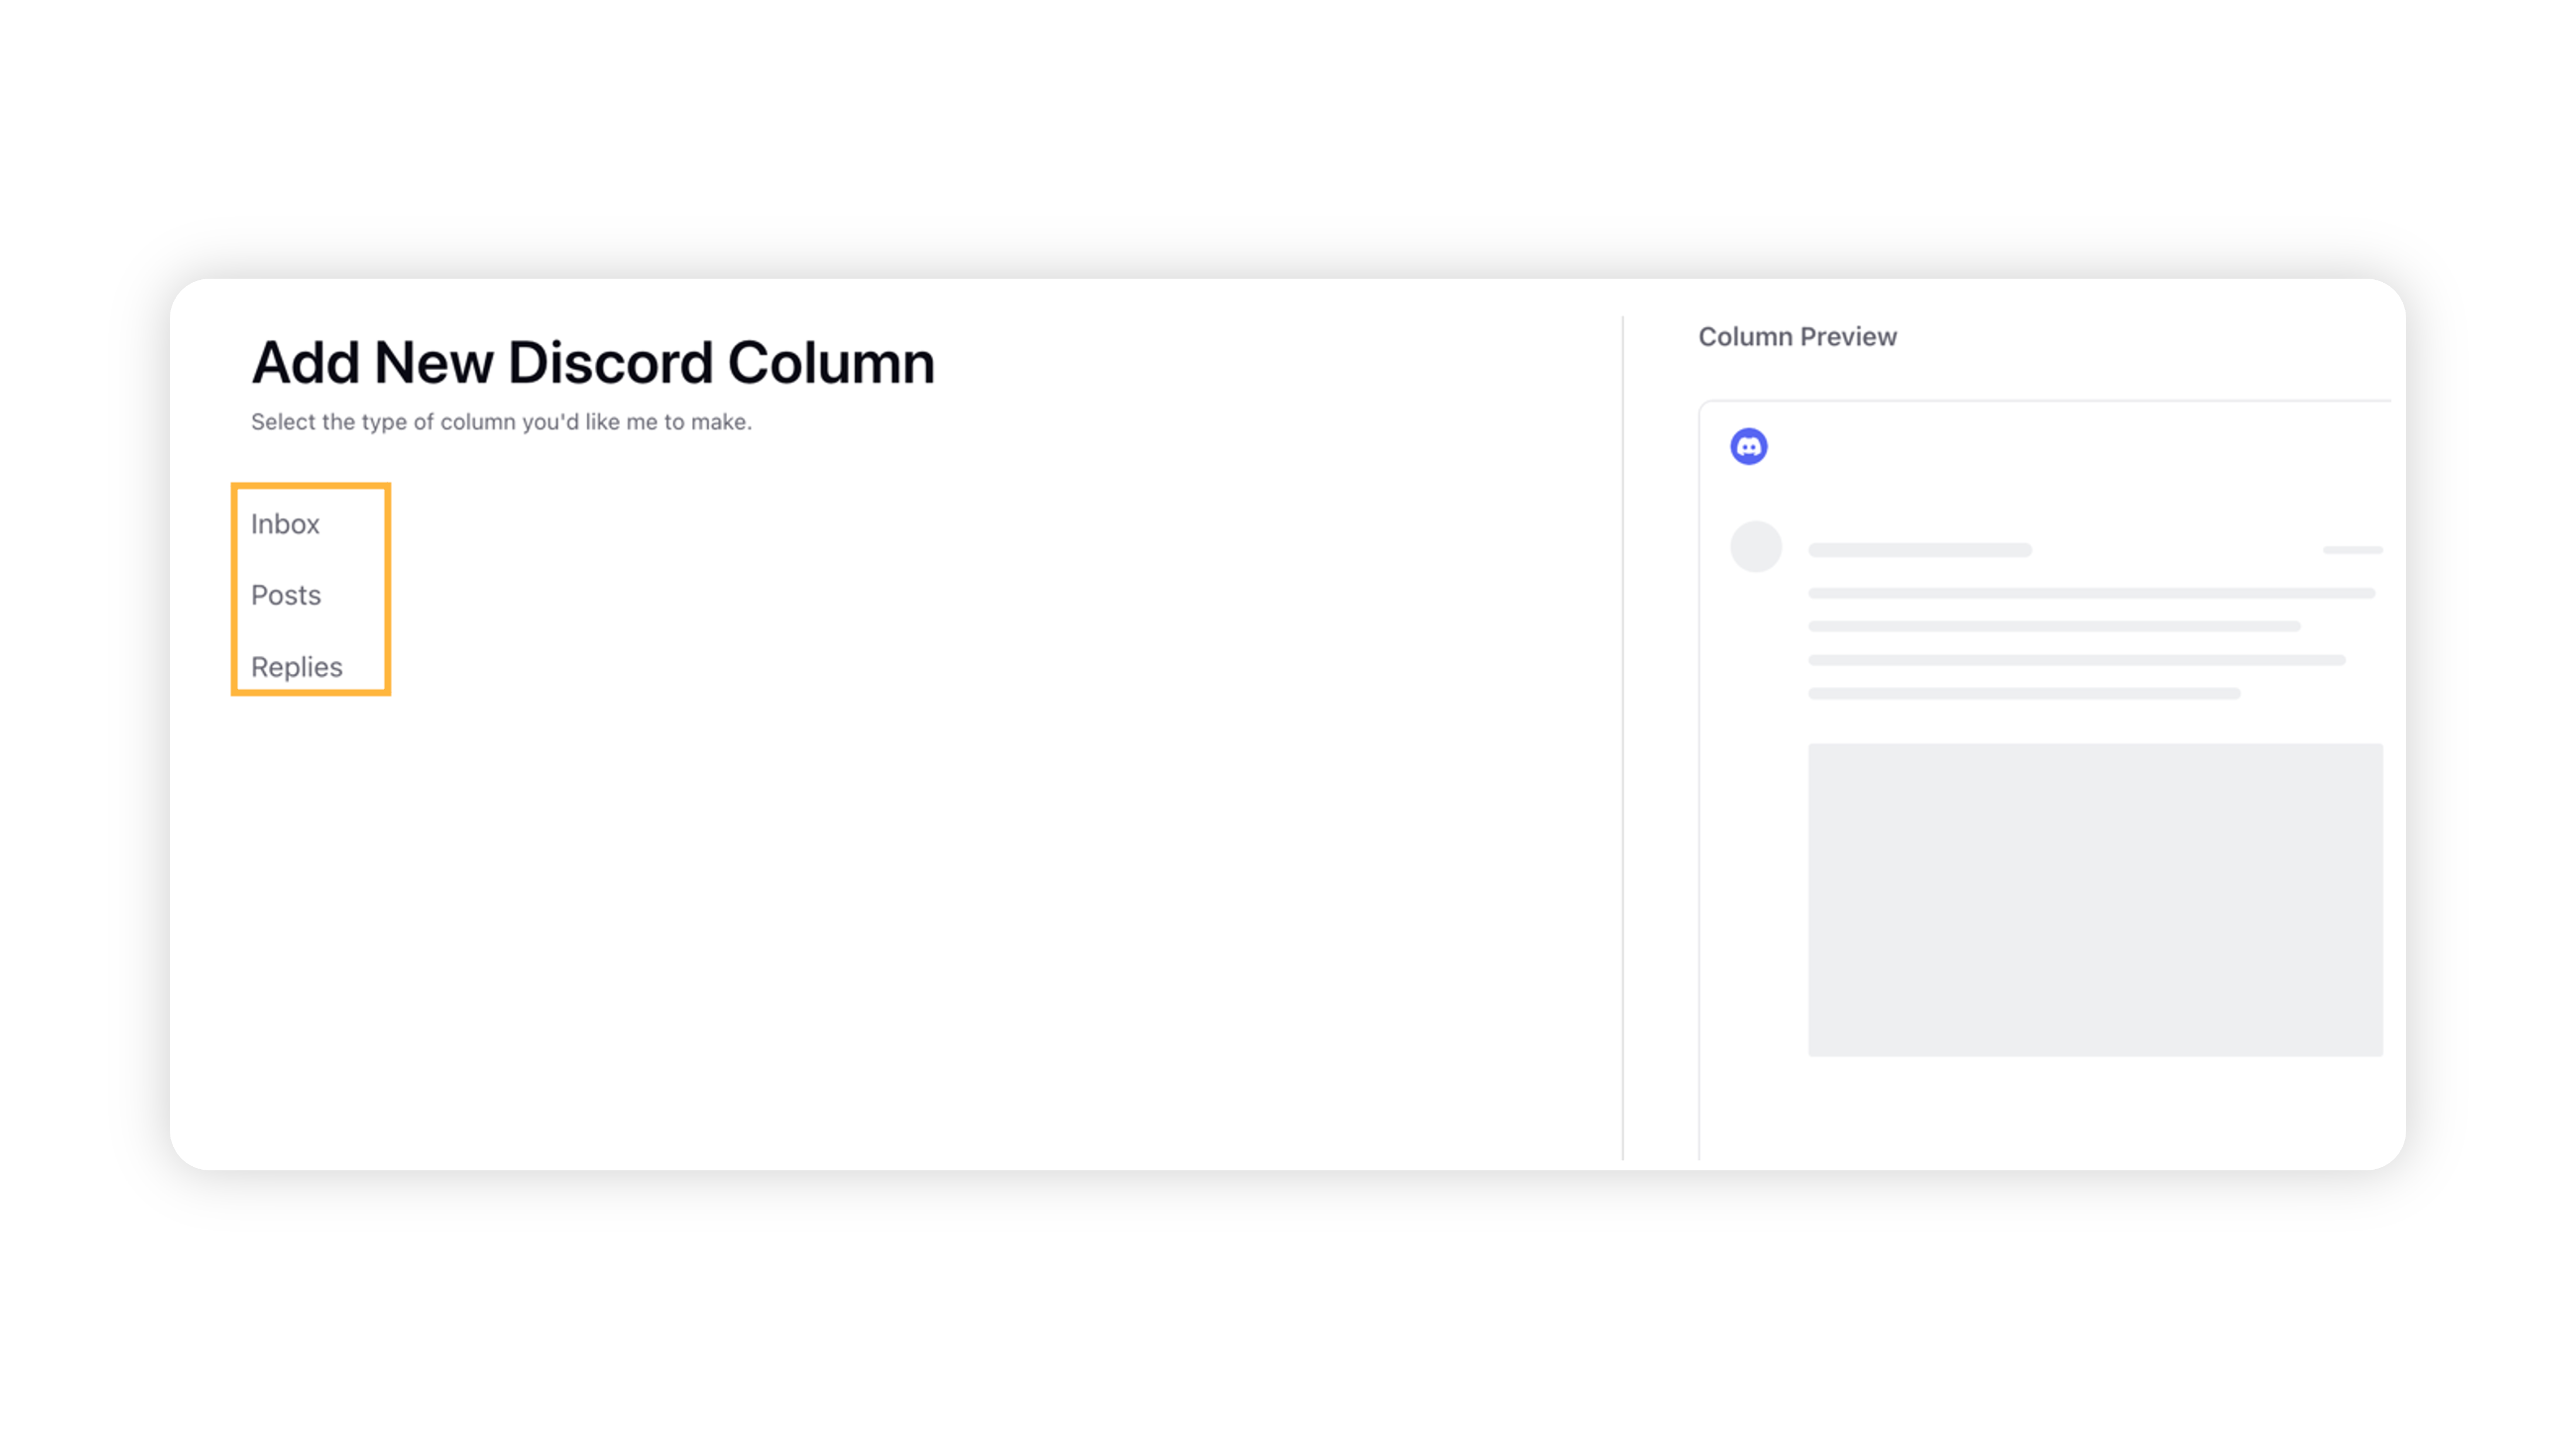
In the Add New Discord Column window, select the desired type of column you would like to make within the Engagement Dashboards. The following options are available:
Inbox
Posts
Replies
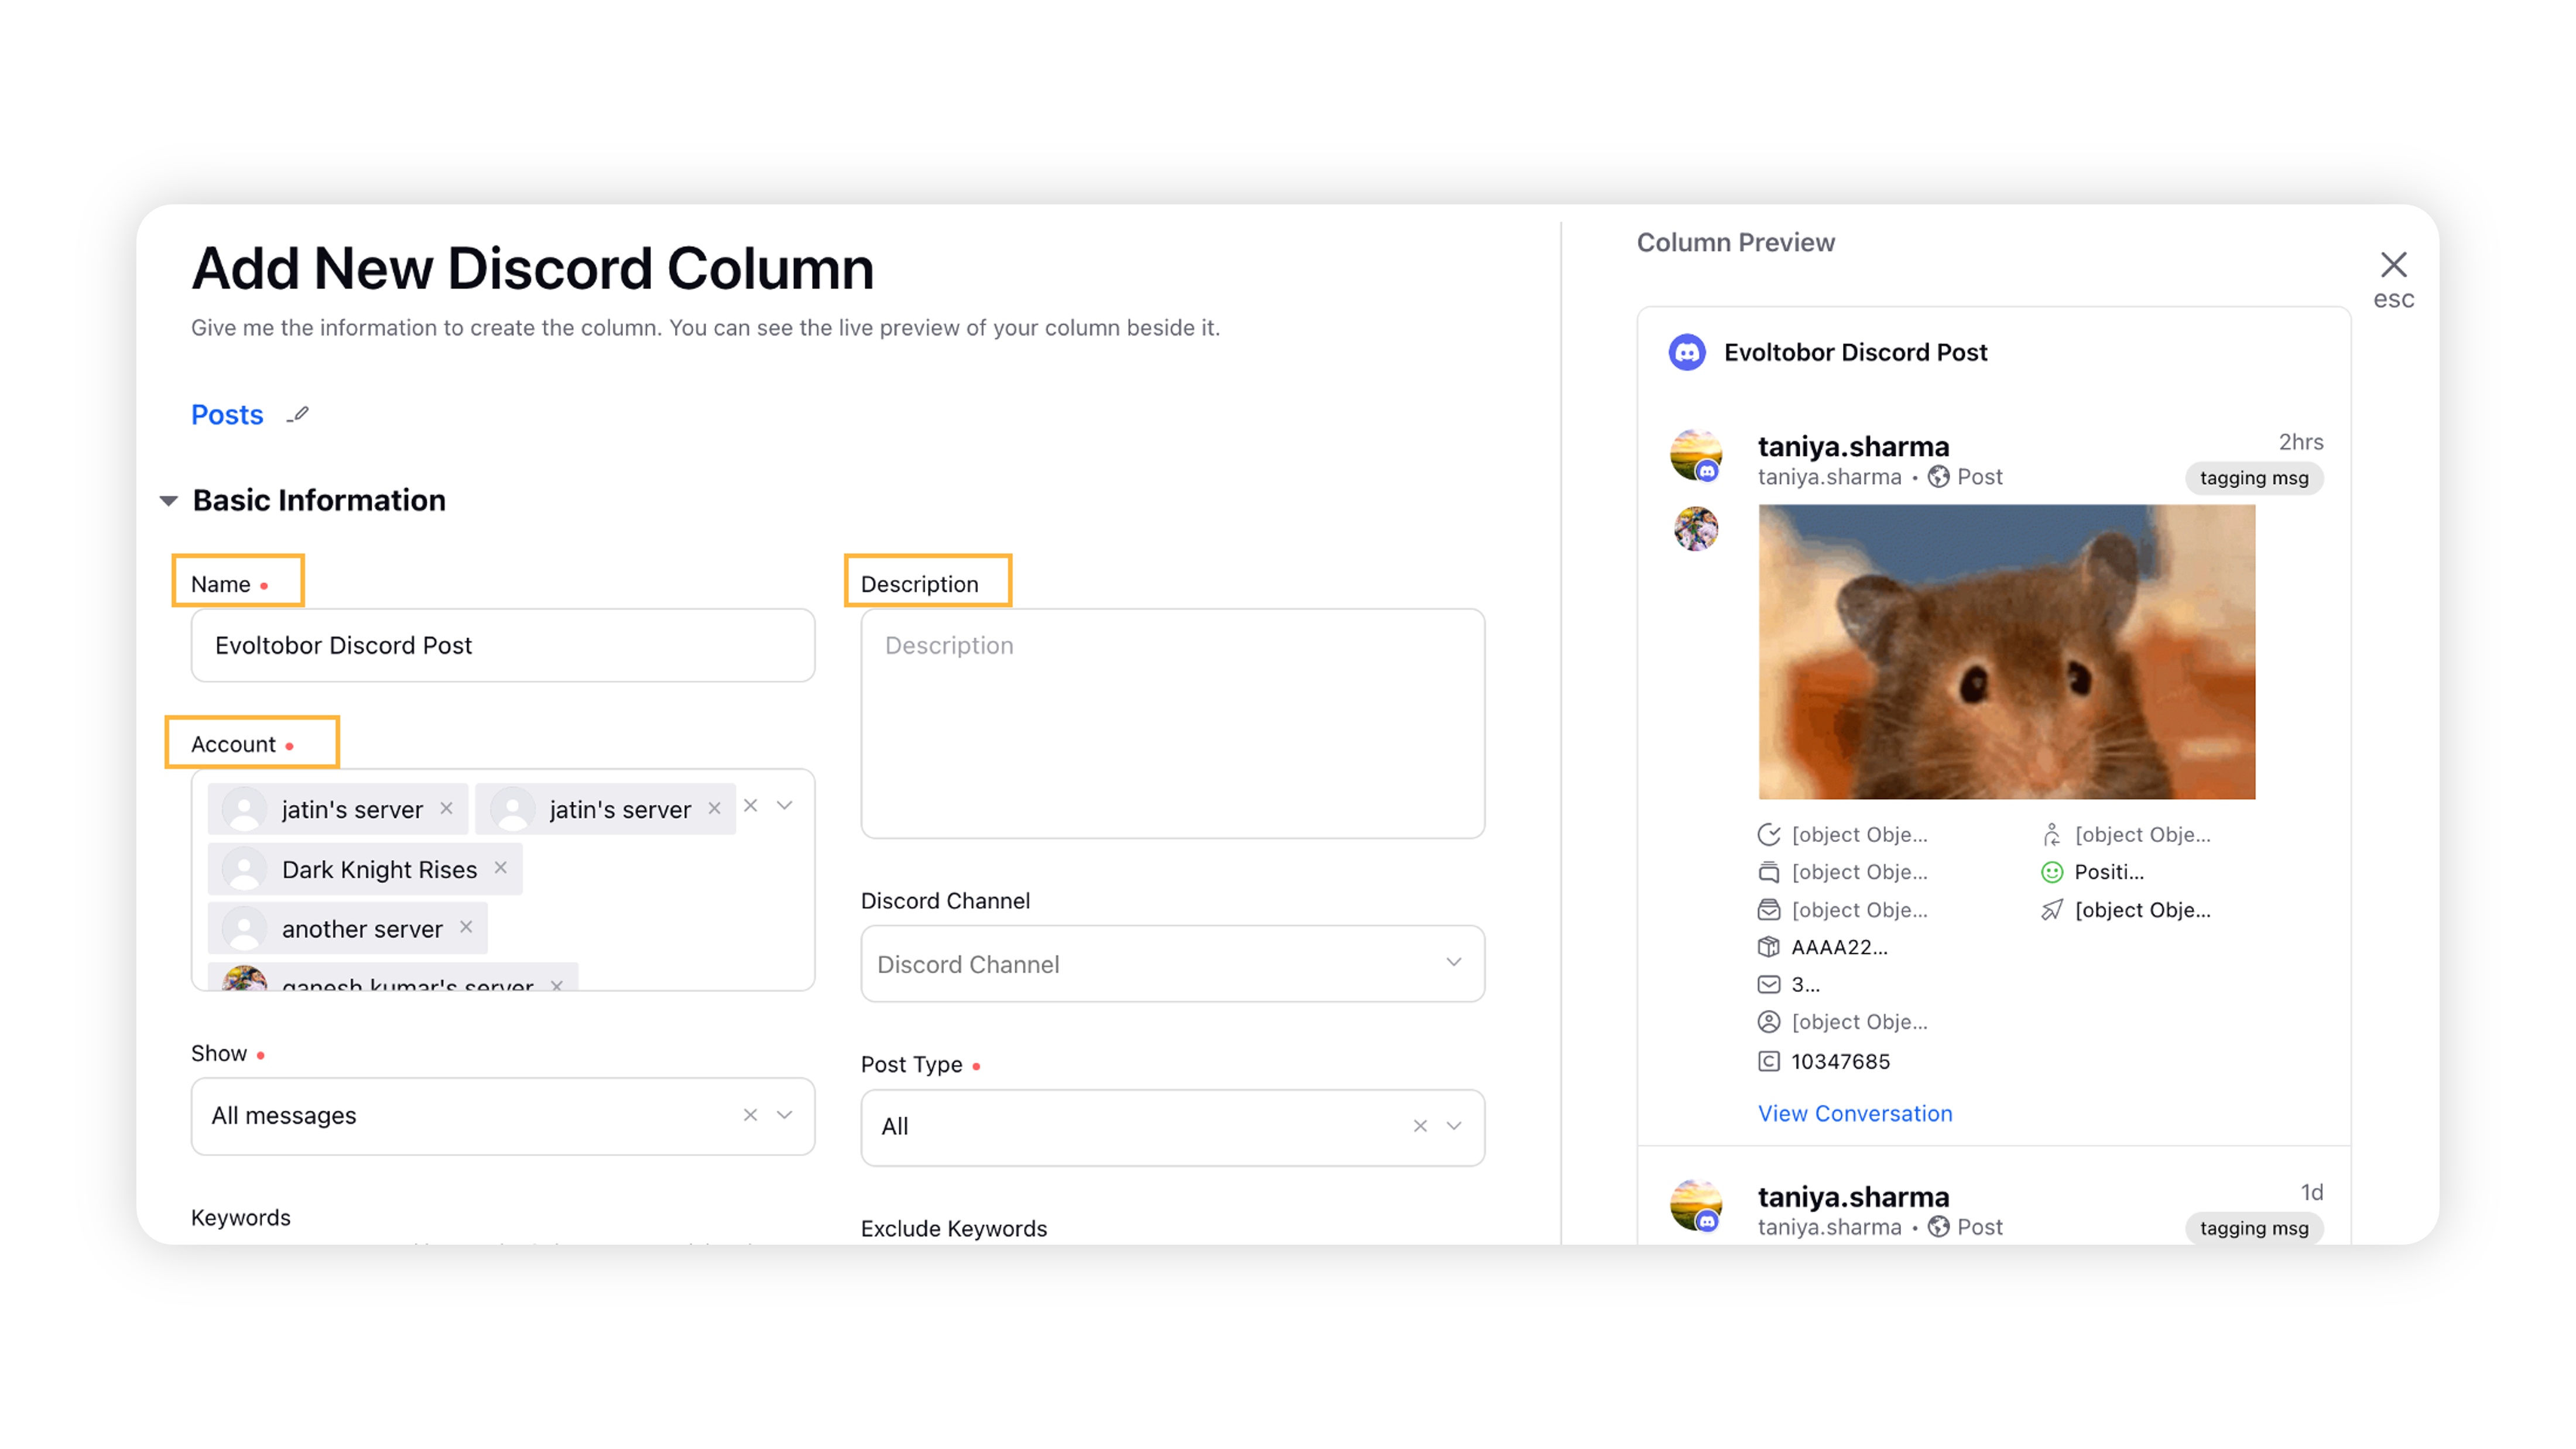
After selecting the type of column you want to create, enter a Name, Description, and add your respective server as Accounts. Provide other Basic Information for your column like adding a Discord Channel, etc. A preview of the column will render on the right side of the window.
Enter Workflow Properties as desired. Workflow properties refer to the properties applied in Sprinklr, either automatically or manually, that determine the message's workflow status, user assignment, priority, Spam designation, and sentiment.
Provide Custom Properties as desired. Configuring additional properties, you can specify messages to include or exclude based on the properties that have been applied to the message.
After you've provided all the details for your column, click Create Column in the bottom right corner to create the new column. Upon creation, your column will be available in the current dashboard.