Canned Responses in Distributed
Updated
Canned Responses are predefined brand-compliant responses to routine customer questions such as 'how can I add a credit card to my account' or 'how do I apply for a refund'. You can simply document your responses, save these templates as canned responses, and let your agents use them whenever they get that question.
Agents can modify these responses before sending them across to the users. These pre-formulated replies cut short agents’ average handling time and provide faster resolutions.
Use Cases
Accelerate Response Time: Agents can reply quickly to frequent questions with pre-formulated responses.
Protect Brand Integrity: Ensures responses are polite and on-brand, avoiding rude or inappropriate replies.
Support FAQs: Assists users in efficiently answering common questions.
Benefits
By using predefined responses, agents can reply to customers much faster, reducing the overall response time and increasing efficiency.
Ensures that all responses are consistent and on-brand, maintaining the company's voice and reducing the risk of tone-deafness or inappropriate replies.
By saving time on routine inquiries, agents can allocate more time to higher-value tasks, optimizing the use of human resources within the customer support team.
How to set up this capability?
Setup required via a Support ticket
This capability needs specific setup. Get in touch with your Success Manager to get the DP CANNED_RESPONSES_ENABLED enabled in your environment. This also requires backend configuration which requires the Dev Team approval.
Note:
In order to replace the placeholder, get the DP PUBLISHING_DYNAMIC_CONTENT_REPLACEMENT_ENABLED enabled.
If the DP PUBLISHING_DYNAMIC_CONTENT_REPLACEMENT_IN_REALTIME_ENABLED is enabled then placeholders will be replaced in real-time on the selection of a response.
Setup via the Enterprise platform
Click the New Tab icon. Under the Sprinklr Social tab, click Assets within Engage.
On the Asset Management window, click Create Asset in the top-right corner.
Select Text from the dropdown list and then select Simple Text.
On the Create New Asset window, enter the Name and Description of the new asset.
Under the Asset Specific section, enter your desired message within the Content field that you want to use as a canned response in the Agent Console and Care Console.
Check the Save as Canned Response checkbox to save your template as a canned response.
You can make the desired canned response non-editable by checking the box alongside Mark as non editable canned response option. Agents will see a Lock icon alongside such responses and won't be able to make any changes to them.
Fill in the other asset details and properties as required. Click Save in the bottom-right corner to save the asset. The canned response is created and can be used at the time of answering routine customer questions from Agent Console and Care Console.
Canned Responses in Care Console in Distributed:
Canned Responses for engaging in Distributed:
Placeholders in Canned Responses:
You can also add different types of placeholders (case, account, message, post, profile custom fields, etc.) in the Content field for setting aside the space in your canned response for dynamic content (like user name, account ID, etc.) that needs to go with the response while publishing. These placeholders will get replaced with the relevant value while publishing.
Asset | Entity | Placeholder | Note |
Custom Fields | Case Custom Fields | %%[case_fieldname:RandomName] | To find the field name of the Custom Field Platform Settings > Manage Workspace > Custom Fields > Options icon alongside the required custom Field > Copy Field Name |
Message Custom Fields | %%[message_fieldname:RandomName] | ||
Account Custom Fields | %%[ACCOUNT_fieldname:RandomName] | ||
Post Custom Fields | %%[post_fieldname:RandomName]ie | ||
Profile Custom Fields | %%[toprofile_fieldname:RandomName] | ||
User Custom Fields | %%[author_customFieldName:] | ||
Profile:Customer Details | User Name | %%[toprofile_USER_NAME:UserNameLabel] |
|
First Name | %%[toprofile_FIRST_NAME:FirstNameLabel] |
| |
Full name | %%[toprofile_FULL_NAME:Full Name] |
| |
User ID | %%[toprofile_USER_ID:UserIdLabel] |
| |
%%[toprofile_EMAIL:Email] |
| ||
Phone No. | %%[toprofile_PHONE_NO:Phone No] |
| |
Channel | %%[toprofile_CHANNEL_TYPE:Channel] |
| |
User:Agent Details | Agent’s Username | %%[author_user_name:] |
|
Agent’s Full Name | %%[author_full_name:] |
| |
Agent’s Email ID | %%[author_email_address:] |
| |
URL | URL | %urllink% Reach out to support for getting a pre-configured URL list to be added in the placeholder. | Reach out to support for getting a pre-configured URL list to be added in the placeholder. |
Omnichannel Secure Forms |
| %%[SECURE_FORMπ6secureformid:Secure Form name] | Secure Form ID can be taken from the URL of the form. Open the desired Secure Form in the view or edit mode and copy the ID from the URL. |
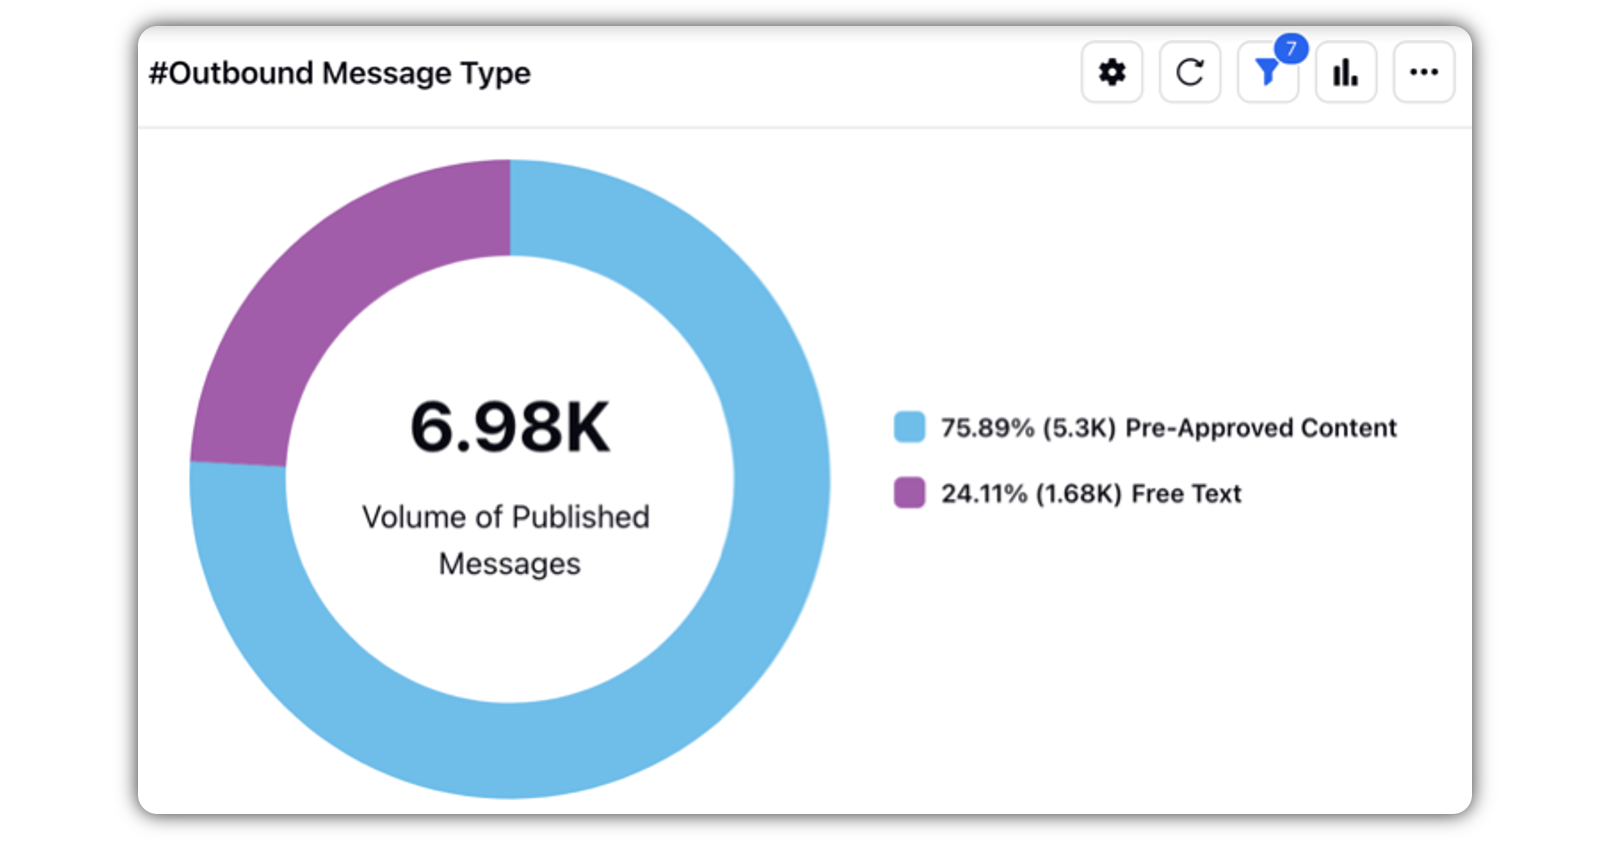
Reporting on Canned Modified & Canned Not Modified
Adding a flag on outbound messages shows that the canned responses are edited or not before sending. You can now create a widget(Canned Modified message) which can show the number of canned messages modified, which helps in improving the canned messages and make it personalized.
