How to Create and Edit Dynamic Image Templates
Updated
Combine graphics and texts to create beautiful and user-friendly creatives for your campaigns.
Dynamic Image Template is an effective tool when it comes to creating personalized ads at scale. This tool gives you a platform where you can easily combine various graphics layers and dynamic information from a product feed or catalog. You can use this tool to incorporate desired changes in the product images in one or more product feeds, for example, rating, price, availability of the product, etc., without the need for editing and uploading product feed sheets over and over again.
Dynamic Image Template offers a way to efficiently change the way product images are displayed in your feed-based campaigns and use it across multiple products with a few clicks.
Note:
|
To create a Dynamic Image Template
1. Click the New Tab icon. Under the Advertising tab within Social Advertising, click Creative Library under Campaign Strategy
2. Click Create Asset in the top right corner of the Asset Management window and select Dynamic Image Template from the drop-down menu. For more .information on template properties, refer to the Dynamic Image Template Properties

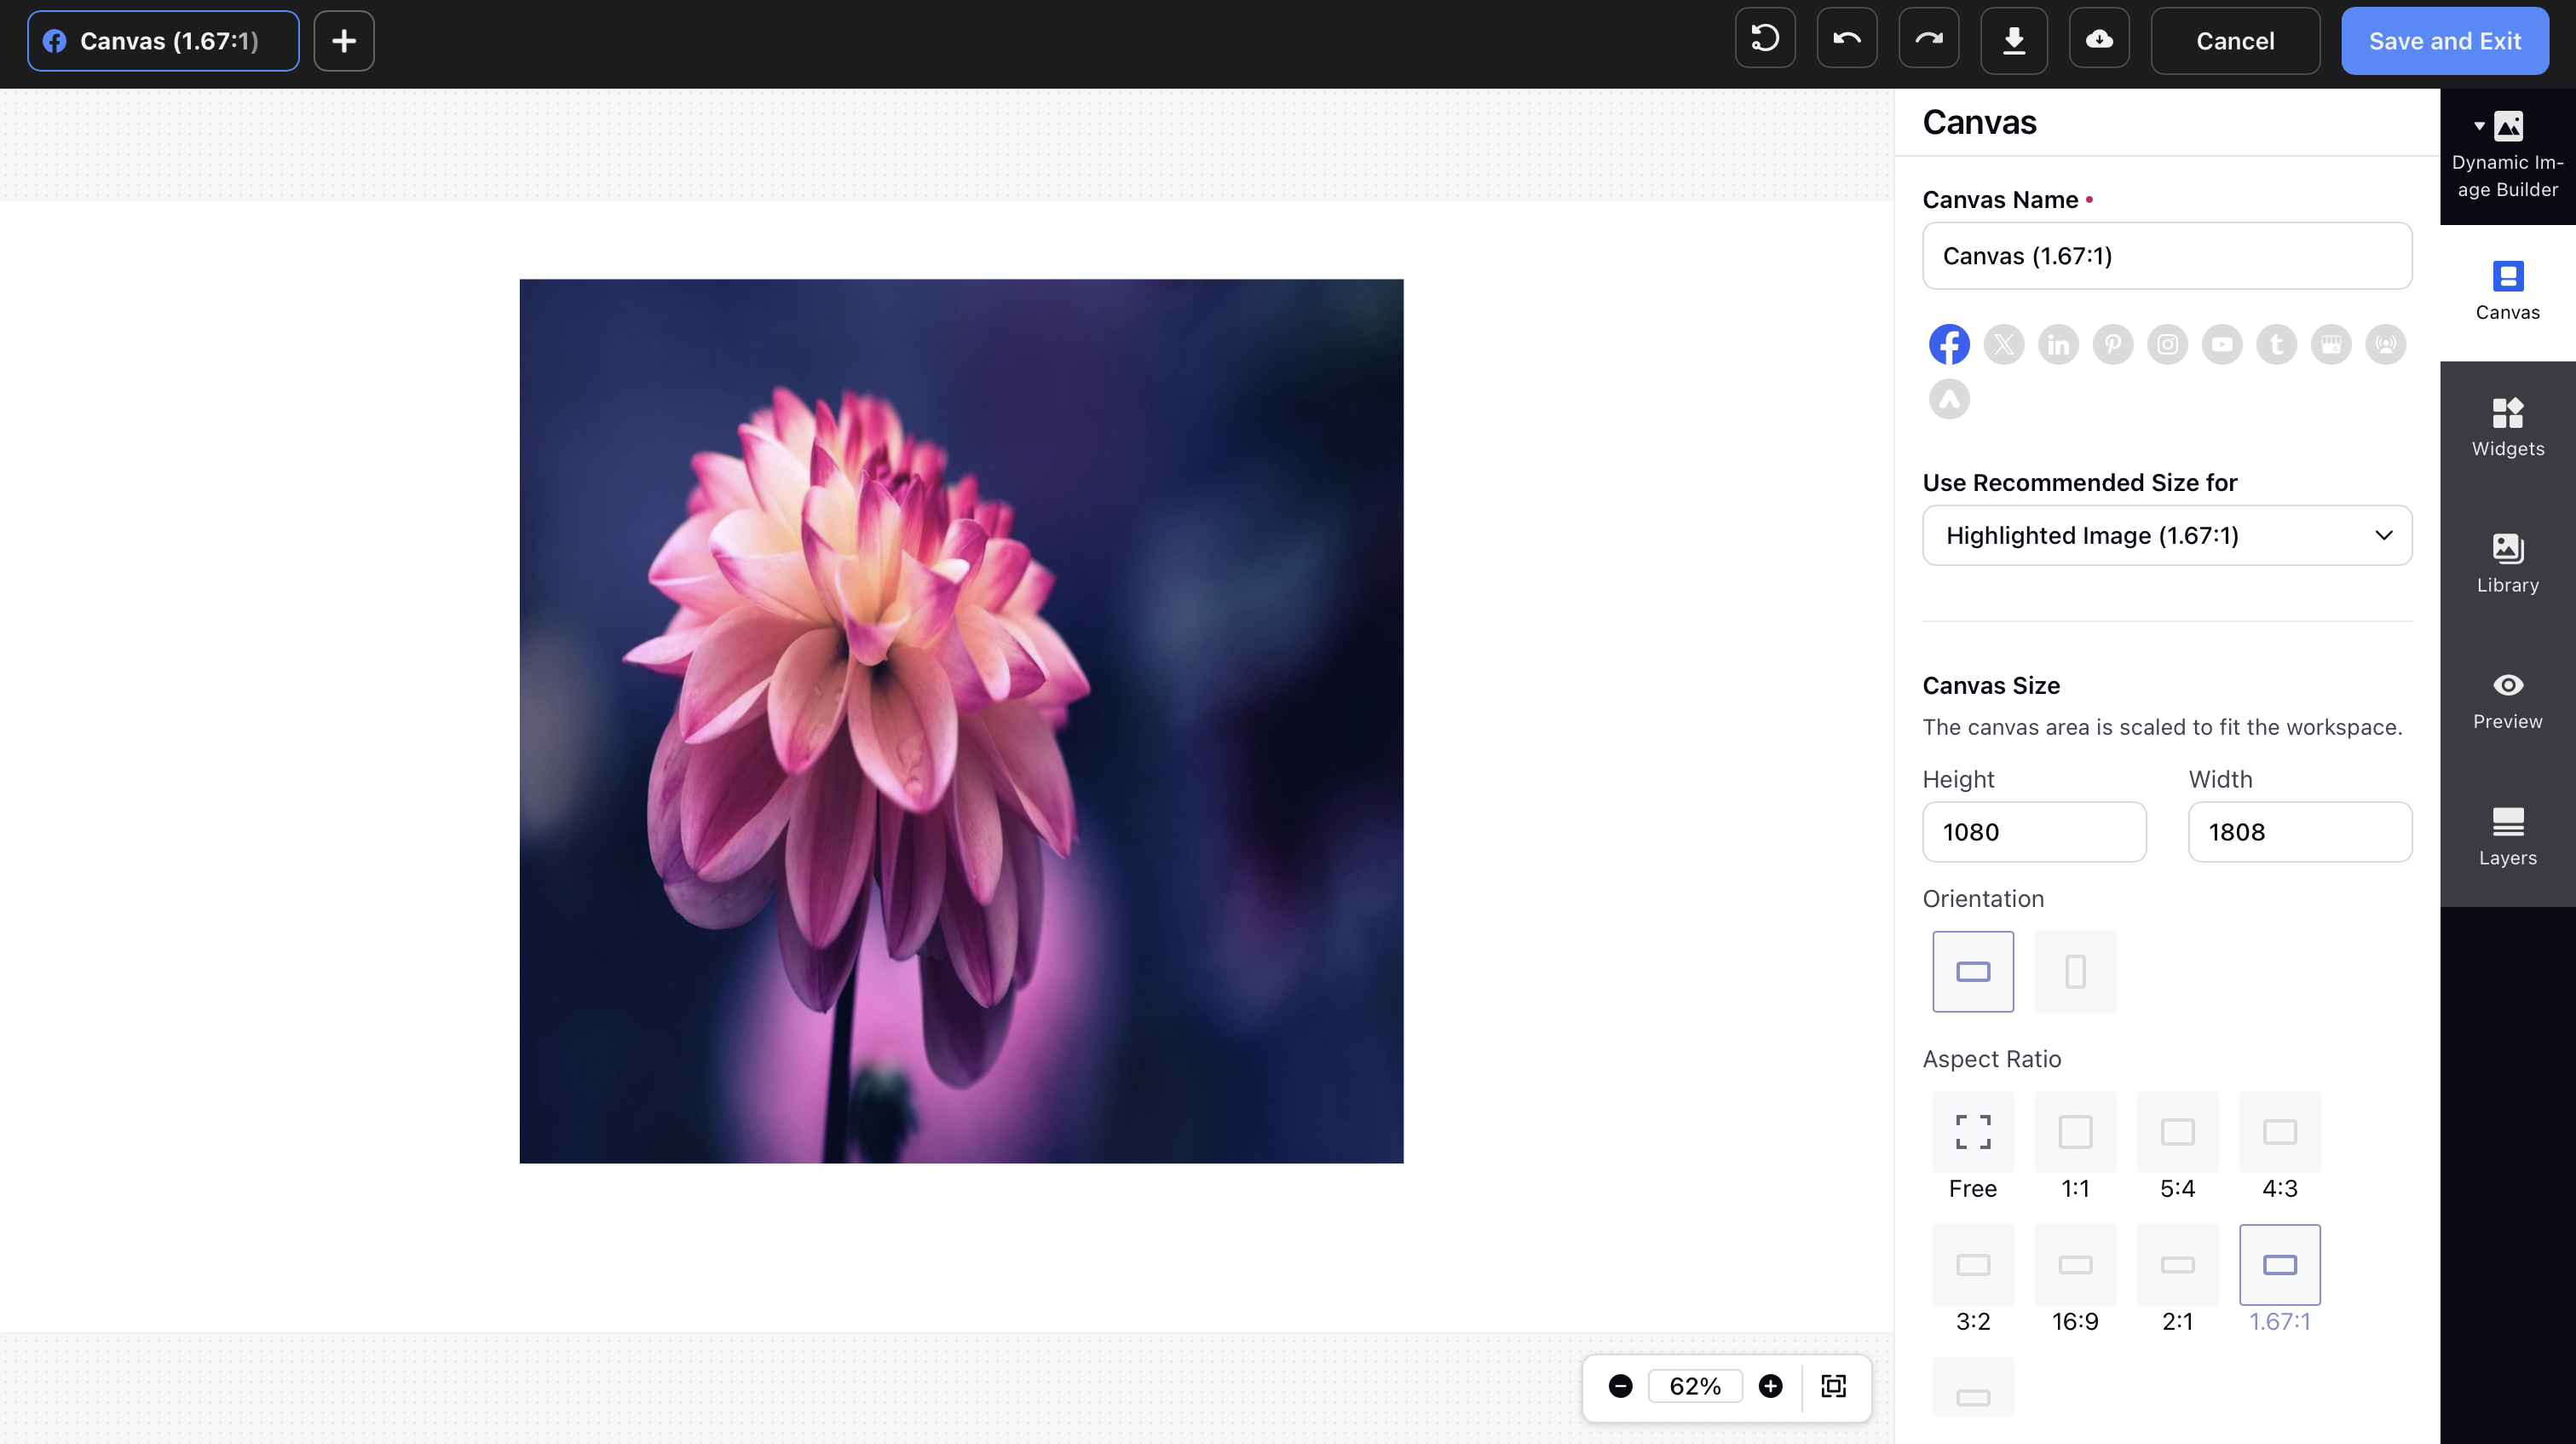
3. On the Create Dynamic Image Template window, click the Canvas tab to adjust the canvas size depending on your social media account. Use the zoom in/out and 'Fit to Canvas' option in the bottom right to navigate and adjust image details. For a sample preview of how your template can look appealing, see Sample Dynamic Image Templates.
Note:
|
4. Image Layers: You can add the following types of image elements:
Add Image - This allows you to add any static image from the media valet. You can use this to add static elements like brand logos, frames, image backgrounds, image banners, and stickers.
Add Dynamic Image - A dynamic image is an image placeholder that will allow the user to add the image while using the template.
Add Dynamic Text to Image - This allows you to apply different images/shapes to your templates based on dynamic text input. You can also hide and unhide layers or panels in the DIT from the Layers tab.
Note:
|
Text formatting with new editor:
5. Text Layers: Click the Add Text tab to add text to your template using the options below. The text can have a different font, color, decoration, alignment, and size.
Add Static Text - This allows you to add static text that does not change. Click on the text box placed on the canvas. This will open a text editor in widget section. Enter desired text here, we have introdued some new capabilities named character level formatting wherein you can custom format each and every letter of the text.

Add Dynamic Text - In dynamic text layers you can create different placeholders which can be modified / changed while application. These placeholders can be replaced with some other text values while application. You can type "{{}}" in the dynamic text box to add an placeholder and the value you will input in the double brackets will define the placeholder name. Once a placeholder is added an input box will be generated in the Preview section where you will be able to input any custom input and test the dynamic text/ placeholder.
Character Level Formatting:
Color of underline will change according to the color of text, however this won't happen in case of gradient colors and in this case underline would by default have black color. |


6. Click the Add Shapes tab if you want to add shape to your template.
Adjust the size, color, positon, border of the shape from widget window.

Move the dynamic color toggle on if you want to color of shape to change with the feed

Note: Use hex color code in feed for dynamic colors.
Tip:
|

7. On the Save Template pop-up window, enter a name for the template in the Template Name field on the left pane. On the right pane, you will have a summary of all the configurations for the template. Click Save in the bottom-right corner.

To edit a Dynamic Image Template
1. Click the New Tab icon. Under the Sprinklr Social tab, click Creative Library within Campaign Creation
2. On the Asset Management window, hover over the desired Dynamic Image Template Options icon and select Edit Dynamic Image Template.
Tip: Apply a filter to load all your Dynamic Image Templates in the current Asset Manager view. To learn more, see Apply Filters in Asset Manager. Ensure that you are in the All Assets tab to apply the Image Template filter or chose My Uploads option in the filter. |

3. On the Create Dynamic Image Template window, make the desired changes and click Save in the bottom right corner.
If the template you are editing has already been used on a Product Feed, you will get a warning message after saving the template. Once saved, the edited template will automatically be applied to the designated product feed.
Tip: |
Dynamic Image Template properties
Tabs | Properties | Description |
Canvas | ||
Canvas | Size | Enter the height and width of the canvas. |
Orientation | Choose between Portrait and Landscape orientations. | |
Aspect Ratio | Choose the required aspect ratio from the given options. | |
Add Image | ||
Add Image | Position | Enter the X and Y coordinates to align the image with respect to the canvas. |
Dimension | Enter the height and width of the image. | |
Opacity | Select or enter the desired percentage of opacity to change the transparency of the image. | |
Rotation | Enter a value to rotate the image in a Clockwise or Anticlockwise direction (or) use the rotation guiding lines around the image to rotate the image in the desired direction. | |
Crop | Select an image crop settingd from the following:
| |
Add Dynamic Image | Position | Enter the X and Y coordinates to align the image with respect to the canvas. |
Dimension | Enter the height and width of the image. | |
Maintain Proportion | If this check box is clicked, on changing any one dimension, the other will automatically adjust to maintain a fixed ratio. | |
Opacity | Select or enter the desired percentage of opacity to change the transparency of the image. | |
Rotation | Enter a value to rotate the image in a Clockwise or Anticlockwise direction (or) use the rotation guiding lines around the image to rotate the image in the desired direction.
| |
Crop | Select an image crop settingd from the following:
| |
Positon | Enter the X and Y coordinates to align the image with respect to the canvas. | |
Dimension | Enter the height and width of the image. | |
Maintain Proportion | If this check box is clicked, on changing any one dimension, the other will automatically adjust to maintain a fixed ratio. | |
Opacity | Select or enter the desired percentage of opacity to change the transparency of the image. | |
Rotation | Enter a value to rotate the image in a Clockwise or Anticlockwise direction. | |
Script | Based on the logic in the script, an image will be pulled. Please contact your PS or SM to get the script. | |
Add Text/ Dynamic Text | ||
Add Text/ Dynamic Text | Position | Enter the X and Y coordinates to align the textbox with respect to the canvas. |
Font | Choose the Font Style and Size. | |
Text | Choose a Text Color, Alignment, Decoration, Transformation | |
Letter Spacing | Choose the spacing between letters of words in the text. | |
Line Spacing | Choose the spacing between multiple lines of text text. | |
Vertical Alignment | Choose if your text will be closer to the upper or lower border of the textbox. | |
Opacity | Select or enter the desired percentage of opacity to change the transparency of the text. | |
Rotation | Enter a value to rotate the textbox in a Clockwise or Anticlockwise direction. | |
Add Placeholder | Using a Placeholder Text,you will be able to add Static Text in the Dynamic Text Box, it is written as {{Text}} in the Dynamic Text Box | |
| Colour (Gradient & Solid)
Dynamic Colour Feature | You will be able to select between both the color types in the color picker, you can set a solid color or set gradient color using the new color picker. Under option of gradient fill and its necessary tools in the color picker.
2)For Radial: “Inside” or “Outside” (Will decide which color will remain outside and vice versa)
|
Add Shapes | ||
Add Shapes | Position | Enter the X and Y coordinates to align the shape with respect to the canvas. |
Dimension | Enter the height and width of the image. | |
Color | Choose a color for your shape. | |
Border | Choose a Border Color and Width. If you choose the Rectangle Shape, then you can also define a Border Radius to curve the edges of the rectangle. | |
Opacity | Select or enter the desired percentage of opacity to change the transparency of the shape. | |
Rotation | Enter a value to rotate the shape in a Clockwise or Anticlockwise direction. | |
| Shadow | You can create a shadow to the Shape added, there are 2 options available Simple Shadow and 3D Shadow |
| Gradient Colour | You will have the option of gradient fill and its necessary tools in the color picker.
2)For Radial: “Inside” or “Outside” (Will decide which color will remain outside and vice versa)
|
Preview | ||
Preview Tab | - | You can also add mock images and text under the Mock Dynamic Element tab to check what your template will look like. If you use any elements in your Dynamic Image Template preview, the preview elements will be retained in the Asset Manager view or during the selection of templates. |
Others | ||
Other Properties | Layers | If you add more than one element to the canvas, you can arrange those elements and choose what stays at the top and background by just simple dragging the layers containing the elements up or down |
Task bar |
| |


Note: The new DIT editor , character level formatting and gradient colour these are not GA features currently, they are DP enabled features, please reach out to the support/success for enabling them |