Macro skill
Updated
Overview
A Macro skill enables you to execute predefined system macros within the Sprinklr system, allowing for automated and streamlined operations. To know more about creating a Macro, refer to the Create a Task Macro section within this article.
Macro Skill Use Cases
Macro Skill allows the dynamic workflow to execute specific system actions.
Example
If we want to mark a case or a message as spam, we can't achieve this using any other skill. In this case, we would run a macro. Similarly, if we need to perform a complex action based on specific rules, this can only be done by utilizing a macro.
Steps to Configure a Macro Skill
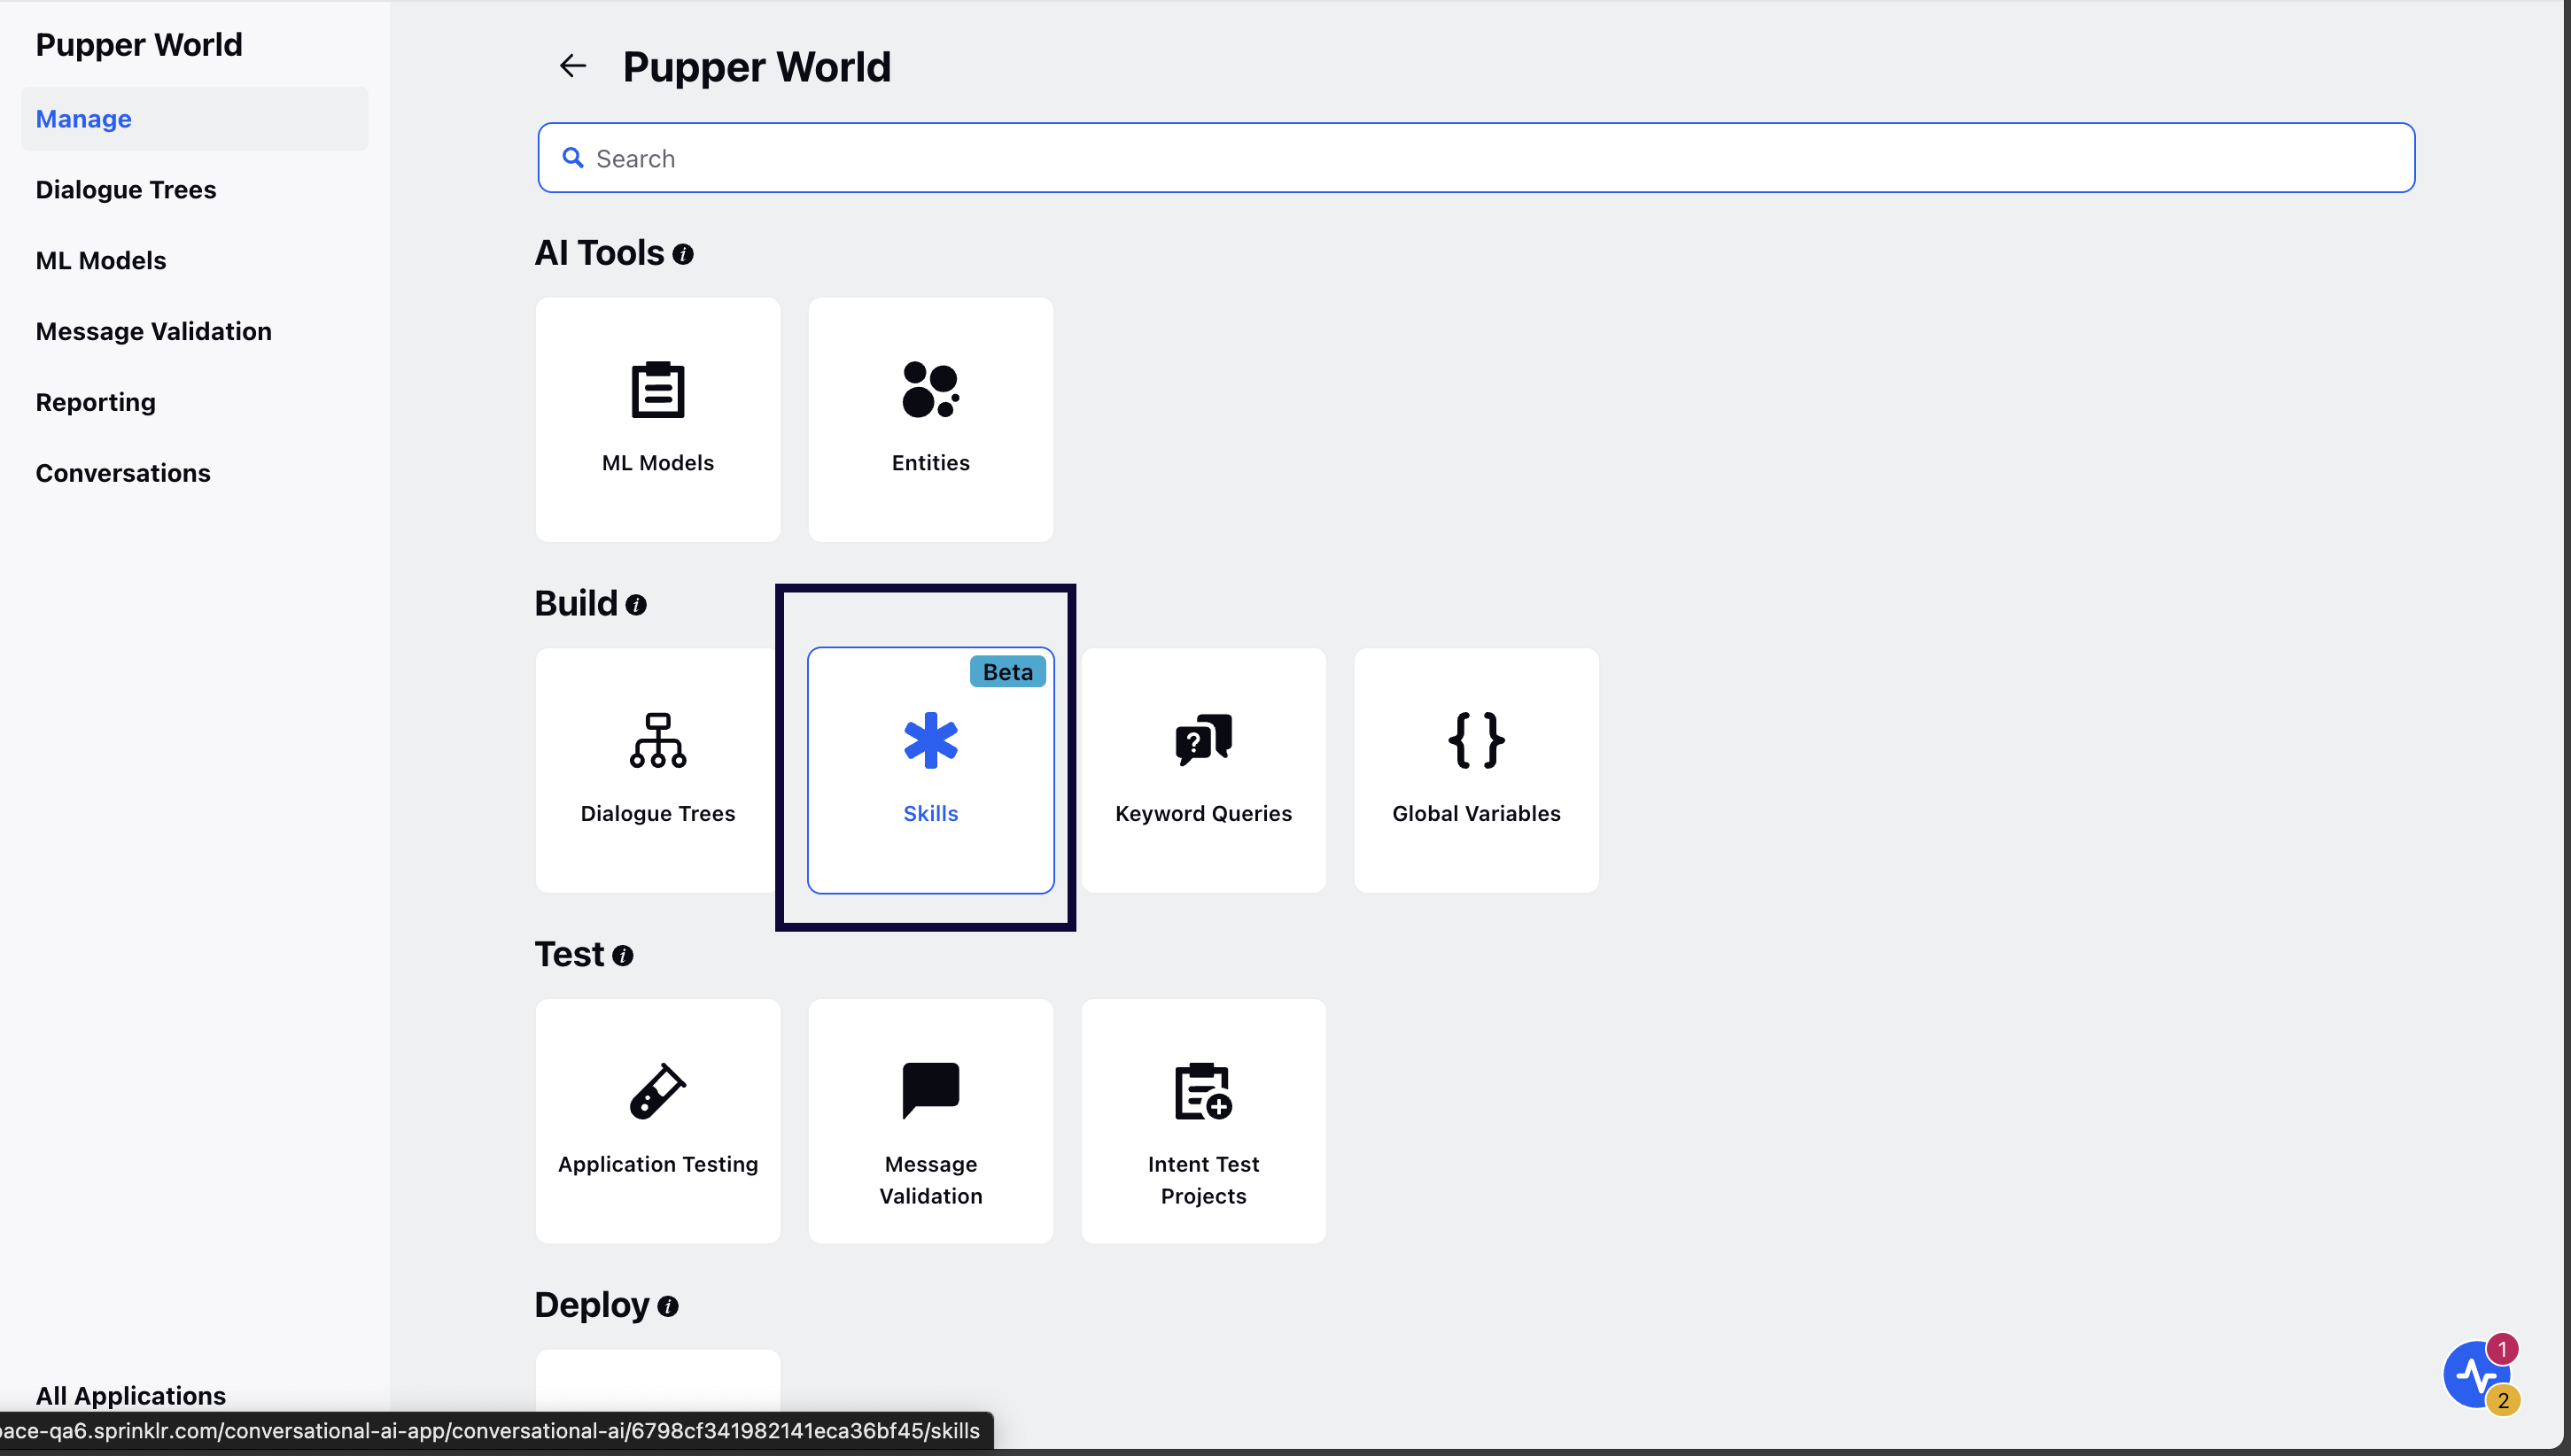
Within your conversational ai application, click on Skills under the Manage section.
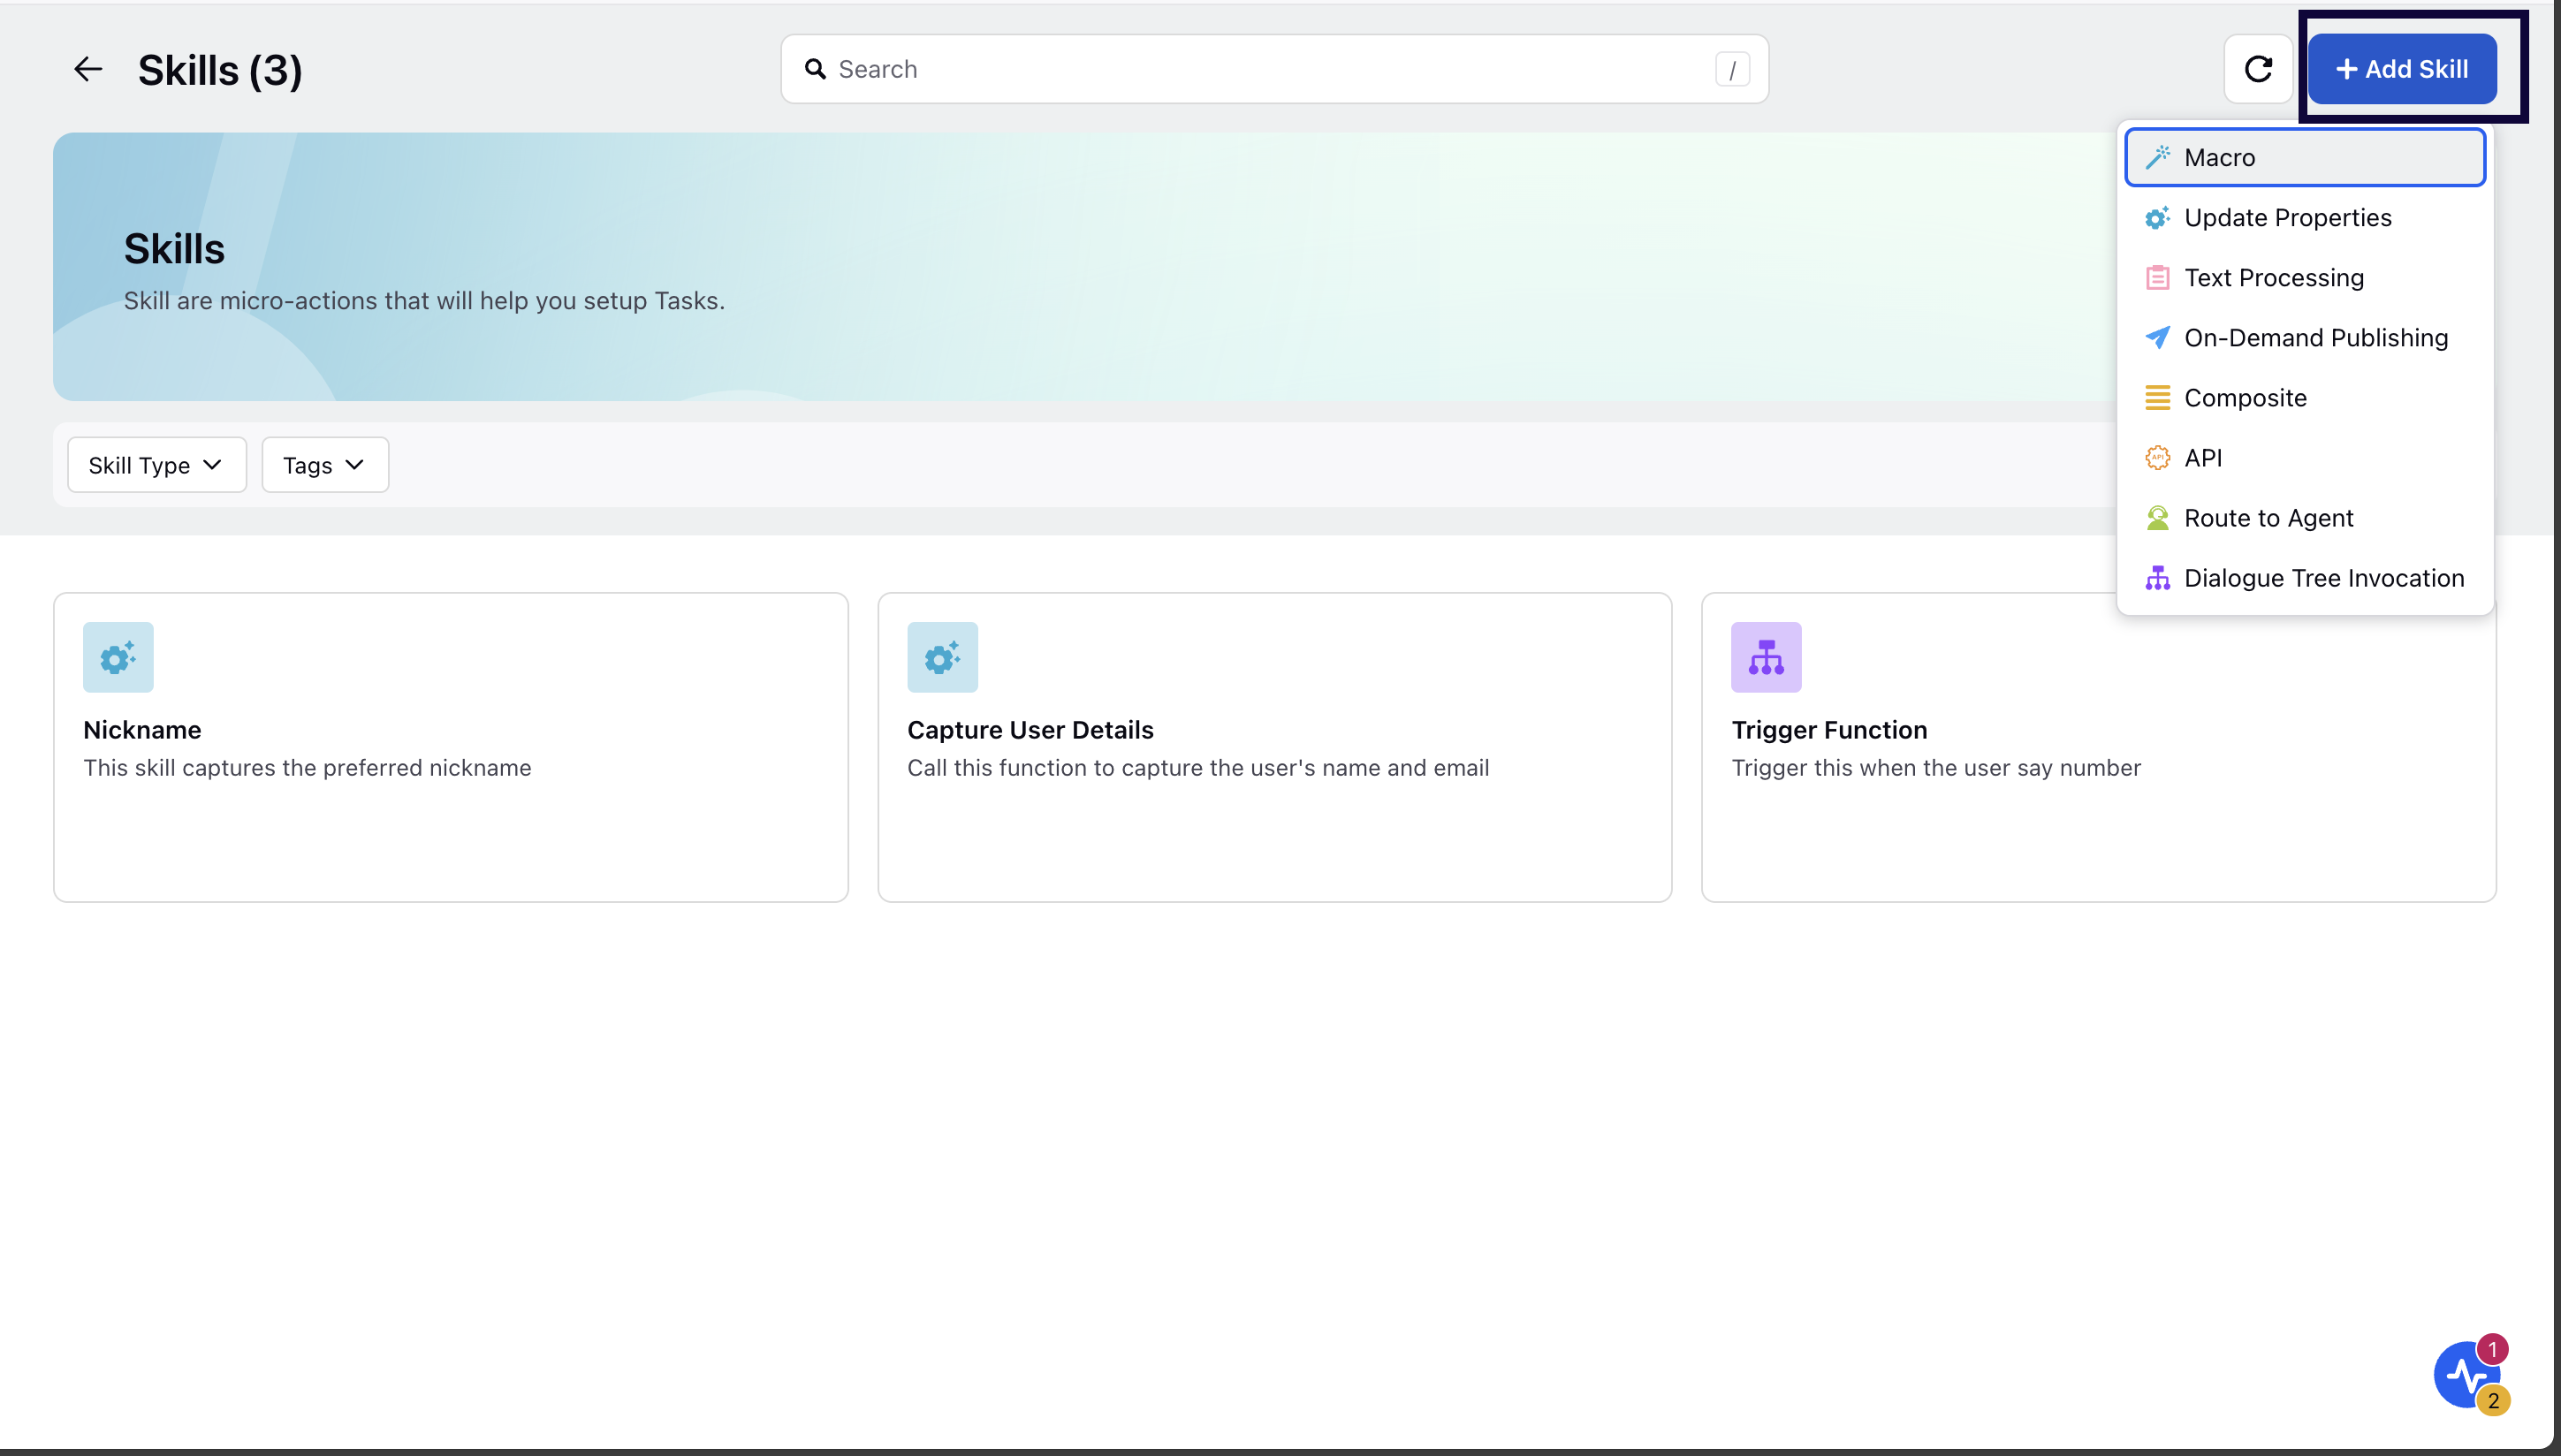
Click Add Skill in the top right corner and select Macro.
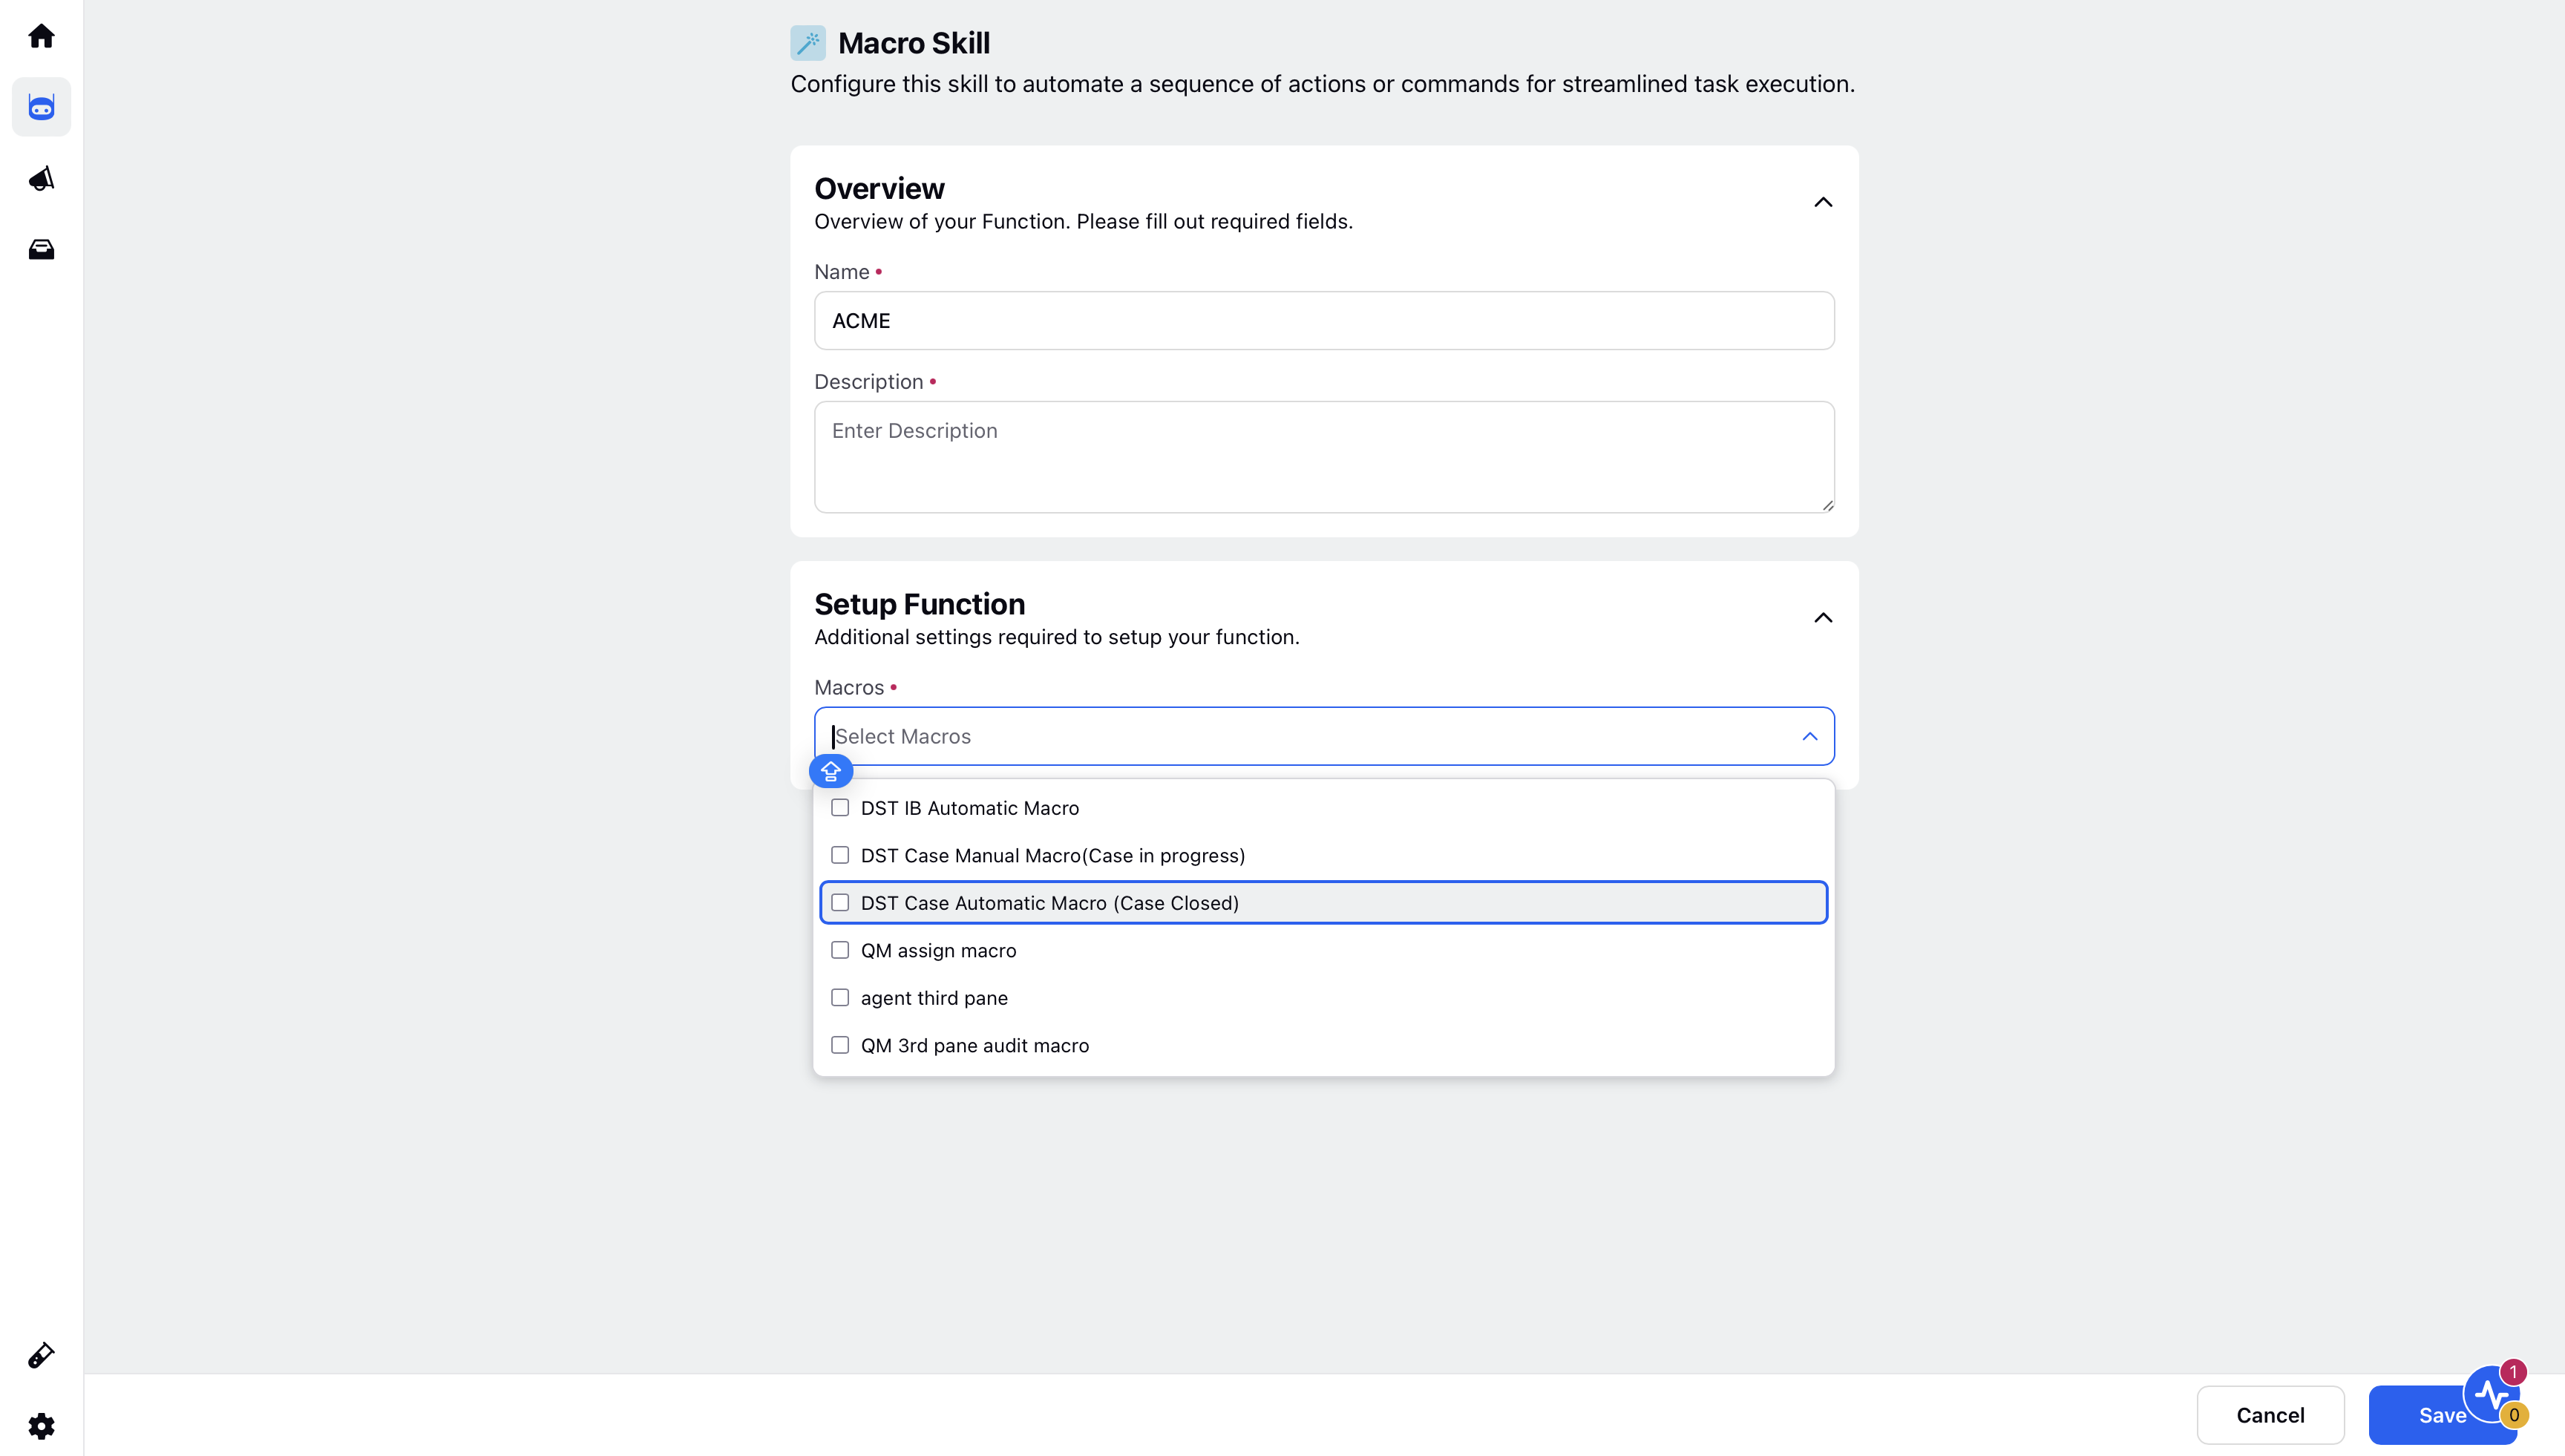
Enter the skill Name and Description.
Note:
Guidelines for Function Names:
Be Clear and Direct: Use action-oriented, unambiguous verbs.
Keep It Concise: Aim for 2-4 words that clearly describe the function's purpose.
Avoid Generic Names: Ensure the name is distinct from other functions.
Use a Noun or Output Indicator: Reflect the returned value (e.g., fetch_exchange_rate, not convert_money).
Guidelines for Function Descriptions:
Start with a Clear Action Verb: Use verbs like "Retrieves," "Fetches," or "Generates."
Clearly State Function Purpose: Describe what the function does without assuming prior knowledge.
Mention Key Inputs: Include relevant inputs but avoid specifying types (handled separately).
Specify Expected Output: Clarify what the function returns.
Keep it Concise: Aim for a description under 20 words.
Under Setup Function, select the Macro you want to trigger.
Note: Ensure that the desired macro is created before proceeding to the selection screen.
Click Save to save the skill.
Create a Task Macro
Overview
Macros allow you to execute multiple actions on an entity with a single click, streamlining tasks and improving efficiency. Task macros can be applied to tasks, enabling you to perform multiple actions on a task just as you would with other entity types. These macros help create efficient workflows by automating a series of actions simultaneously.
When creating Task Macros, you can include Outbound Message, Campaign, Sub-Campaign, and Asset macros as Related Macros. Once a task macro is applied, it updates the properties of the task, including both standard and custom fields, as well as those of any associated entities. For example, if you select Outbound as a Related Macro and configure an Outbound Macro to update a specific custom field, both the task and the outbound fields will be updated when the task macro is applied.
Steps to Create a Task Macro
Click the New Tab icon. Under the Platform Modules, click Macros within Collaborate.
On the Macros window, click Create Macro in the top right corner.
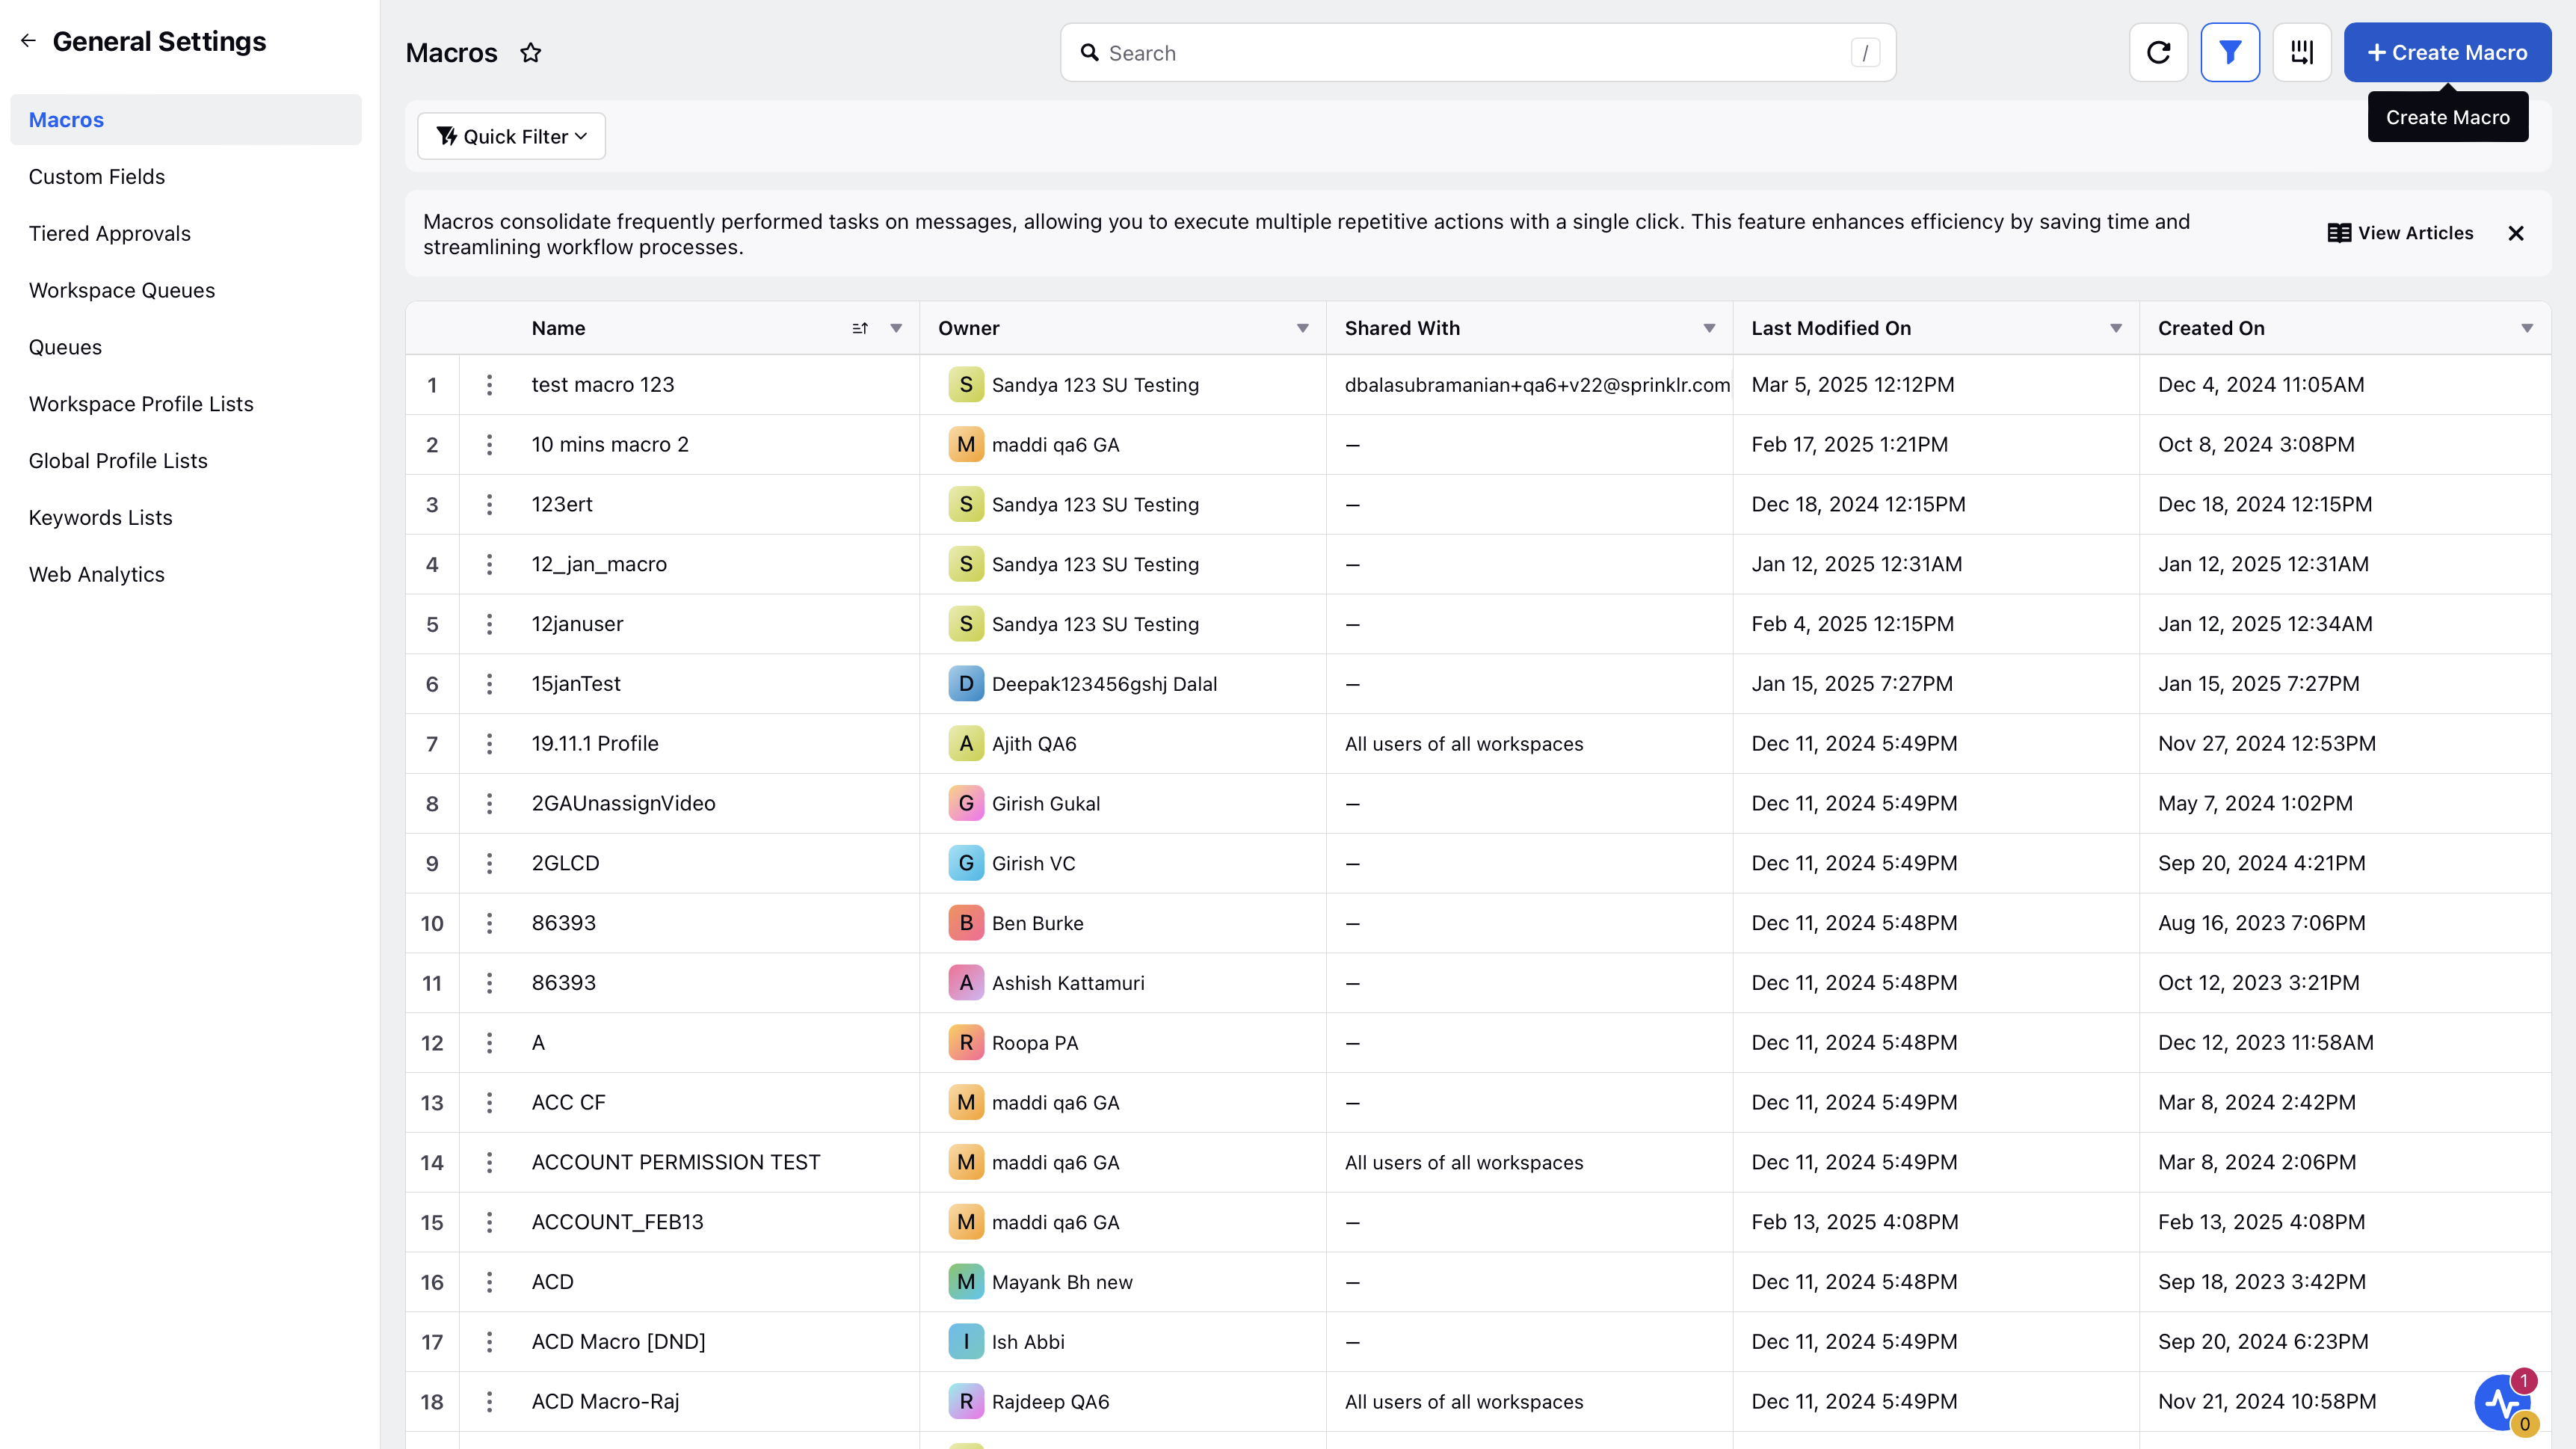
On the Create Macro window, fill in the required details. Make sure to select Task from the Apply macro on dropdown.
Under Set Actions, you will find task-specific actions available. For more information, see Task Action Descriptions .
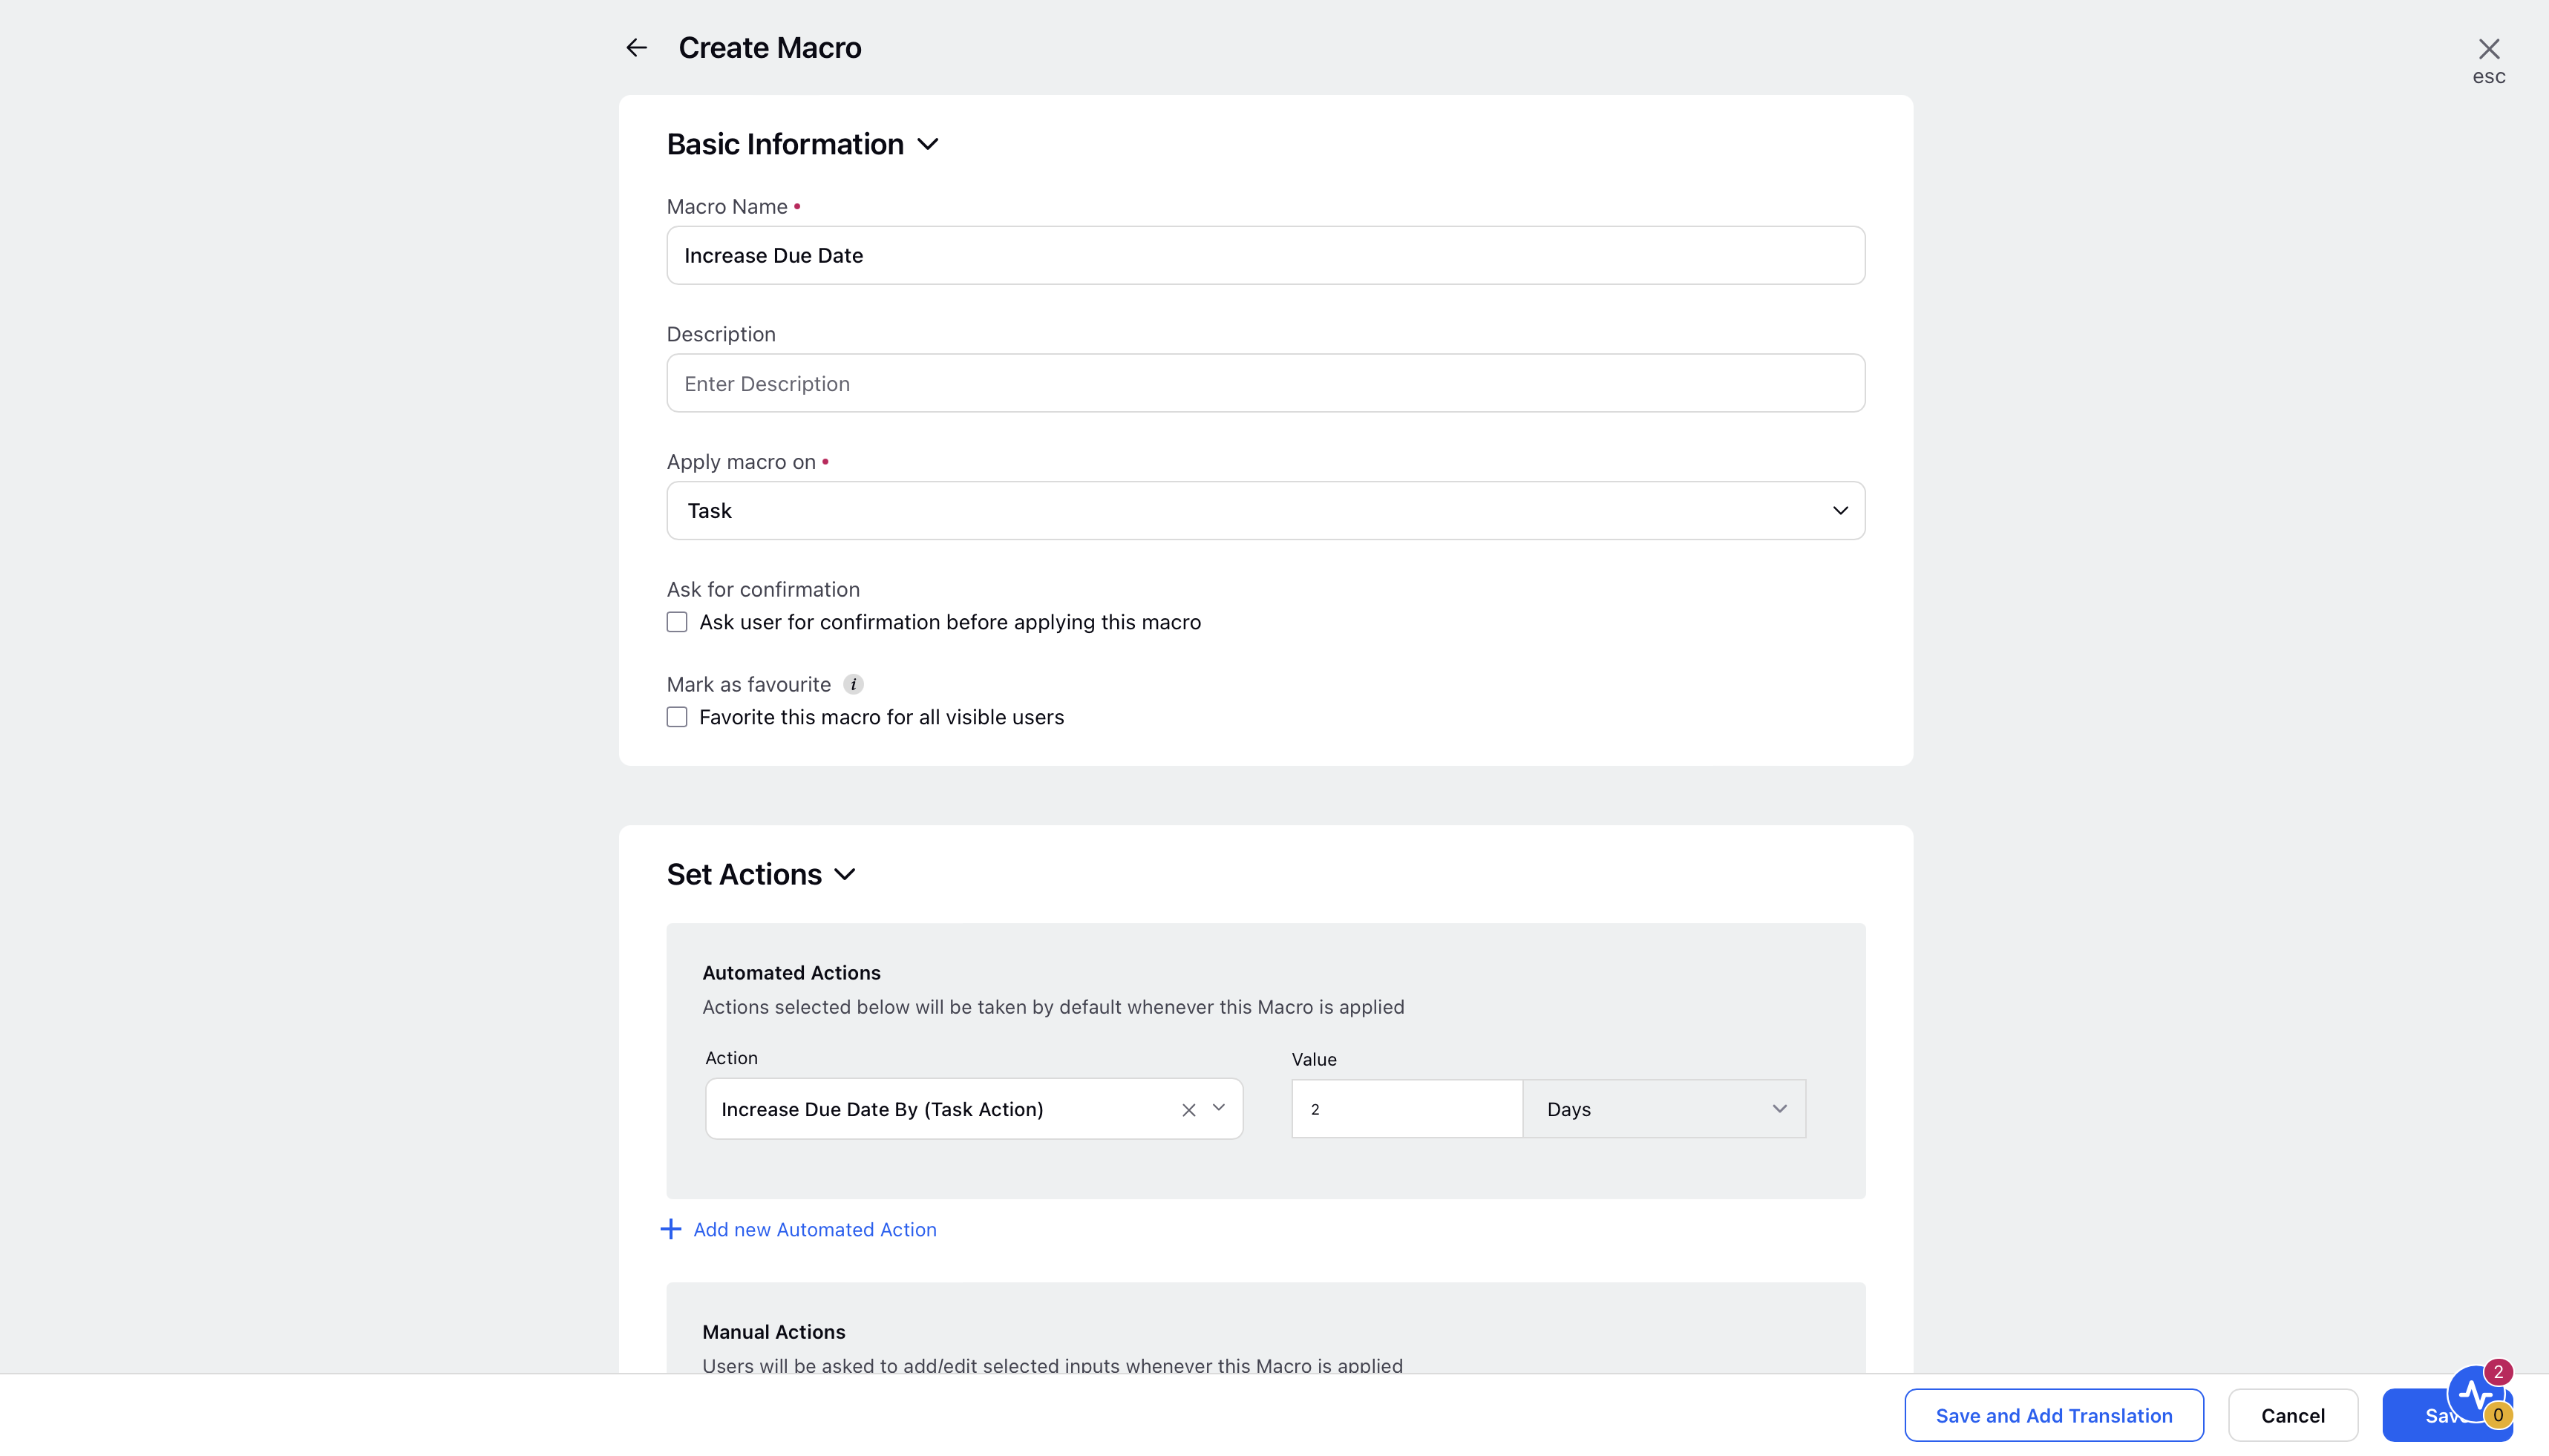
Click Save in the bottom right corner.
Task Action Descriptions
Action | Description |
Task Actions - Take task-specific action on the message the macro is applied to. | |
Add Comment | Add a comment to the task. |
Add Task Queue(s) | Select desired task queues to add the tasks to. |
Assign Task To | Assign the task to another user. |
Assign To Me | Assign the task to yourself. |
Decrease Due Date By | Use this action to decrement the due date of the task by units: Minutes, Hours, Days, Weeks, Months, or Years. |
Increase Due Date By | Use this action to increment the due date of the task by units: Minutes, Hours, Days, Weeks, Months, or Years. |
Set Task Due Date | Set a date as the Task Due Date. |
Task Global Properties | Apply distinct properties to the task. |