Route to Agent skill
Updated
Overview
This is a replication of Assign to Agent Node.
Steps to Configure a Route to Agent Skill
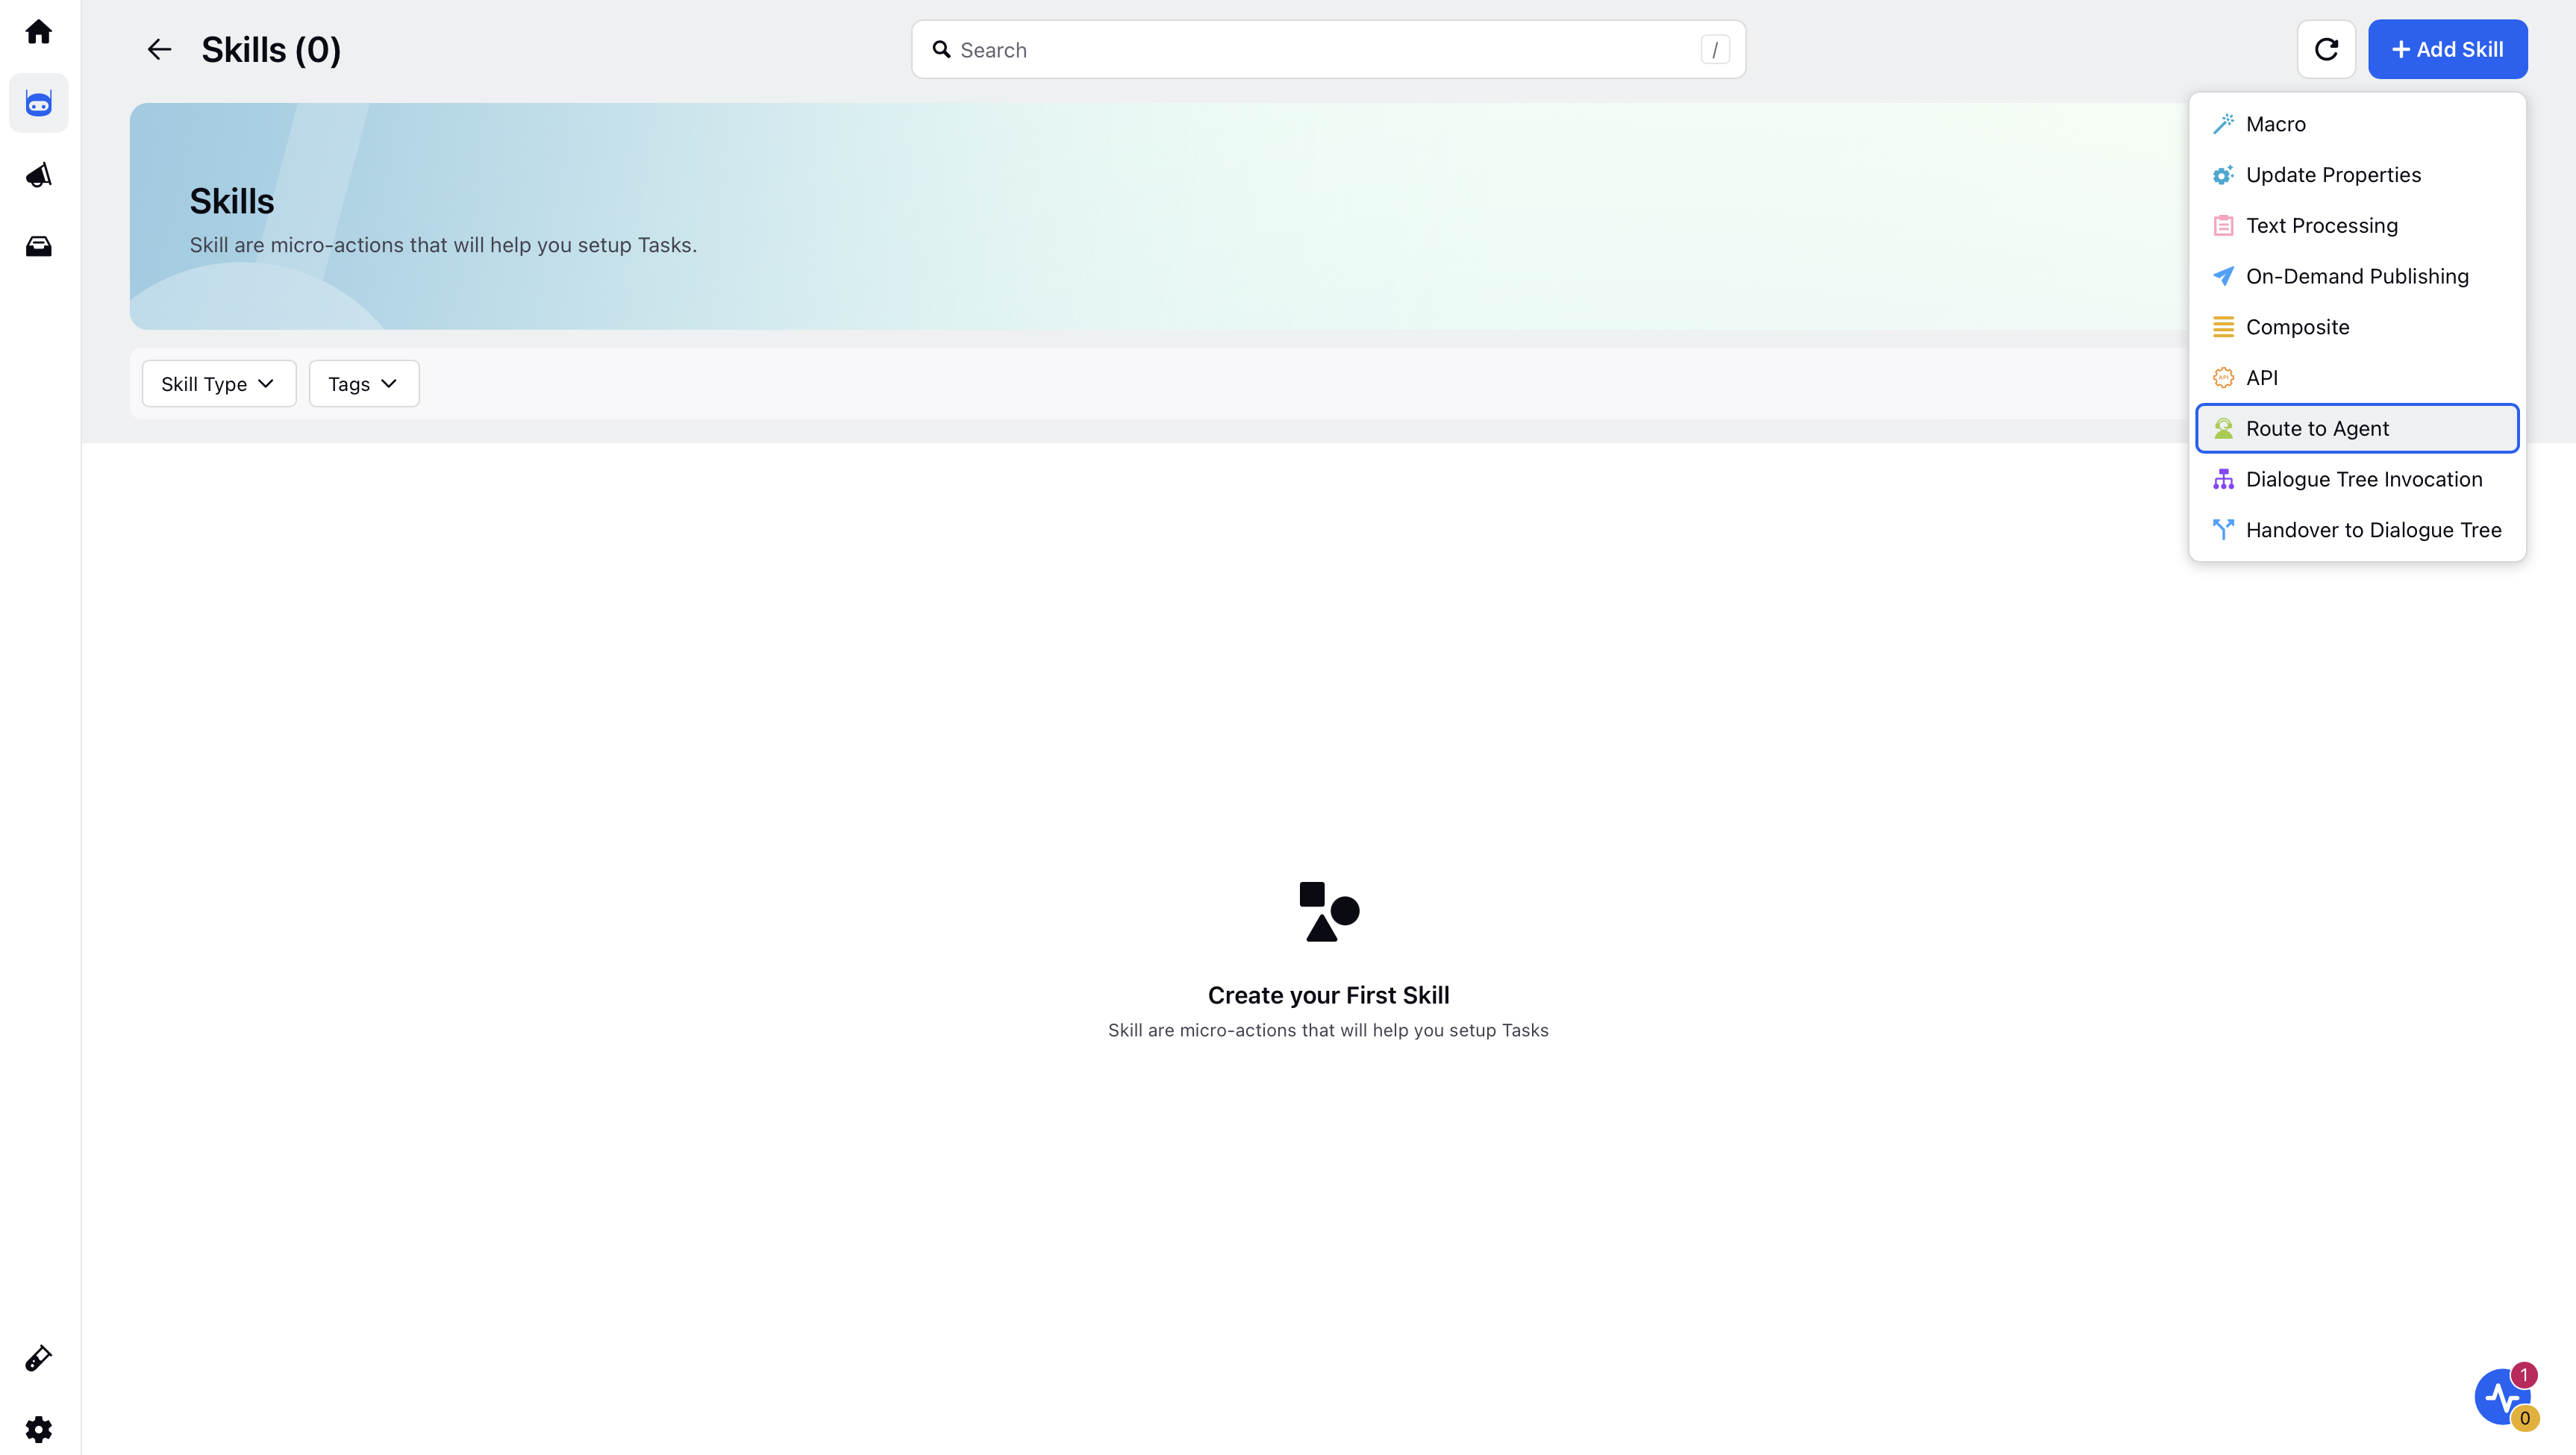
Within your conversational ai application, click on Skills under the Manage section.

Click Add Skill in the top right corner and select Route to Agent.

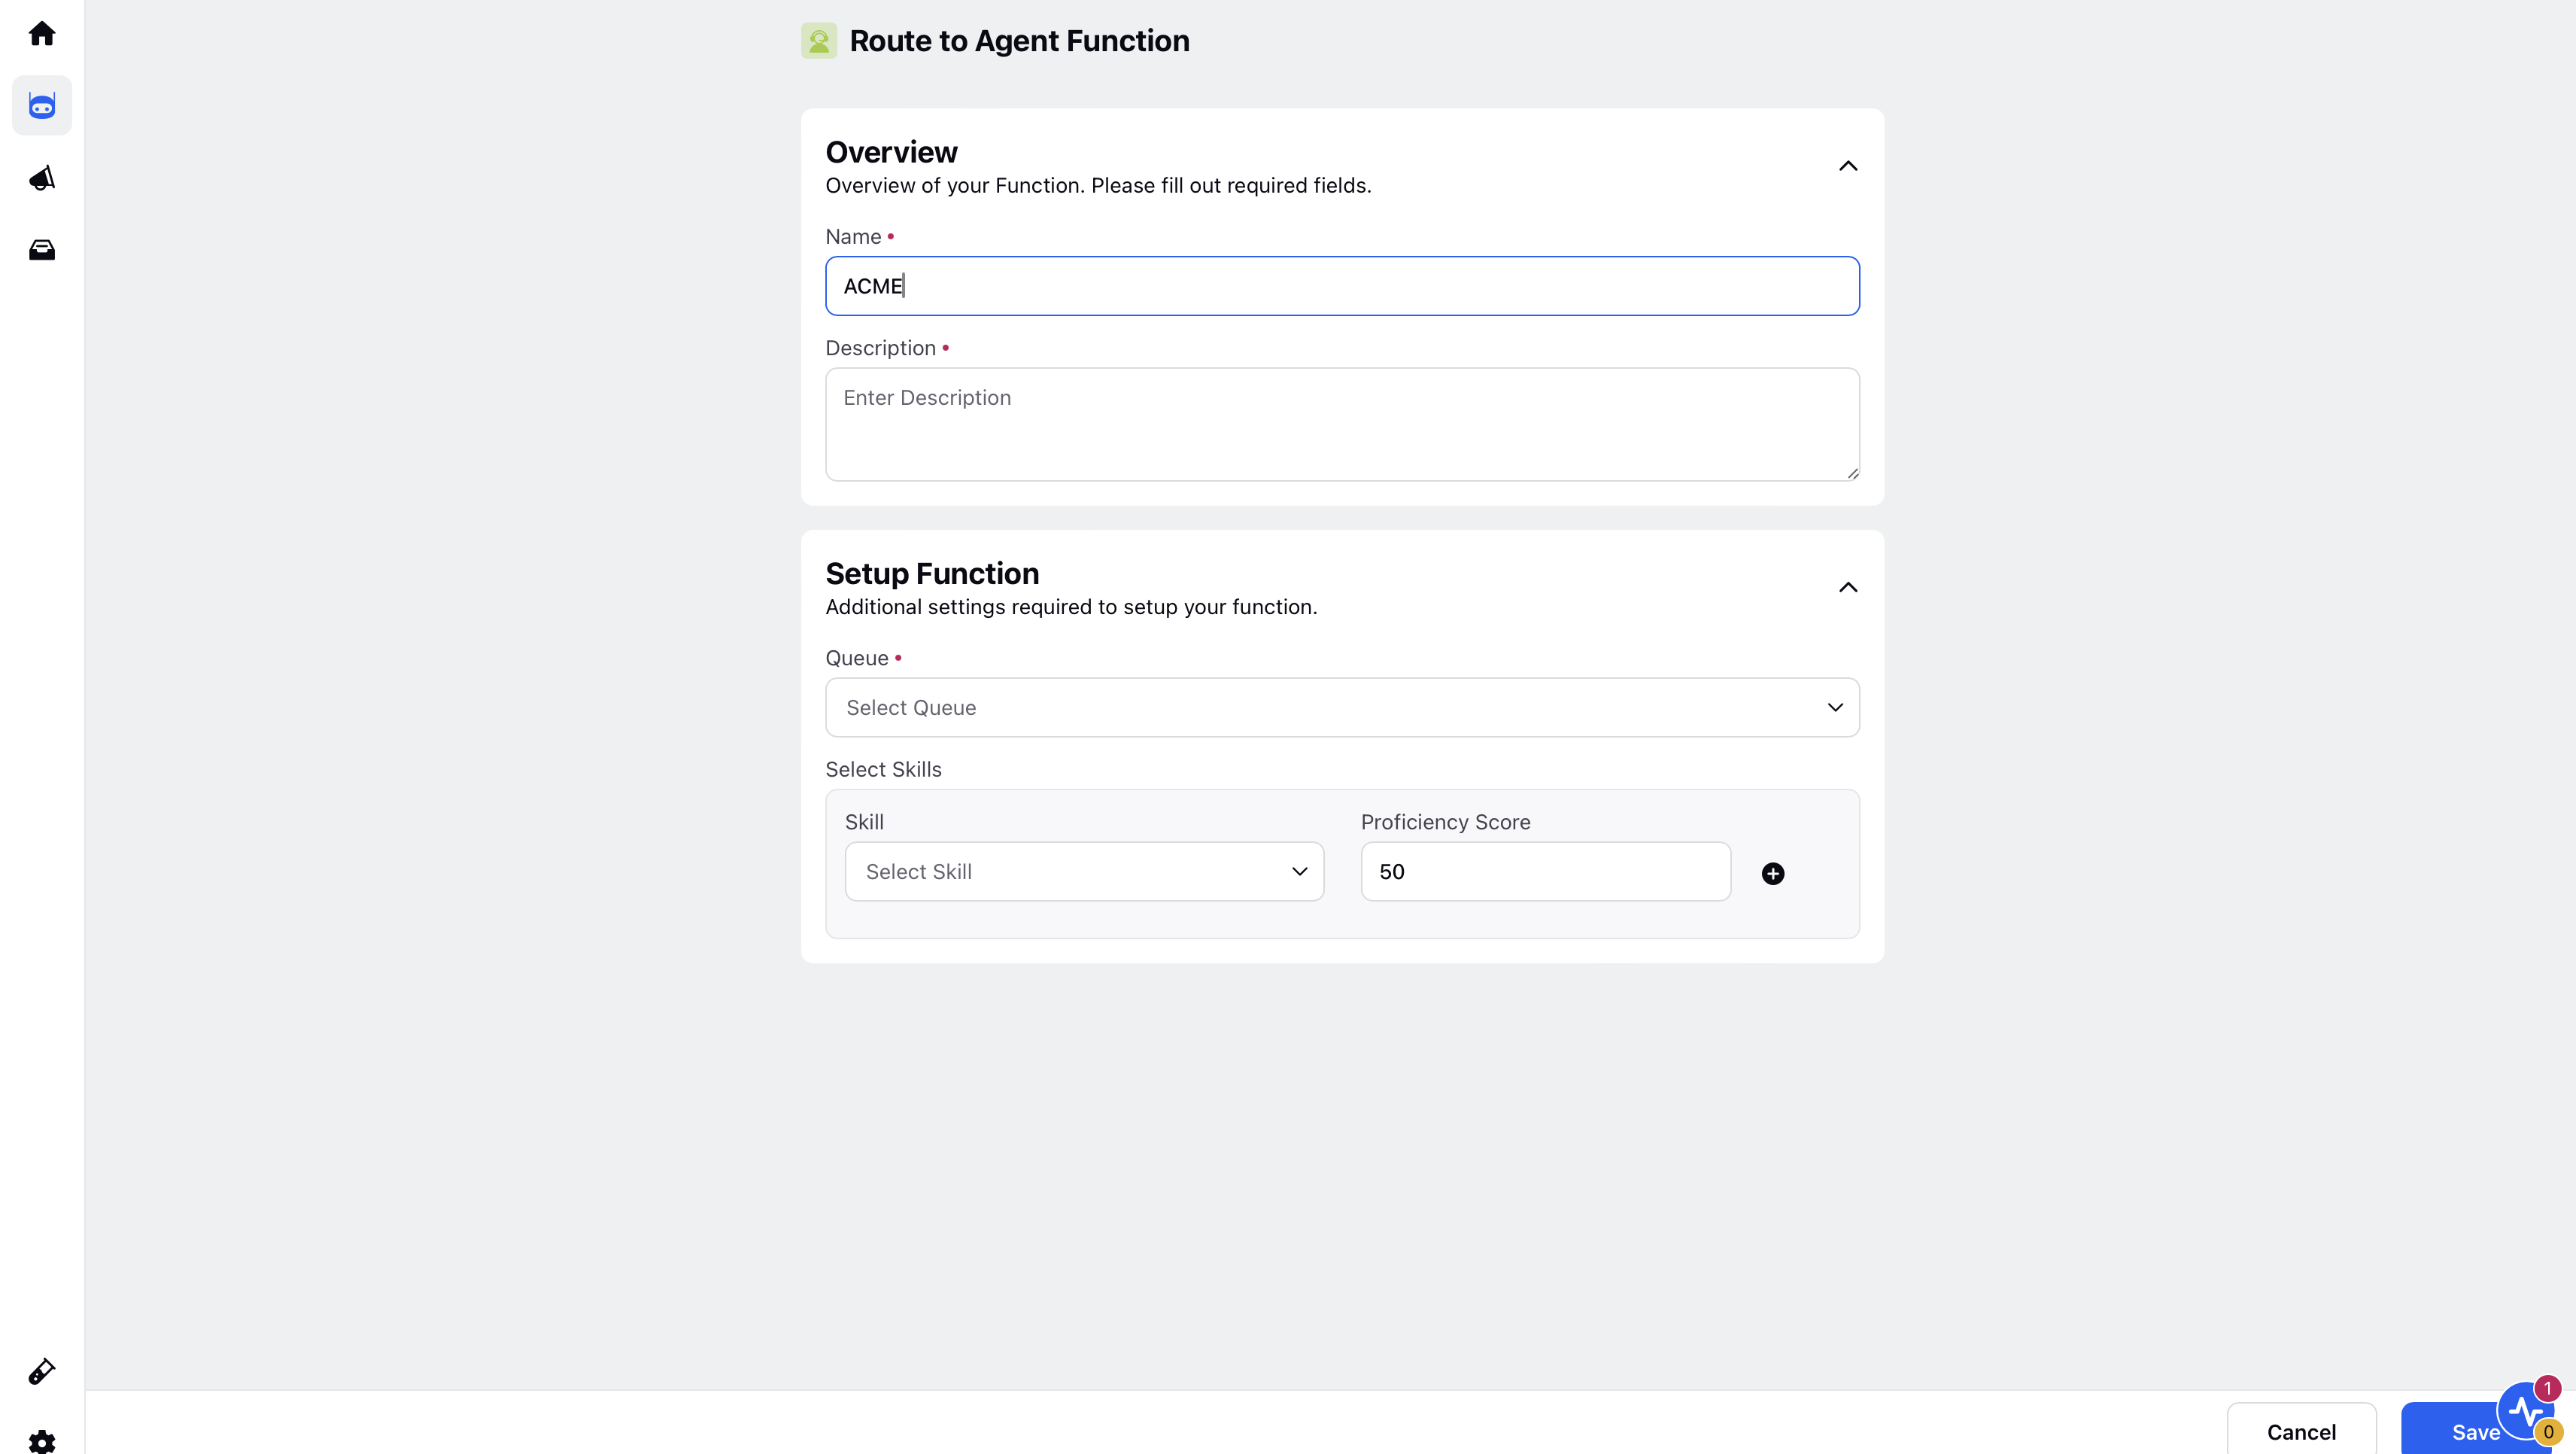
Enter the skill Name and Description.
Note:
Guidelines for Function Names:
Be Clear and Direct: Use action-oriented, unambiguous verbs.
Keep It Concise: Aim for 2-4 words that clearly describe the function's purpose.
Avoid Generic Names: Ensure the name is distinct from other functions
Use a Noun or Output Indicator: Reflect the returned value (e.g., fetch_exchange_rate, not convert_money).
Guidelines for Function Descriptions:
Start with a Clear Action Verb: Use verbs like "Retrieves," "Fetches," or "Generates."
Clearly State Function Purpose: Describe what the function does without assuming prior knowledge.
Mention Key Inputs: Include relevant inputs but avoid specifying types (handled separately).
Specify Expected Output: Clarify what the function returns.
Keep it Concise: Aim for a description under 20 words.
Under Setup Function, you must mirror the Assign Agent configuration as in the dialogue tree.

Click Save to save the skill.