Publish to Pinterest account
Updated
Sprinklr allows you to create and publish multiple pins through its platform using its various parameters. You can select images for your pins through different sources and provide their detailed descriptions. You can also customize and publish collages to Pinterest using the image editor through the Sprinklr platform.
To Publish Pins
Click the Publishing Options icon
in the top right of the navigation bar and select Create Post from the drop-down.
In the Create Post window, search and select the required Pinterest Account in the SelectAccounts field. You can also use Advanced Search to narrow your searches by a series of various filters.
Select the Type of Message from the drop-down menu. The following options are available:
Pin
Board
Pin from Website
Choose an existing board for holding your Pins from the Boards field or click Create New Board from the drop-down menu to build a new board.
Click Select Media to add a photo/video from the Media Uploader or Upload Media to select media to upload from your device.
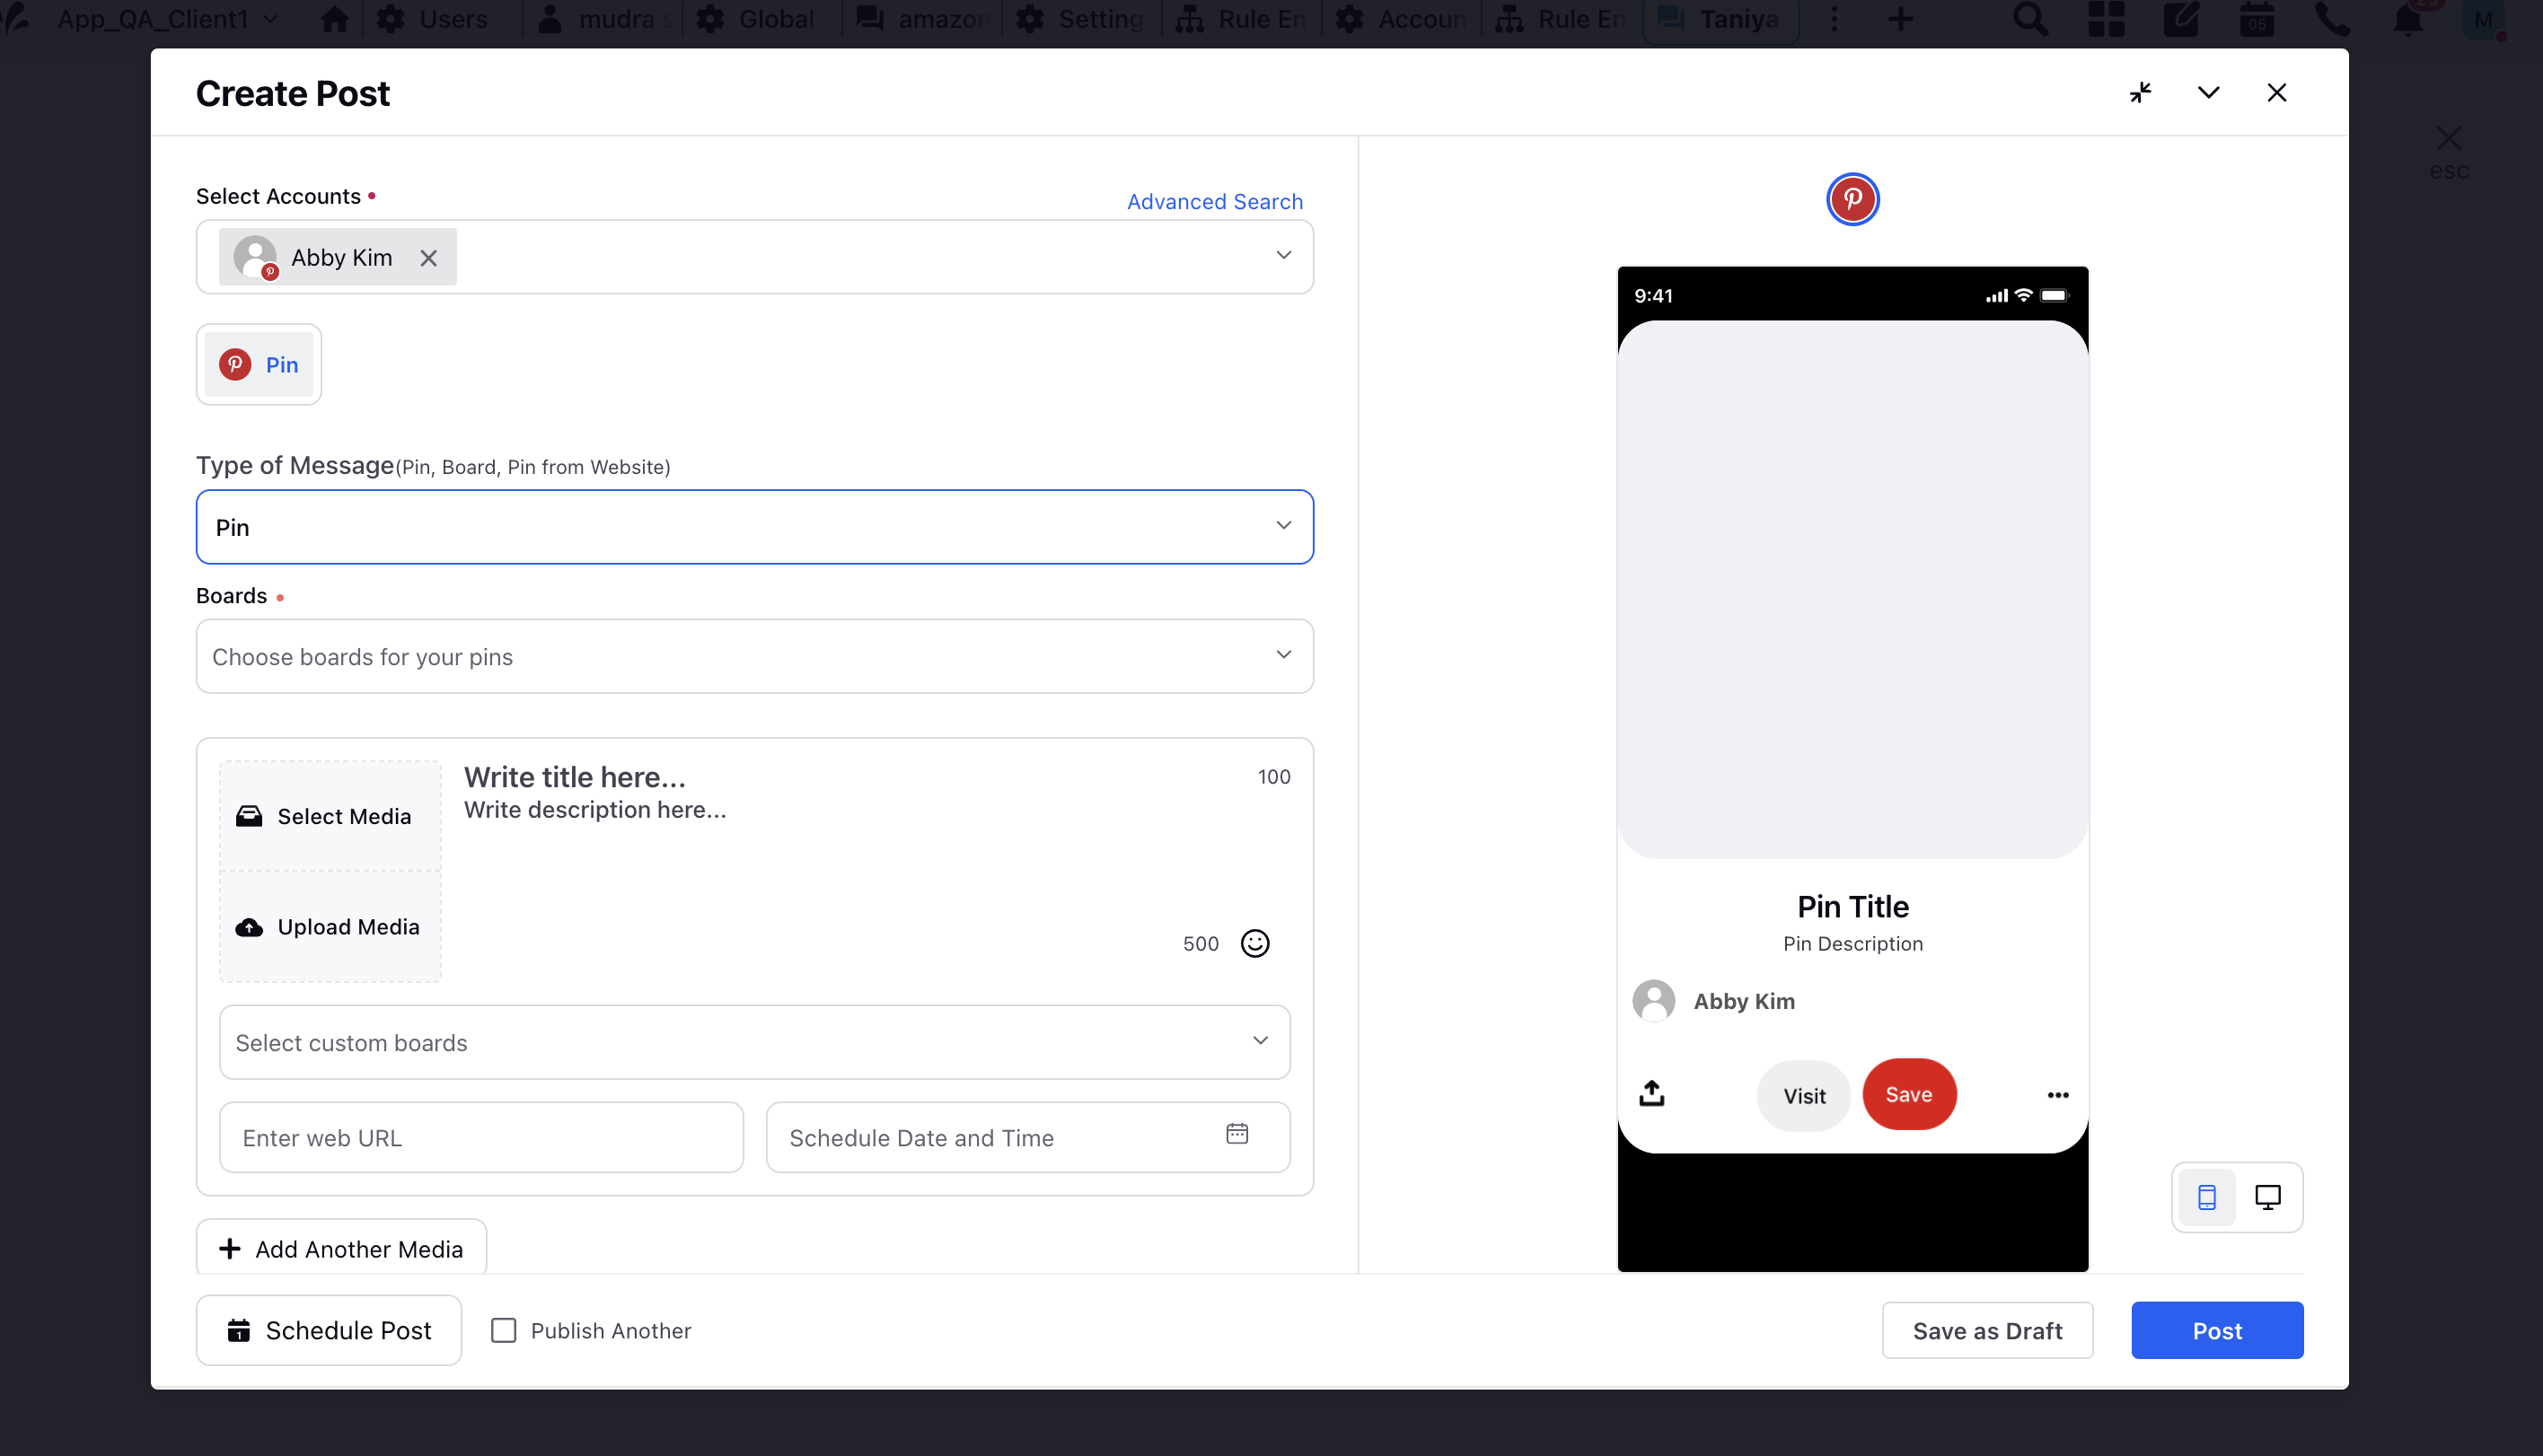
Enter a Pin Title and Description to your selected photo. Next, click the Emoji Picker icon from the Content box to open the emoji menu. Use the icons at the top to browse categories, or search the emoji. Click your chosen emoji, and it'll be added to your description.
Select custom boards from the drop-down menu.
Enter the web URL for the destination link.
To schedule individual pins, select the Schedule Date and Time from the menu.
To continue adding more pins to your board, click
Add Another Media.
Check the Share on Facebook and Share on Twitter box, respective to share the pins on other social media channels.
Select a campaign from the Campaign drop-down menu to associate your post with. You can also set your campaign as default by clicking Set as Default.
Select a sub-campaign from the Sub-Campaign drop-down menu to associate your post with.
Select Tags and Social Bars from the drop-down menu respectively.
You can select URL Shortener to shorten every link that you paste in your message. This helps you make the most of the character limit.
Apply Properties to the post.
Under Approval, set an Approval Type for your post. You can also add an Approval Note.
The preview of the post will render on the right pane. Also, you can click the Preview icon
in the bottom left corner if you have minimized the Create Post window.
Click Post in the bottom right corner to publish the post on the selected Pinterest account immediately. If you are not ready to publish and want to save your post as a draft, click Save as Draft.
You can also schedule your post for a future date and time by clicking the
Schedule Post in the bottom right corner. Select the month, date, and time of publishing. Click Apply to save your changes.
To continue publishing the post, check the given Publish Another box in the bottom.
To Create a Board
After STEP 4 of To Publish Pins, In the Create New Board window, enter the Board Name and Description.
Select the Category from the drop-down menu.
Click Create in the bottom right corner of the Create New Board window.