How to Setup an Engagement Dashboard for Ad Comment Moderation via API Columns
Updated
Manage your team's response workflows from organized dashboards and get access to the right tools to deliver the best possible customer experience.
Engagement Dashboards within Sprinklr provide a way to manage your team's response workflows from organized dashboards. Sprinklr allows you to manage inbound messages across social channels through clear workflows that let you route and prioritize messages, respond, and provide quick and accurate resolutions.
With customizable Engagement Dashboards, you can configure views that give your team the right context and tools to deliver the best customer experience.
Use cases of Engagement Dashboards
Flexible Workflow Options
The ability to custom-configure Dashboards to your preferred view
The option to export column contents to an Excel spreadsheet
The ability to search within an Engagement column by keyword, user, or message tag
Bulk actions to be taken on multiple messages across multiple columns; in particular:
Using the Paid Status Detection Macro to retro-tag messages as being from paid or organic posts (see here)
Using the Dark Status Detection Macro to retro-tag messages as being from dark or published posts (see here)
Third-pane actions containing message and profile information, all in a single location.
Note
Normally it is recommended to set up Workflow/Queue based columns in an Engagement Dashbaord, but this article will show you how to set up an Ad Comment Moderation Dashboard using API/Channel based columns.
To set up an Engagement Dashboard
Click the New Tab icon. Under the Sprinklr Social tab, click Engagement Dashboards within Engage.
In the top right corner of the Engagement Dashboards window, click Add Column.
On the Add Column window, select the desired channel (Facebook, Twitter, LinkedIn, Pinterest, or TikTok) from the given options.
Select the desired column type from the given options on the Add New (Channel) Column window.
On the Add New (Channel) Column window, fill in the required details. For more information, see "Column Configuration Details by Channel" below.
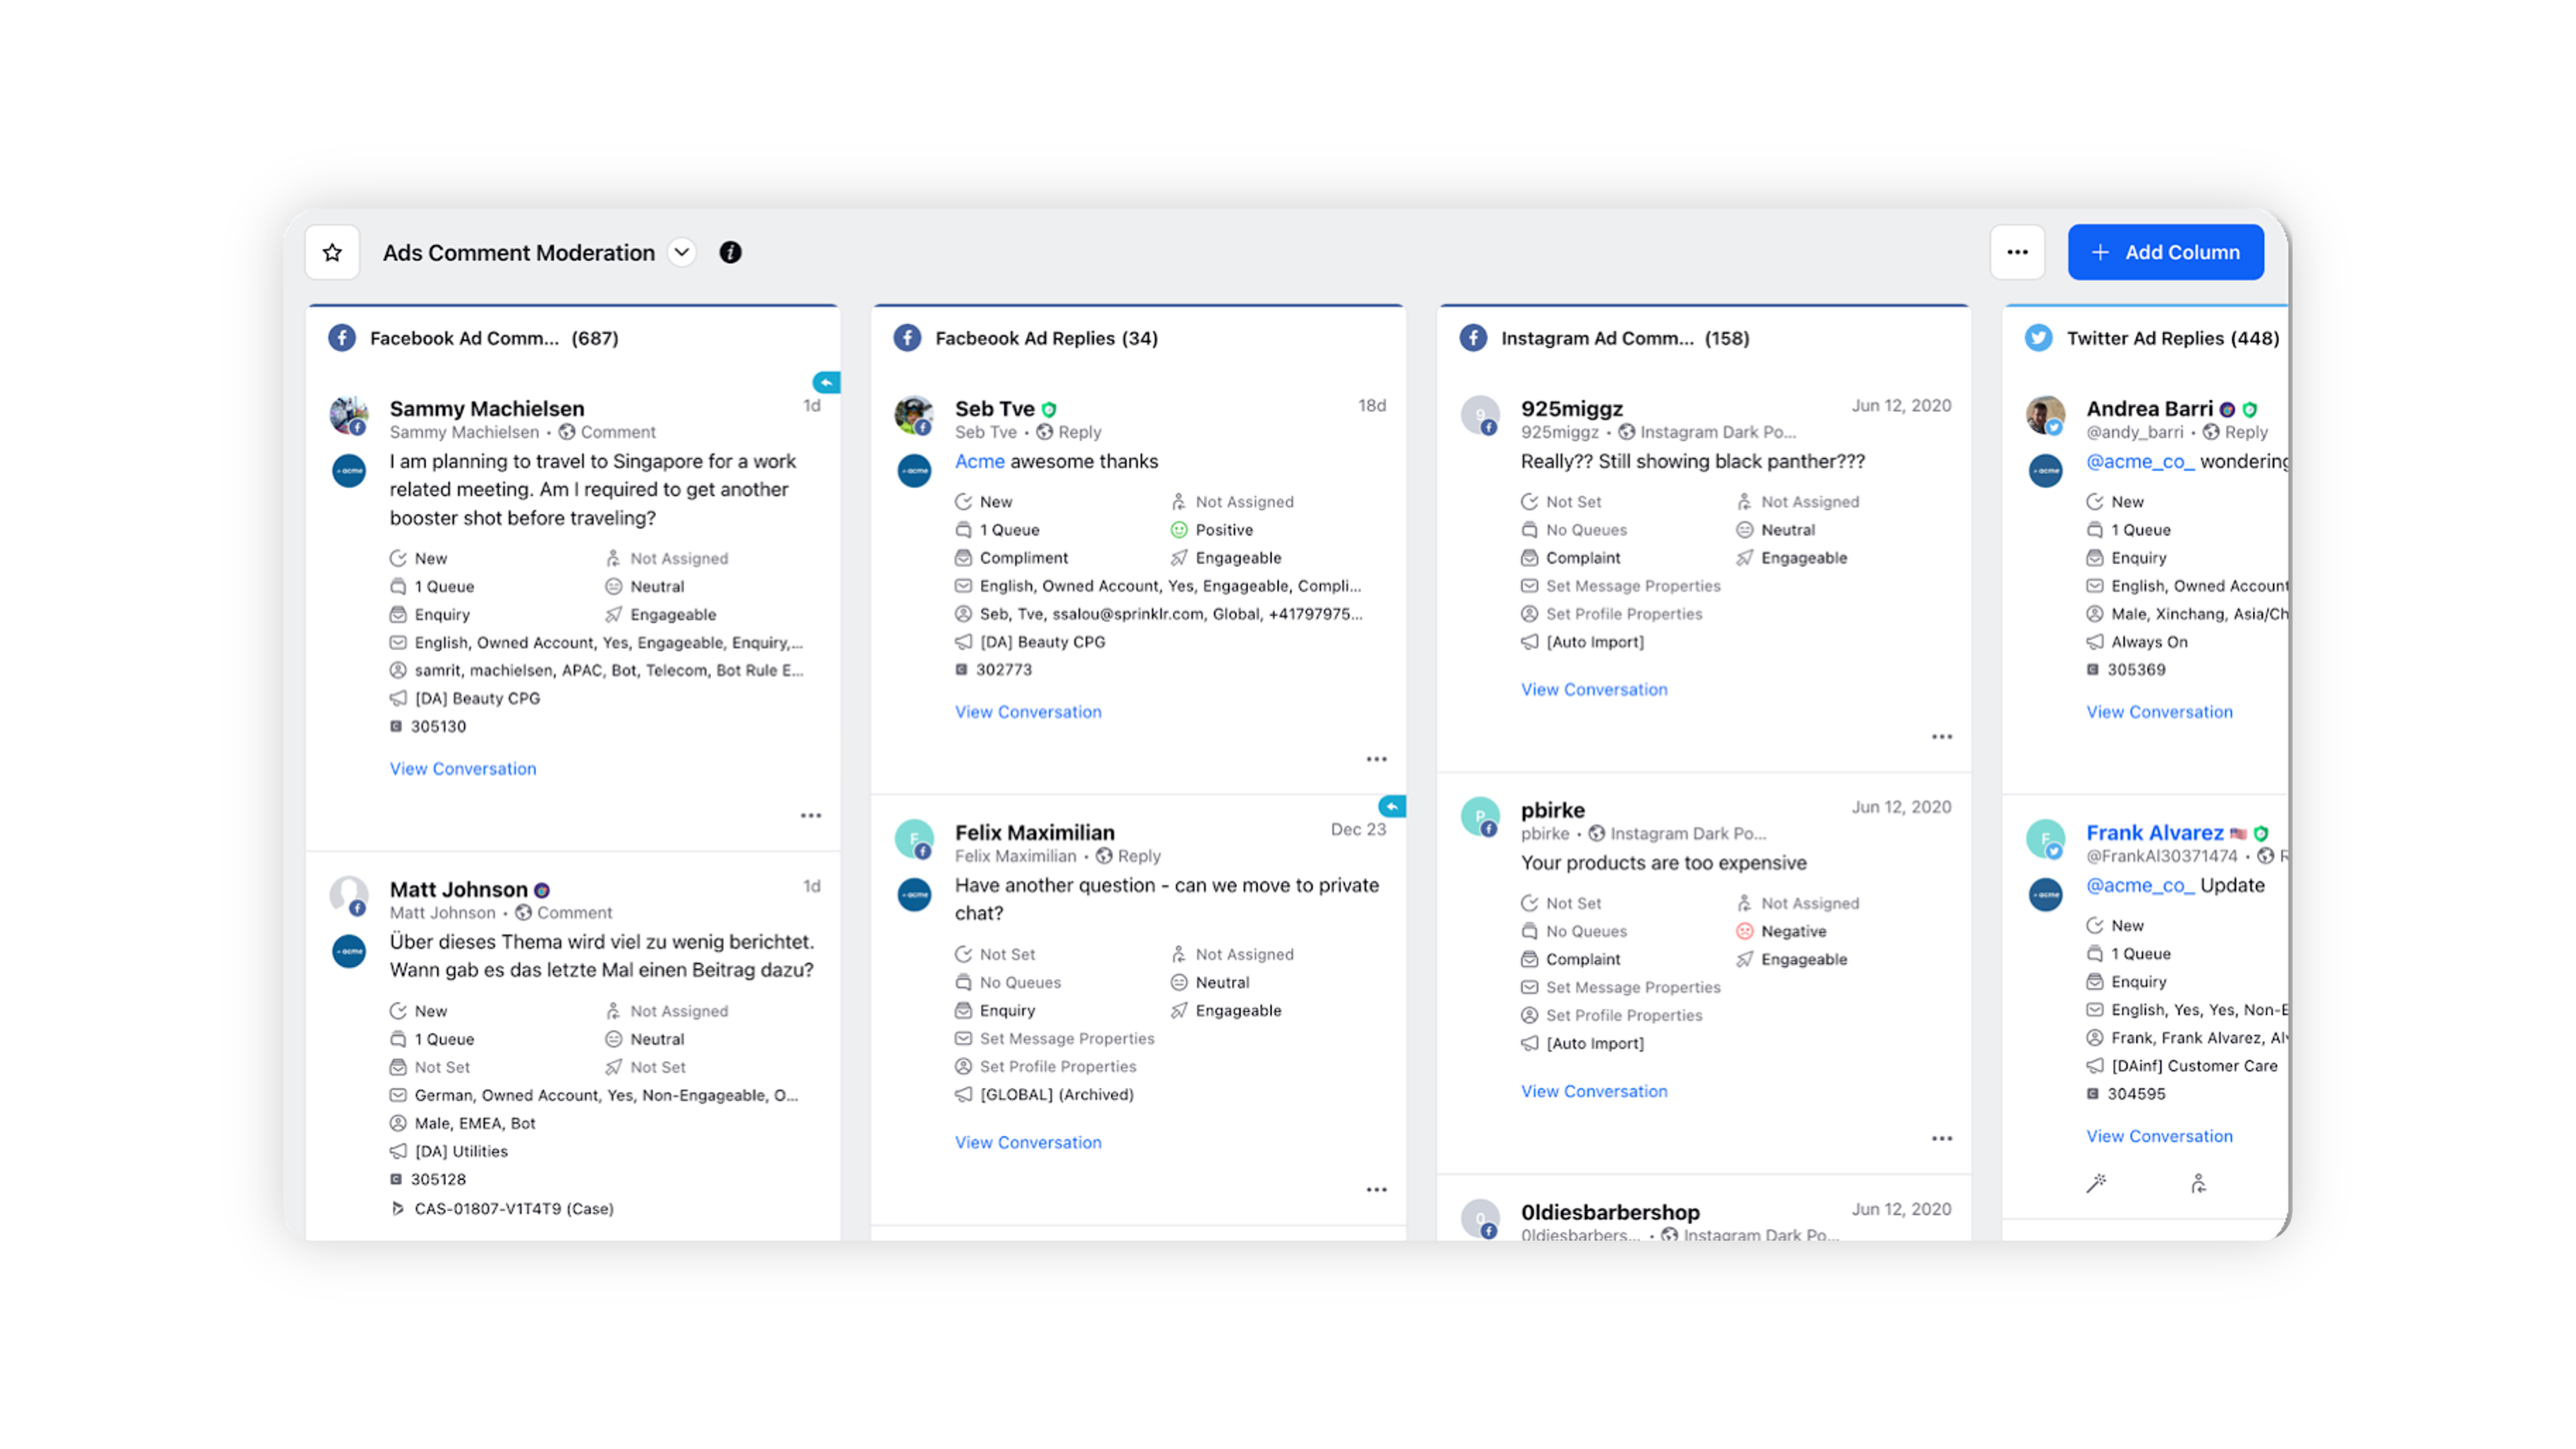
Click Create Column in the bottom right corner. The end result should look something like this:
