Creating an Email Marketing Content Template
Updated
In this article you will learn how to easily customize email templates that are brand-compliant for your target audience with Content Template Builder’s intuitive and easy-to-use interface.
Creating an Email Marketing Content Template
Make sure that you have the right permissions for creating Content Templates.
Click the New Tab icon. Under the Sprinklr Marketing tab, select the Marketing section. Then Select Content Templates within Publish.

In the top right corner of the Content Template Builder window, click New Content Template.
Enter the basic details in the Create New Content Template window. Give your template a Name and select Email Marketing as the Account Type. Select the Workspace(s) and User group(s) to share your template with.
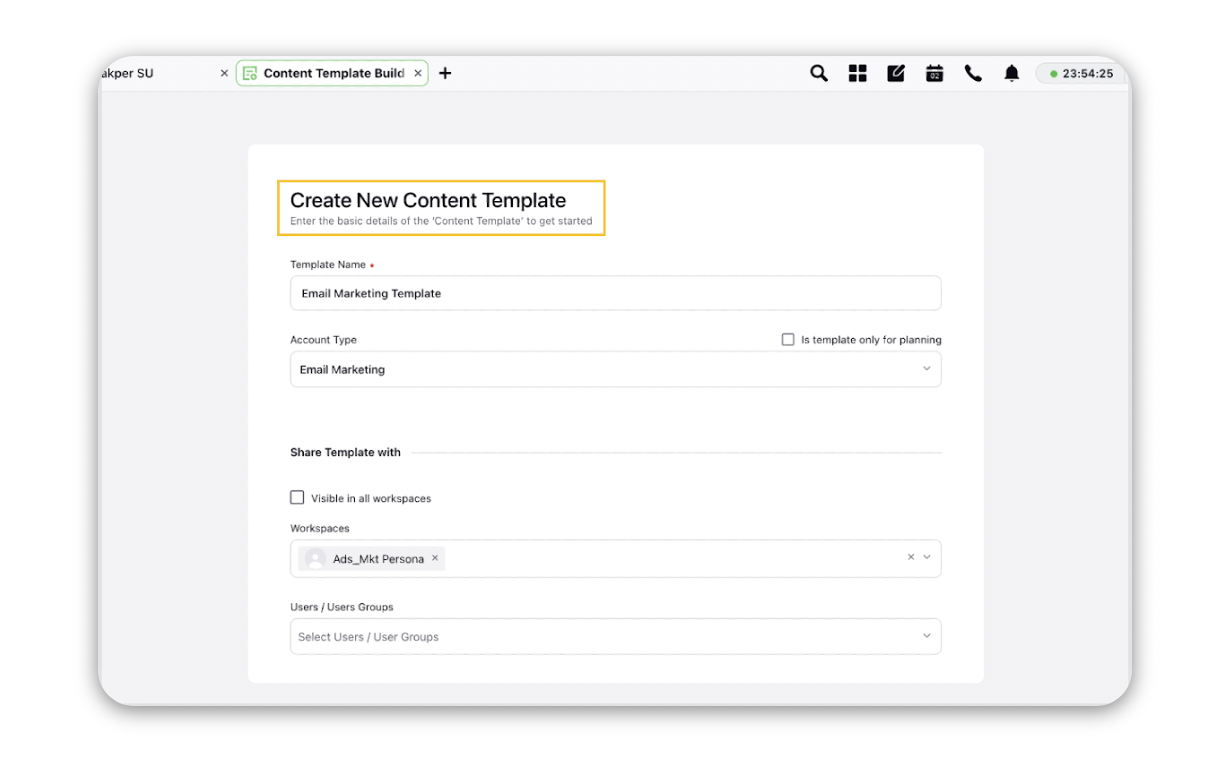
Click Save in the bottom right corner.
Build your template from the Designer tab of the Template Builder.
Click the Addition icon and select from the following widgets.
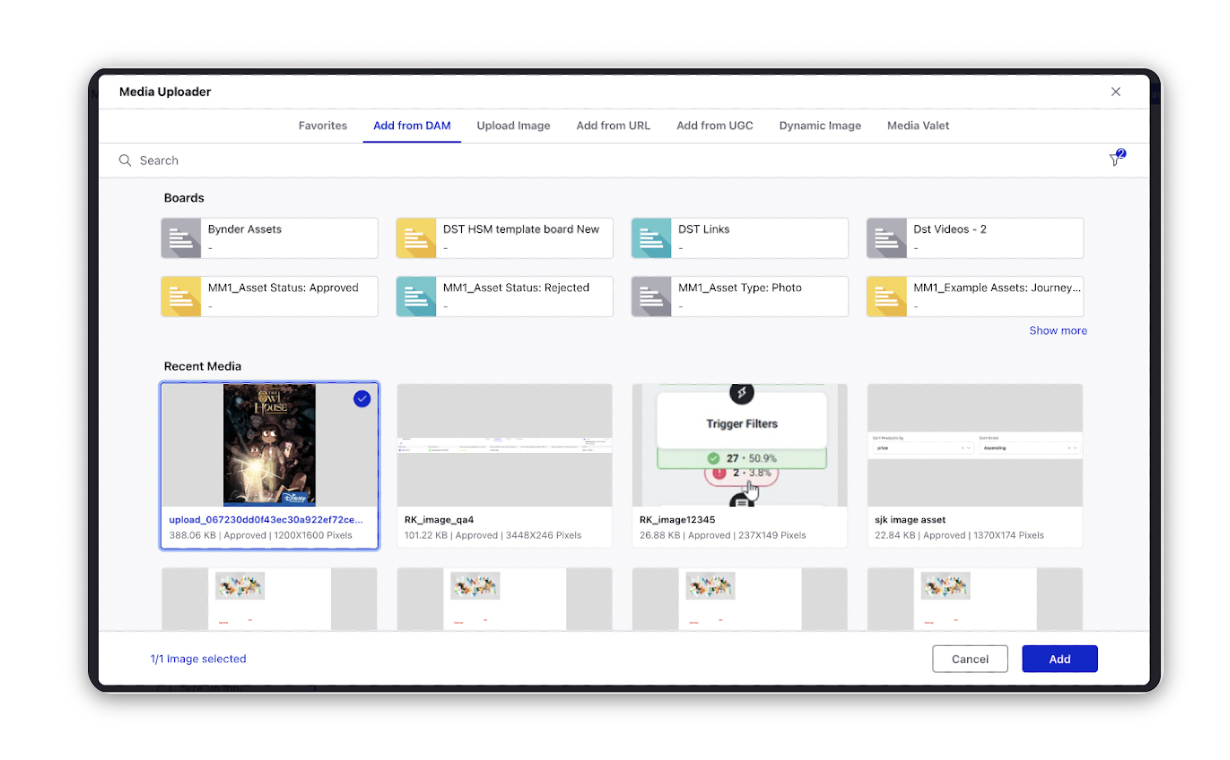
Image: Click to add media (images, GIFs, and videos) to your template. Media can be added from SAM, UGC, via URL or from your system.
Spacer: Click to add space between two widgets.
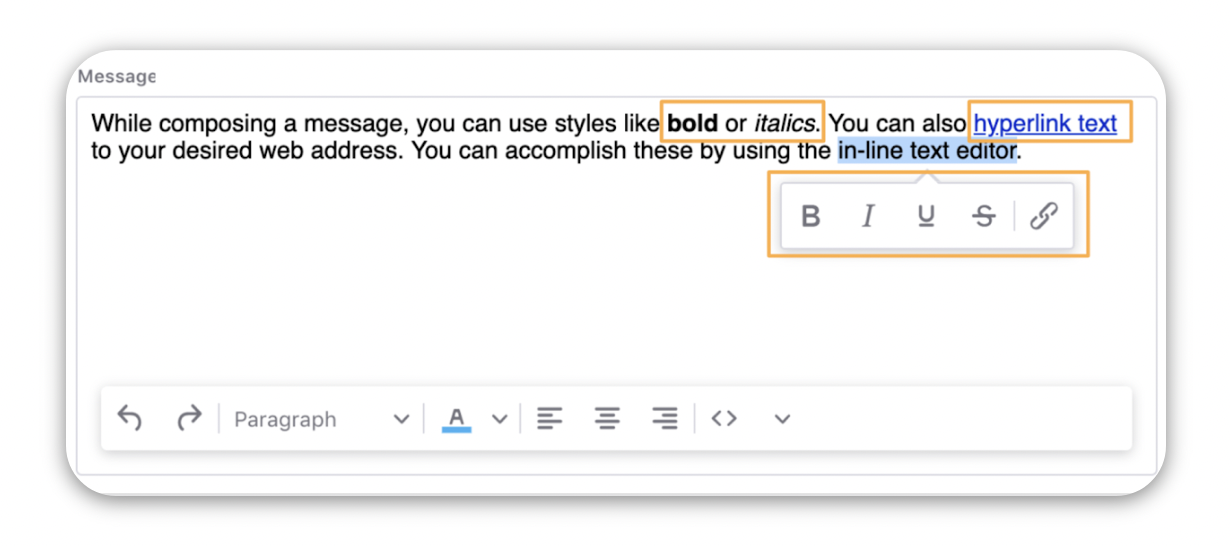
Text: Click to add rich text to your template i.e. bold, italic, underline, headings, hyperlinks, etc. You can also set the alignment and change the text color as desired.
Button: Click to add a button to your template. This is usually a CTA button. You can also add text to your button.
HTML: Click to add HTML code in order to add a component that is not available amongst the given templates, e.g. tables, etc.
Social Footer: Click to add the URLs of your social media accounts.
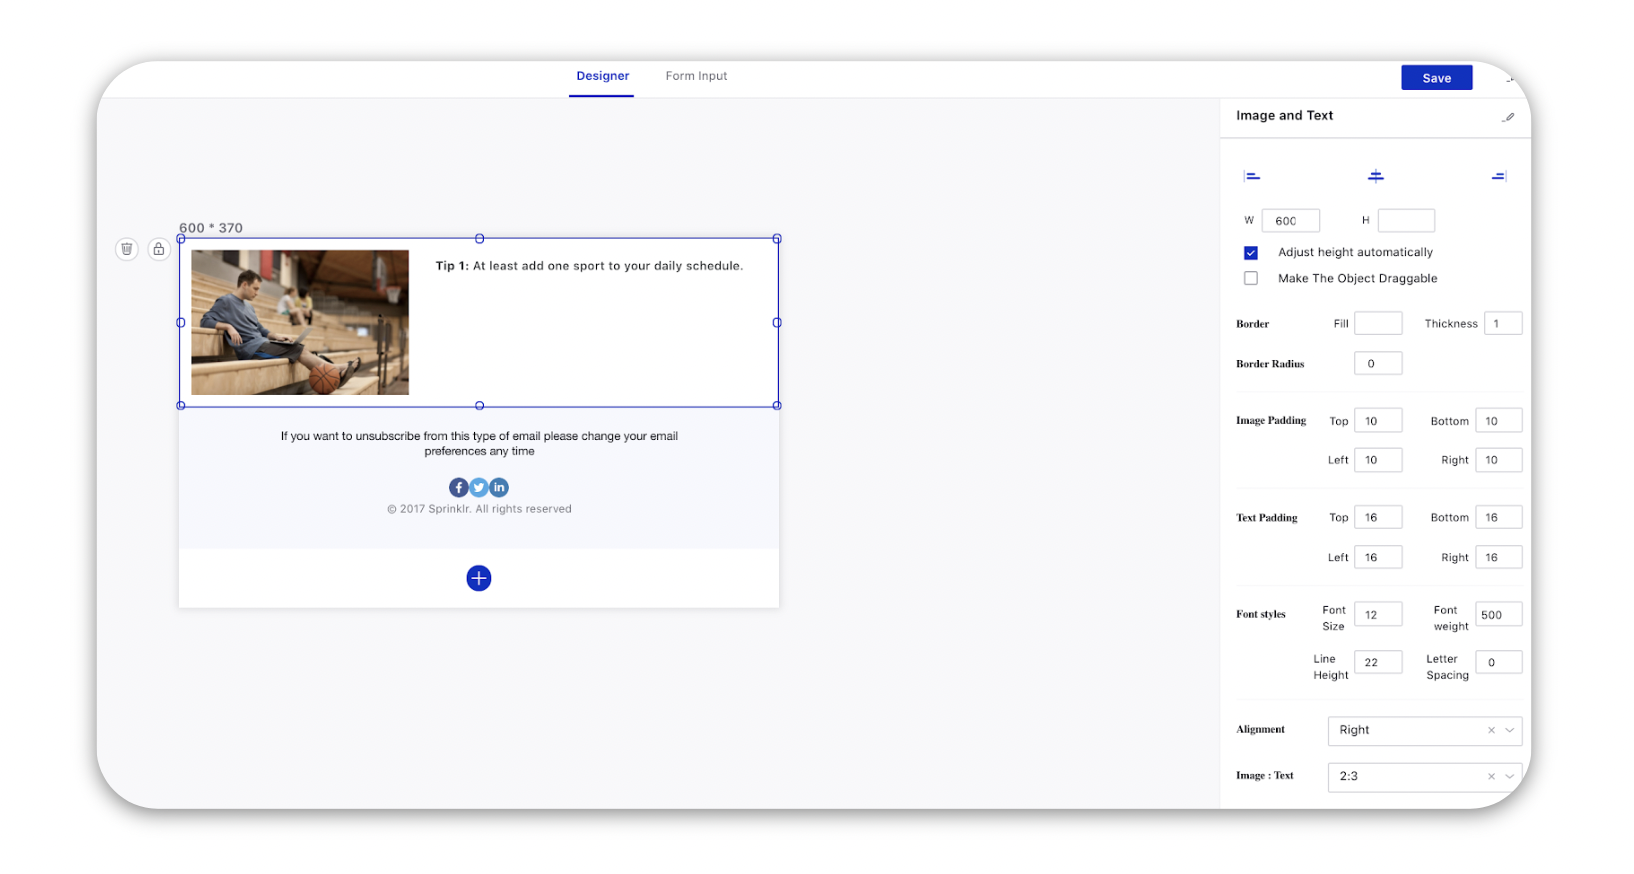
Image and Text: Click to add the image and text combination to your template. You can change the alignment of the image and the text.
As you select a particular widget, a column constituting various adjustment options (height, width, color, border) shall appear. Make changes as per your requirement.
After setting the basic layout, upload the desired images and add the text and other details by switching to the Form Input tab.
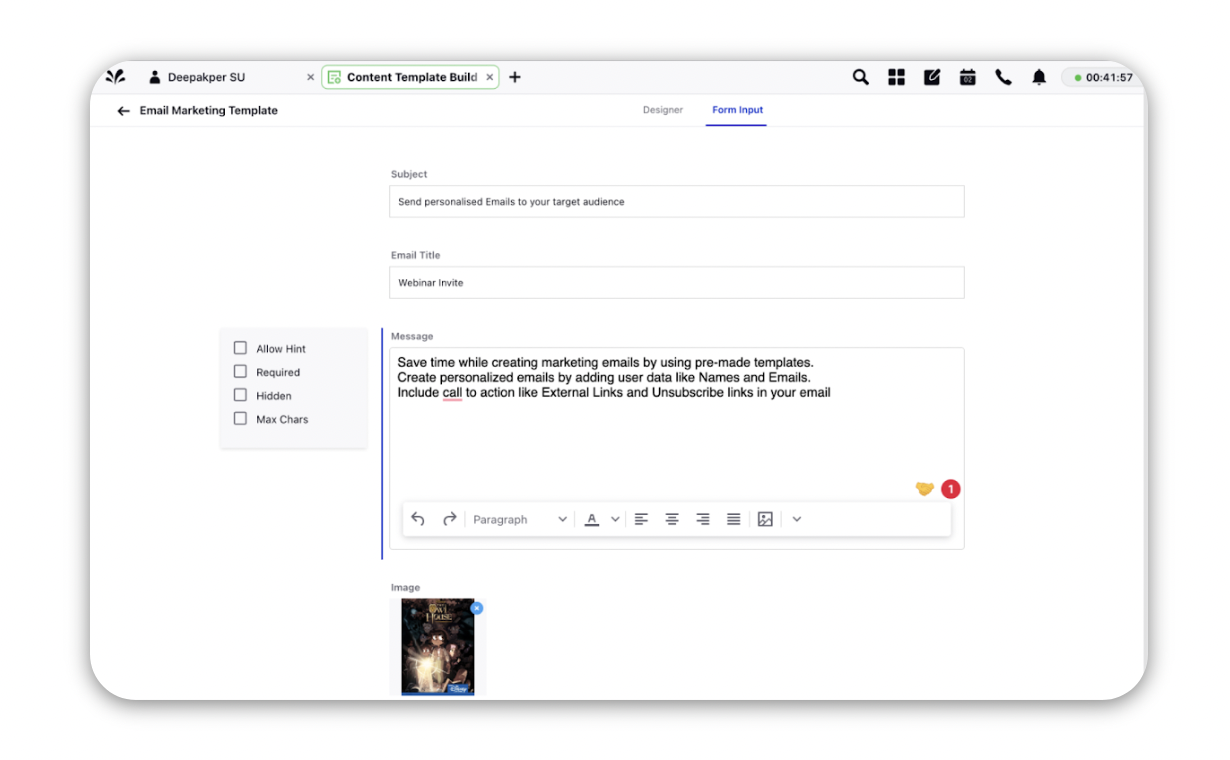
You can add Subject and Email Title in the Form Input tab.
Text can be added in the message box and can be easily edited. To know about inline text editing options in the email templates, see Using Rich Text Editor in Content Template Builder.
When you choose Image and Text, you can change the alignment of the image and the text with the options given in the right pane.
When adding live posts in the email, select the necessary stream from the dashboard. You can limit the number of posts visible in the template and also organize them in columns.

Click Save in the top right corner to save the email template.
This template can now be used to build upon while creating an Email marketing message.

