Create new Request Forms
Updated
Create a request form in Sprinklr and kick-start your marketing intake process by sharing it with the requesters to submit new ideas which can later be converted to campaigns, sub-campaigns, or messages. With Sprinklr, you can design your forms to match your needs and requirements.
To Create Request Forms
Click the new tab icon. Under Sprinklr Marketing → Marketing Section, and click Request Forms within Plan.
In the top right corner of the Requests Forms window, click Create New Request Form.

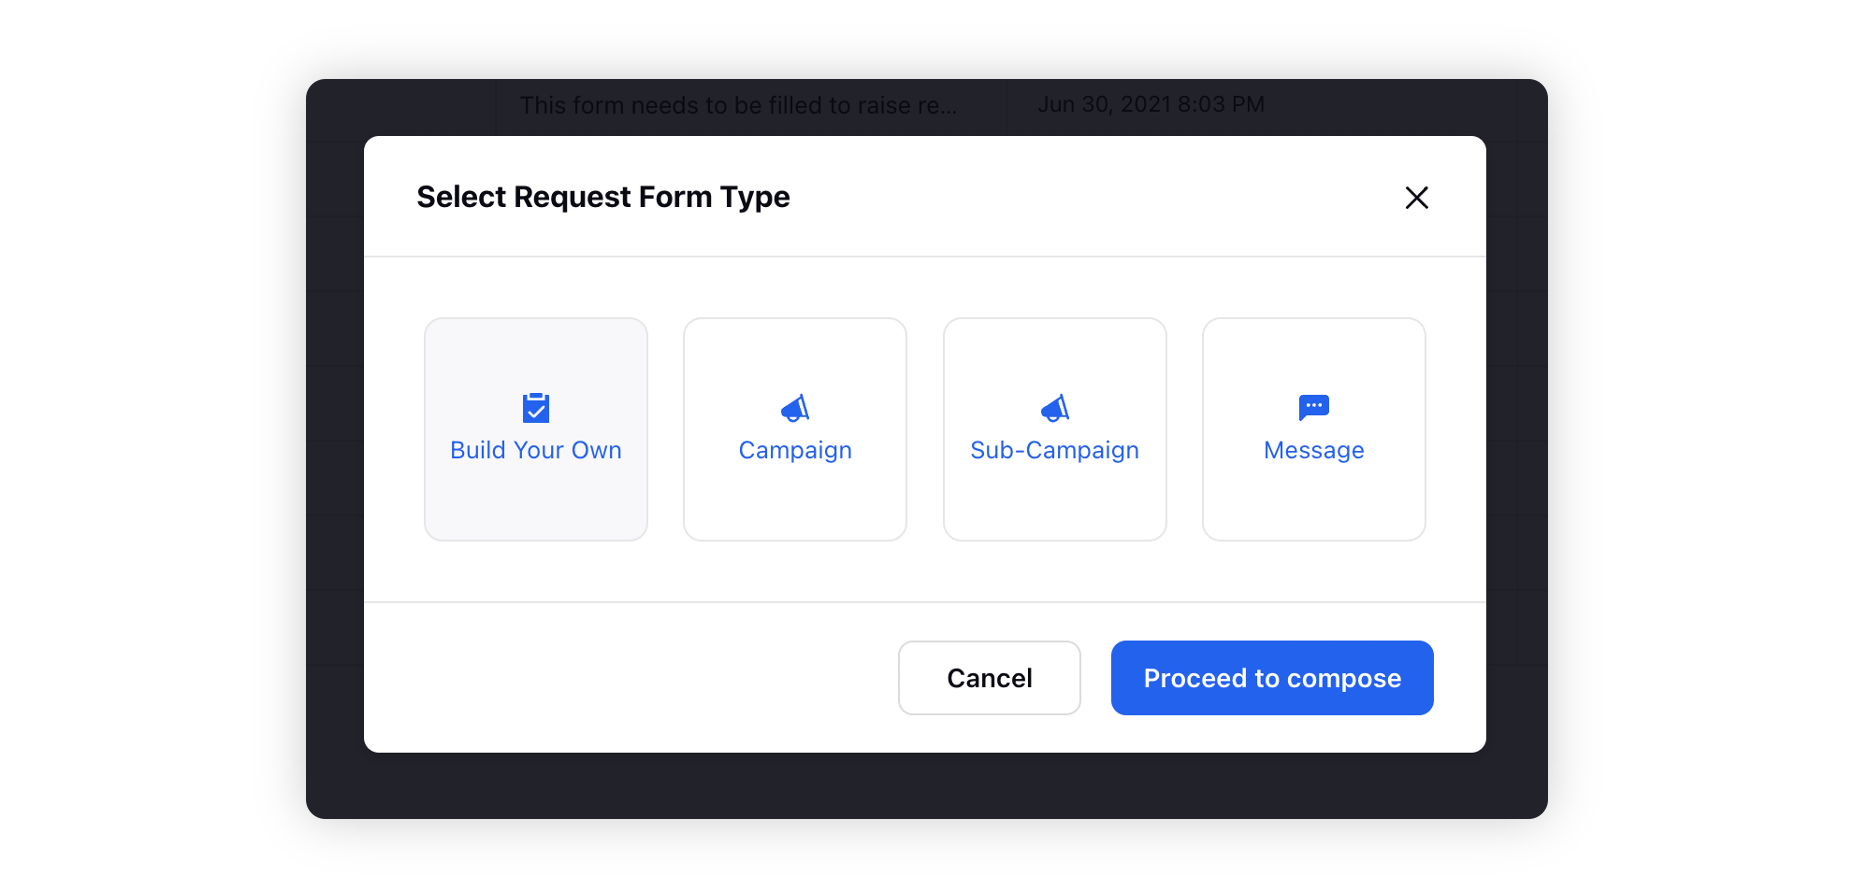
From the Select Request Form Type pop-up window, select Build Your Own Form or choose from Message, Campaign, or Sub-Campaign.
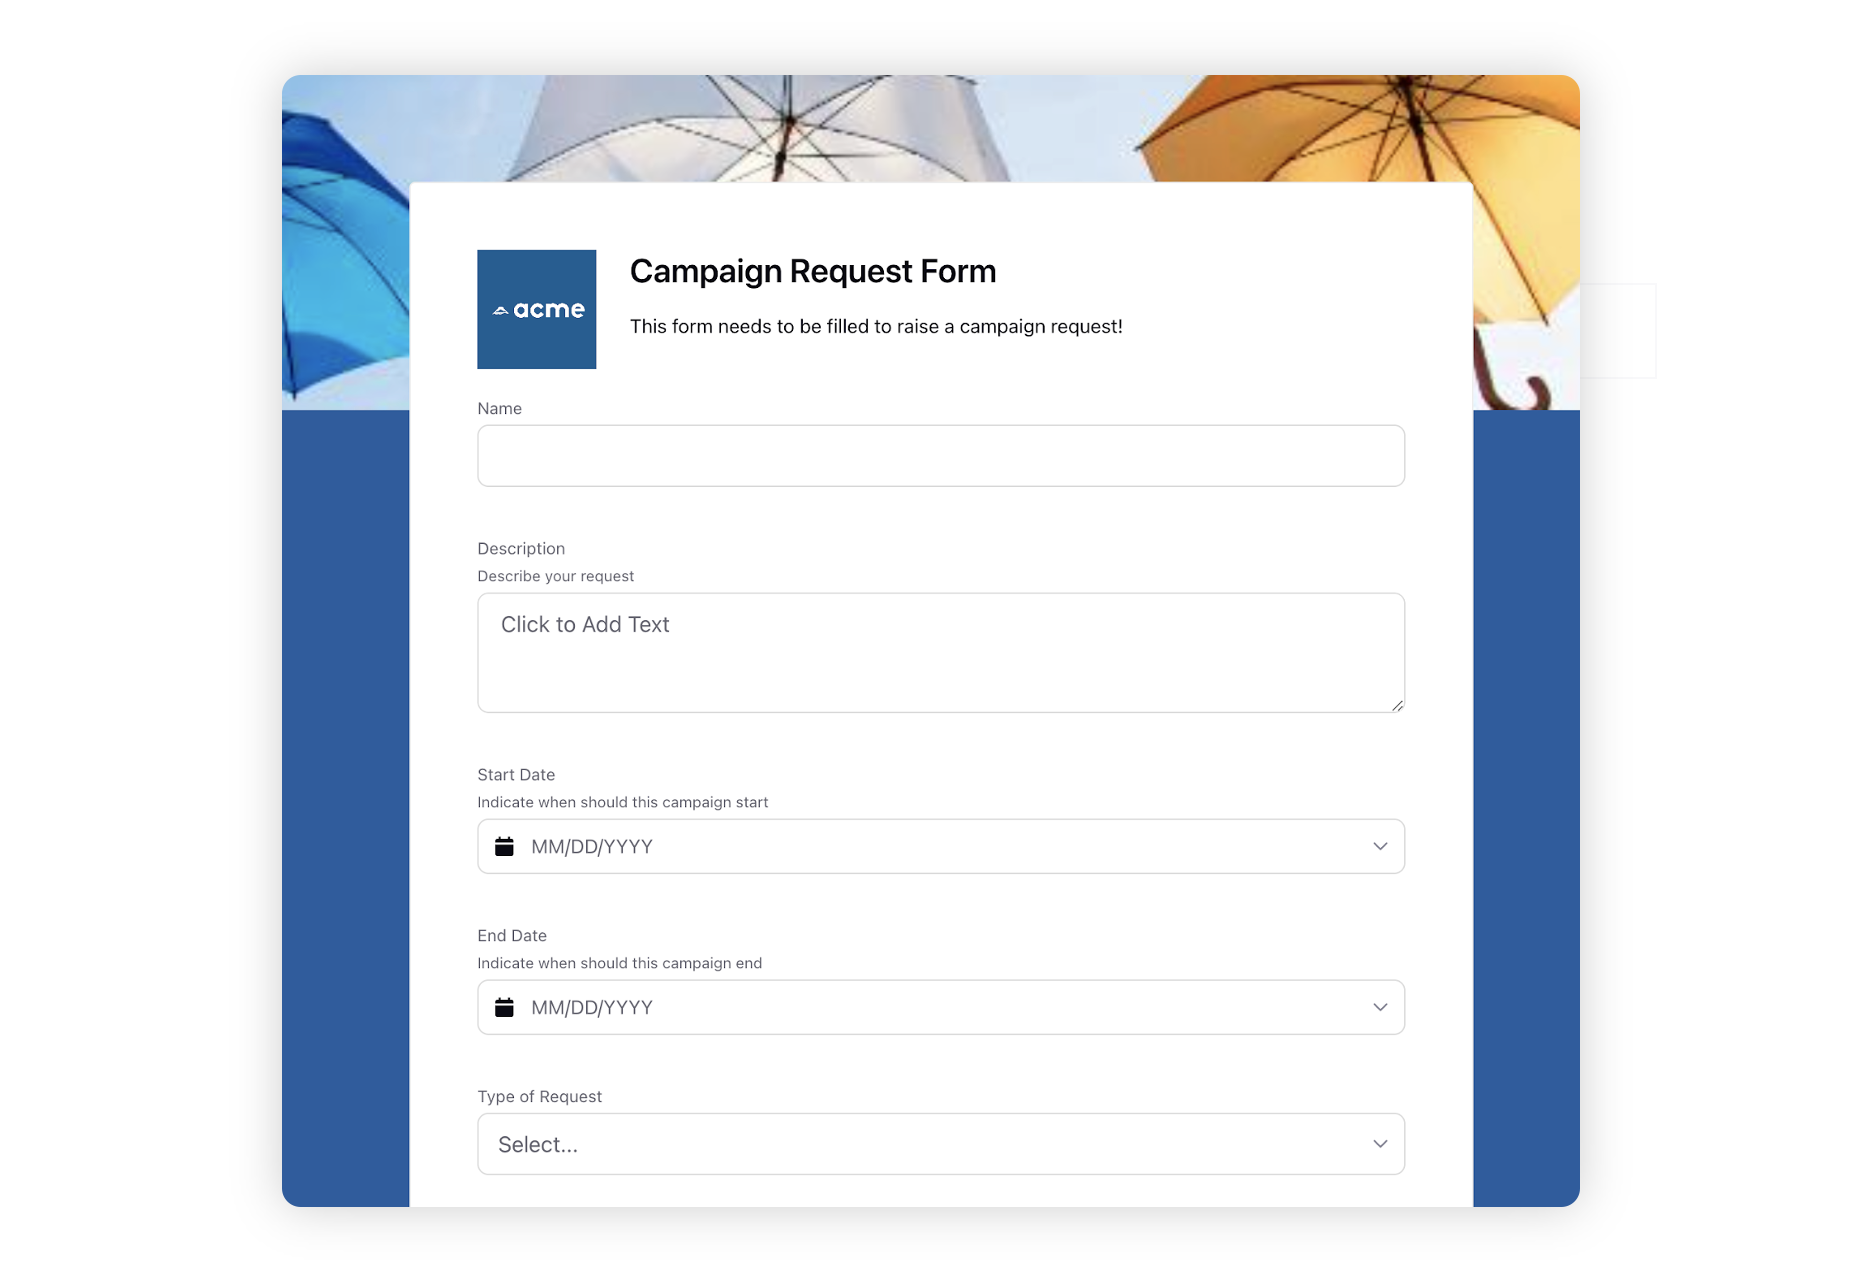
In the Form Styling pane of the Request Form Builder window, you can change the Background Color, add Header Image and Background Image to your Request Form.
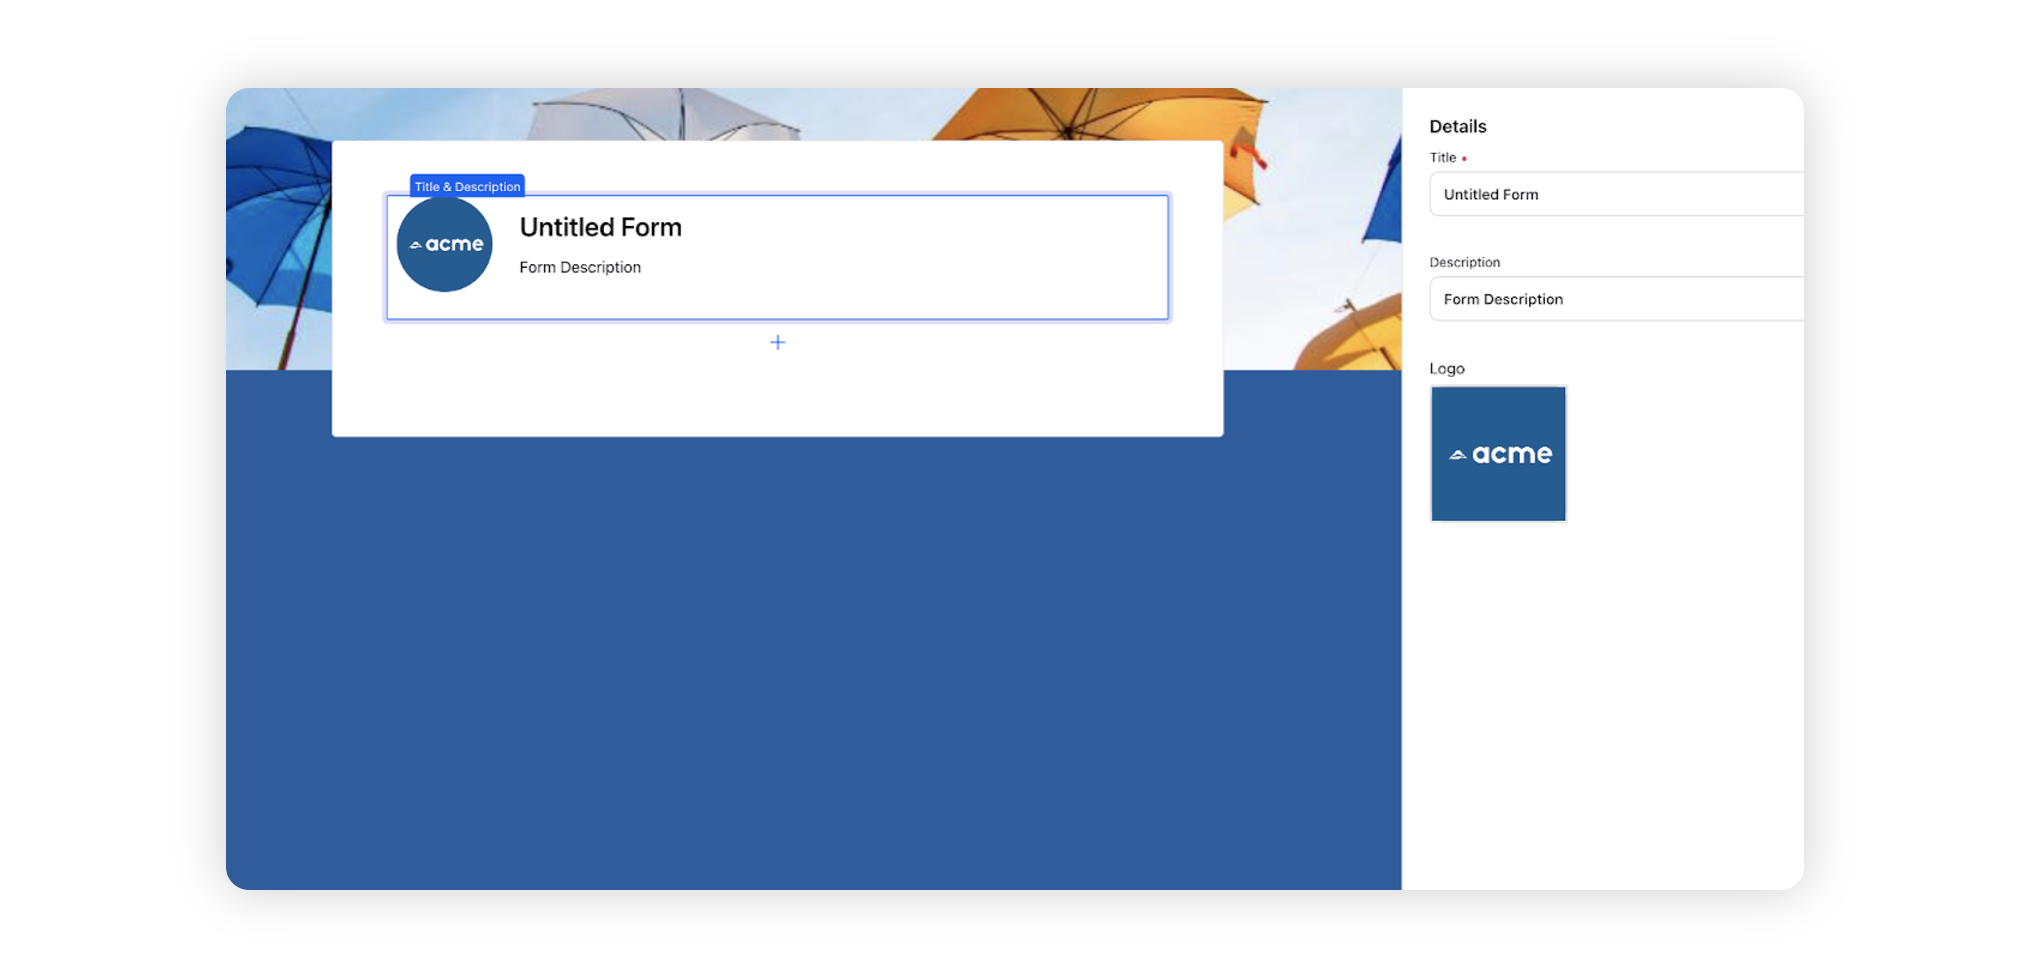
Click on the Untitled Form field. This will open a Details pane on the right where you can enter the Title and Description, add a Logo from DAM (Digital Asset Manager), or Upload Media.
Click the Addition icon under the Form Title box to select the right component from the Choose Component section.
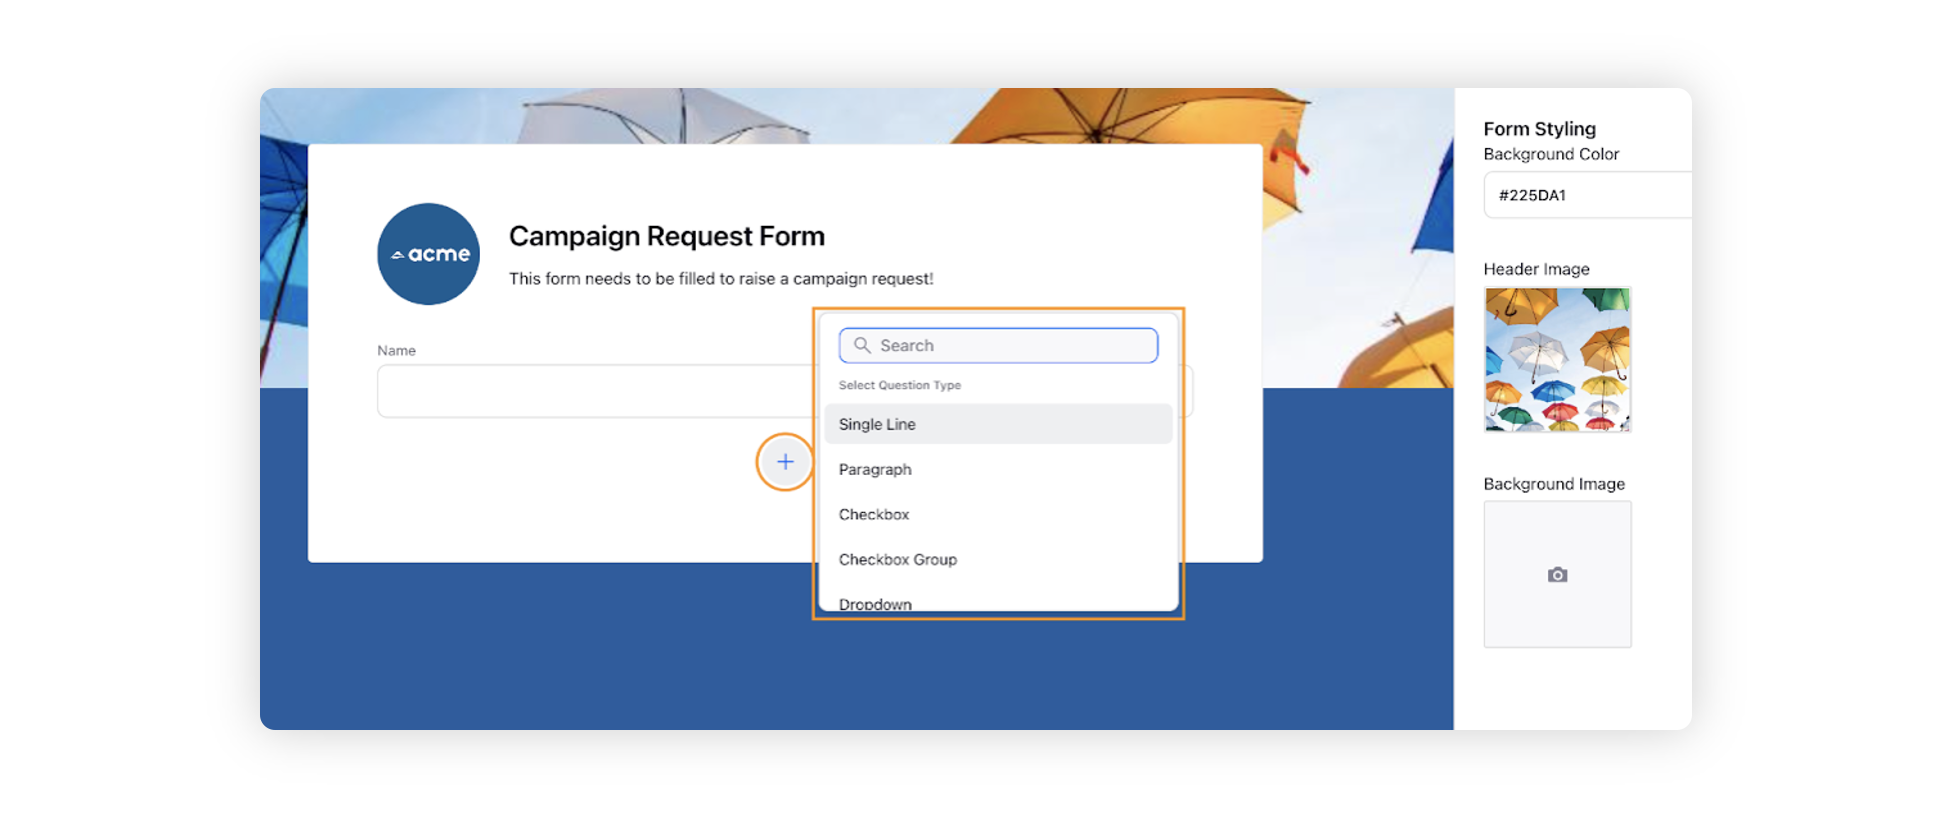
You can select from among the following components:
Single Line: Enable requesters to provide suggestions or information with a single line of text. You can specify maximum and minimum number of characters required for this field.
Paragraph: Enable requesters to provide longer suggestions or information using paragraphs. You can specify maximum and minimum number of characters required for this field.
Checkbox: Insert a checkbox for yes or no type fields.
Checkbox Group: Insert a series of checkboxes.
Dropdown: Enable requesters to select an option from a dropdown menu.
Radio Group: Insert a list of options from which requesters can select one.
Multiselect: Enable requesters to select multiple options from a dropdown menu.
Number: Enable requesters to enter a number.
Email: Enable requesters to enter an email.
Phone: Enable requesters to enter a phone number.
Date: Enable requesters to enter a date.
Attachment: Enable requesters to attach files as attachments to the request. By default, all attachments coming through internal or external Request Forms are added to the DAM. Requesters can unclick the checkbox titled Import to Asset Manager. To view all assets coming via Request Forms in DAM, you can filter for the tag "request_forms".
Entity: Insert a dropdown menu from which requesters can select the campaign or sub campaign that the request is being made for. This component can be viewed and used in both internal and external forms.
Custom Field: In case the given components don't match your requirements, you can create and insert a custom field.
Once you have selected the desired component, you can start adding details on the right.
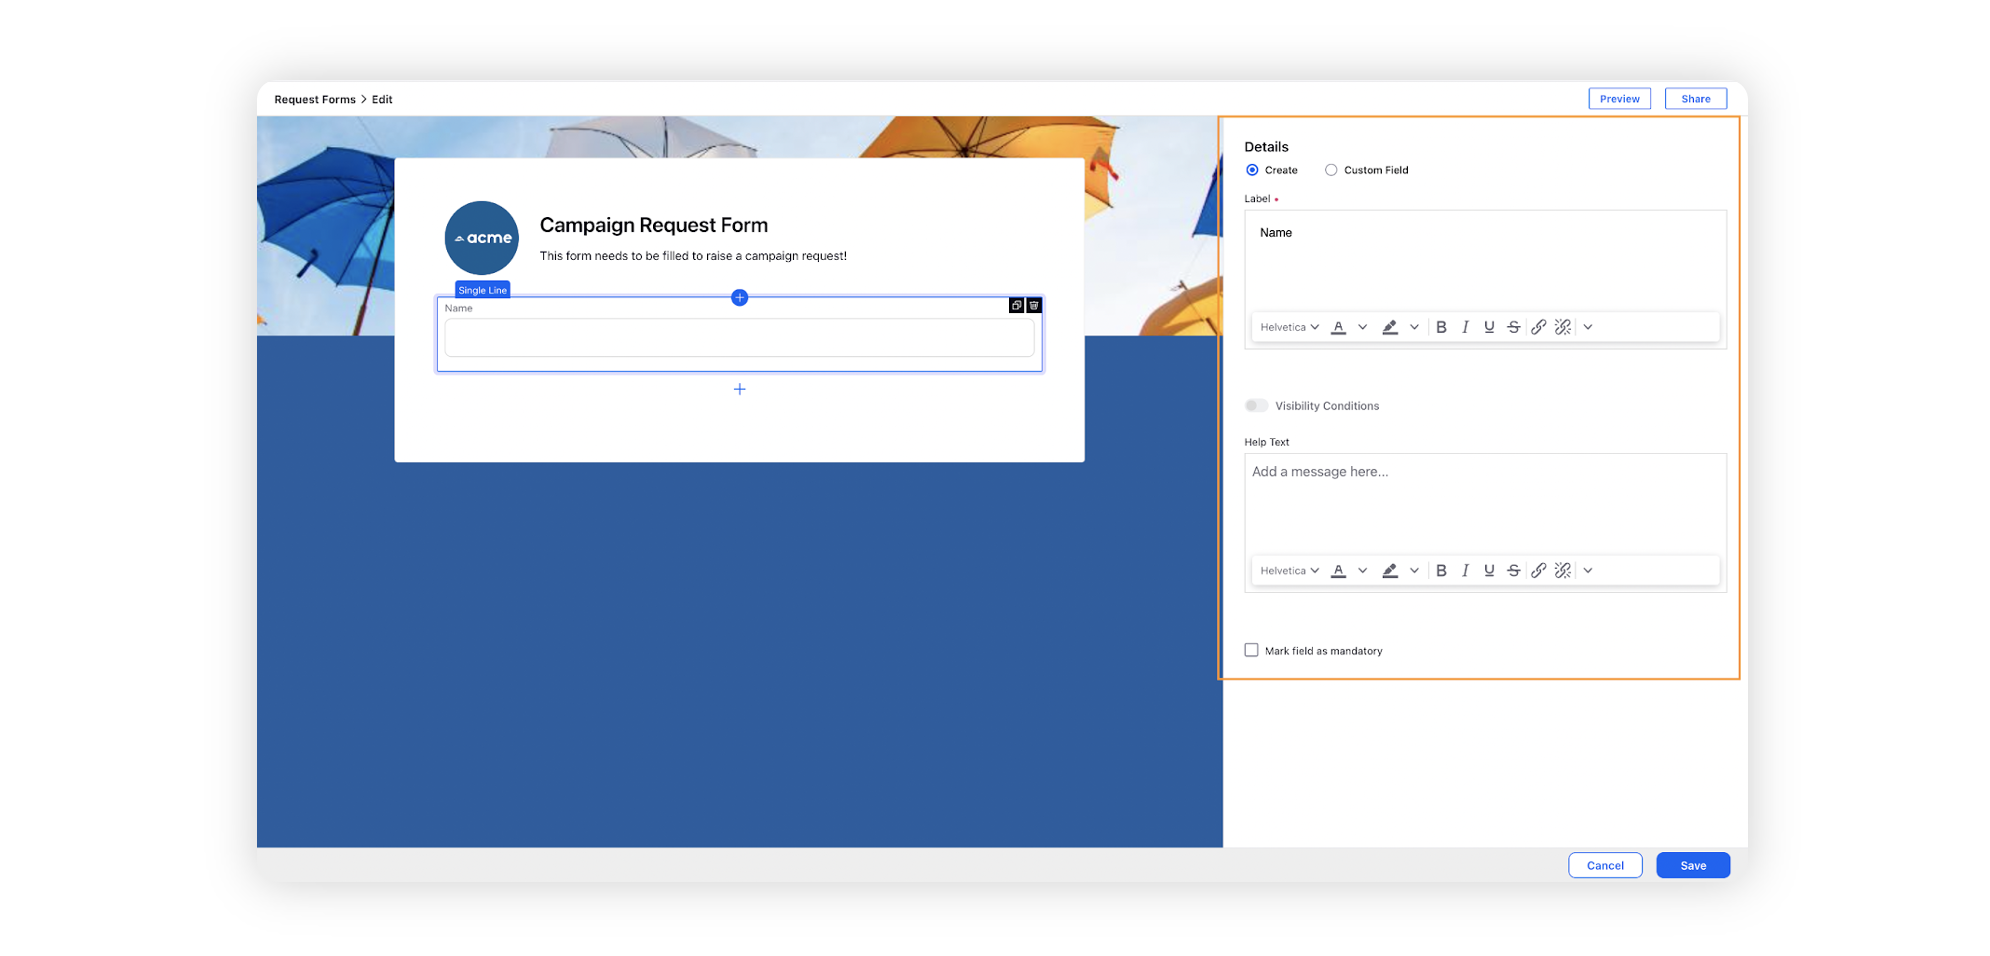
Click Preview in the top right corner of the window before saving your Request Form. The form will open in a new tab where you can review and check your form.
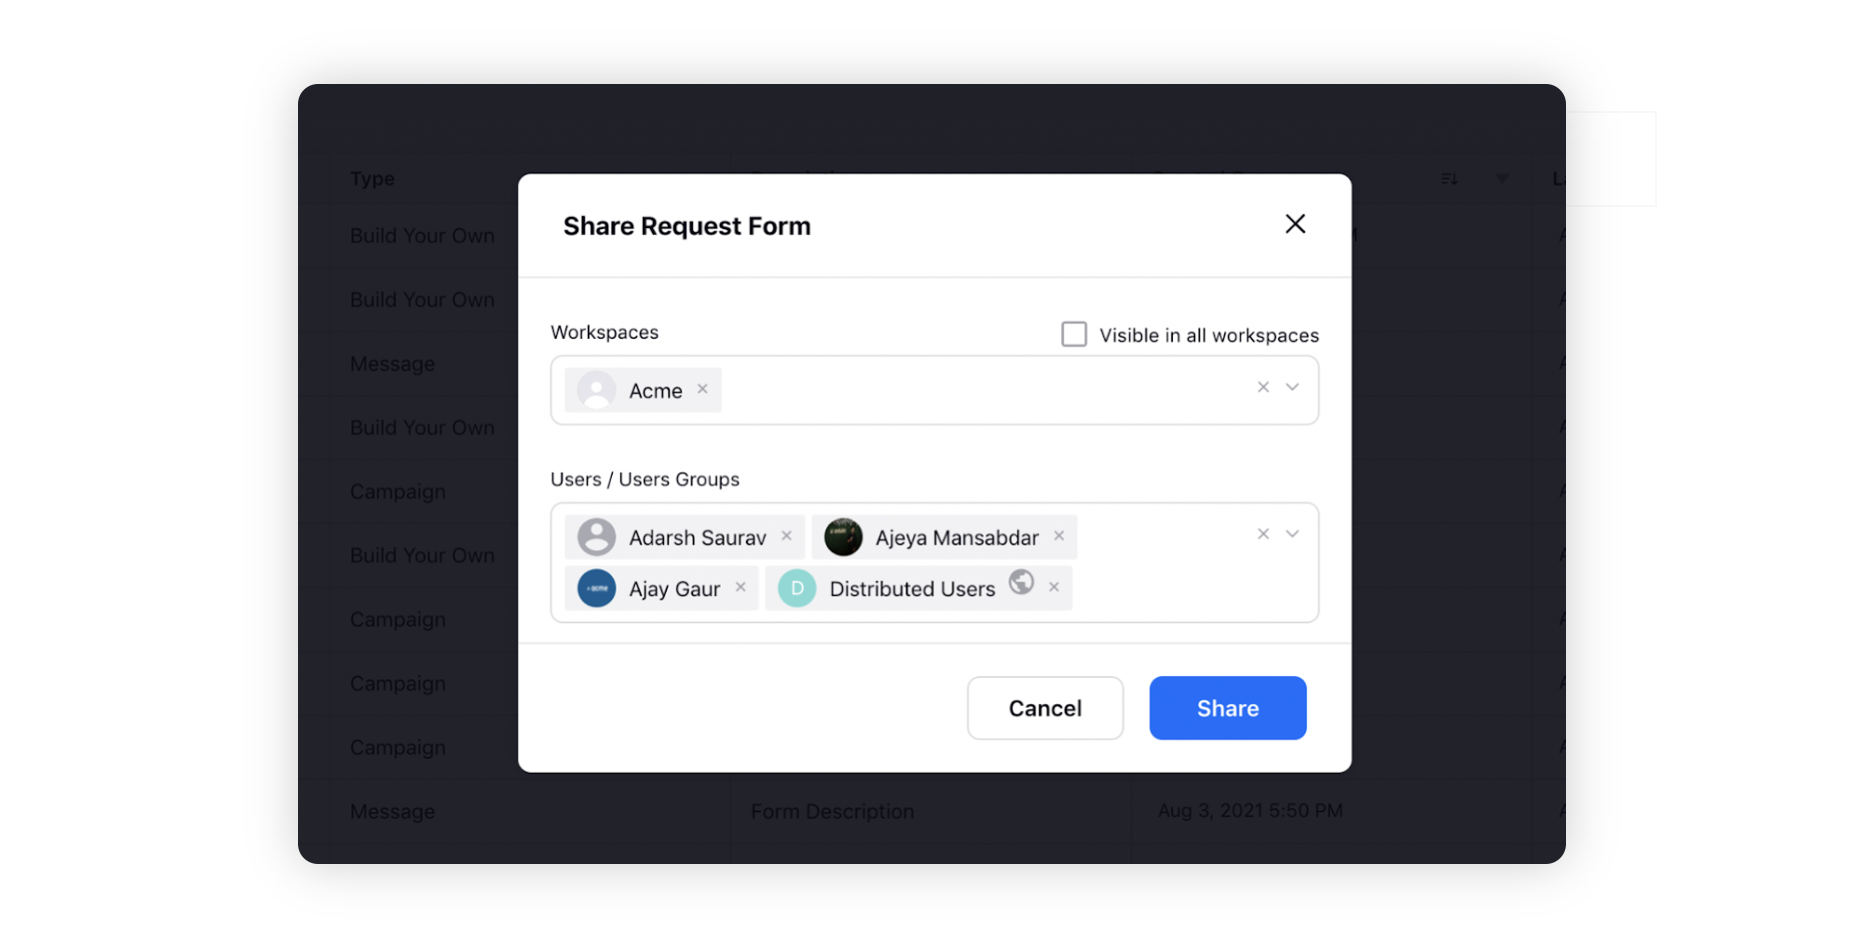
Click Share in the top right corner to share your form with other users. Select Workspaces and Users/User Groups whom you want to share your Request Form with. You can select Visible in all workspaces to make it globally available.
Click Save in the bottom right corner to save your form.
Take Actions on a Request Form
Click the New Tab icon. Under Sprinklr Marketing → Marketing Section, click Request Forms under Plan
Find and select the Request Form on which you would like to perform actions.
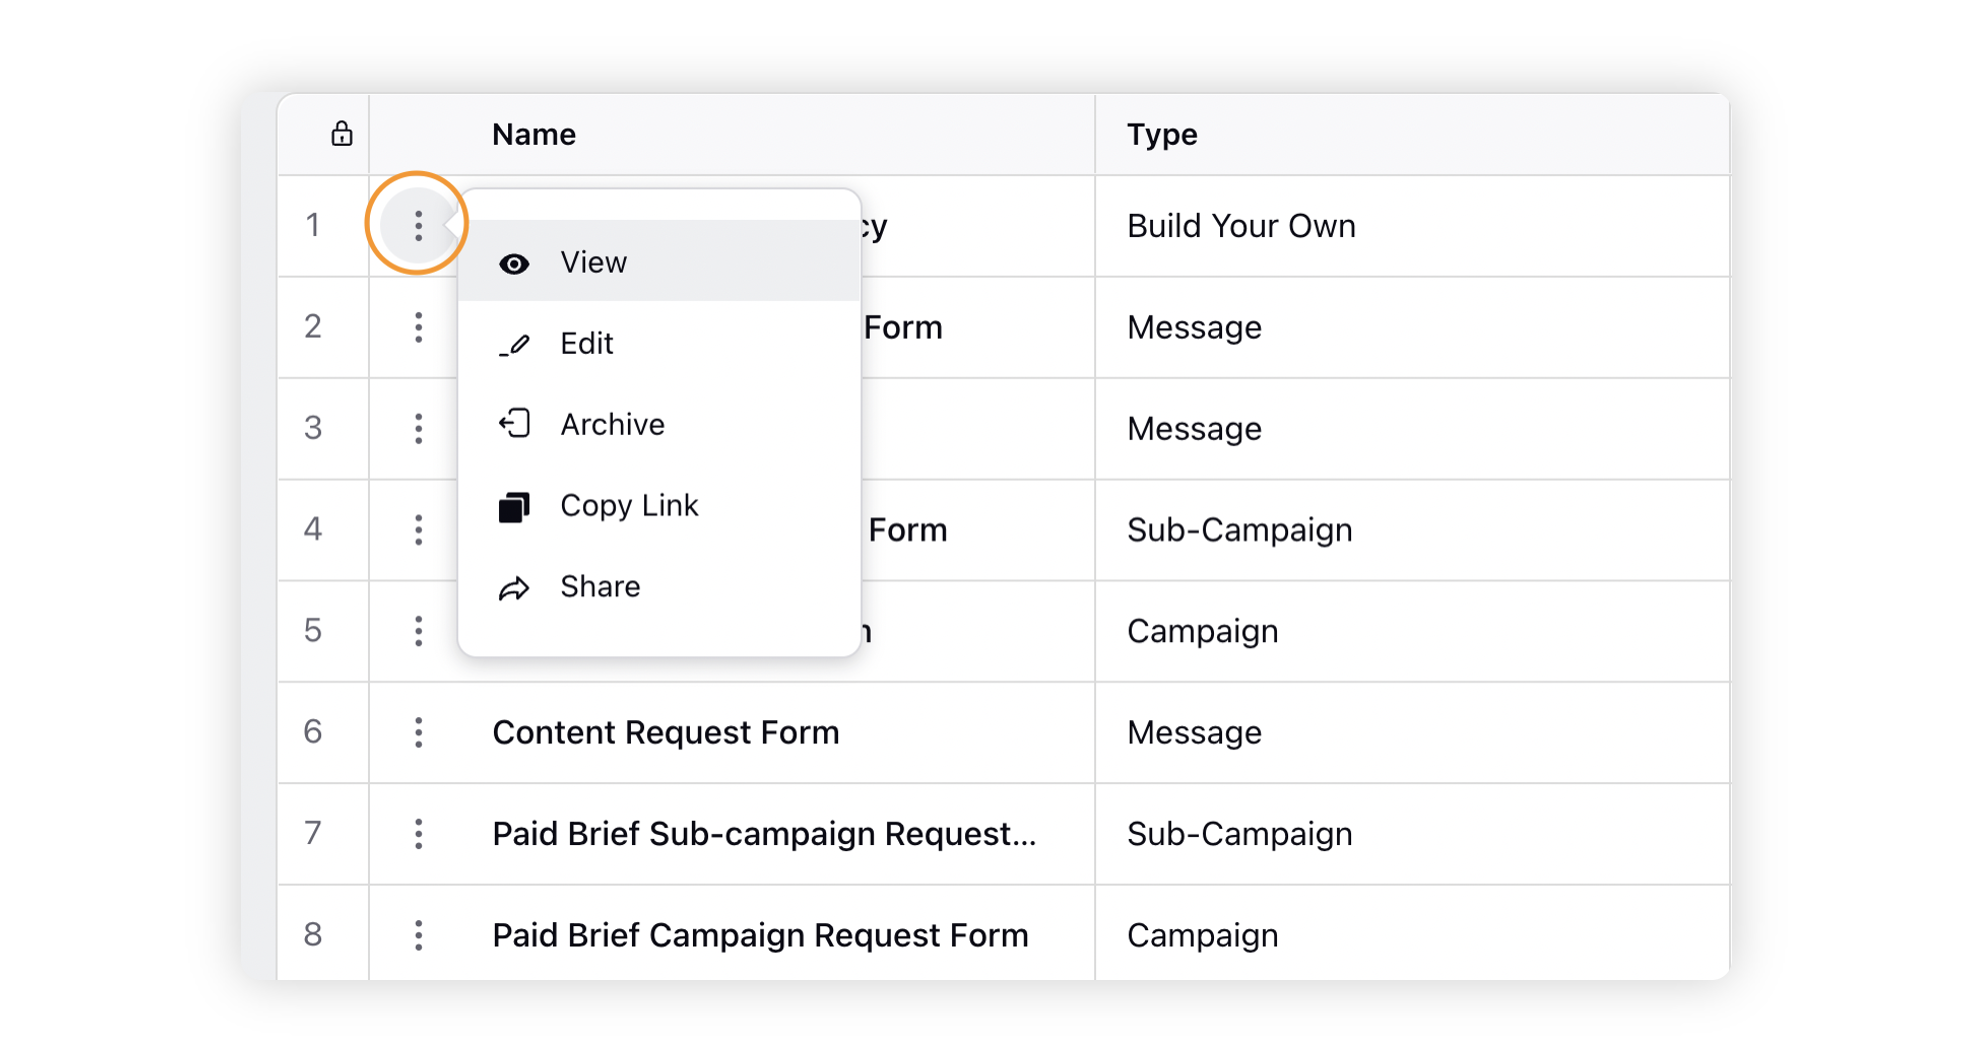
Click the Options icon next to the form's name.
Action | Description |
View | View the request form. |
Edit | Opens the Request Form editor, through which you can edit, add or delete components. |
Archive | Moves the request form status to Inactive. Archived request forms cannot be used for filling out requests. |
Copy Link | Copy the link to the request form which you can share with your team. |
Share | Manage the request form permissions/visibility, to allow other users/workspaces to access it. You can also copy external shareable Link to share it with external users to access without login. |