Rank Management in Community
Updated
Rank Management is an important feature of our Community designed to encourage user engagement and recognize active contributors. This ranking system incentivizes users to participate and contribute meaningfully to the platform. A user's rank is dependent on their frequency of engagement, quality of interactions, and overall value-add to fellow users. As users become more engaged and contribute towards building a thriving community, their ranks will dynamically evolve. Furthermore, a hierarchical ranking system can encourage friendly competition among users and motivate other participants to become more engaged in the community. It also allows businesses to easily identify and elevate the contributions of top-ranked users, turning them into brand ambassadors within the community.
 Note: Users can have only one Rank at a time. For Rank updates, you can get an email notification template configured to send it to users. Reach out to support at tickets@sprinklr.com to get it enabled.
Create a Rank
Navigate to Community Builder.

Click the vertical ellipsis (⋮) icon corresponding to the Community for which you want to configure the Rank. This displays a list of available options.
Select Rank Management from the list to open the Community Ranks page.
Select Create Rank in the upper right corner to open the Create Rank page.
Fill in the required fields on the Create Rank page. Fields marked with a red star are mandatory. Below are the descriptions of all the fields in this section:

Rank Image: Upload an image to represent the Rank in the Community.
Name: Enter a name for the Rank. (Required)
Description: Enter a brief description of the Rank and its purpose or achievement criteria. (Required)
Order: Enter a number to define the display order of the Rank relative to other ranks, rank 1 being the lowest.

Color code for user of this Rank: Specify the color code to apply to users who achieve this Rank.
Background color code for user of this Rank: Specify the background color code to apply to users who achieve this Rank.
Field: Select the Community attribute or metric that you want to use as a criterion for assigning the Rank. Refer to this section for available options.
Operation: Select the operator to use when evaluating the selected Field against the specified Value.
Value: Enter or select the value that the selected Field must satisfy based on the configured Operation.
Note: For various conditions, you can add time-based configurations, for example, points gained in a particular period. After selecting the condition, select the Time Duration, Start Time and End Time. Also, you can select the desired Topic with various conditionsSelect Add condition to configure more conditions as required.
Select Create.
This completes the process of creating a new Rank for the Community. The newly created rank will appear on the Gamification Rank list.
Available Field Options
The following options are available for selection:
Users - Assigns the rank to specified Community users.
Activity - Assigns the rank based on a user's specified Community activity.
Views on single post - Calculates the total number of views on a single post of the user.
Likes on single post - Calculates the total number of likes on a single post of the user.
Message Count - Total number of either Community Replies, Community Posts, or Community Comments made by a user. You can also select the desired Topic.
Posts View Count By User - Total number of messages e.g. posts, comments, etc. that a user has viewed on the community.
Community User Role - A user who has a particular community user role (created in Roles and Permissions).
Tags Used Count By User -Total number of tags a user associates while creating a post.
Survey Filled - If the user has filled a specific survey.
Custom Metric - Create custom metrics using a combination of the following metrics: number of posts, number of likes received, number of likes given, number of accepted solutions, activities, etc.
Total Messages - Calculates the total number of posts, replies, or comments made by a user.
Points - Enable Gamification in the Community Builder and set points for different activities done in the community.
Age - Gives the rank to users with respect to the time duration since they joined the community.
Total Posts - Calculate the total number of posts a user has done.
Followers on single post - Total number of followers a user has on a single post.
Badge Count - Total number of badges a user has.
Count of Users Followed by User - Total number of followers that a user follows.
Number of accepted solutions received - Total number of accepted solutions marked on user's posts.
Number of accepted solutions given - Total number of accepted solutions that a user has marked on others' posts.
Count of Followers of User - Total number of followers that a user has.
Number of times logged in - Total number of times a user has logged in.
Has User Joined Community Within Time Range - Assigns the rank based on whether the user joined the Community within the specified time range.
Likes on single message - Calculates the total number of likes received on a single message created by the user.
Visit count of the shared link - Calculates the number of visits generated through a shared link.
Message Read By User - Assigns the rank based on whether the user has read the specified Community message.
Count of Followers of By User - Calculates a follower-related count associated with the user. The exact behavior of this metric should be confirmed before publication.
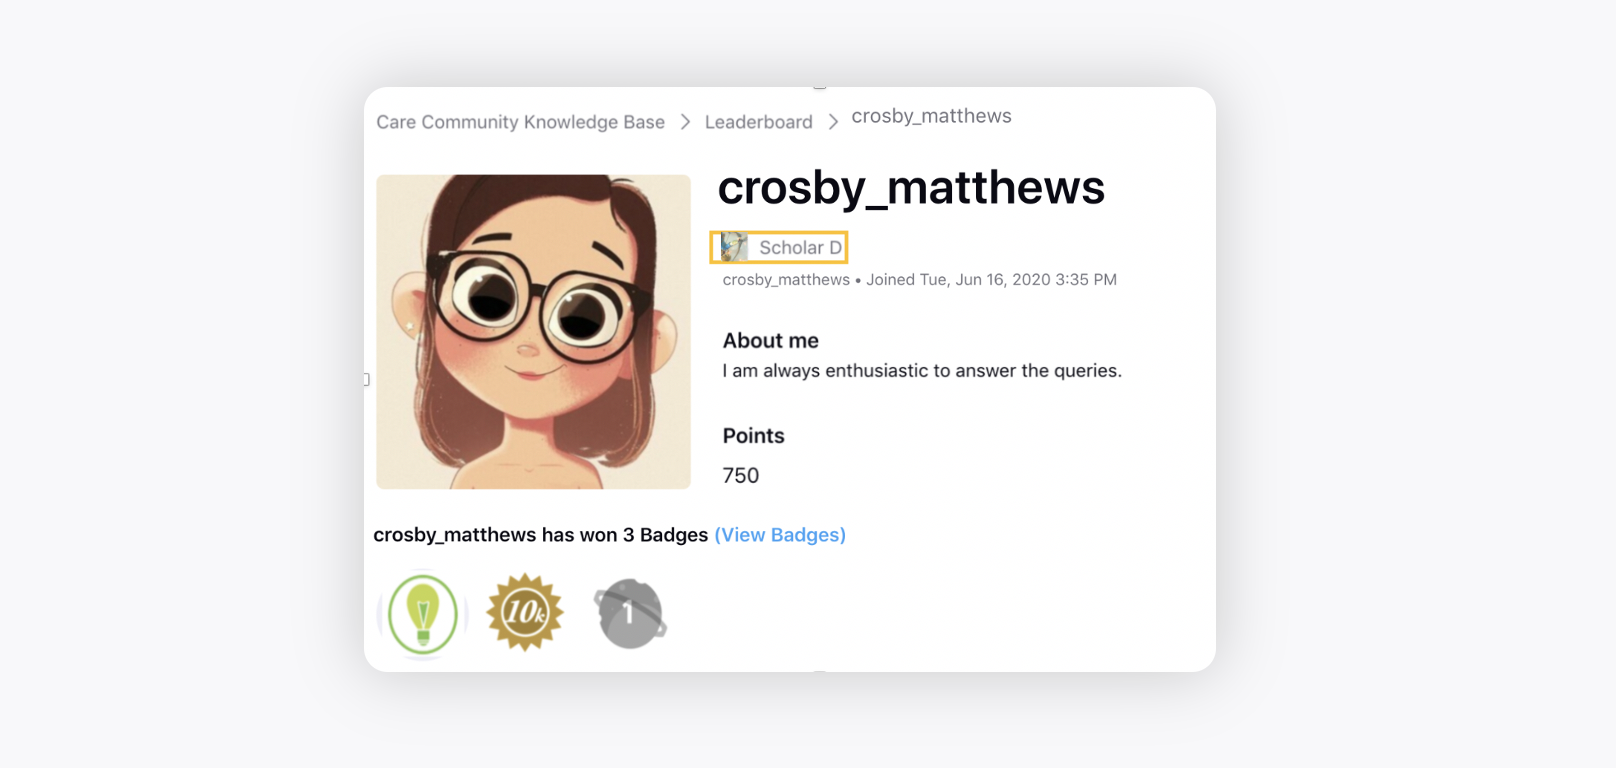
When a user accomplishes these conditions, then the rank will be awarded to that user. It will be shown alongside the user’s profile on the community.
Language Translation for Ranks
The system supports language translation for Ranks, allowing users to view earned achievements in their preferred language and enabling administrators to manage localized names directly from the builder.
When a user selects a locale, the Rank names are automatically displayed in the selected language. Earned Ranks appear translated wherever they are shown (for example, profiles or achievement views).

Administrators can manage translations directly from the builder. They can add localized names for Ranks for supported locales, update existing translations without affecting other locales, and maintain consistent naming across all user experiences.