How to Configure the Homepage with Custom Widgets
Updated
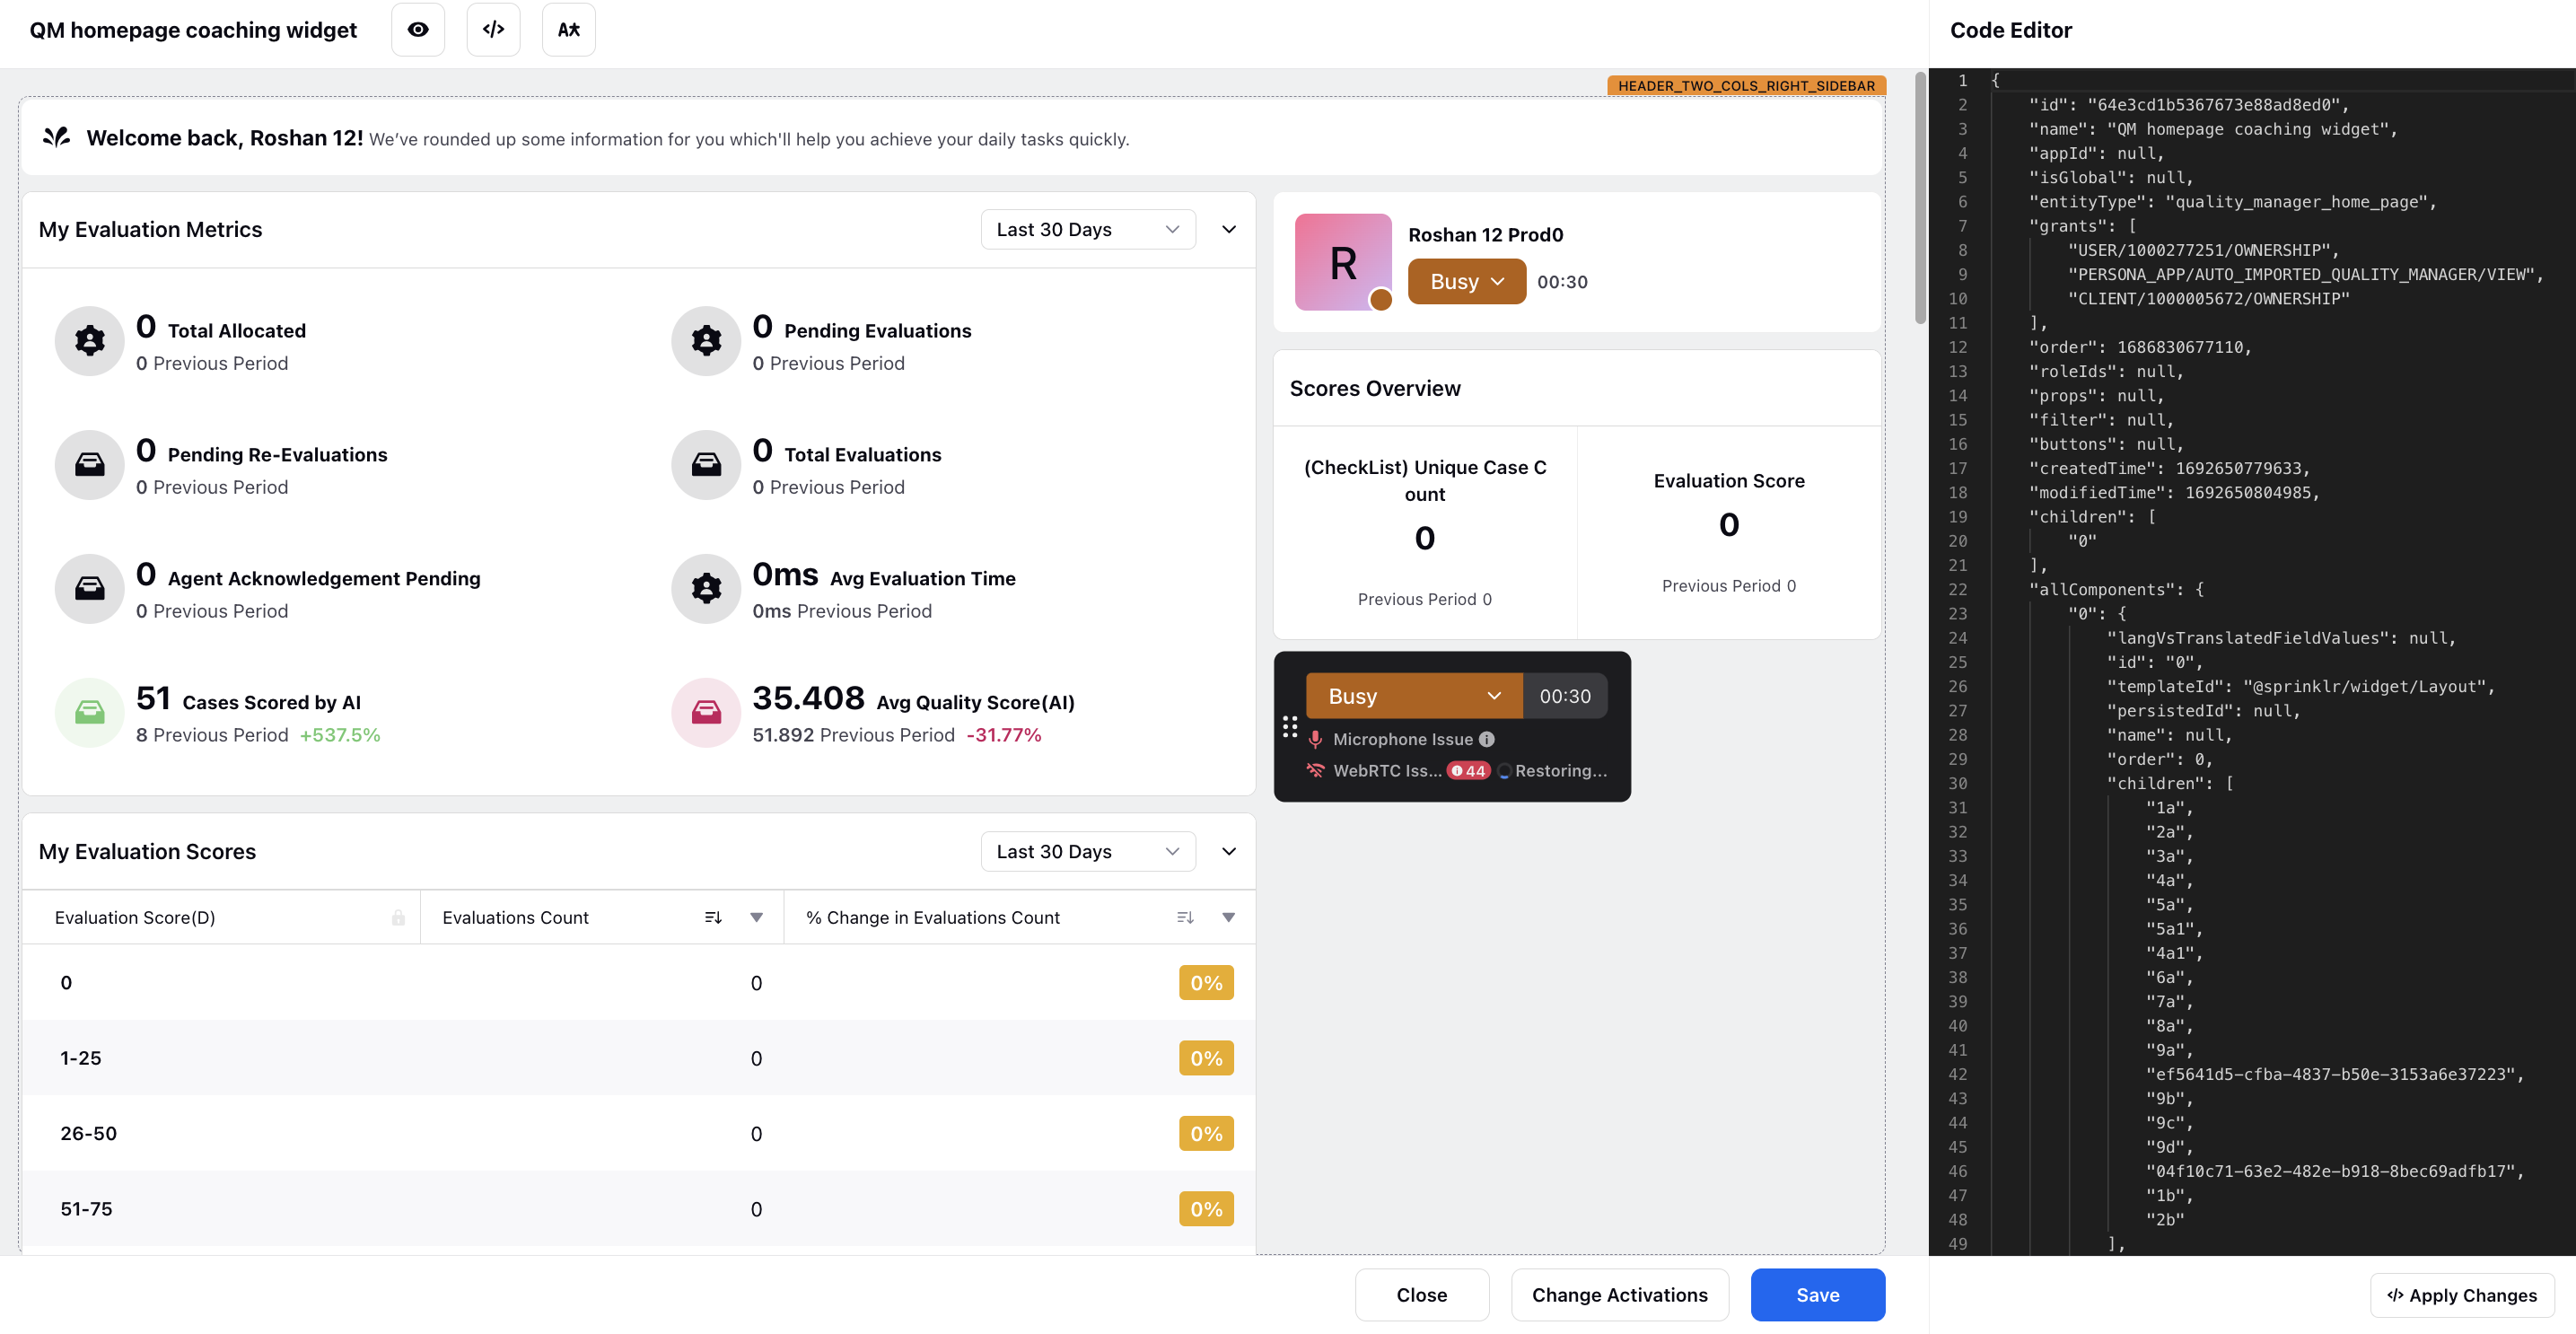
In this article, you learn to customize the widgets displayed on the home page of the Quality Manager persona app using the record page editor. You can select and configure the specific metrics and information most relevant to your roles and responsibilities.
To Configure the Homepage
Click the New Tab icon. Under Platform Modules, click All Settings within Listen.
Next, select Persona App Manager within Manage Customer.
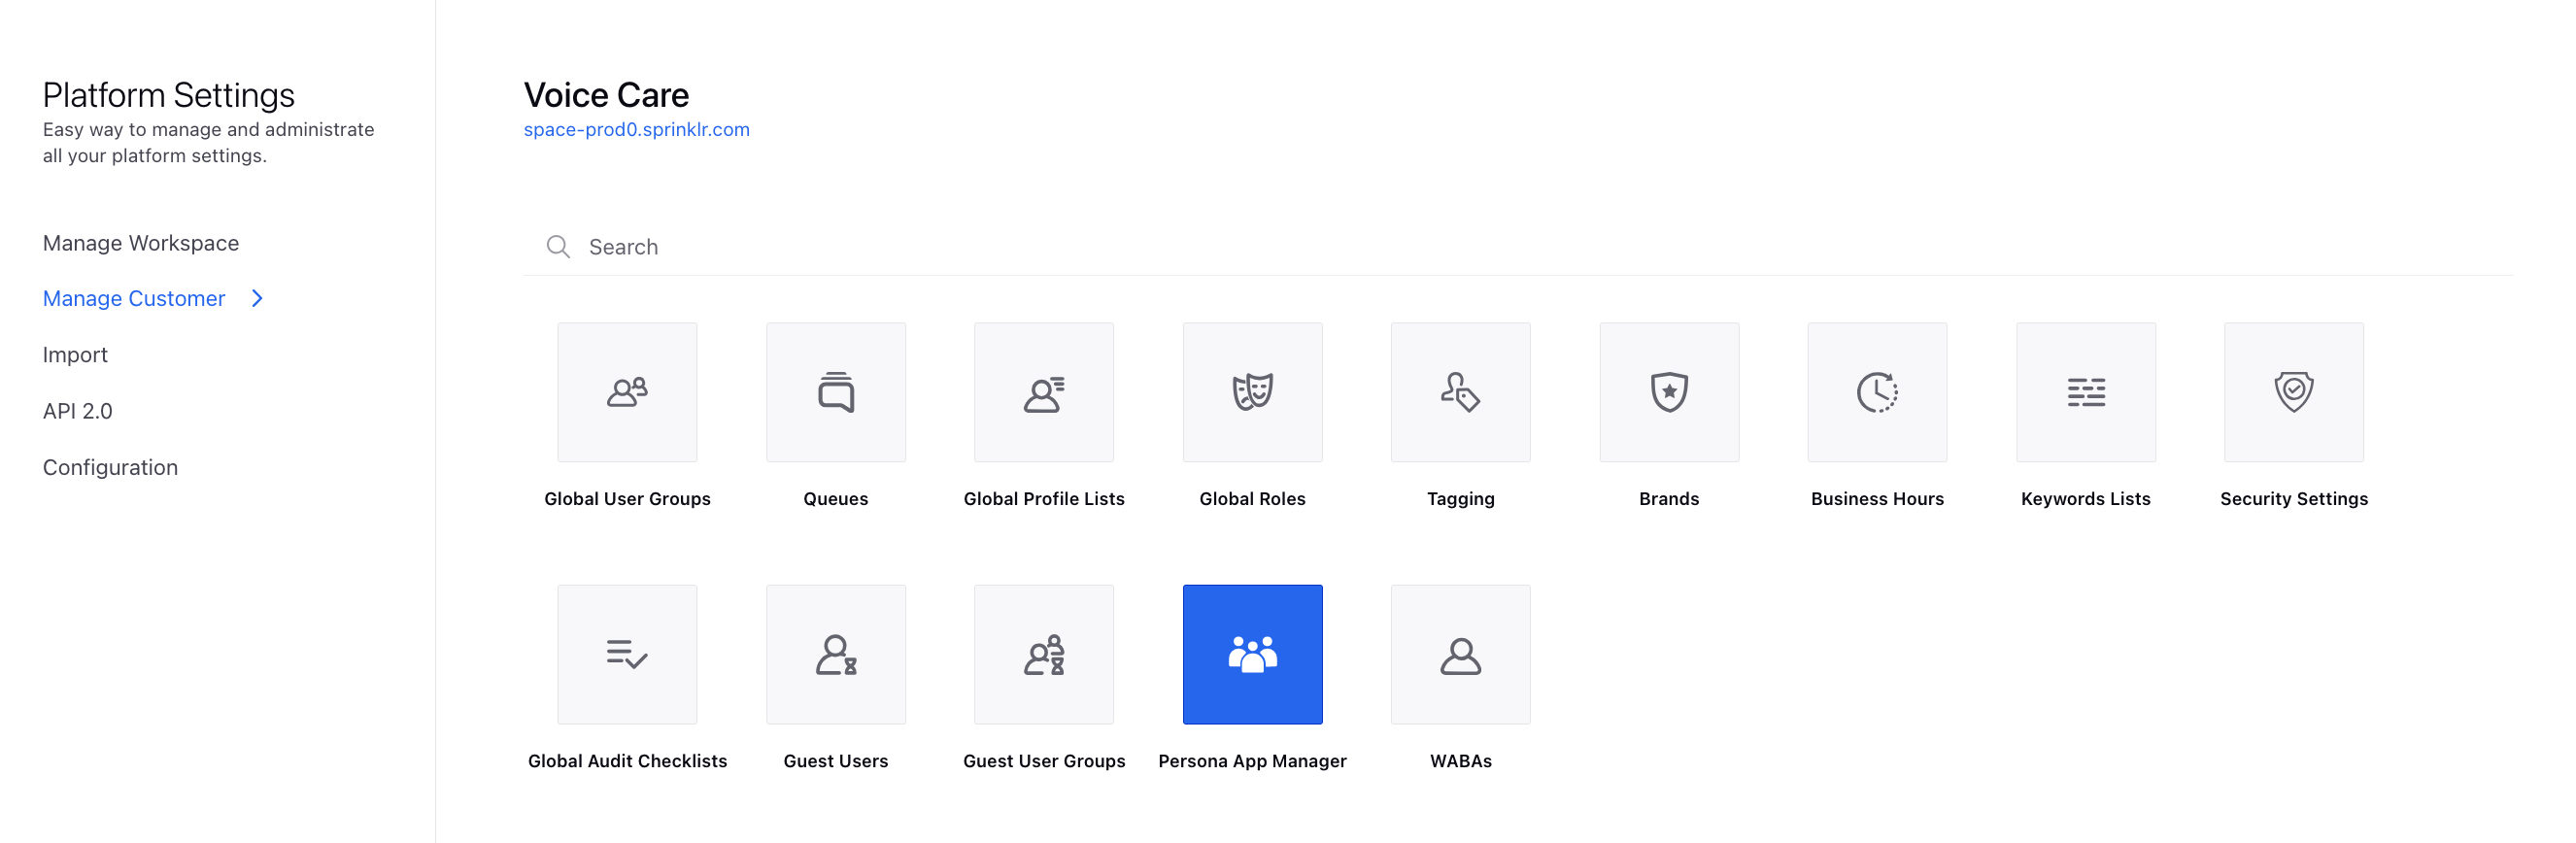
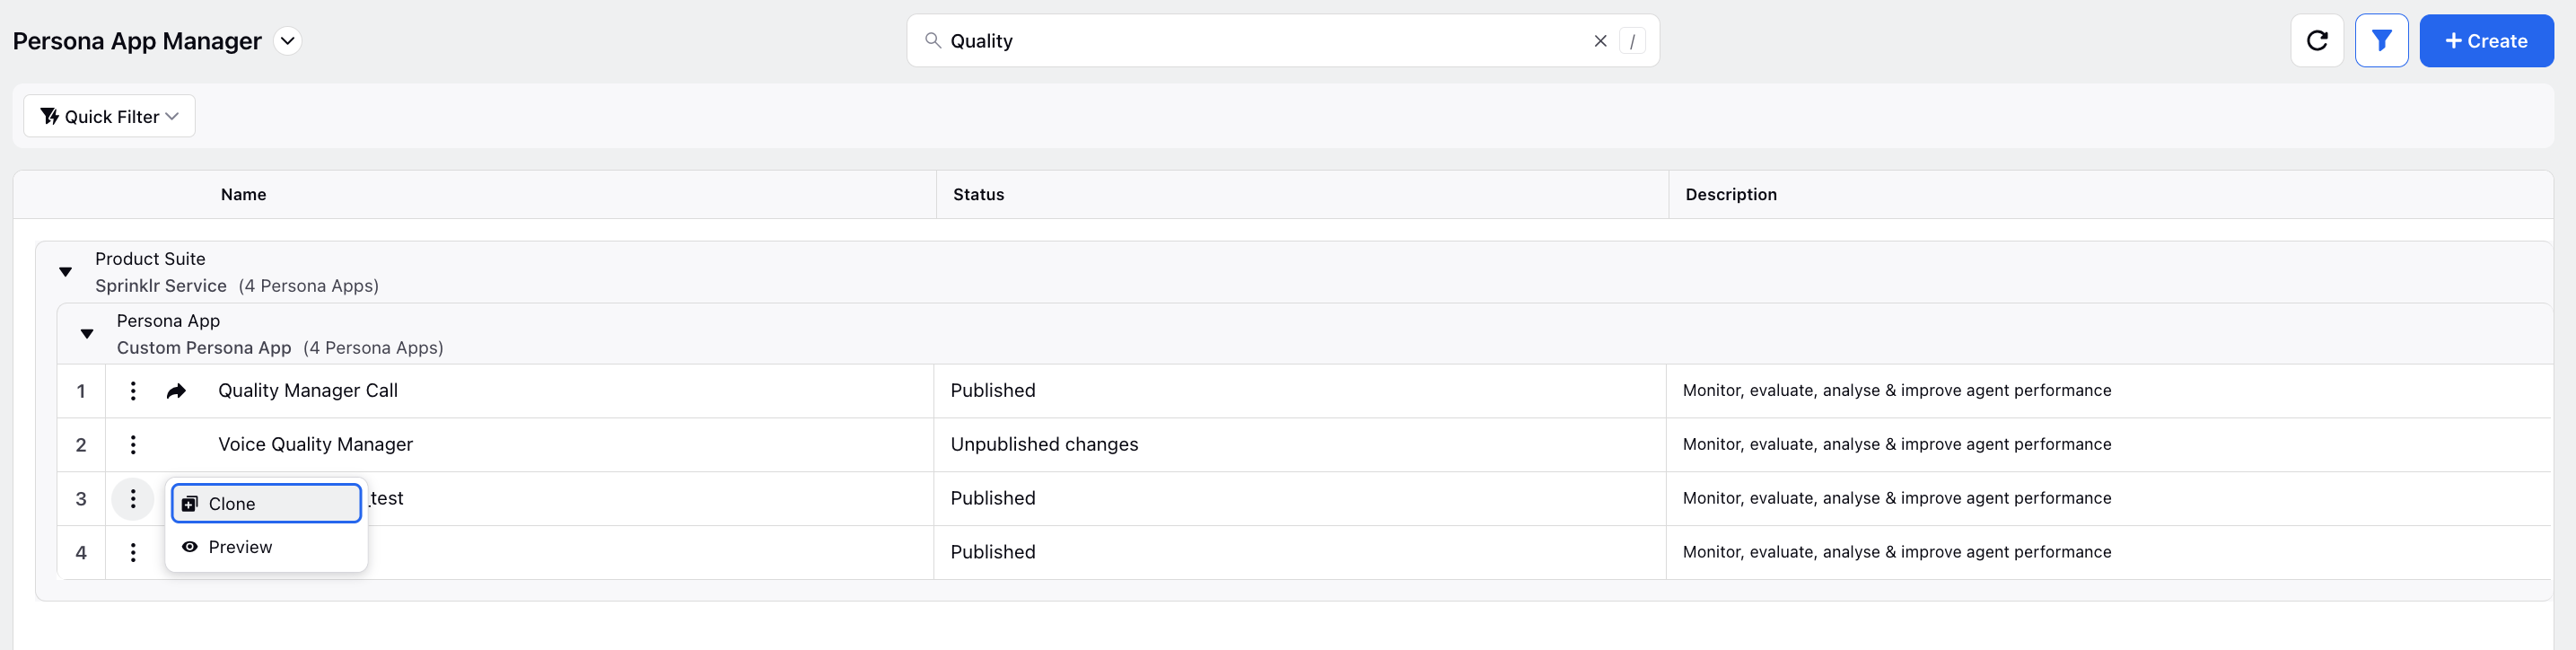
On the Persona App Manager window, search for the Quality Manager persona.
Hover over the Options icon next to it and select Clone. Click on the cloned persona to open it.
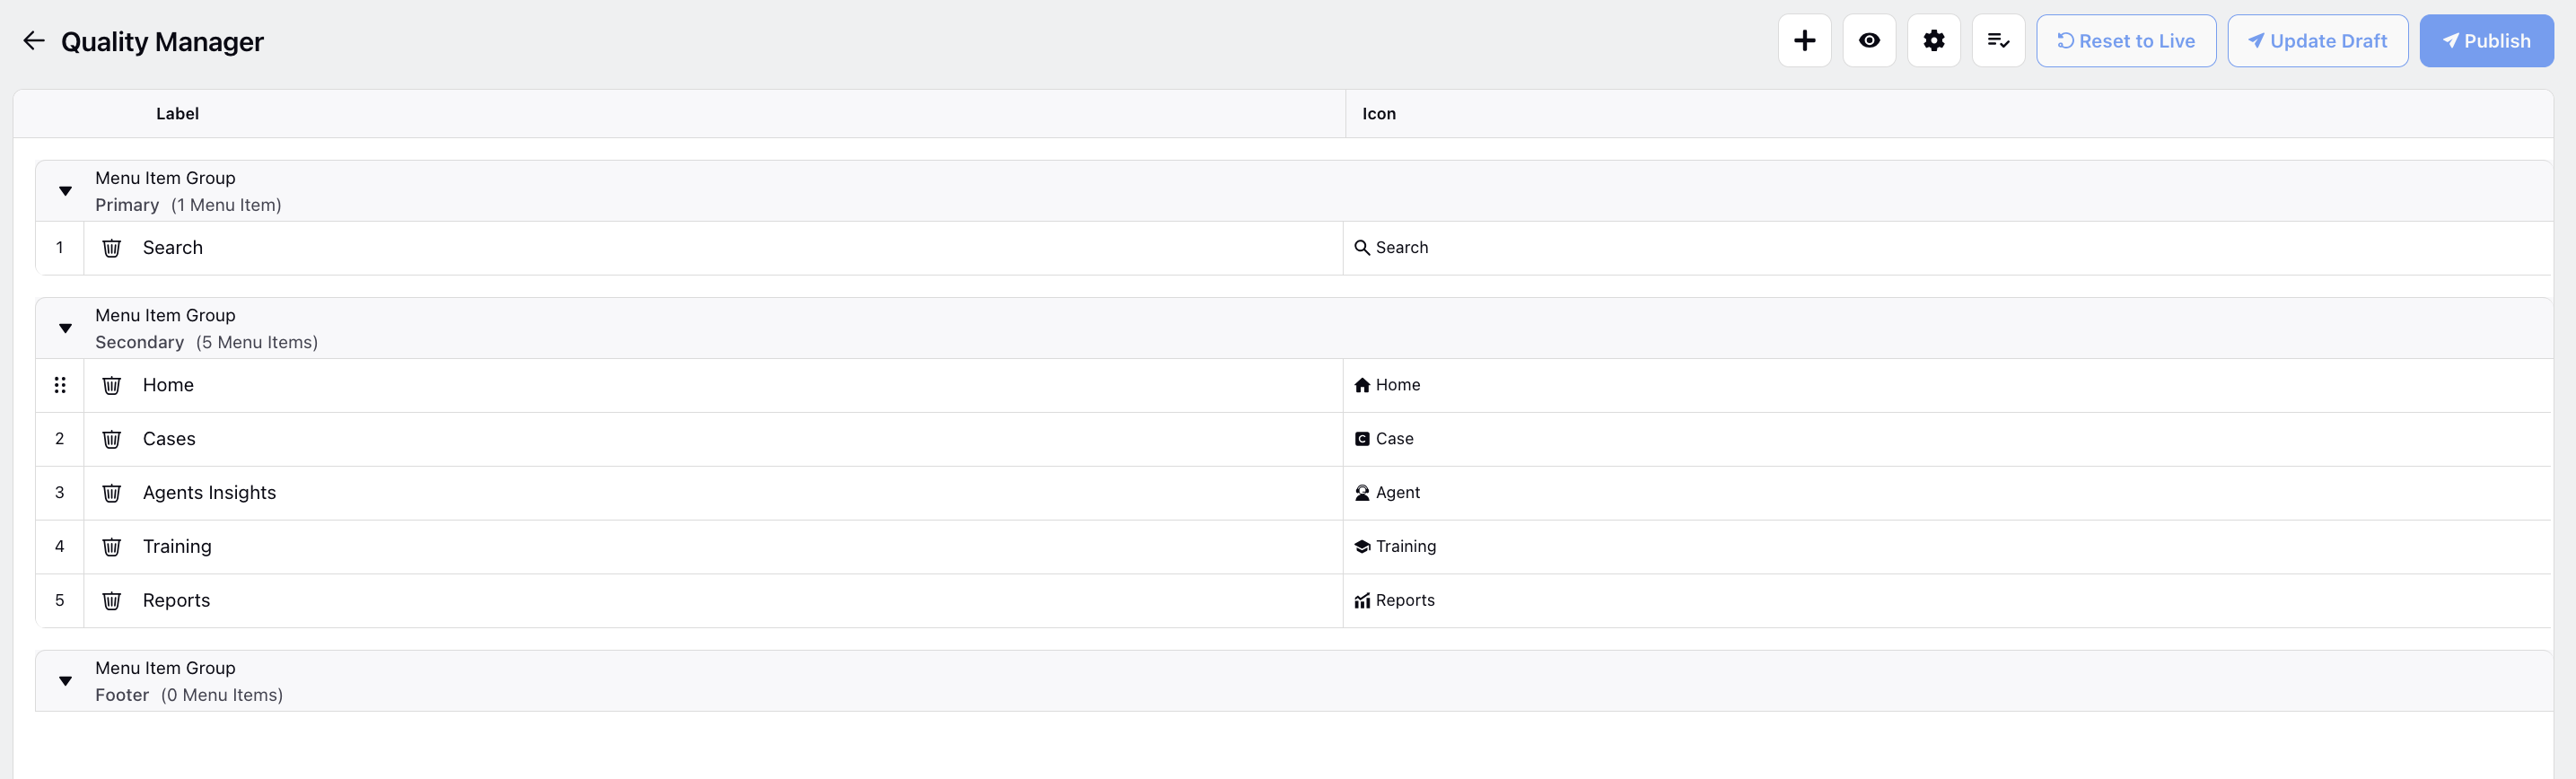
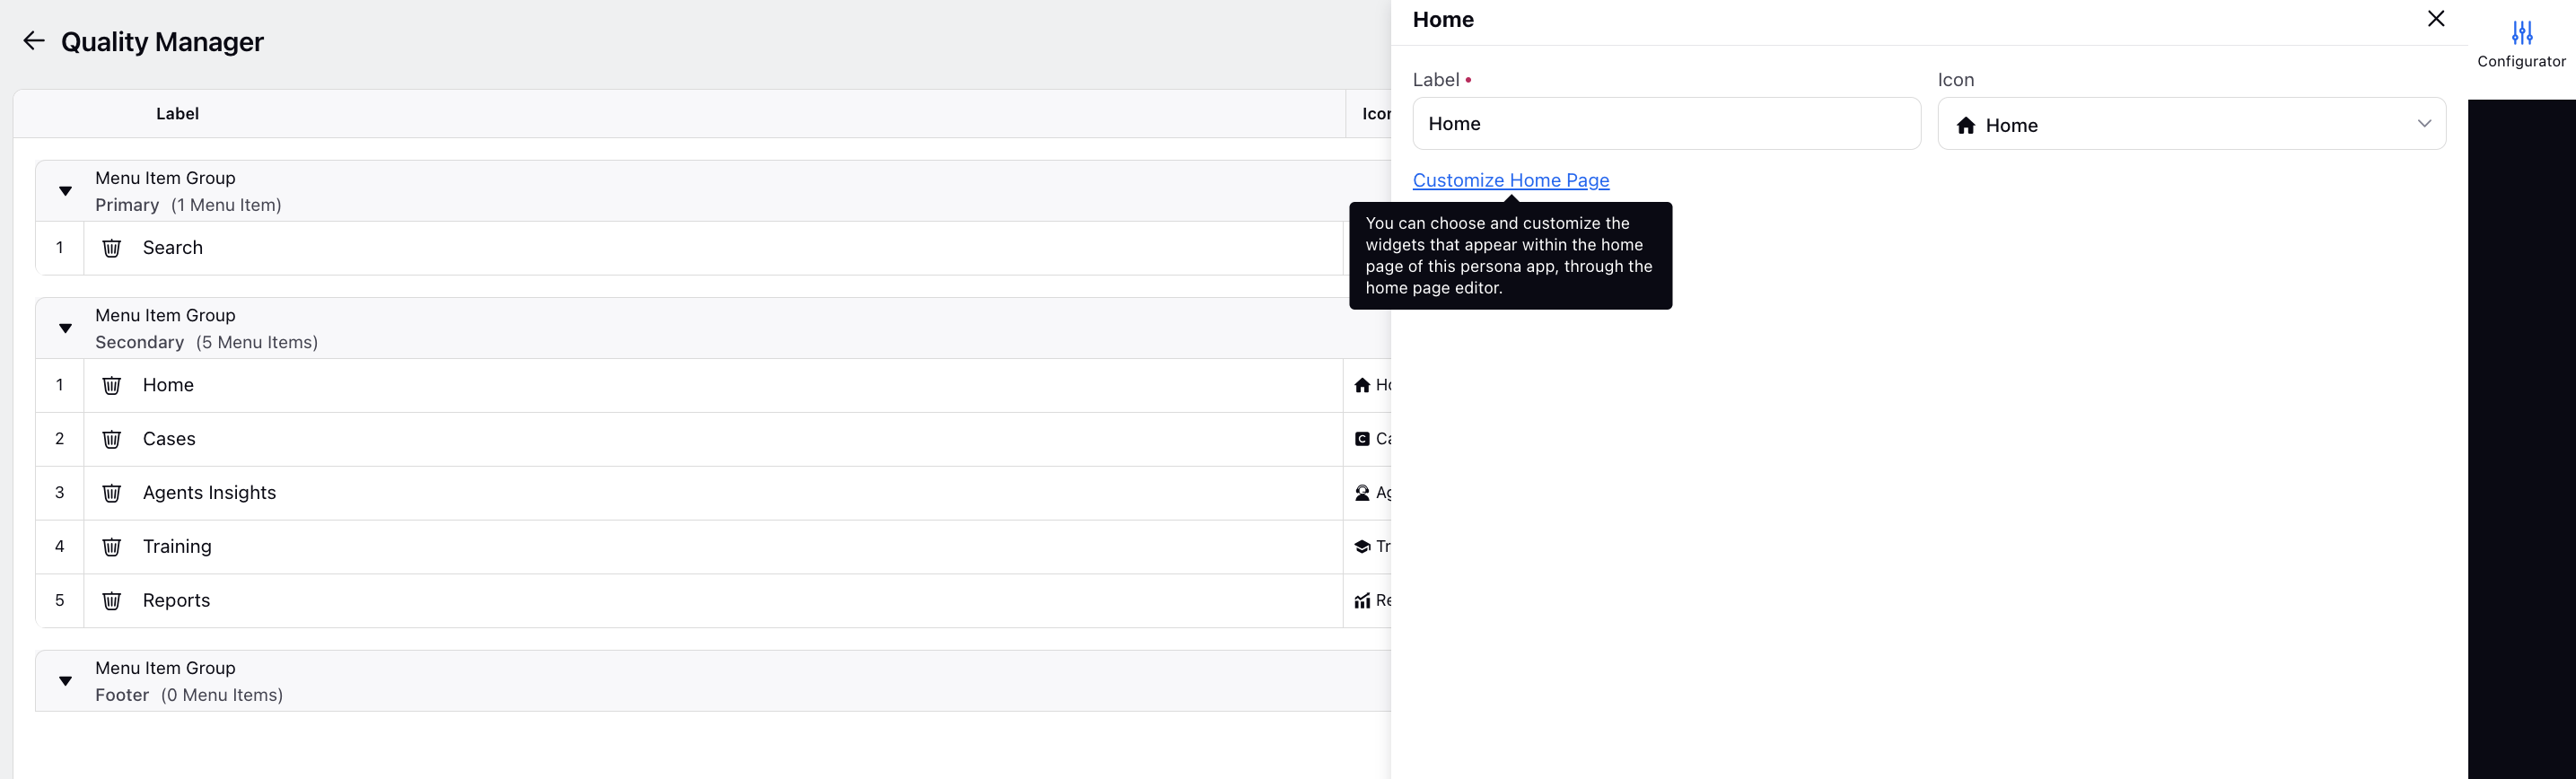
Then, click on Home. The Home third pane will open on the right.
Click Customize Home Page. This opens the record page editor for the home page, where you can add, delete, or modify any widget.
The "Cases Open for Evaluation" and "Cases Open for Re-evaluation" widgets are added for the Auditor Manager role. Additionally, the "Cases Pending for Acknowledgement" widget is available for the Evaluated Agent Manager role.
"id": "4a","templateId": "@sprinklr/widget/QmCaseEvaluation","persistedId": "QM_CASE_PENDING_EVALUATION","name": "TWO","order": 0,"children": null,"props": {"collapsible": true,"title": "Cases Open for Evaluation","variant": "EVALUATION","sort": {"key": "AUDIT_ASSIGNED_AT","order": "DESC"},"includeTeamAudits": true},Click the Add Widget icon. A widget library open on the right side of the screen.

Search for the 'Reporting Widget'.

Select the dashboard and widget and add a suitable title of the widget.
You can also choose to make the widget collapsible and remove the widget if there is no data available for the given time range.
The height of the widget is customized in px through the ‘Placeholder Height’ field.
The option to refresh the widget after a fixed interval is also available. The time interval is selected from the dropdown.

Save your changes and exit the screen.