Manage Reporting Dashboards
Updated
Within a Reporting Dashboard, there are several actions you can take to manage the dashboards.
Edit Dashboard's Name and Tags
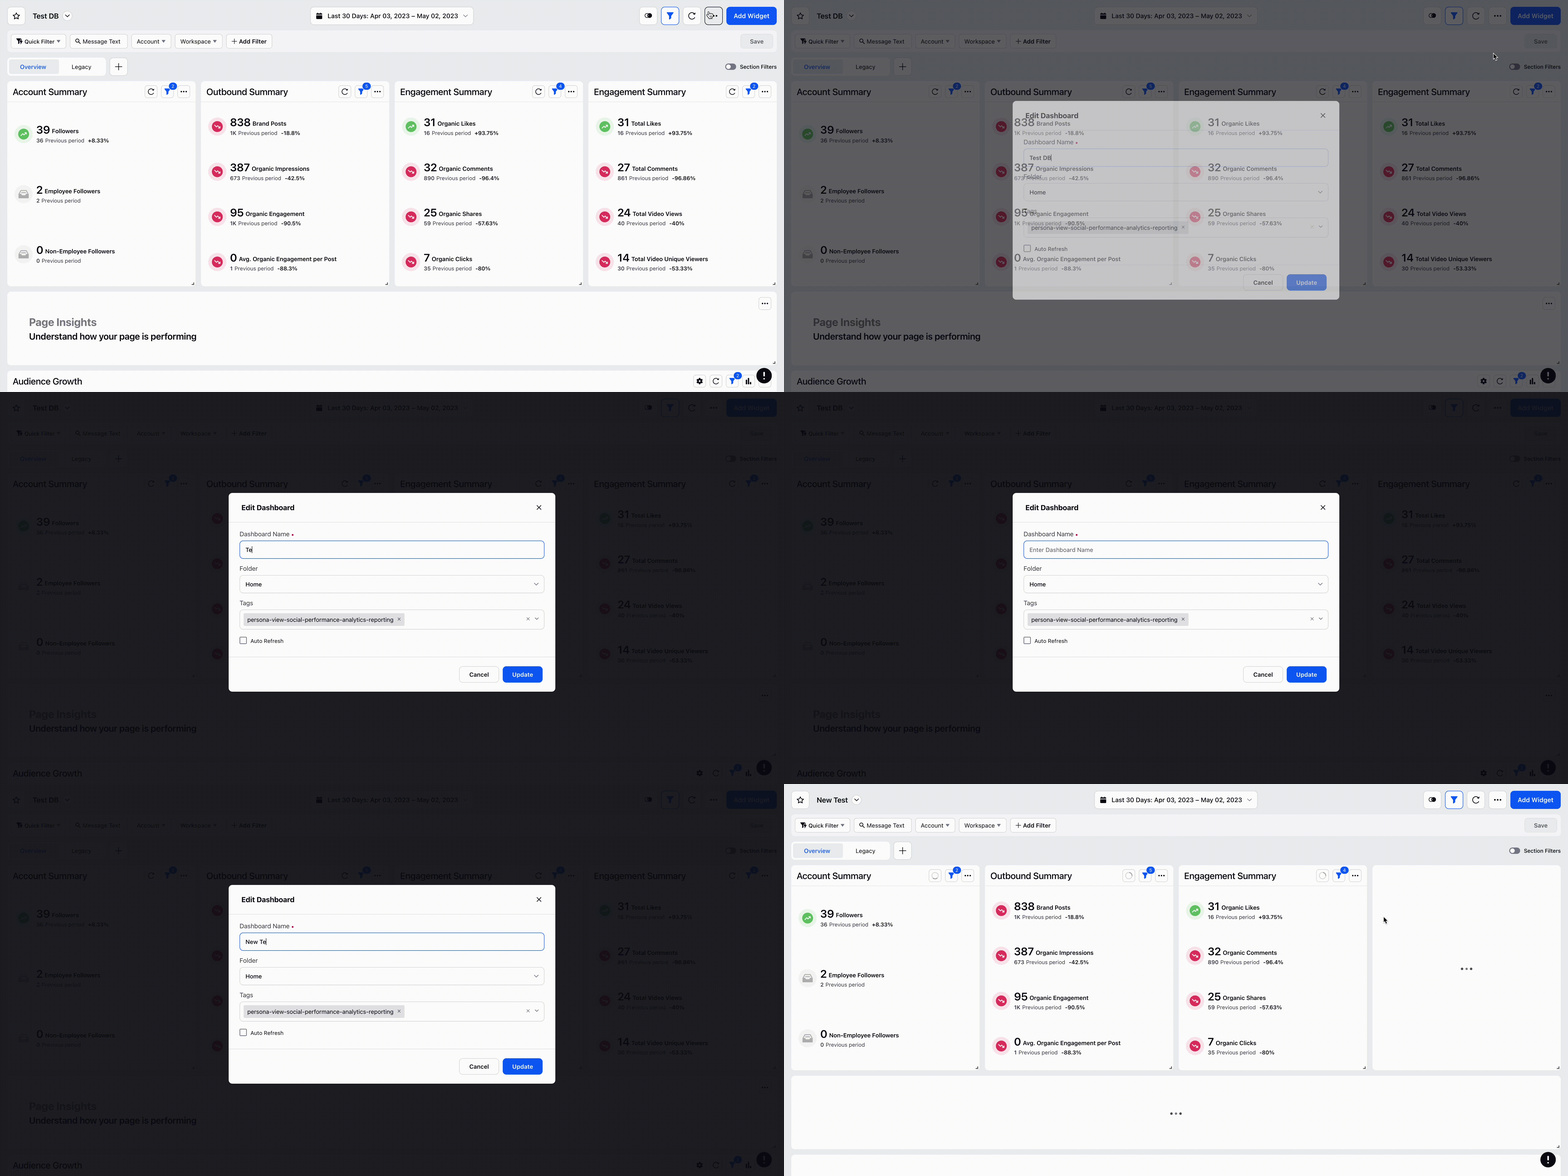
Edit a Reporting Dashboard's Name and Tags by hovering over the Options icon
and selecting Edit.
Make your desired changes and click Update to save the Dashboard.

Share a Dashboard
Once you've created a Reporting Dashboard, you are able to share it across users and workspaces. This allows the users to efficiently use an already existing dashboard without having to create the same in other workspaces.
Hover over the dashboard's Options icon
and select Share.
Select your Visibility preferences. Click Share to share your Dashboard.
Selecting Workspace(s) will allow visibility for all users within the specified Workspace(s). Selecting User(s)/User Group(s) will allow visibility for only the specified user(s) or user group(s) if applicable.
You can view the dashboards that are shared with you in the Shared Dashboard section

Lock a Dashboard
In order to prevent changes from being made to your Dashboard, you can apply a Lock. The only actions a user can take on a Dashboard after a Dashboard has been locked are to share, clone, or unlock.
Hover over the dashboard's Options icon and select Lock. On the left side of the Dashboard, you'll see a Lock icon to the right of your Dashboard's name
.
Clone a Dashboard
Note: Cloning a dashboard will embed the channel-specific filter in the backend, making the new dashboard report exclusively on that particular channel.
In order to clone a Reporting Dashboard to create an exact copy, hover the Options icon
and select Clone.
Enter a Name for the new Dashboard and click Clone.

Extend a Dashboard
The Extend feature is used to create a copy of the custom dashboards. The extended dashboard is called Child Dashboards whereas the dashboard from where we select ‘Extend’ is called the Parent Dashboard.
Extended dashboards do not have edit access. You can only apply the dashboard filters on Extended Dashboards without changing the filters on the Parent Dashboard. However, when you edit the parent dashboard, all the child dashboards are edited.
To learn more about enabling this feature in your environment, please contact your Success Manager. |
To extend a dashboard, hover over the Options icon
and select Extend.
On the Extend Dashboard window, enter a child dashboard name as desired and click Extend.
Delete a Dashboard
To permanently delete a Reporting Dashboard, hover the Options icon
and select Delete.
Click Delete to delete the Dashboard.
Export Dashboard
To export the content of a Reporting Dashboard, hover the Options icon
and select Export.
Select Sectional Export for a simple export one time export of Advanced Export for a scheduled export.
Select the File Format you'd like to export, desired Sections, and click Export. Once your export is done processing, you'll be notified by a notification in the top right corner
.
Note:
To ensure security from internal malware systems, etc. and to maintain document confidentiality, you can export files in their original extensions from Sprinklr. Hence, the files will be exported in their original extensions i.e. directly in PDF, Excel, CSV, or in PNG format instead of a ZIP file.