About the Segment Manager
Updated
Create and manage segments of large amounts of user data in Sprinklr's Segment Manager.
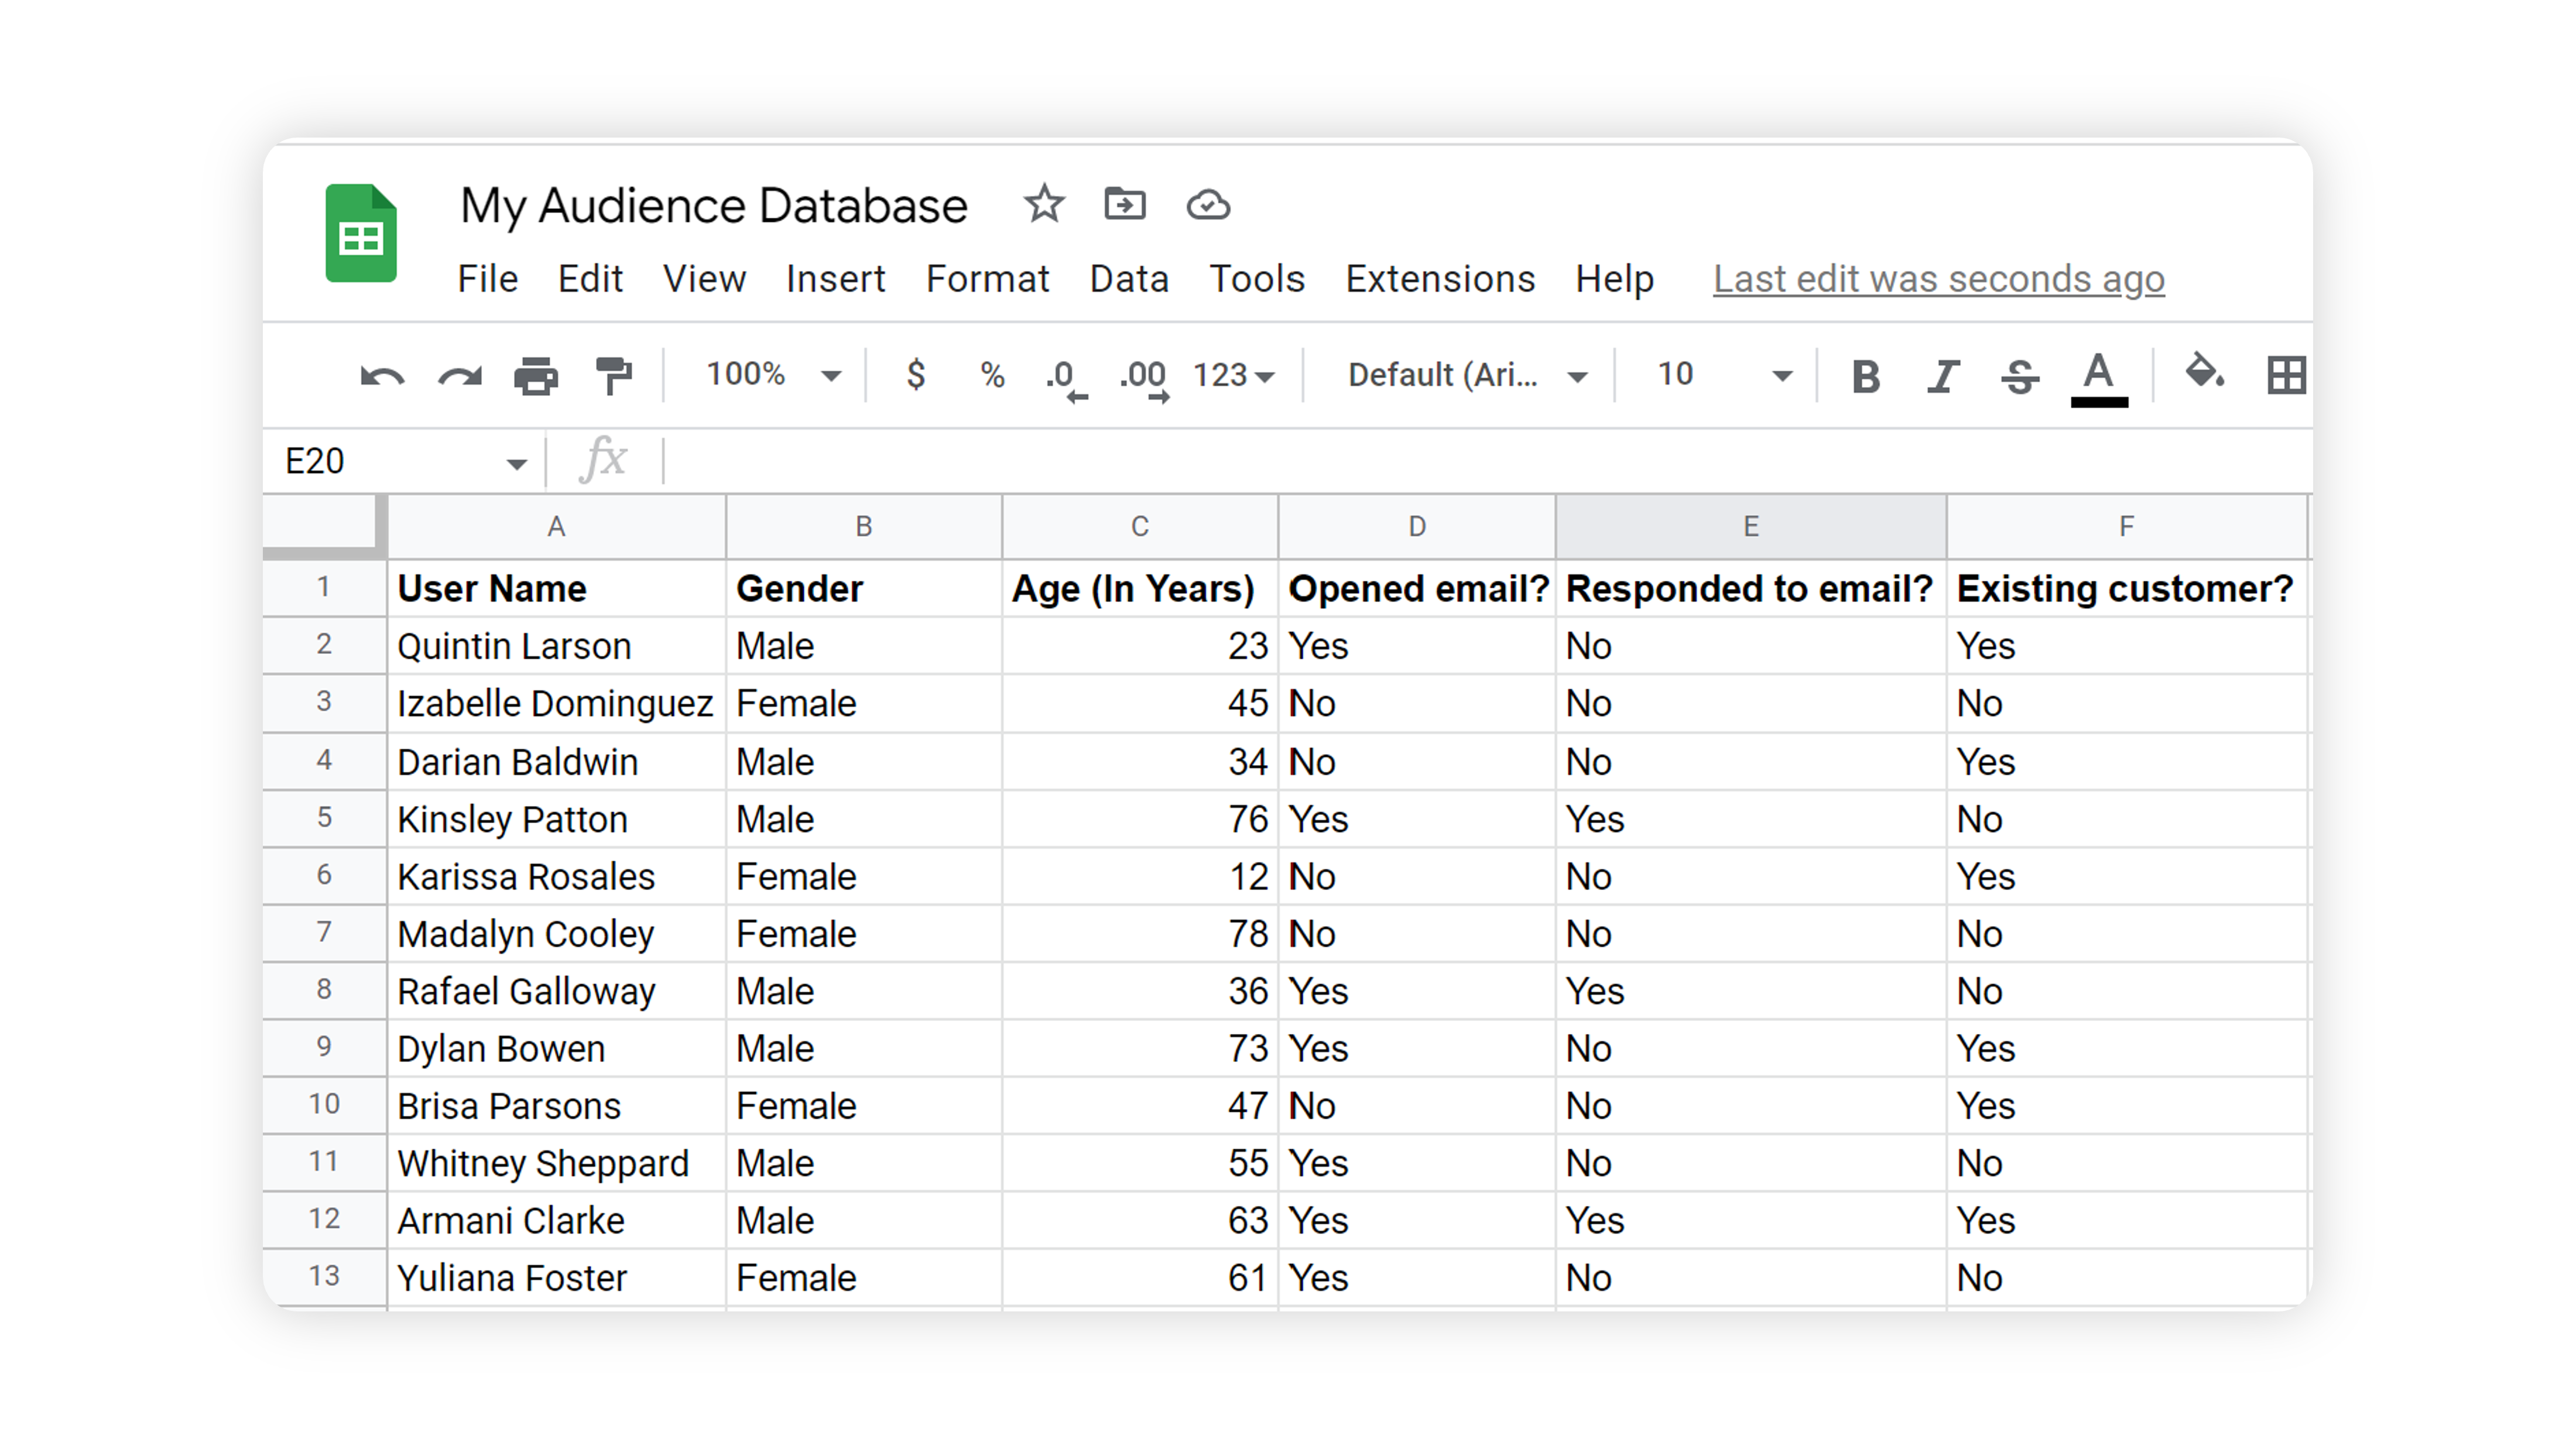
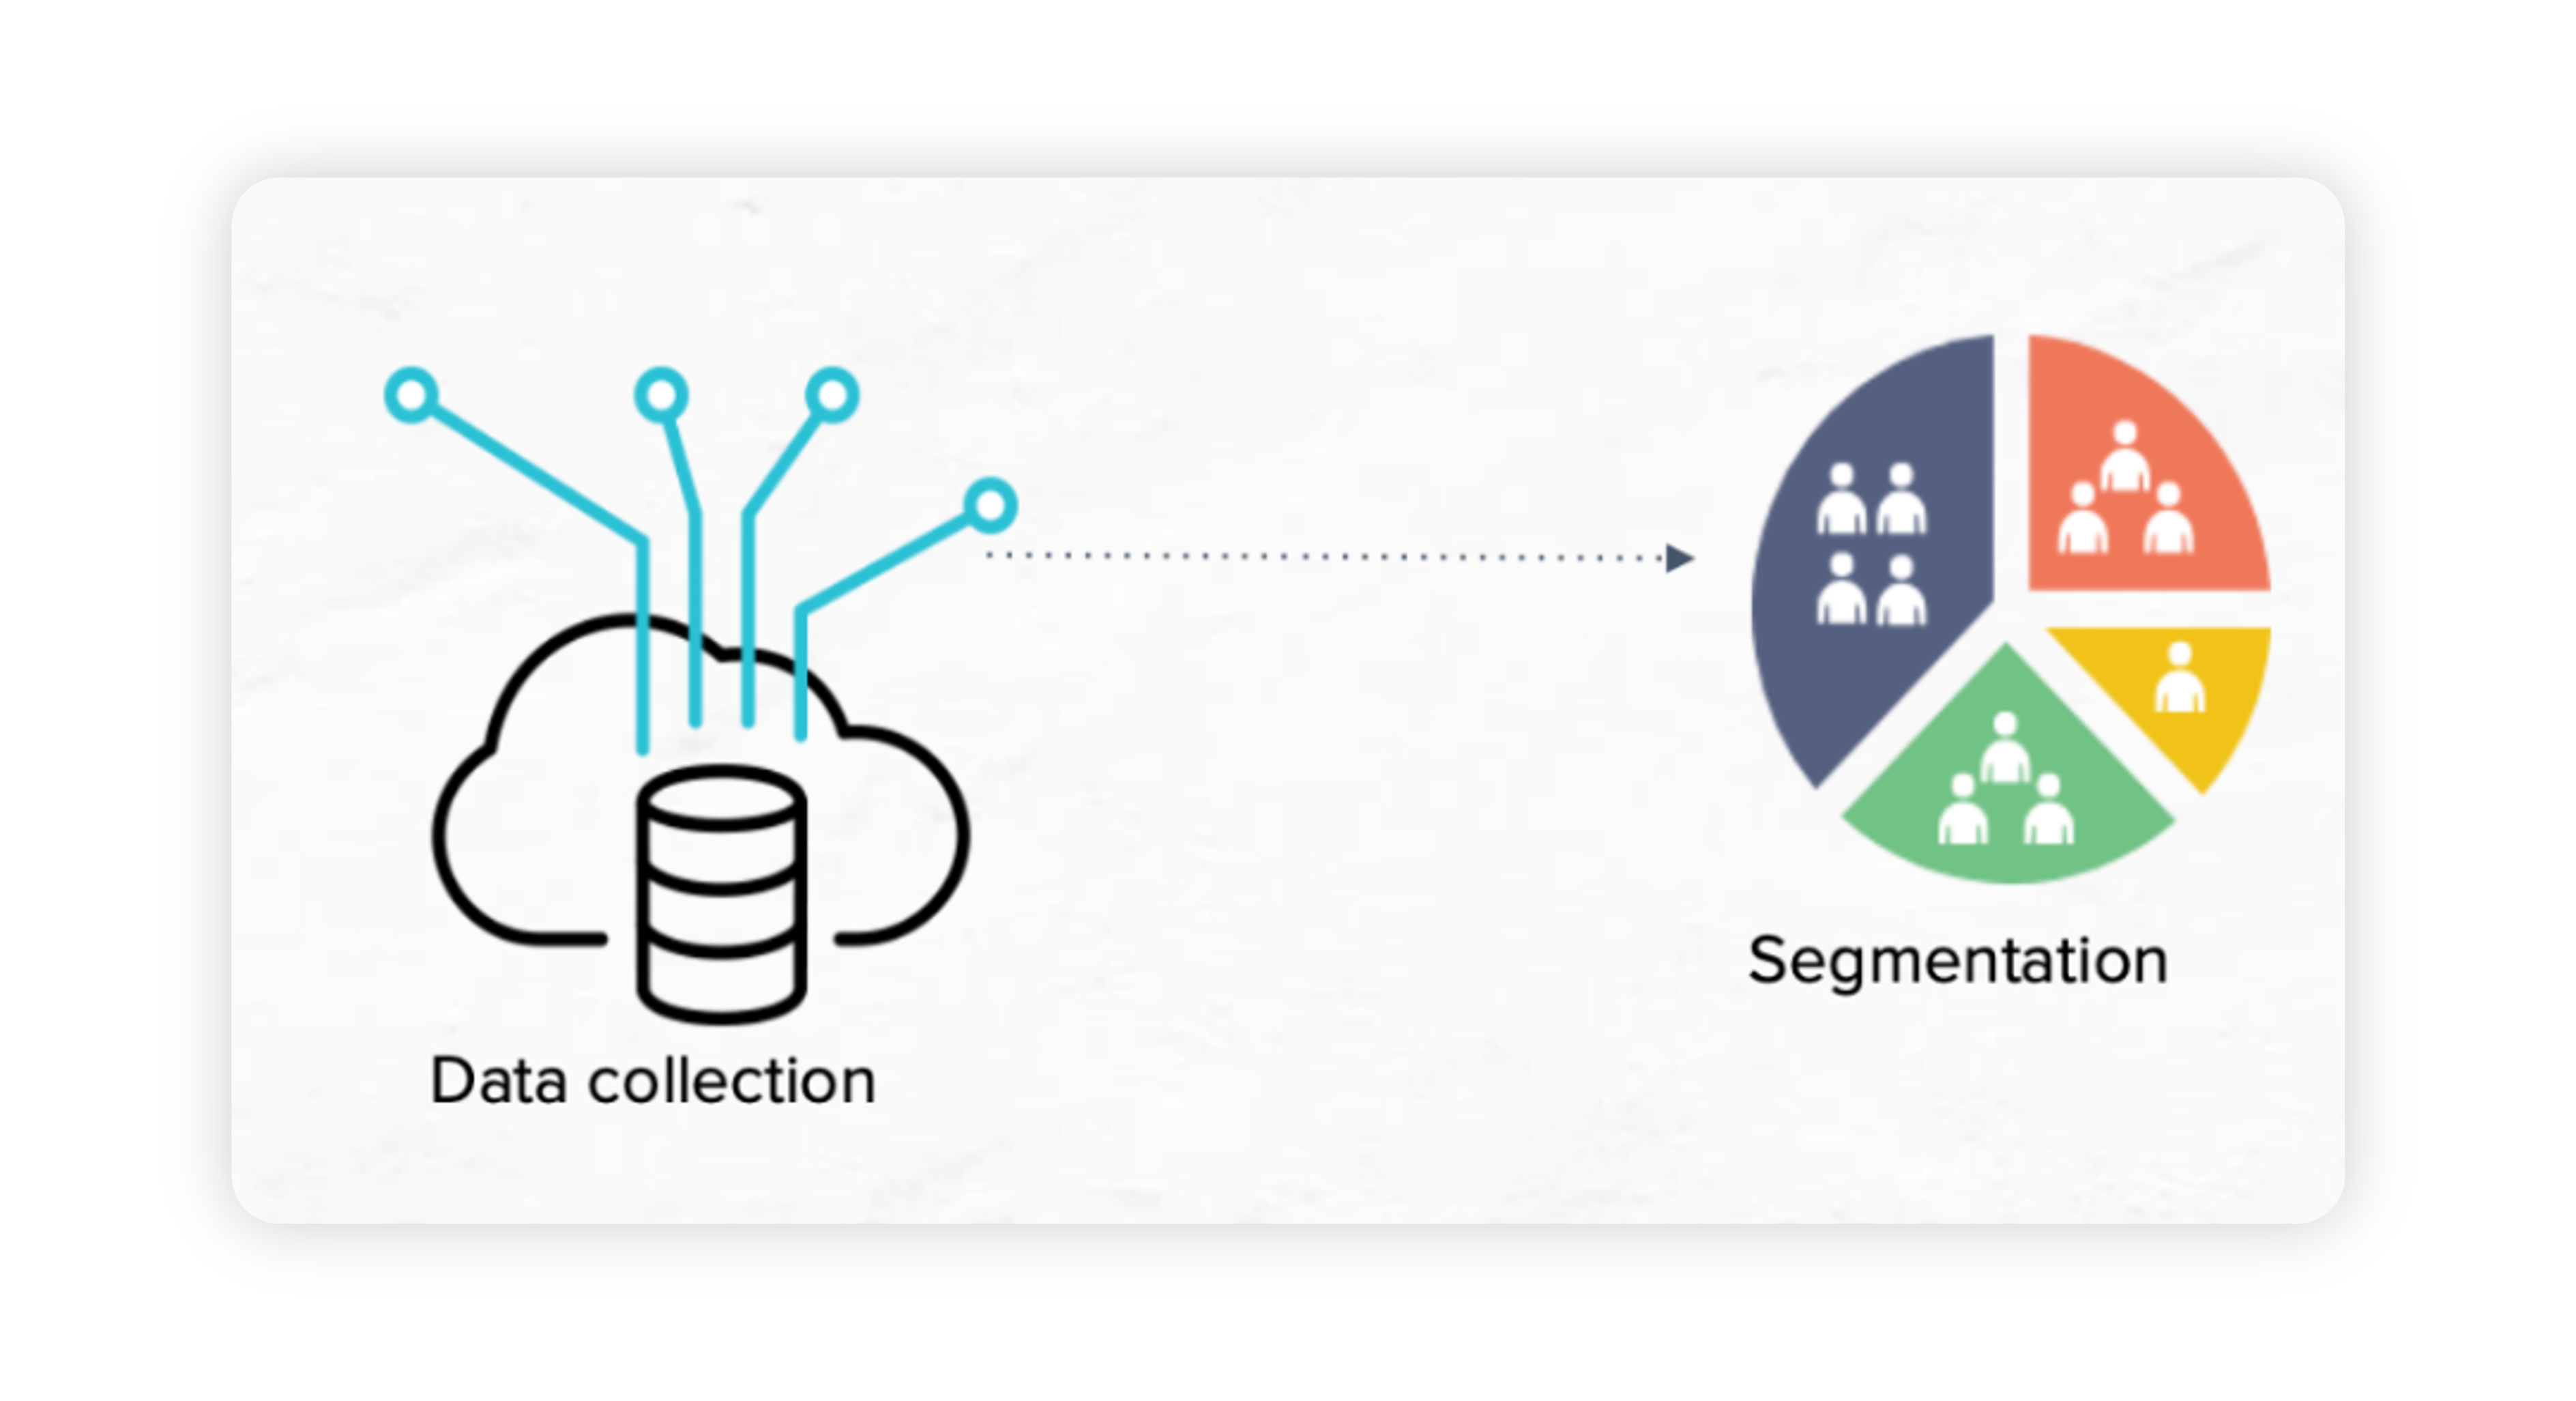
Once the data source is connected to Sprinklr, millions of user data are imported and refreshed periodically. It is better to break through the large volume of data and reach the relevant audience segment who meet their desired profile attributes. From the Segment Manager, you can create new segments and take action to manage your saved segments.
In this article, you'll learn how to view, edit, and delete the segments you've created.
Value proposition
Persona | Problem | Solution |
Marketing Media Manager | Difficulty in managing millions of user data being imported and refreshed periodically. | Segment Manager lets brands segment and narrow down audiences based on desired attributes from their imported data. Whether brands wish to launch something new, promote their existing services or products, generate new leads, or filter and listen to relevant audience groups, Sprinklr’s Segmentation capabilities help them reach their goals. |
Use Cases
With Sprinklr's Segment Manger:
You can narrow your targeting to the desired audience groups by creating segments of your imported audience data based on one or more desired attributes
Your target audience segments update in real-time as the data imported into Sprinklr from your data source gets refreshed
You will get access to Twitter Firehose, which is a stream of activities on Twitter and enables you to have niche targeting while publishing Twitter Ads
Availability
To make sure that new Users in your Sprinklr environment are set up with the appropriate access and capabilities to create and view assets within the Smart Audience Engine, you'll want to ensure that their role is granted the right permissions.
This article covers role-based permissions that are assigned to users or user groups within your environment. You can first review how to Add a User or learn more about the basics of permissions in Roles and Permissions.

Permission Type | Permission | Description |
Smart Audience Engine | All | Grants users all the permissions to access Smart Audience Engine. |
View | Grants users permission to view data within Smart Audience Engine. | |
Edit | Grants users permission to edit data within Data Collection. | |
Export | Grants users permission to export user profiles within Segment Manager. |
To Validate in Segment Manager after connecting your Data Source
Click the New Tab icon. Under Governance Console, select Data Collection within Listen.
Connect your data using Data Connectors and enable it in the Data Collection window.

Once you have enabled the connector, click the New Tab icon. Under Governance Console, select Segment Manager within Learn.
In the Segment Manager window, search by the name of the Connector. A Segment named as “Connector Name All Customers'' will be created by default, as shown below. It corresponds to the master segment that contains all your audience data from the connector, and is an indication that your data from the connector has reflected in Segment Manager.

You can create audience segments from this master database as explained below.
To create a new segment
Click the New Tab icon. Under Governance Console, click Segment Manager within Learn.
In the top right corner of the Segment Manager window, click Create Segment.
In the Create New Segment window, click on the Select Attribute dropdown under Target section. From the list of available attributes, verify if the connector name shows on the right side of one or more attributes, as shown below (for example, Facebook File Upload is the connector).
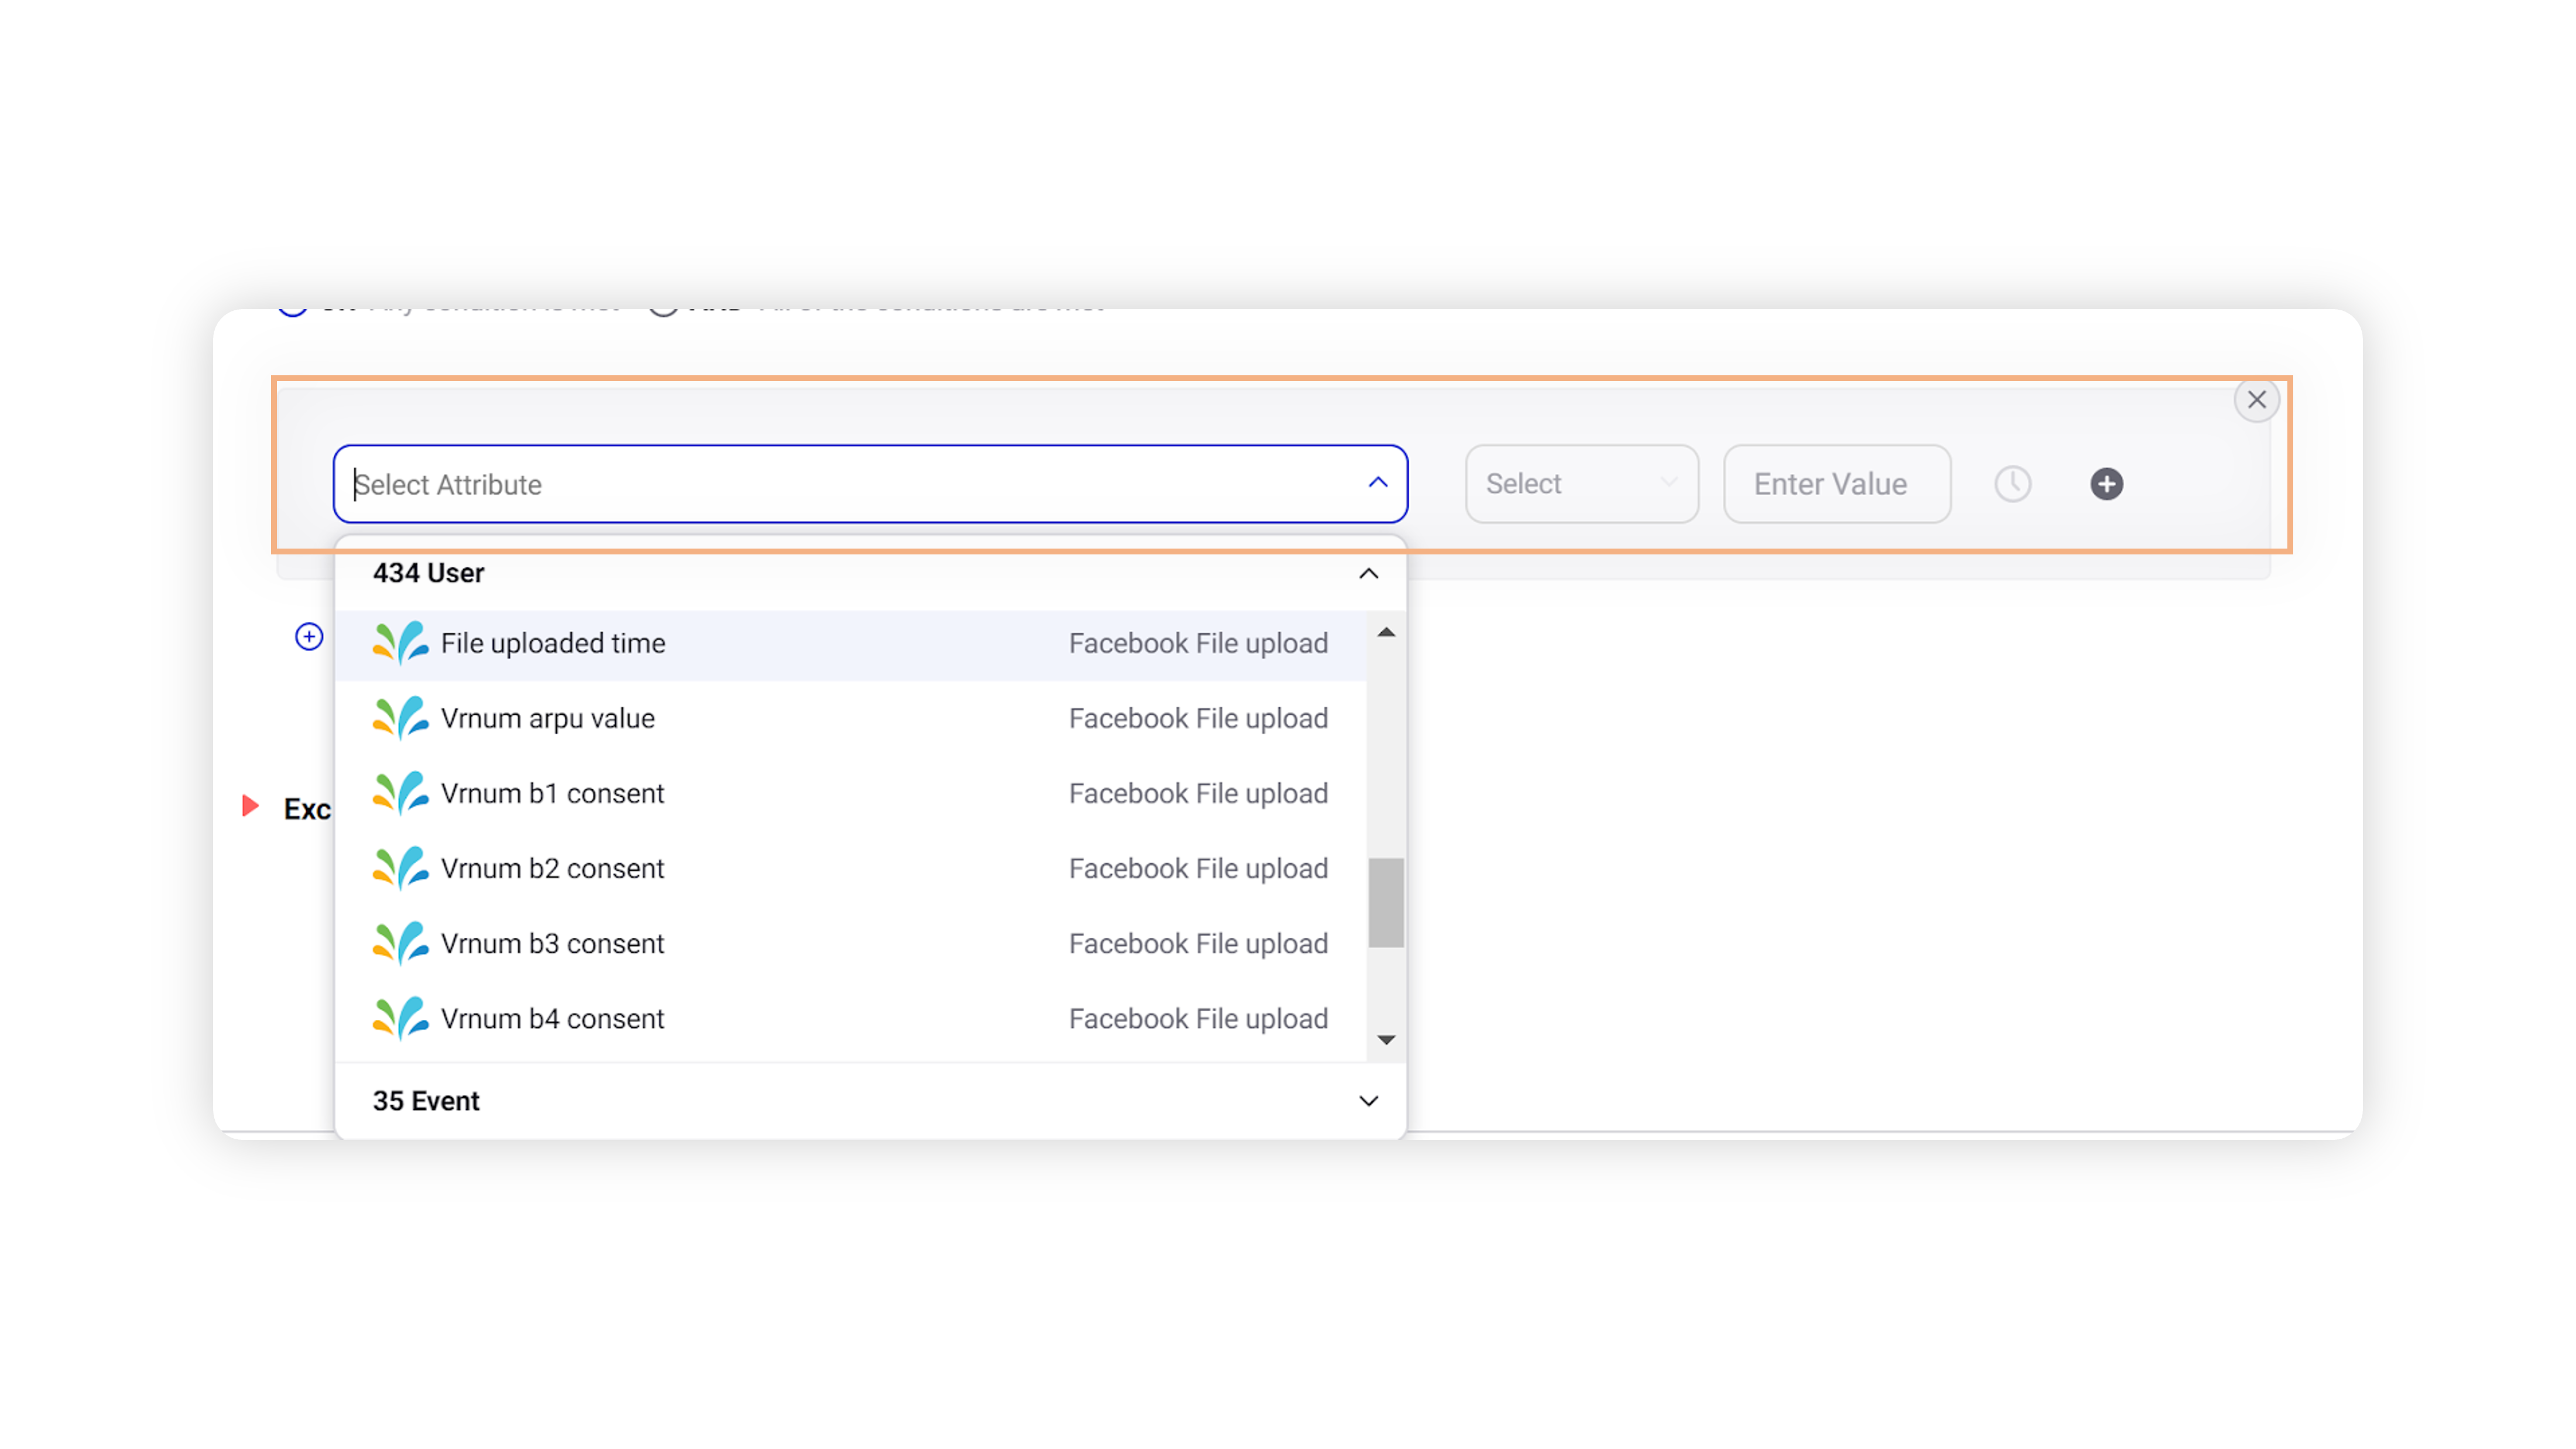
Once you validate that the attributes (attributes are same as the columns in your data file) are loading correctly for your connector, enter basic details like the Segment Name and Segment Expiry Date.
Note:
Once the segment expires, it will stop updating as your imported data gets refreshed, and the audiences created from this segment will retain the latest users at the point of time the segment expired.
Under the Target section, select the attribute using which you want to filter in data. Enter the desired value from the list of available options for the filter attribute you selected.
You can Add New Filter Group and separate both the filter groups with the appropriate operator. (AND – targeted users must match all of the selected filter groups. OR – targeted users can match any of the selected filter groups.)
Within each filter group, you can specify additional AND attributes too (that is, targeted users must match all of the attributes within the filter group)
Click Save to confirm your Segment.
To view a Segment in Segment Manager
Once the segment has been created, it will appear in the Segment Manager board. You can find the below properties in Segment Manager board:
Colum Name | Values | Description |
Name | - | Displays the name of the segment. |
Status | Processing | Reach of the segment is still being processed. |
Processed | Reach of the segment has been processed. Segment is ready for activation. | |
Active | Segment has been activated at least once. Note that you can further activate this segment into different social channels. | |
Expired | Segment expiry date has reached and it will not be updated anymore. | |
Source Type | - | Displays the data source type from which the segment was created |
Reach | - | Displays the count of users who satisfy the segment filter criteria |
Applications
Capture and target only Prepaid customers from third-party audience database (Telecommunications).
A telecommunication brand is launching a festive offer for its existing prepaid customers. It wants to run a few ad campaigns promoting the offer. It wants to target only the prepaid users from its existing customer database.
To achieve this, connect your third-party data source to Sprinklr, and Create a Segment filtering only prepaid users so that you can target the right audience with the right message
To create an Audience Segment filtering only prepaid users
Click the New Tab icon. Under Governance Console, click Segment Manager within Learn.
In the top right corner of the Segment Manager window, click Create Segment.
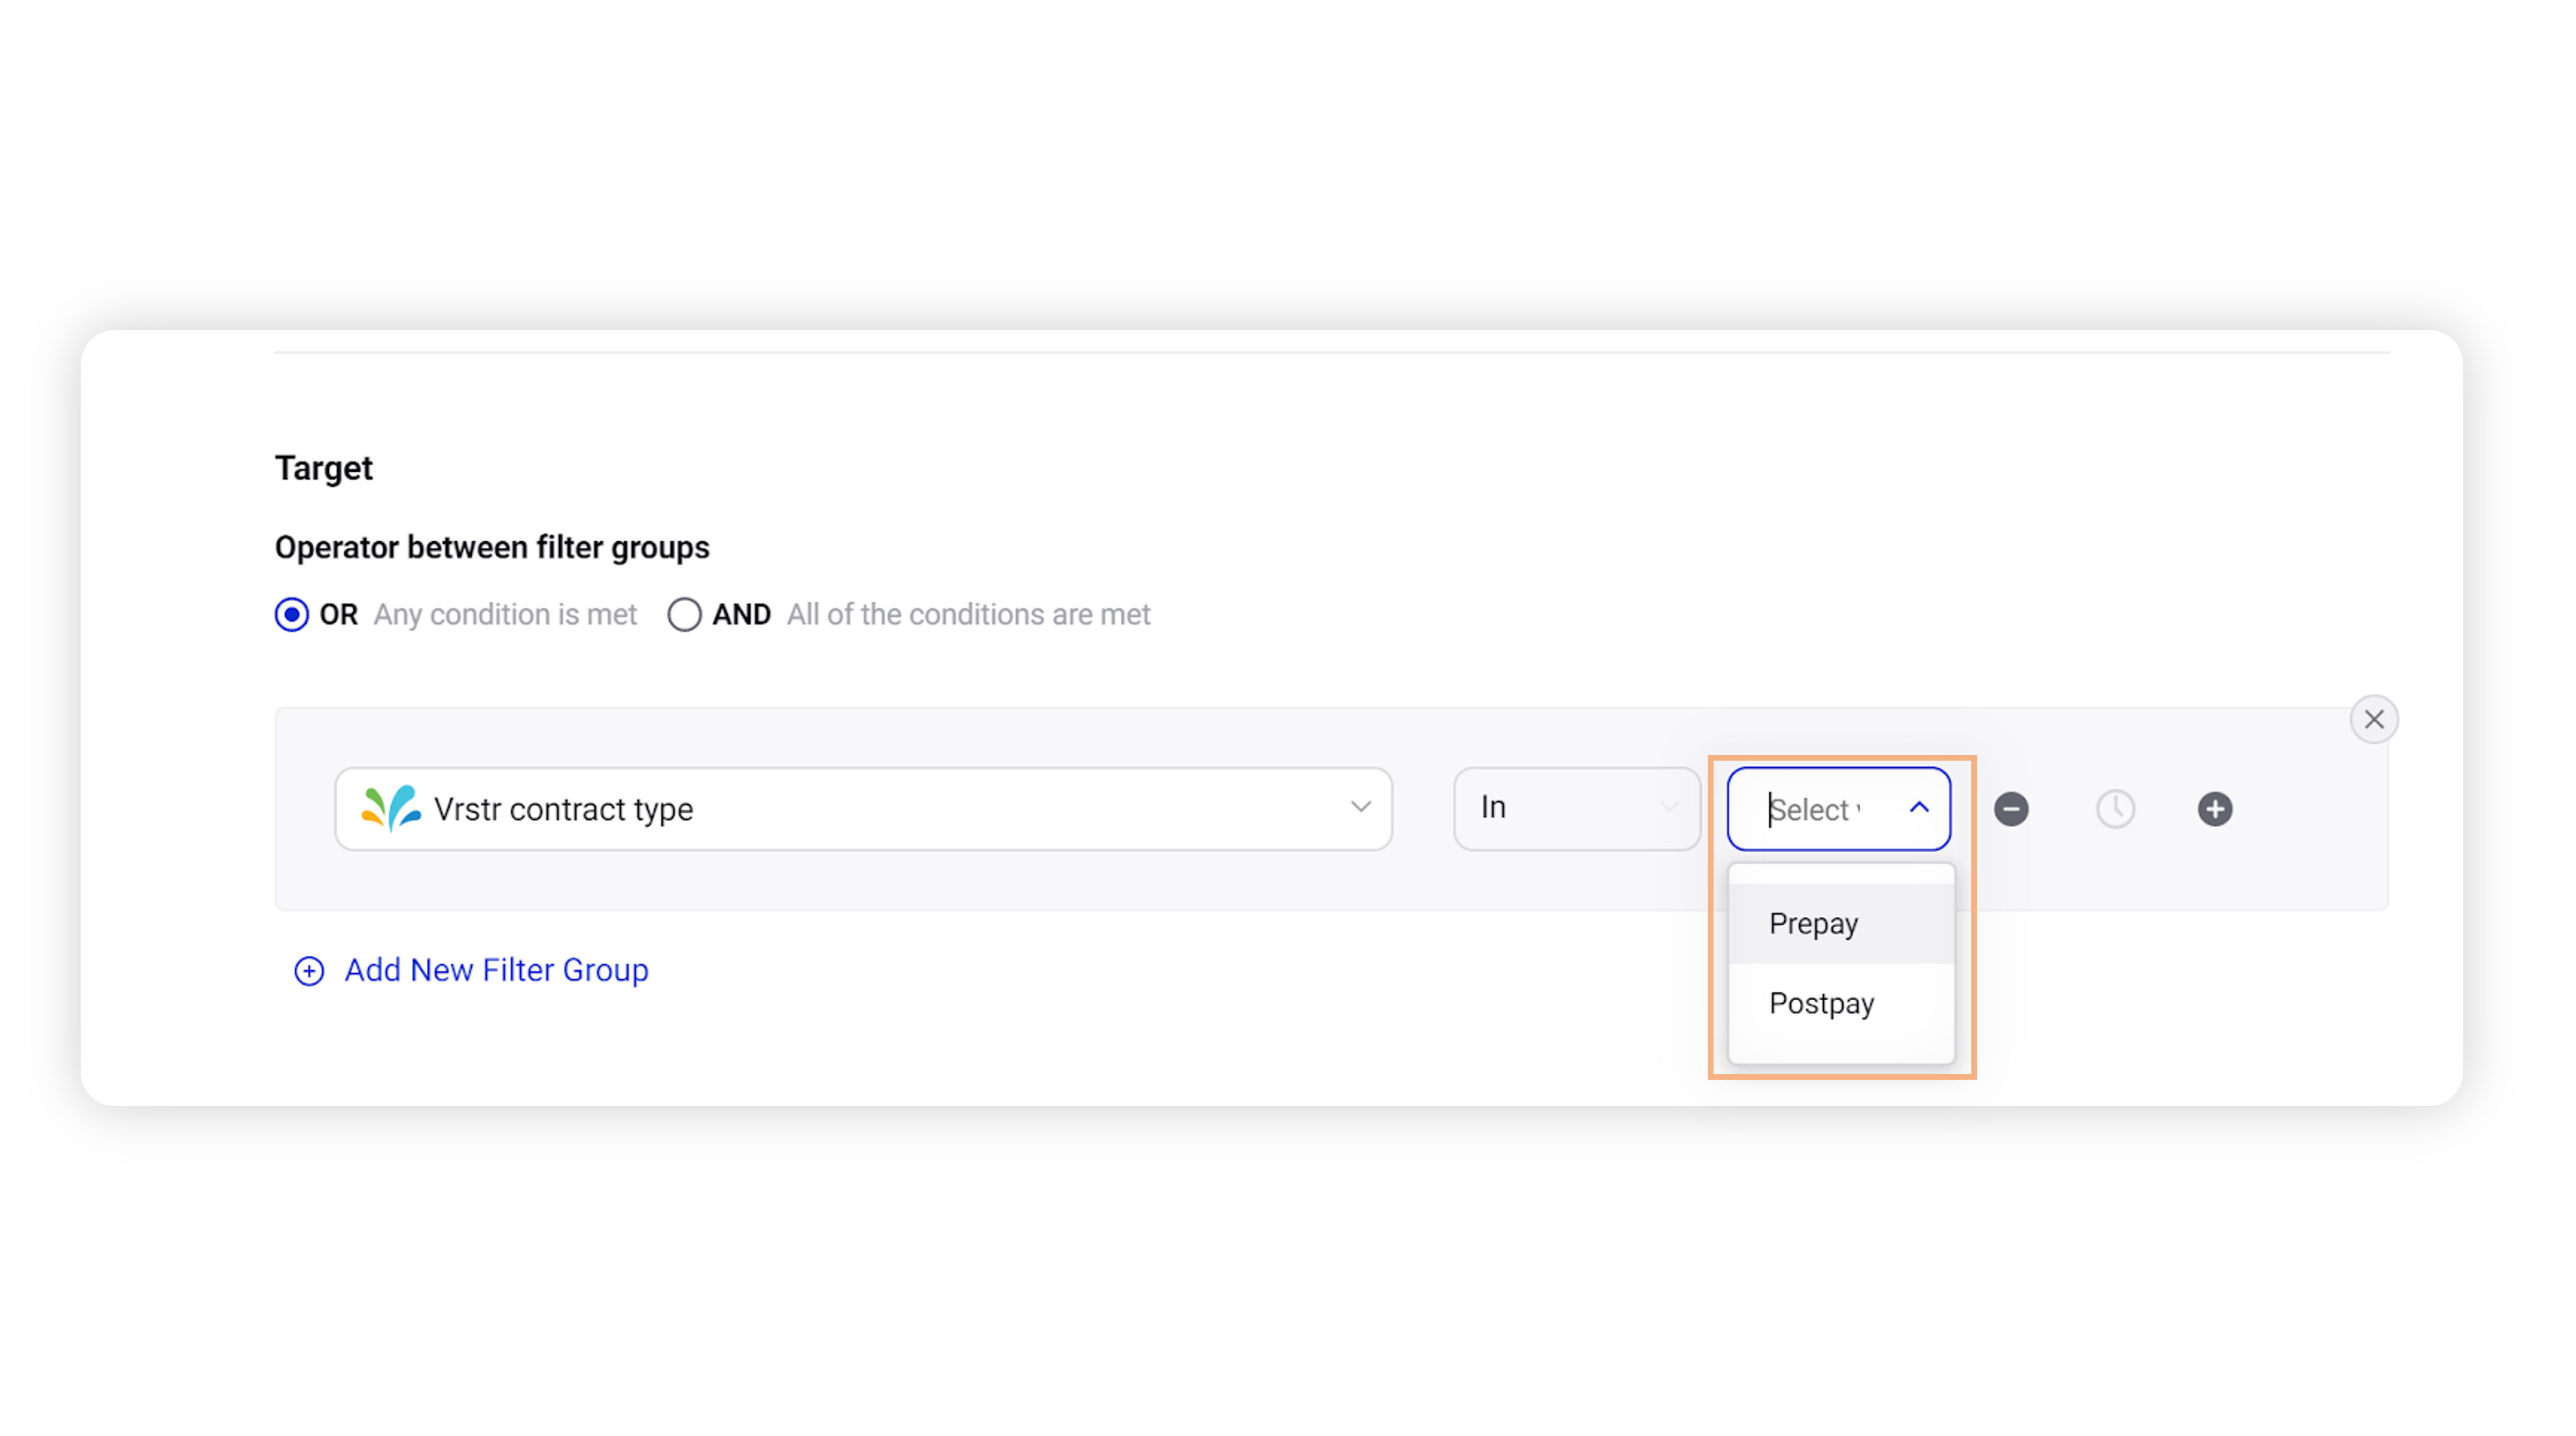
In the Create New Segment window, click on the Select Attribute dropdown under Target section. From the list of available attributes, select the attribute corresponding to subscription type (prepaid/postpaid) displayed against your connector name, as shown below (for example, here Vrstr contract type is the attribute for the connector Facebook File upload).
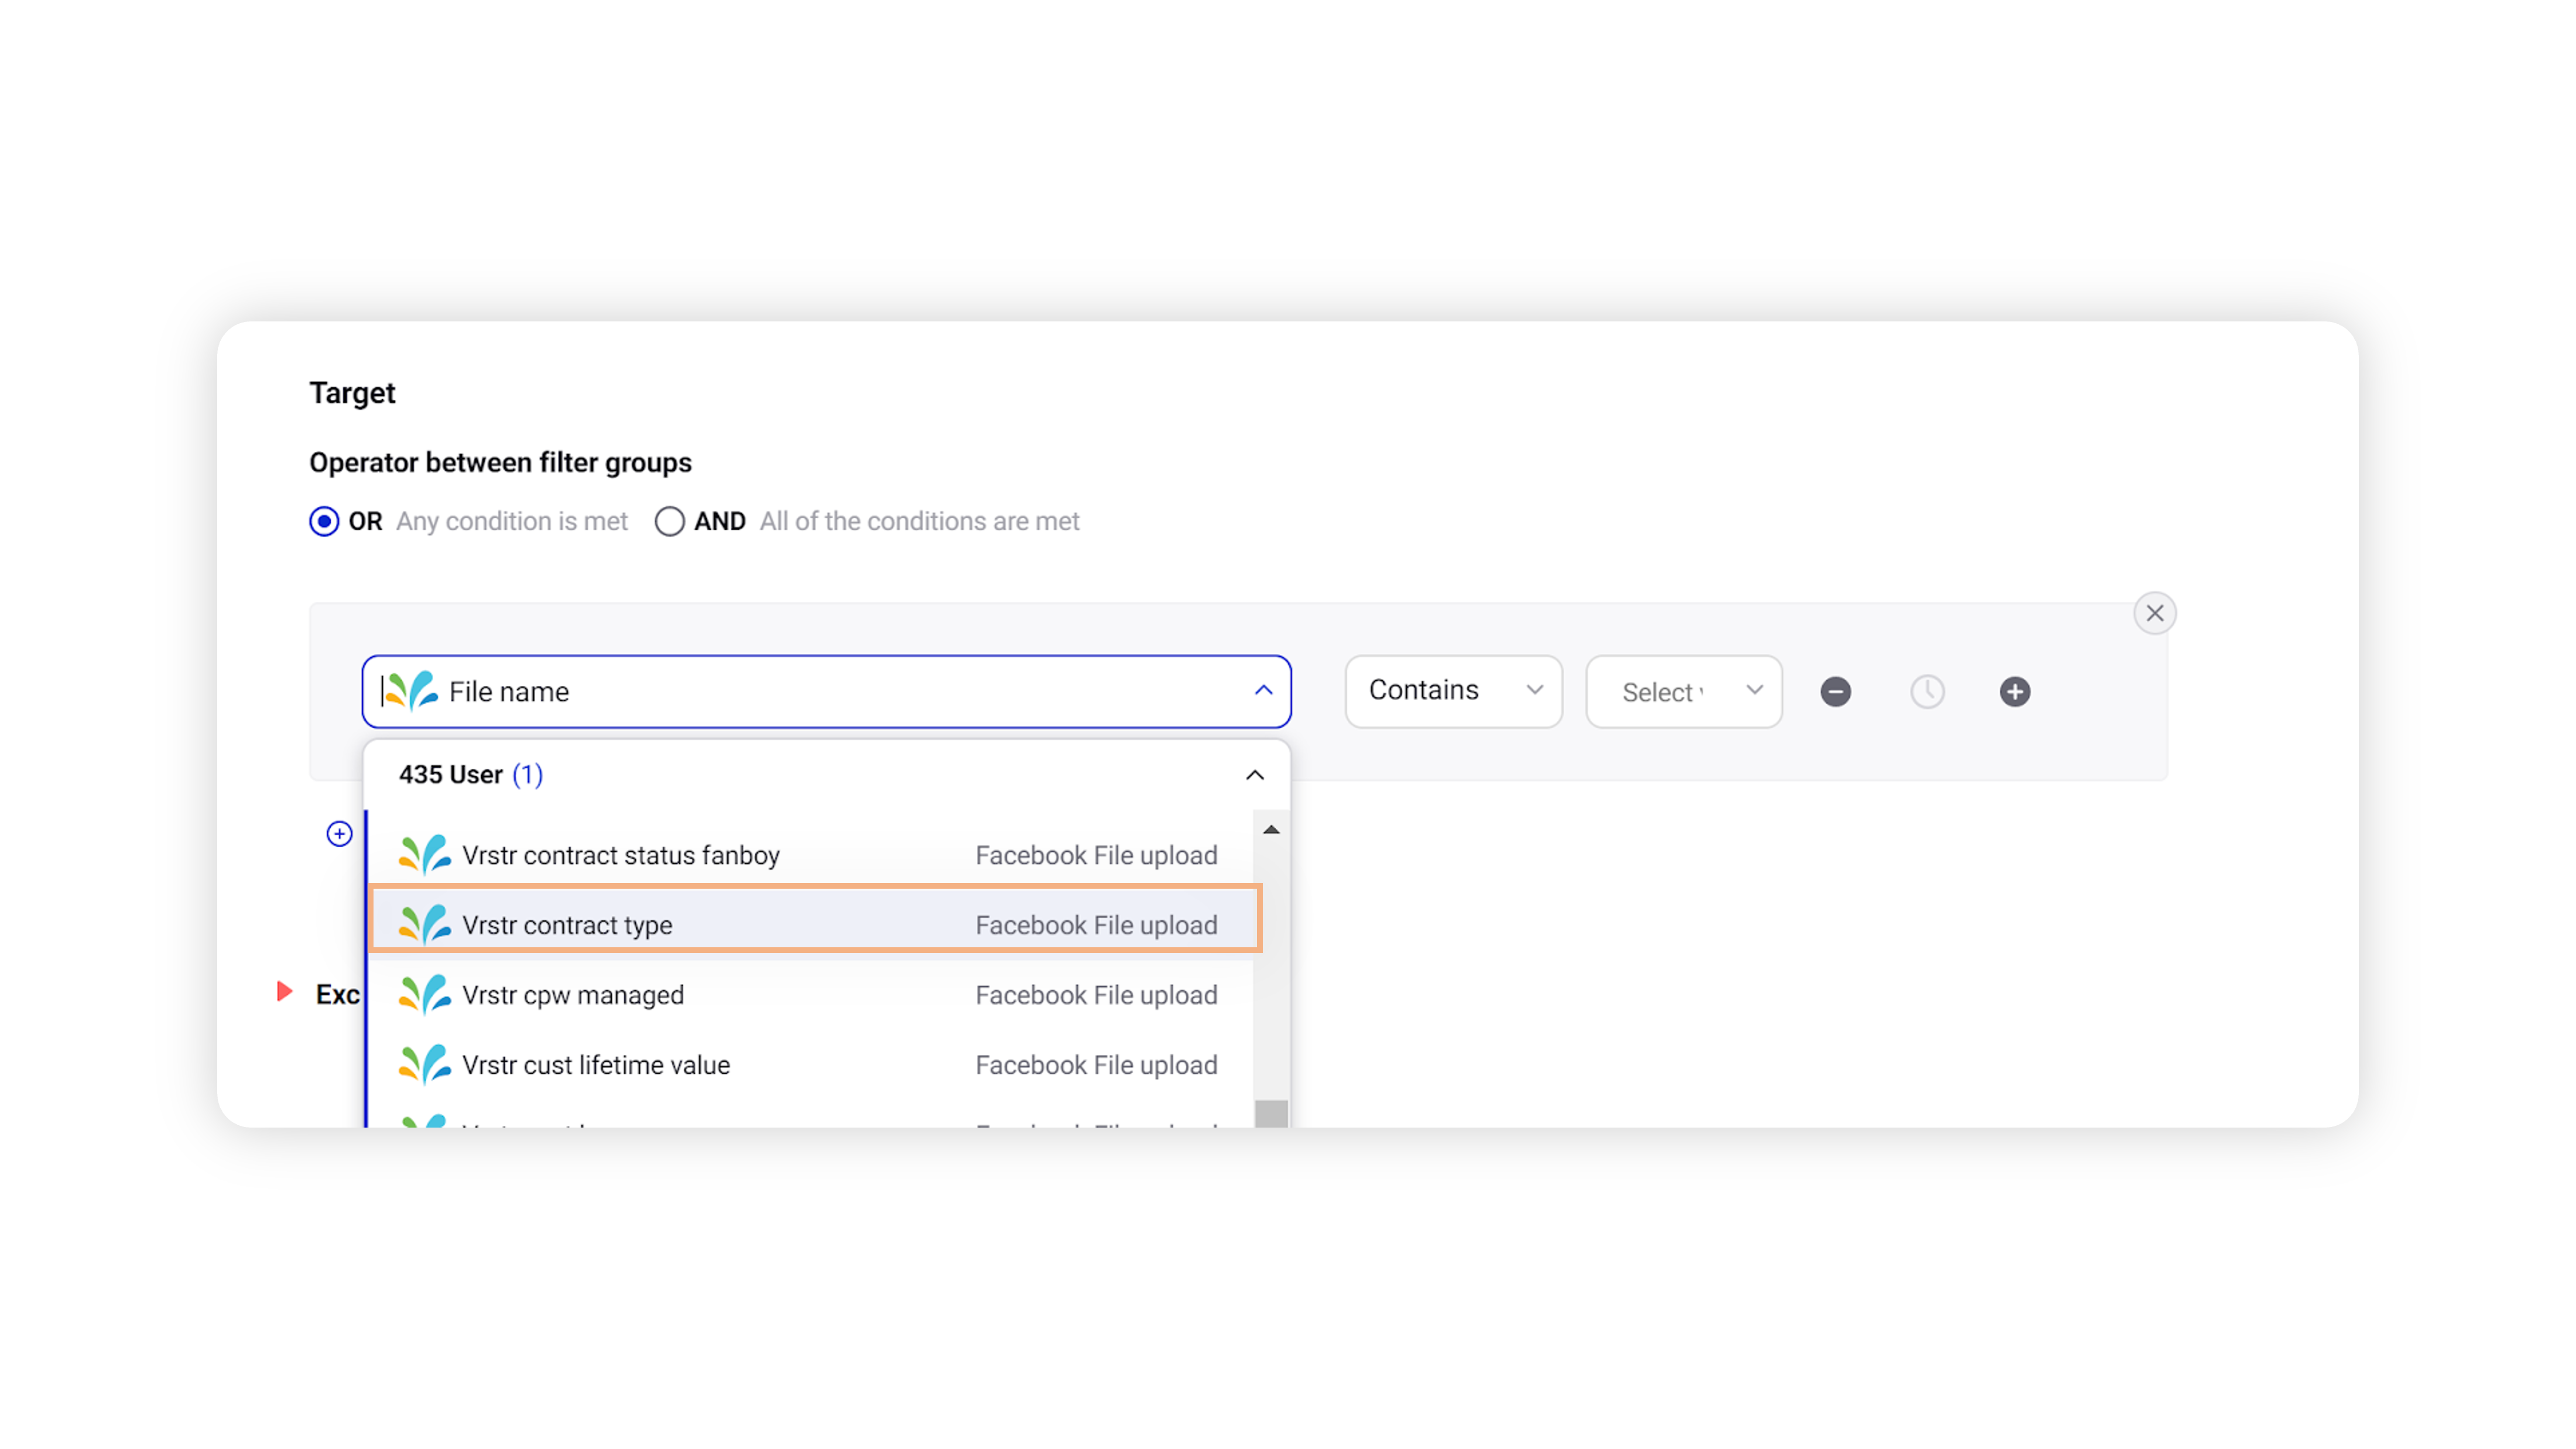
Click Save to confirm your Segment. The Segment will filter-in only prepaid users from your database who are tagged with attribute value as Prepay.
Activate the segment to the desired social channel and use it in your targeting while building campaigns.
