Add a Vonage Voice account
Updated
Prior to calls being routed onto Sprinklr, voice accounts need to be added and configured accordingly. These accounts will be used to identify the voice calls from the telephony infrastructure to Sprinklr servers, following which a configured IVR, voice bot, or agent handles the call.
Within Sprinklr, you can add a Vonage Voice account that will act as an interface, and inbound and outbound calls can be made using the voice application. It facilitates automated features like AI bots, payment options, IVR, post-call surveys, transcripts, and more.
By integrating a Vonage Voice account with Sprinklr AI-powered contact center as a service (CCaaS) application — all layered on top of the world’s only unified customer experience management (Unified-CXM) platform — we can help enterprises quickly scale and launch a next-gen contact center that delivers comprehensive, cloud-based care.
Enablement note: To learn more about getting this capability enabled in your environment, please work with your Success Manager. |
To add a Vonage account in Sprinklr
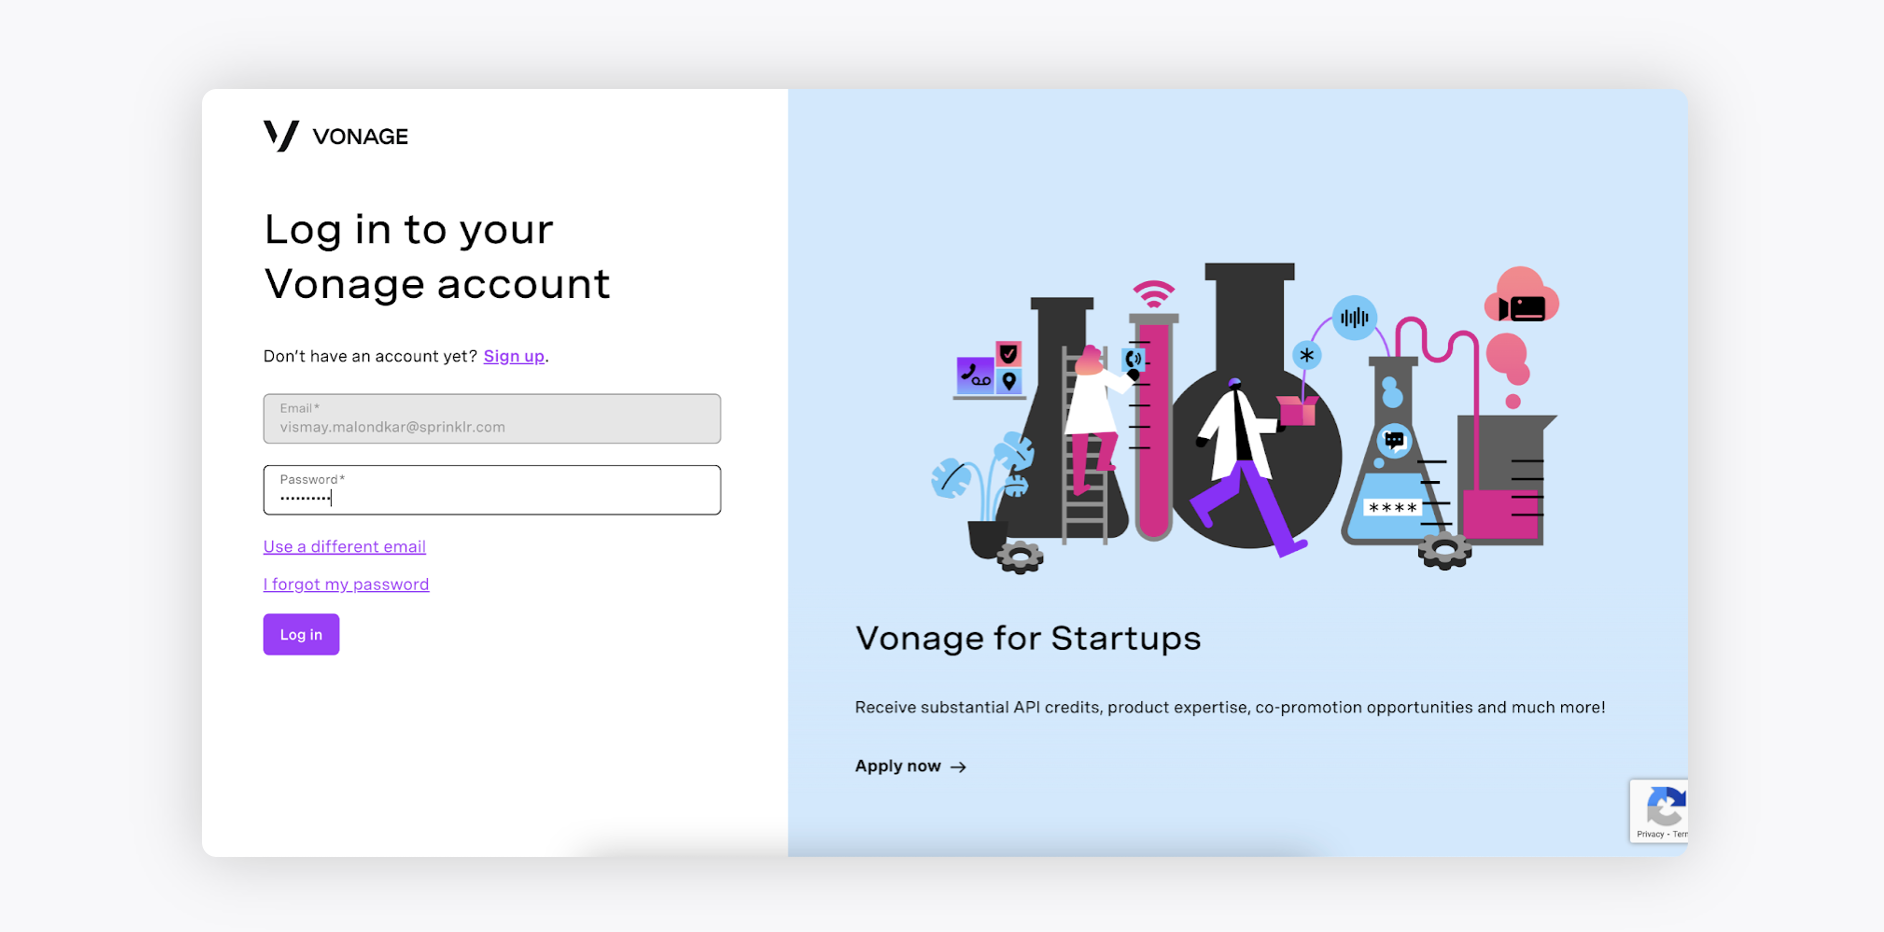
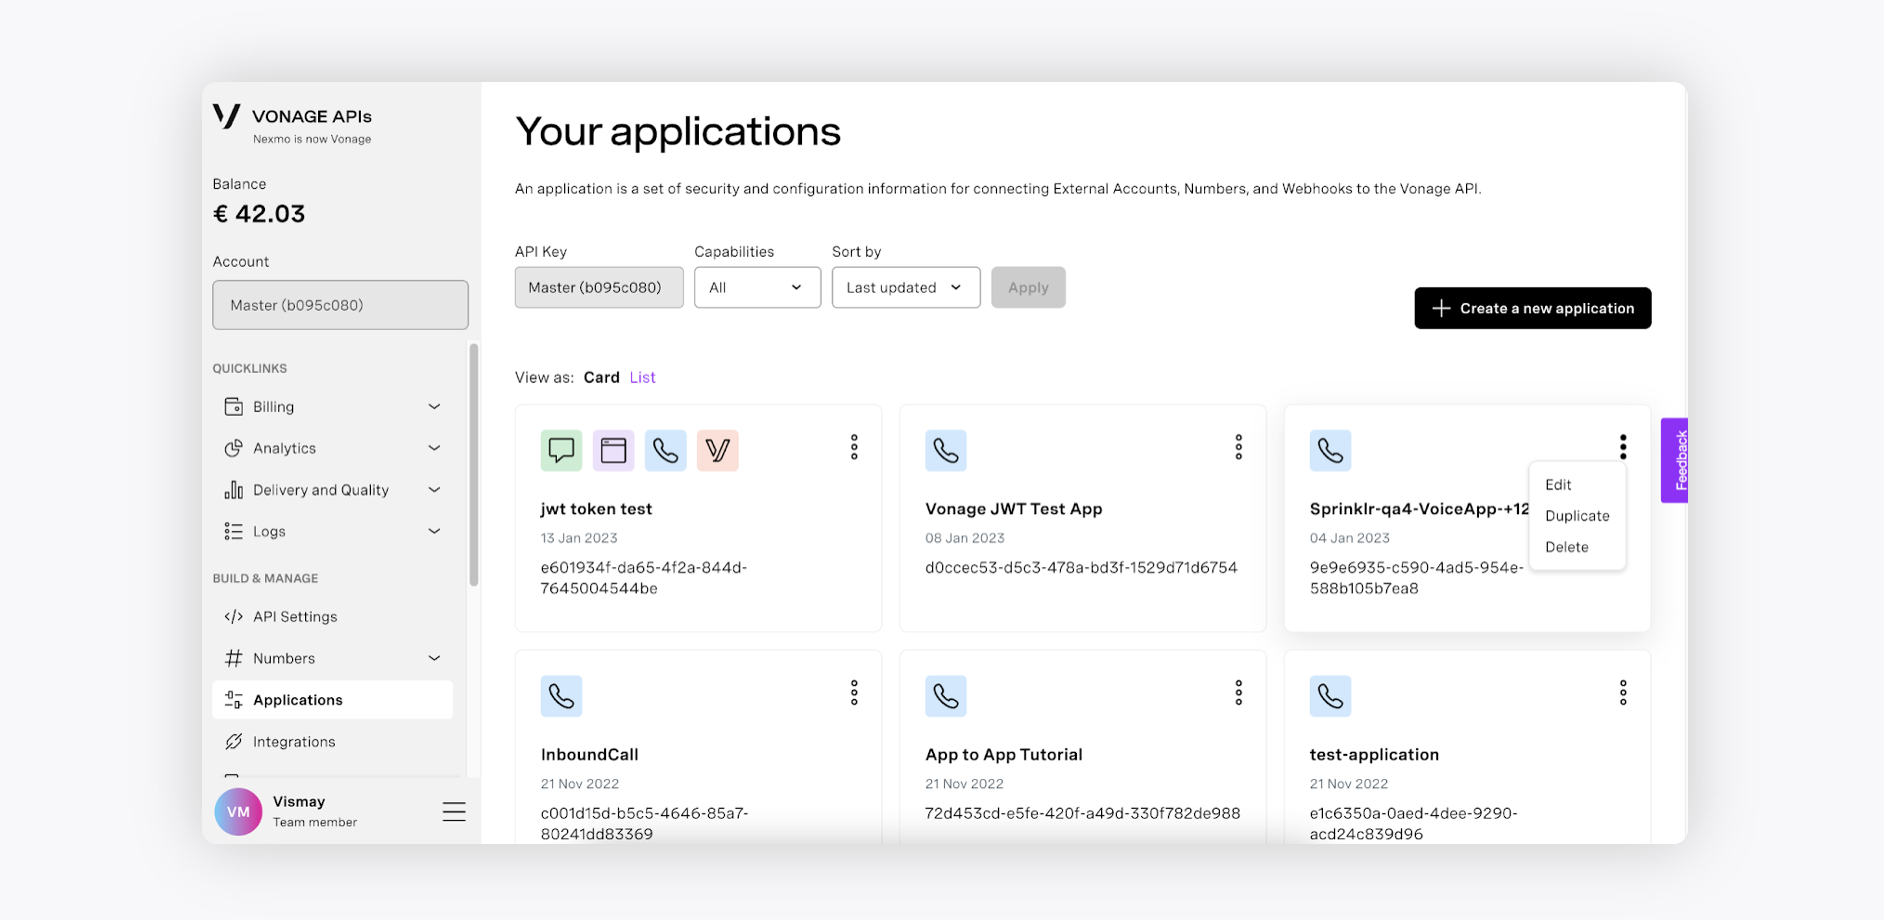
Log in to your Vonage account on native.
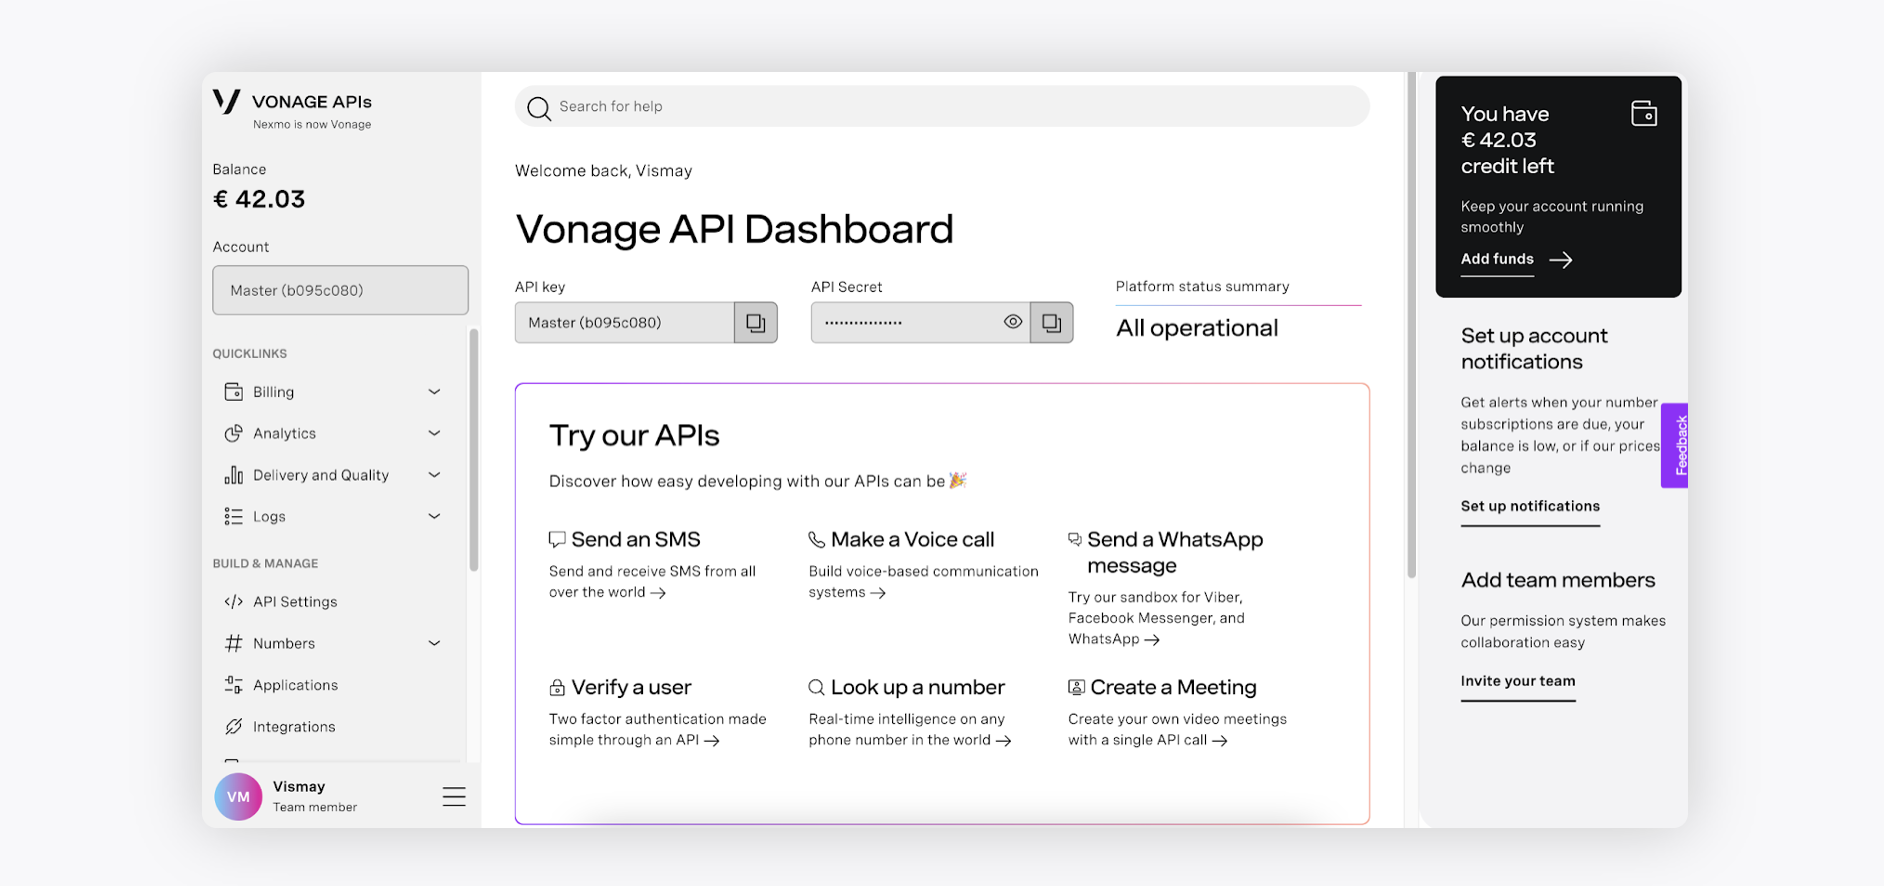
Copy the API key and API Secret from the home page.
Log in to the Sprinklr platform. Under the Sprinklr Service tab, click Voice Care within Listen.
Select Voice Accounts from the left pane.
In the top right corner of the Voice Accounts window, click Create Voice Account and select Create Vonage Voice Account.
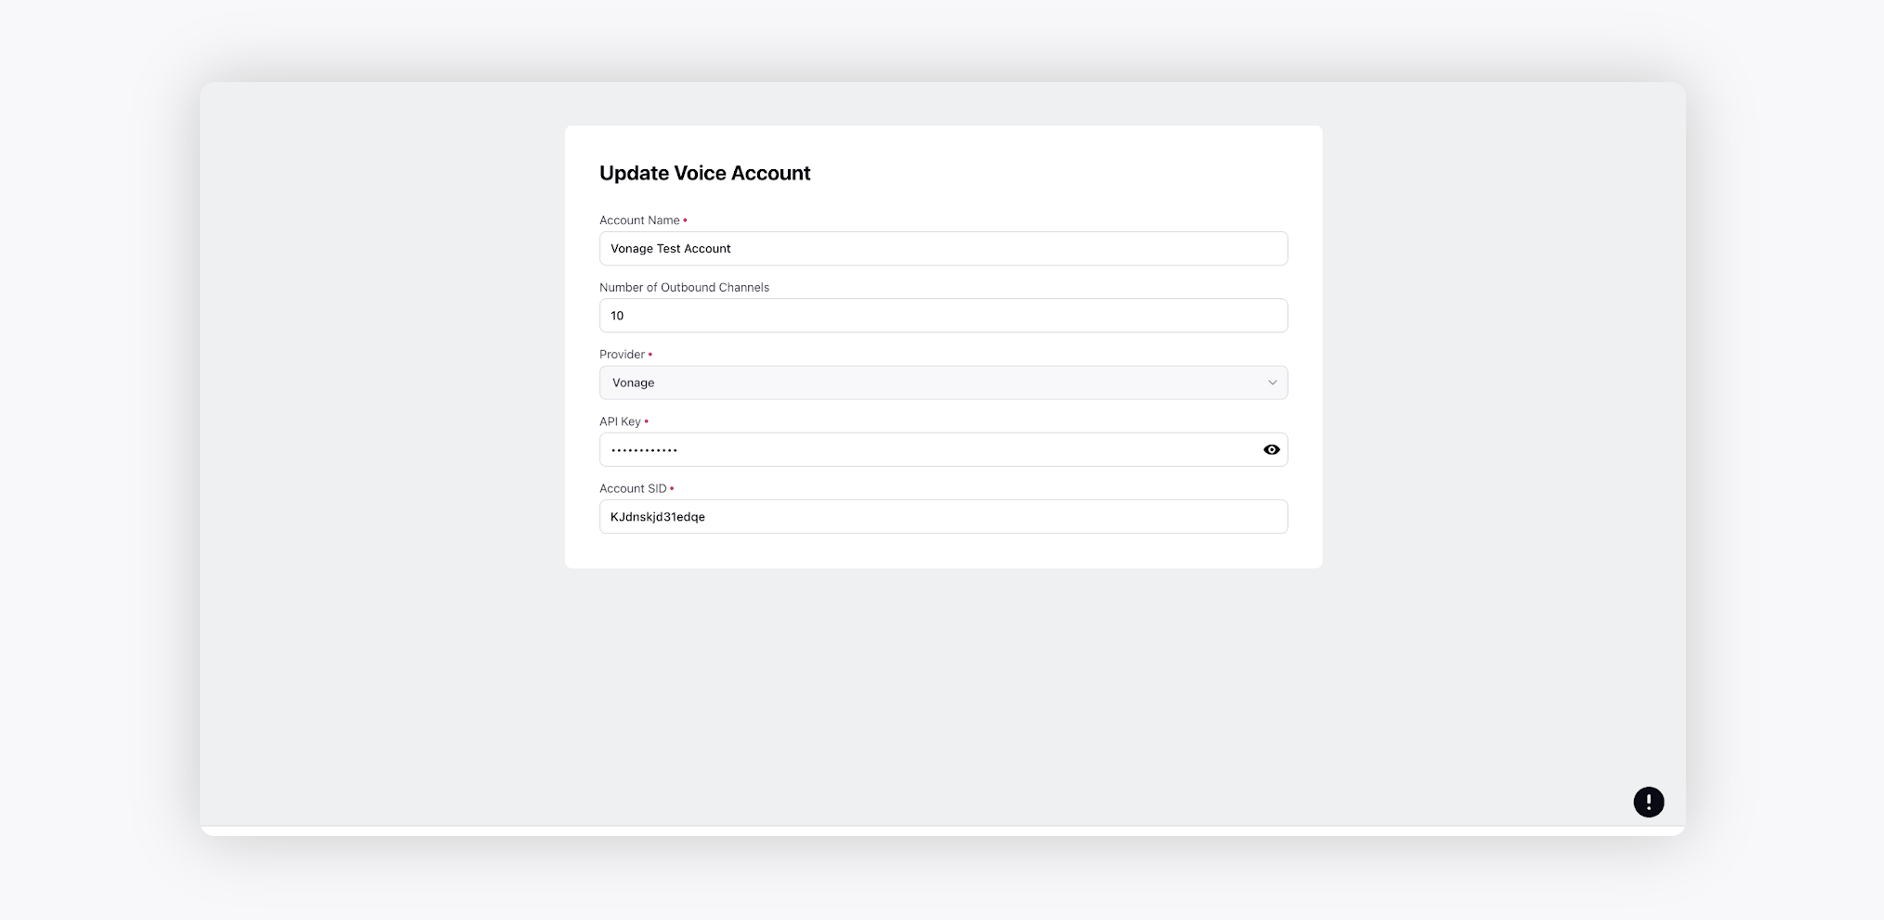
On the Add Voice Account window, add the Account Name and Number of Outbound Channels. The account name will be visible on Sprinklr and will be used next in the voice application. Next, add the API Key and Account SID to add the voice account.
Click Save in the bottom right corner. Once the voice account is added, you can set up a Voice Application. Select Voice Applications from the left pane.
In the top right corner of the Voice Application window, click Add Voice Application and select Create Vonage Voice Application.
Create a voice application and select the Provider as Vonage. This voice application will act as an interface and inbound and outbound calls can be made using this application.
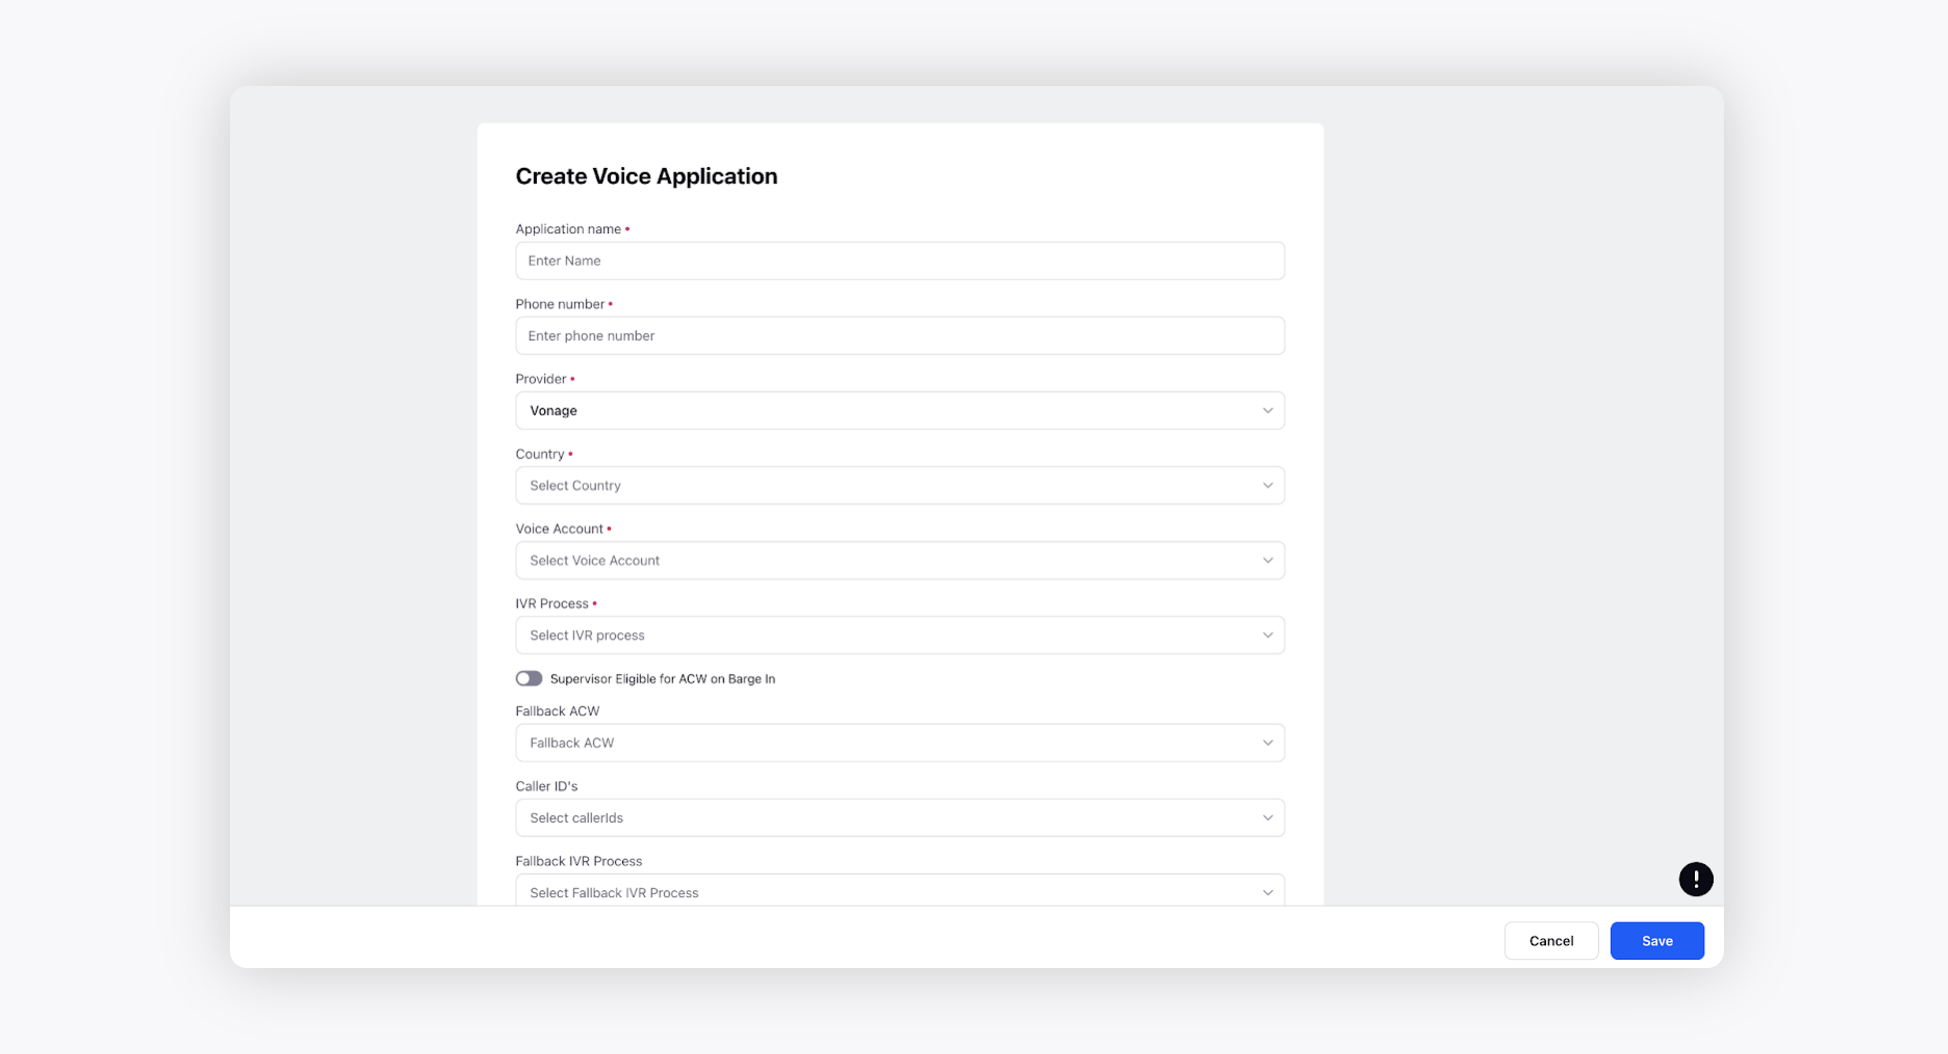
Application name: This field refers to the name of the application.
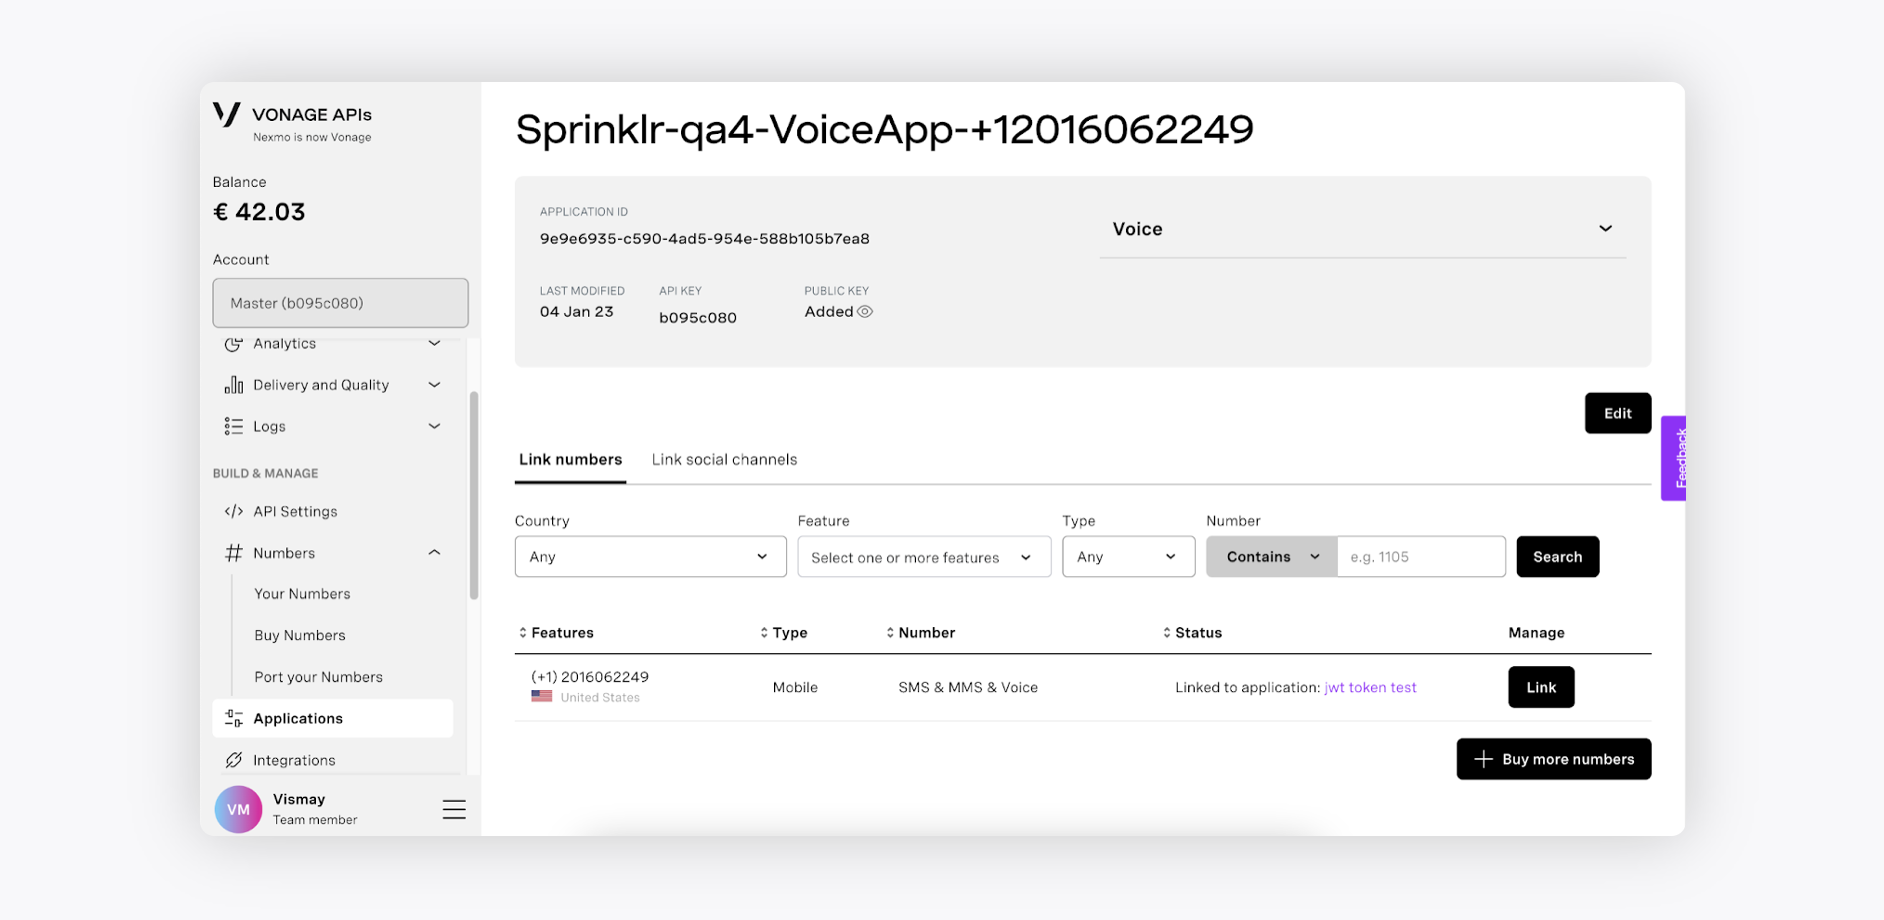
Phone number: Contains the DID number of the application which can be taken from the Vonage account on native.
Country: The country to which the phone number belongs.
Voice Account: Select the Vonage account that you have created.
Fallback ACW: Contains the ACW which gets triggered if there is no ACW configured at the queue level.
FallBack IVR Process: If there is any unexpected failure in the main IVR then the call will get redirected to this fallback IVR, instead of getting dropped.
Supervisor Eligible for ACW on Barge in: Enables the ACW for the supervisors who barge in any calls.
Caller IDs: The phone numbers to make the outbound calls to customers.
Enable DND on: Set on which type of calls you want to enable DND.
DTMF Timeout: The value of DTMF timeout in seconds.
Audio and voice setting: Set how the 'Text to Speech' used in the IVR should be voiced out. You can set the pace and voice.
Add Wait Music: Add the MP3 audio file from Digital Asset Manager which will be played whenever the agent puts the customer call on hold. You can add multiple hold music options which will be played in a random manner for the customers when they wait in the queue or are put on hold.
Add Ringtone: The popup tone for the agents for receiving the calls. Add ringtones based on case properties. You can define conditions or groups of conditions to trigger specific ringtones for different cases or campaigns. This customization enhances agent awareness by linking ringtones to case characteristics, such as using a "High Priority" ringtone for cases with a "Payment" intent.
Groups to include account in: Add the groups to include your voice application.
Share across workspaces: Add workspaces and users to share this application with.
Click Save in the bottom right corner.
The voice application will be configured in Vonage as Sprinklr makes an API call.
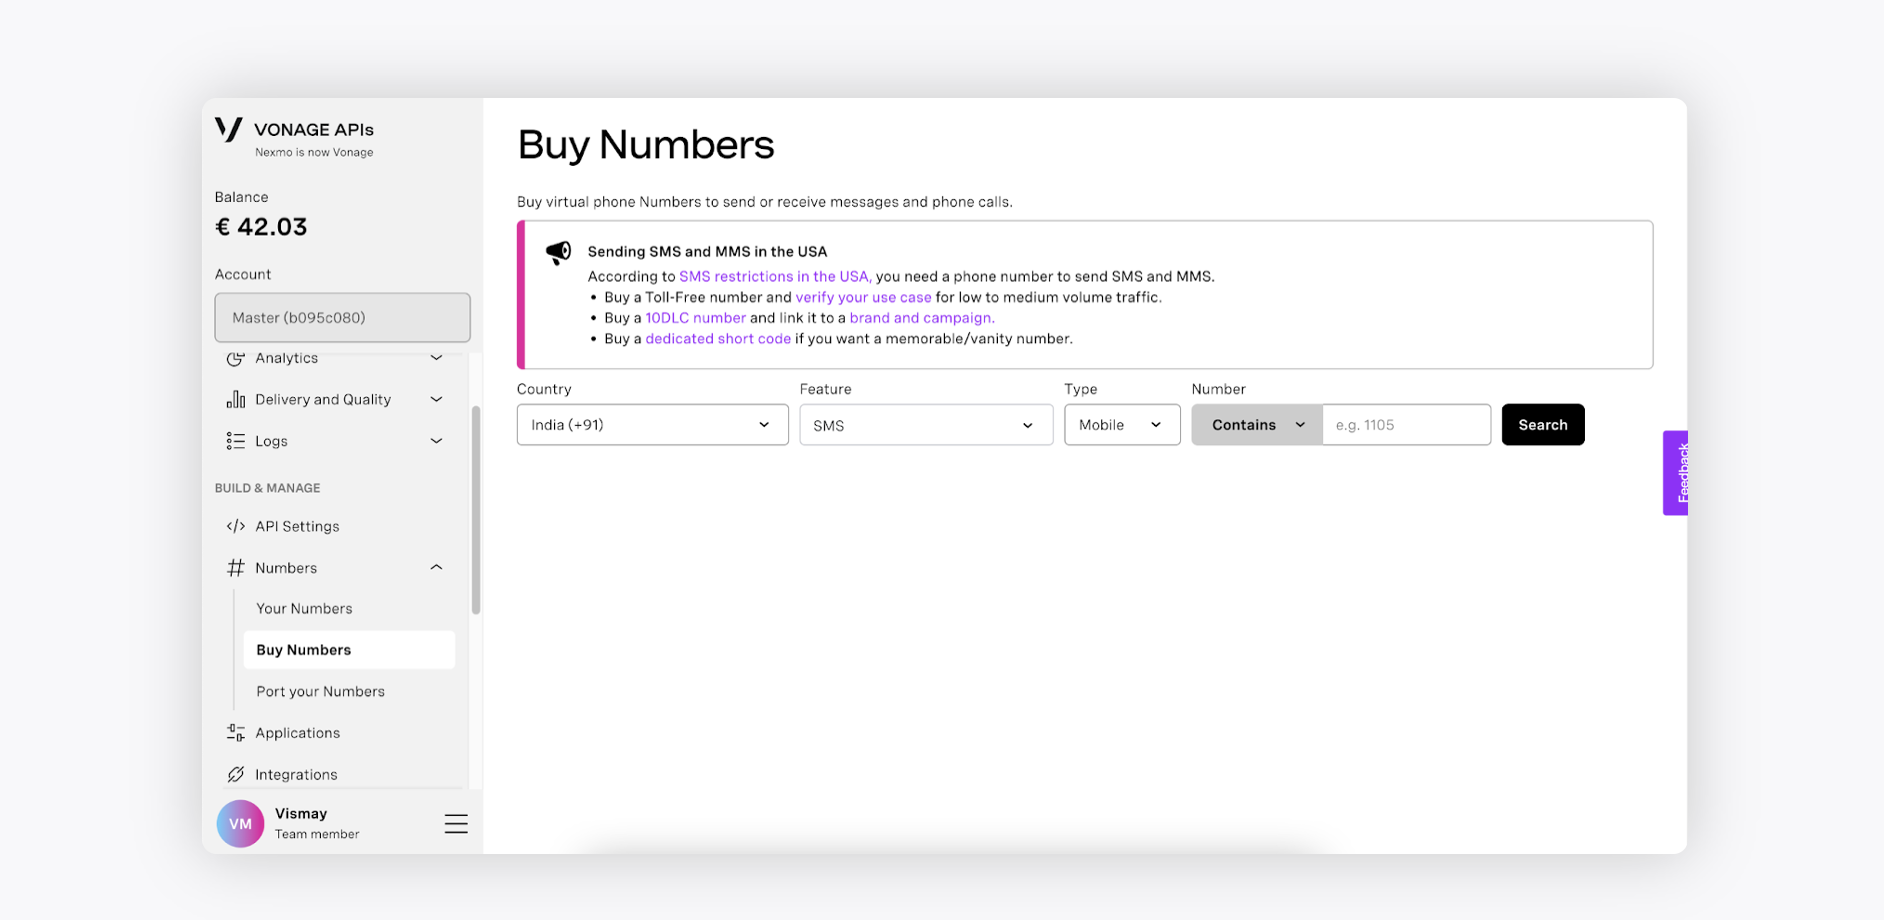
Buy the numbers that you want to use for calling.
Configure the purchased numbers in the voice application in Sprinklr.