Overlay Objects on an Asset in the Image Editor
Updated
You can send objects forward/backwards to create your desired overlay order. Here, we have listed steps to overlay objects on an asset in the Image Editor.
Overlay An Image
Click the New Tab icon
. Under the Sprinklr Social tab, click Assets.
Hover the Options icon
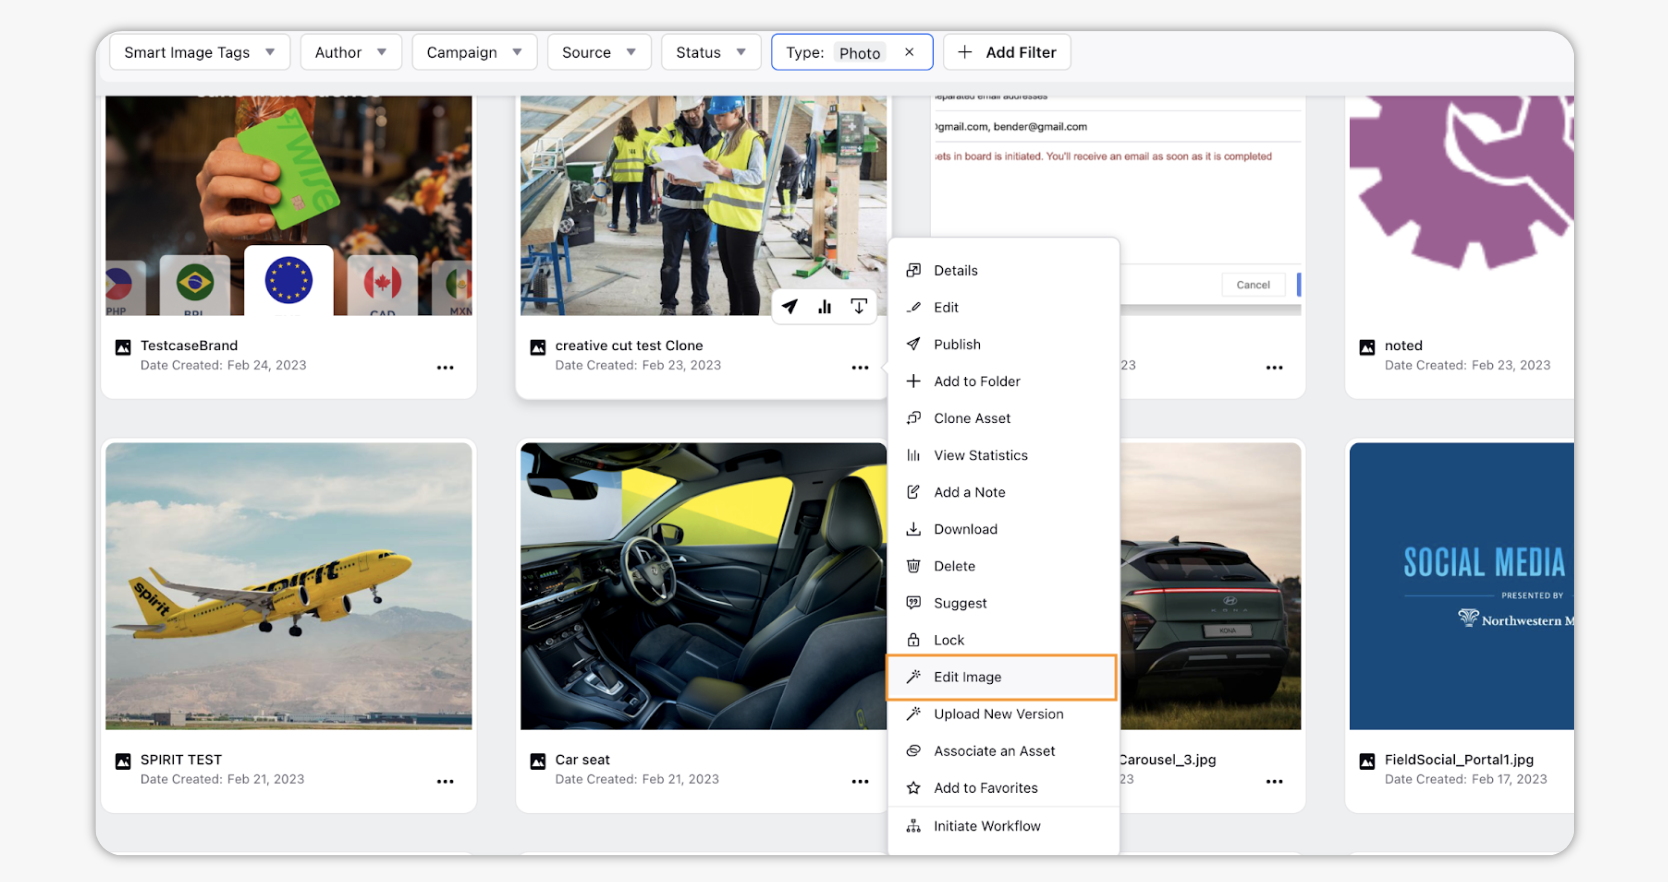
of an image asset on the Asset Management window and select Edit Image.

From the Overlay Image Tab, click the Addition icon
. Select an image from the Asset Manager or from UGC.
Once you've selected an image, single-click the image on the right hand side (or drag and drop) to overlay it on top of the asset you're editing.
Move the outer dots to rotate the image. Move the inner dots closer to the image to adjust the size.
Drag and drop to reposition the image.
Overlay Text
From the Overlay Text Tab, click the Add Text icon
. Select a Font, Size, and/or Text Color. Adjust the Font Style and Alignment per your needs.
Enter the text into the text box.
Once you've customized your font, move the outer dots to rotate the text. Move the inner dots closer to the text to adjust the size.
Drag and drop to reposition the text.
Overlay A Shape
You may edit the shape(s) in any particular order.
Single-click (or drag and drop) on the shape you would like to add to the asset. Your options are: a square, a rectangle, and a circle.
Select a Shape Color (and Opacity level) and a Stroke Color (and Stroke Weight). The stroke color is the border color.
Once you've customized your shape, move the outer dots to rotate the shape. Move the inner dots closer to the shape to adjust the size.
Overlay An Object In Front
Single-click on the object you want to send forwards.
Click the Overlay In Front icon
to send the object in front.
Overlay An Object Behind
Single-click on the object you want to send backwards.
Click the Overlay Behind icon
to send the object behind.
Note: You can always undo or redo any actions/edits taken by clicking the Undo icon |