What is an Image Editor?
Updated
Within the Asset Manager, you can edit photos and videos from the Image Editor. You can either save the edited asset as a new asset or update the existing one. This article covers an overview of the Image editor.
Steps to navigate to Image Editor
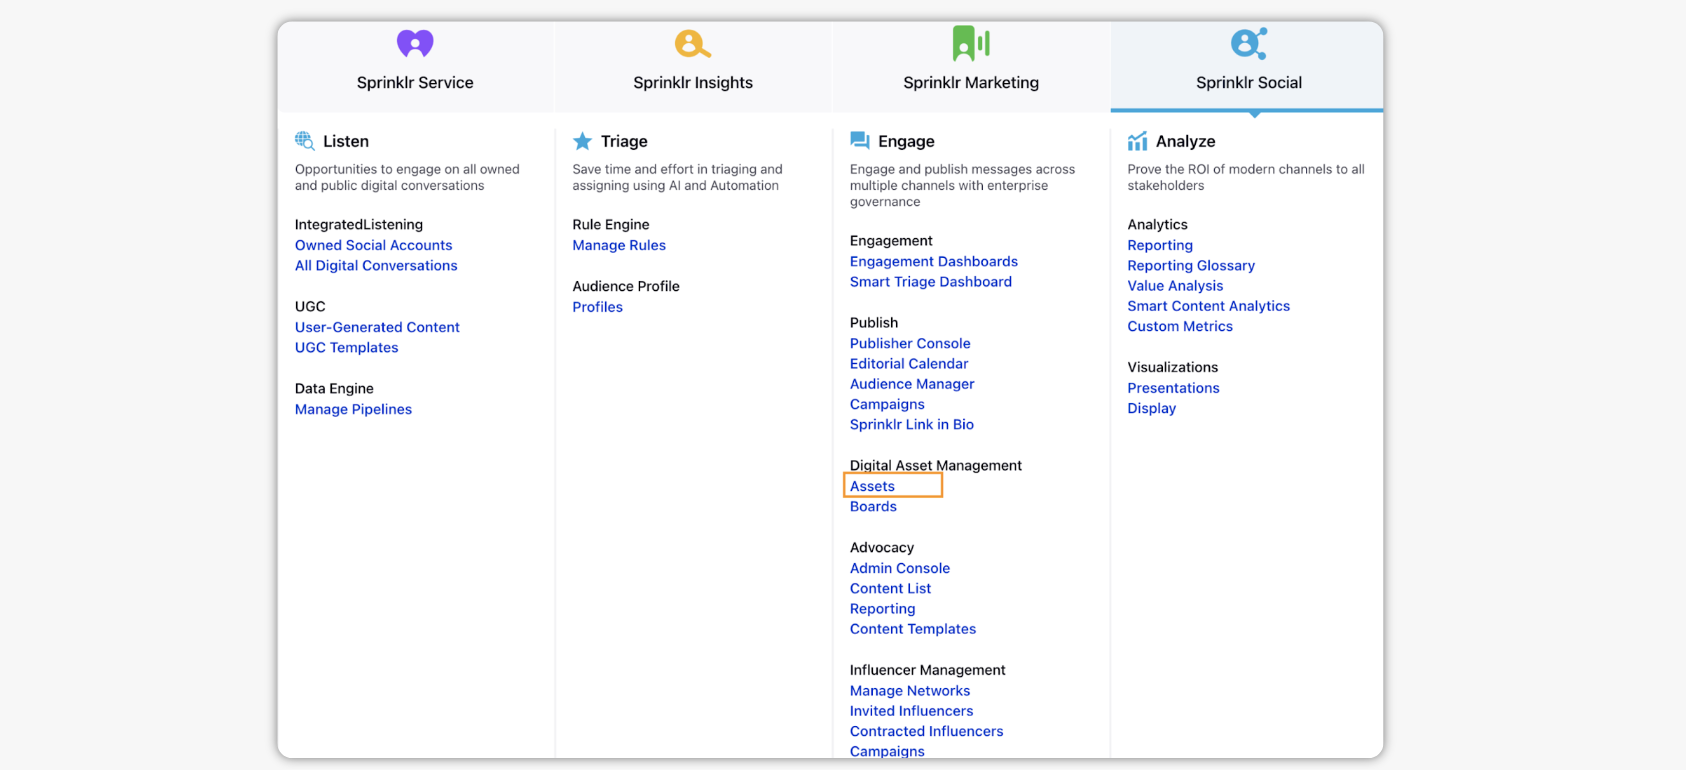
Click the New tab icon
and select Assets under Sprinklr Social.

Hover the Options icon
of a video asset on the Asset Management window and select Edit Image.
Hover over the asset's Options icon
and select Edit Image. This will open the Image Editor.
On the right side you will make your desired changes with a live preview that renders on the left side.
Image Editor - Terms & Descriptions

# | Term | Description | |||||||||
1 | Cropping Tab | Crop your asset by a specific aspect ratio or use the handy Recommended Size for to specify the channel and the channel's respective crop sizes. You may also choose whether the crop orientation is portrait or landscape. | |||||||||
2 | Effects Tab | Tune the asset's look or apply filters. | |||||||||
3 | Overlay Image Tab | Add one or more images from the Asset Manager or UGC to overlay in front of behind the asset you are editing. | |||||||||
4 | Overlay Text Tab | Add one or more text phrases to overlay in front of or behind the asset you are editing. | |||||||||
5 | Overlay Shapes Tab | Add one or more shapes (square, circle, or rectangle) to overlay in front of behind the asset you are editing. | |||||||||
6 | Undo and Redo |
| |||||||||
7 | Overlay Front and Overlay Behind Reset | Overlay
| |||||||||
8 | Cancel and Apply | Cancel Cancel your asset editing session. Apply Apply all changes made to your asset. |