SharePoint and Sprinklr DAM Integration
Updated
You can integrate SharePoint with Sprinklr’s Digital Asset Management (DAM) platform to upload various asset types such as documents, presentations, excel files, images, and videos directly into Sprinklr. You can then use the uploaded assets in your Sprinklr Projects, Tasks, Campaigns, Sub-campaigns, Messages, and Requests.
Integrating SharePoint with Sprinklr’s DAM system offers a powerful solution for content marketers and social media managers. By connecting these two platforms, you can streamline your content workflows, improve collaboration, and ensure that your digital assets are organized, accessible, and securely stored within a unified system.
This article covers the following sections:
Key Benefits
The key benefits of SharePoint and Sprinklr DAM integration are:
Asset Management
SharePoint can act as a central repository for media assets, such as images, videos, and documents, that users can easily access and manage within Sprinklr. You can use the integration to perform the following tasks:
Import Multiple Files: Select and import multiple files simultaneously from SharePoint, simplifying bulk uploads.
Import Folders: Upload entire folders from SharePoint and import all contained assets into Digital Asset Management.
Asset Duplication Handling: If an asset being added already exists in Sprinklr, a new asset will be created rather than updating the existing one. This ensures version control and preserves original content.
Visibility Management: Once an asset is added, it will be visible to all users by default. However, users can update visibility settings as needed.
Cross-Product Access: The SharePoint integration is accessible across all Sprinklr products where the Media Uploader is present, ensuring a consistent and streamlined user experience.
Enhanced Marketing
The integration enhances Sprinklr’s marketing capabilities by providing the following functionalities:
Content Marketing Integration: The integration supports uploading media from SharePoint to various content marketing elements, including Campaigns, Sub-Campaigns, Outbound Messages, and Requests from the Attachments Tab.
Project Management Integration: SharePoint assets can be added to Tasks and Projects, ensuring all relevant media is accessible within Sprinklr’s Project Management tools.
Integration Steps
The integration involves the following high-level steps:
Prerequisites
Before you begin the integration, ensure the following prerequisites are in place:
An active SharePoint account: Ensure you have a valid SharePoint account with appropriate access to SharePoint.
An active Sprinklr account: Verify that you have a valid Sprinklr account with the necessary user permissions to access SharePoint through the Media Uploader module.
To check your permissions, navigate to your user profile and select the Permissions tab. In the MEDIA ASSET section, ensure that the Microsoft Sharepoint permission is listed.

Note:
The integration between SharePoint and Sprinklr’s Digital Asset Management (DAM) system is now based on roles and permissions. Once the Microsoft SharePoint permission is assigned to your account, you’ll gain access to this integration.
Previously, the SharePoint and DAM integration was managed through a dynamic property (SHAREPOINT_ATTACHMENTS_ENABLED). However, this dynamic property-based integration is being deprecated in the Sprinklr 20.2 release.
If you're currently using the DP-based SharePoint integration:
Contact your Success Manager to enable the platform-level SharePoint integration in your environment. Alternatively, you can submit a request at tickets@sprinklr.com.
For your organization, create a role specifically for this integration and assign users to that role. This will grant access to the integration for other users in your organization.
Steps
You can initiate the integration from the following screens:
Integration from Digital Asset Management
Follow these steps to integrate SharePoint with Sprinklr’s Digital Asset Management (DAM) system:
Step 1: Access the Sprinklr DAM System
To access the Sprinklr DAM system:
1. In Sprinklr, click New Page (+) or open the Launchpad (![]() ).
).
2. In the Launchpad, search for Digital Asset Management and click to open it.

Step 2: Open the Media Uploader
To open the Media Uploader:
1. On the Digital Asset Management screen, click Create Asset.
2. Select the type of asset you want to create. For example, Photo.
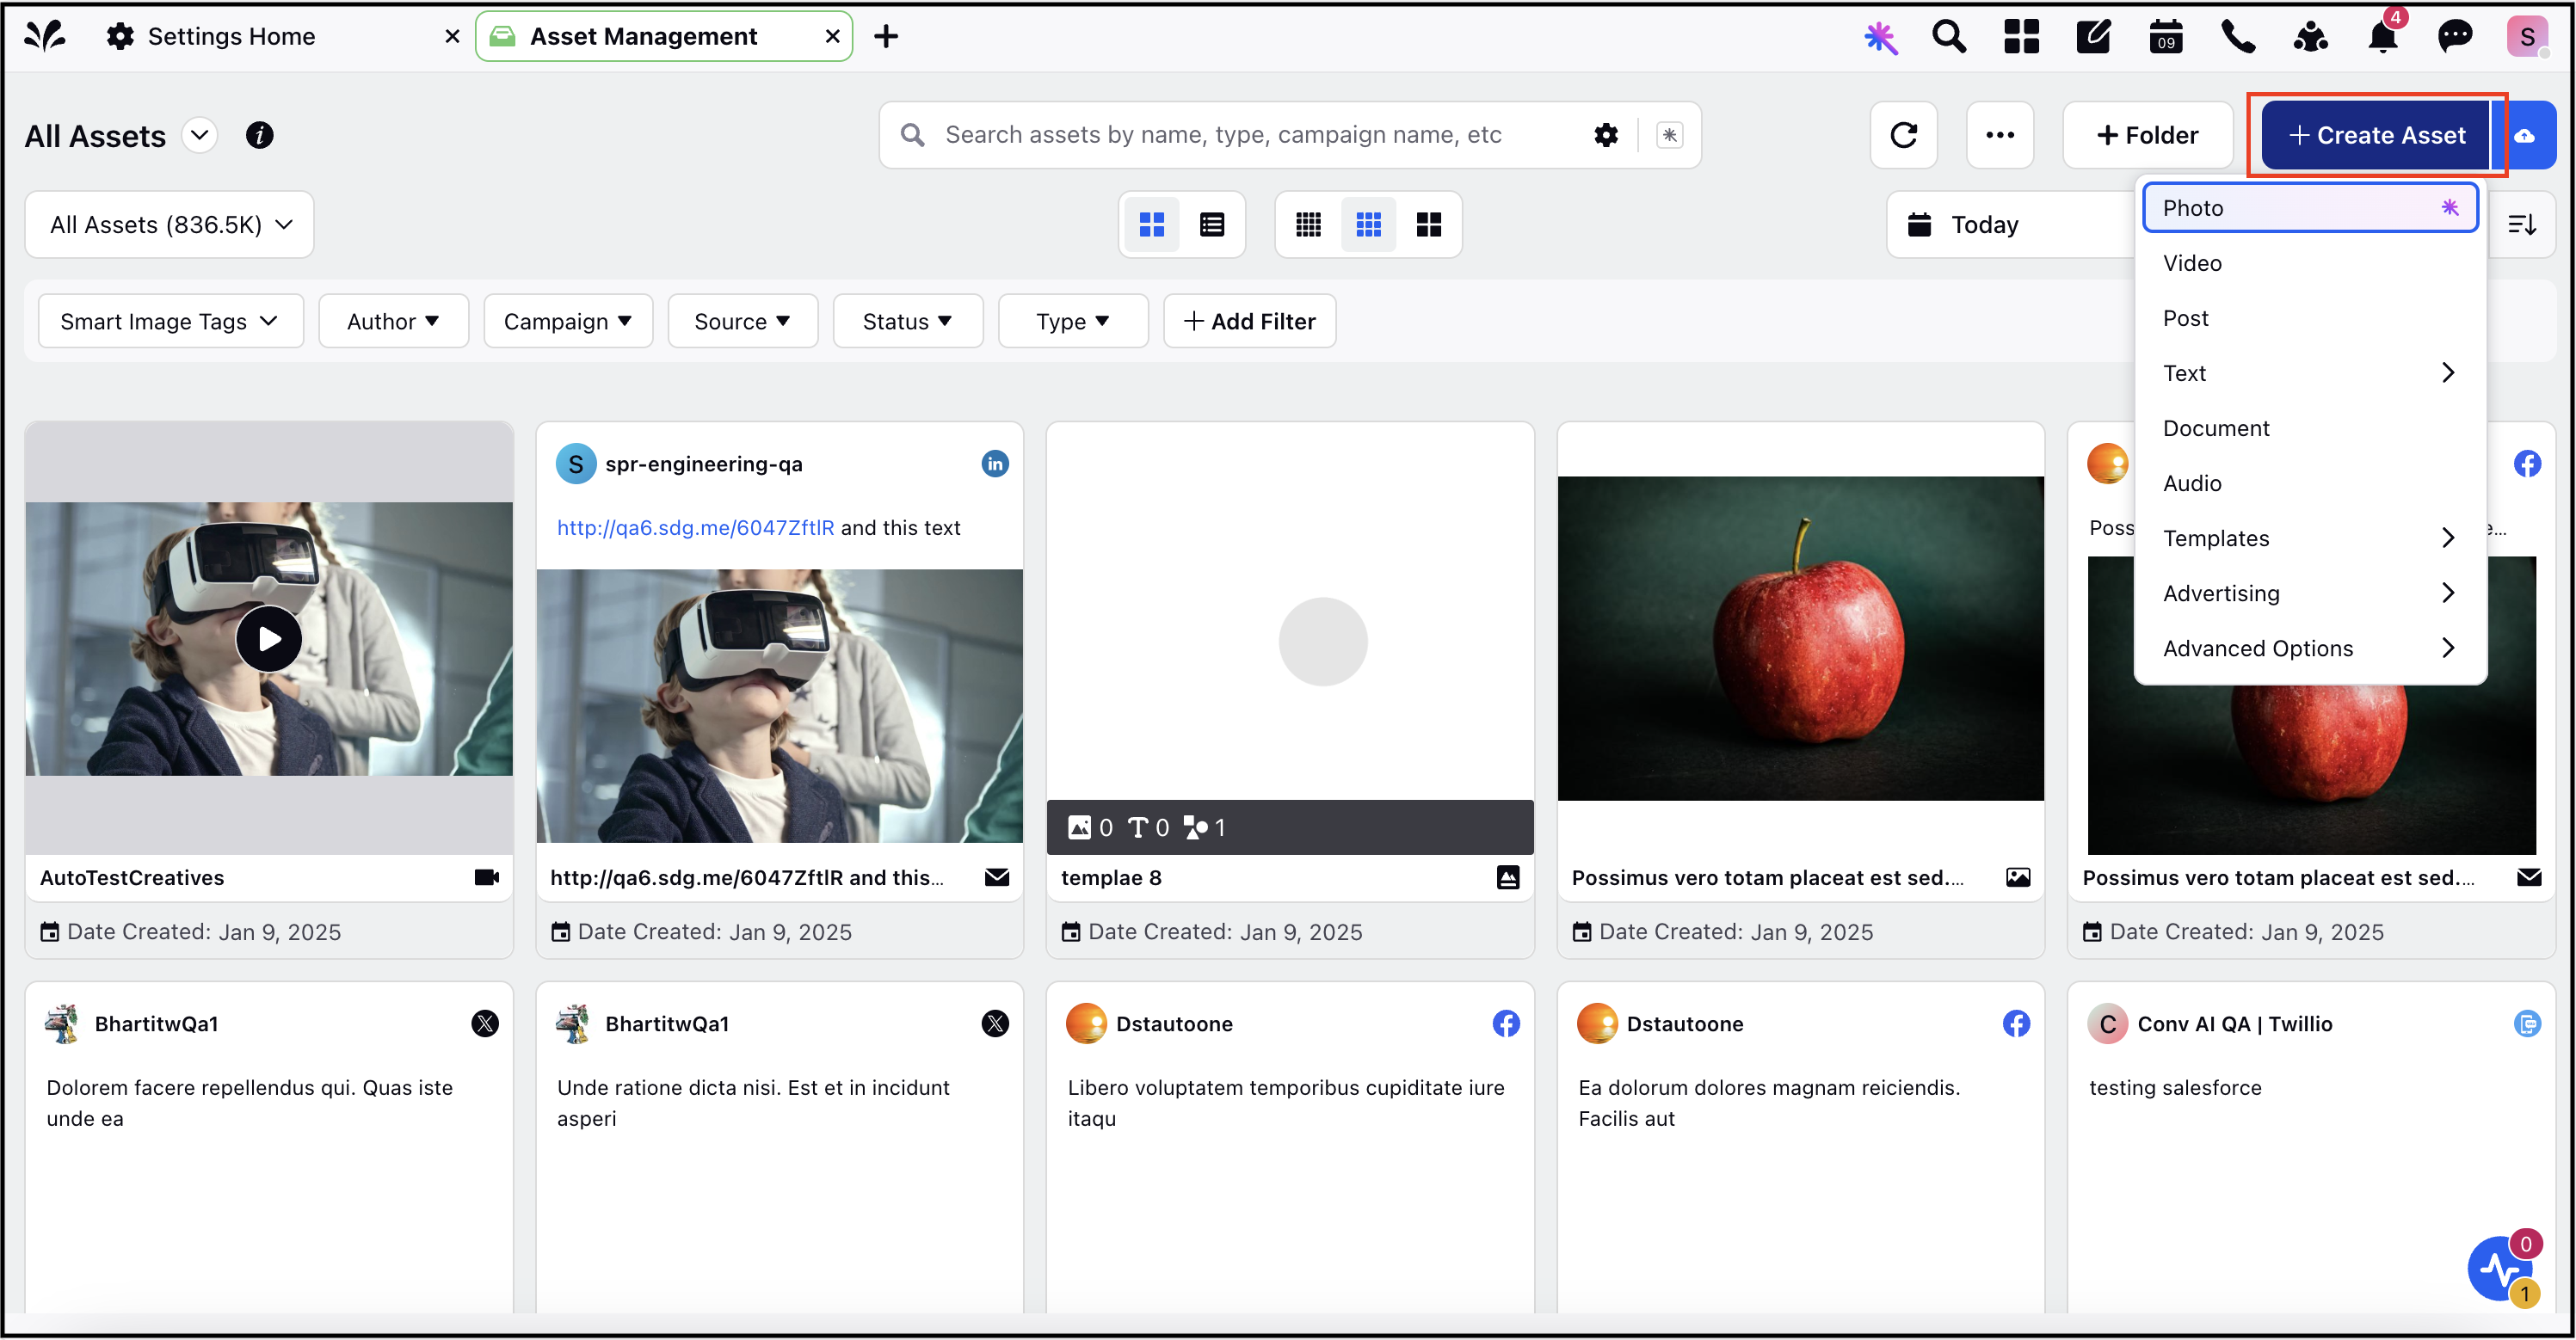
Once you select the asset type, the Media Uploader window will open. Media Uploader allows you to upload assets from various sources, including SharePoint.
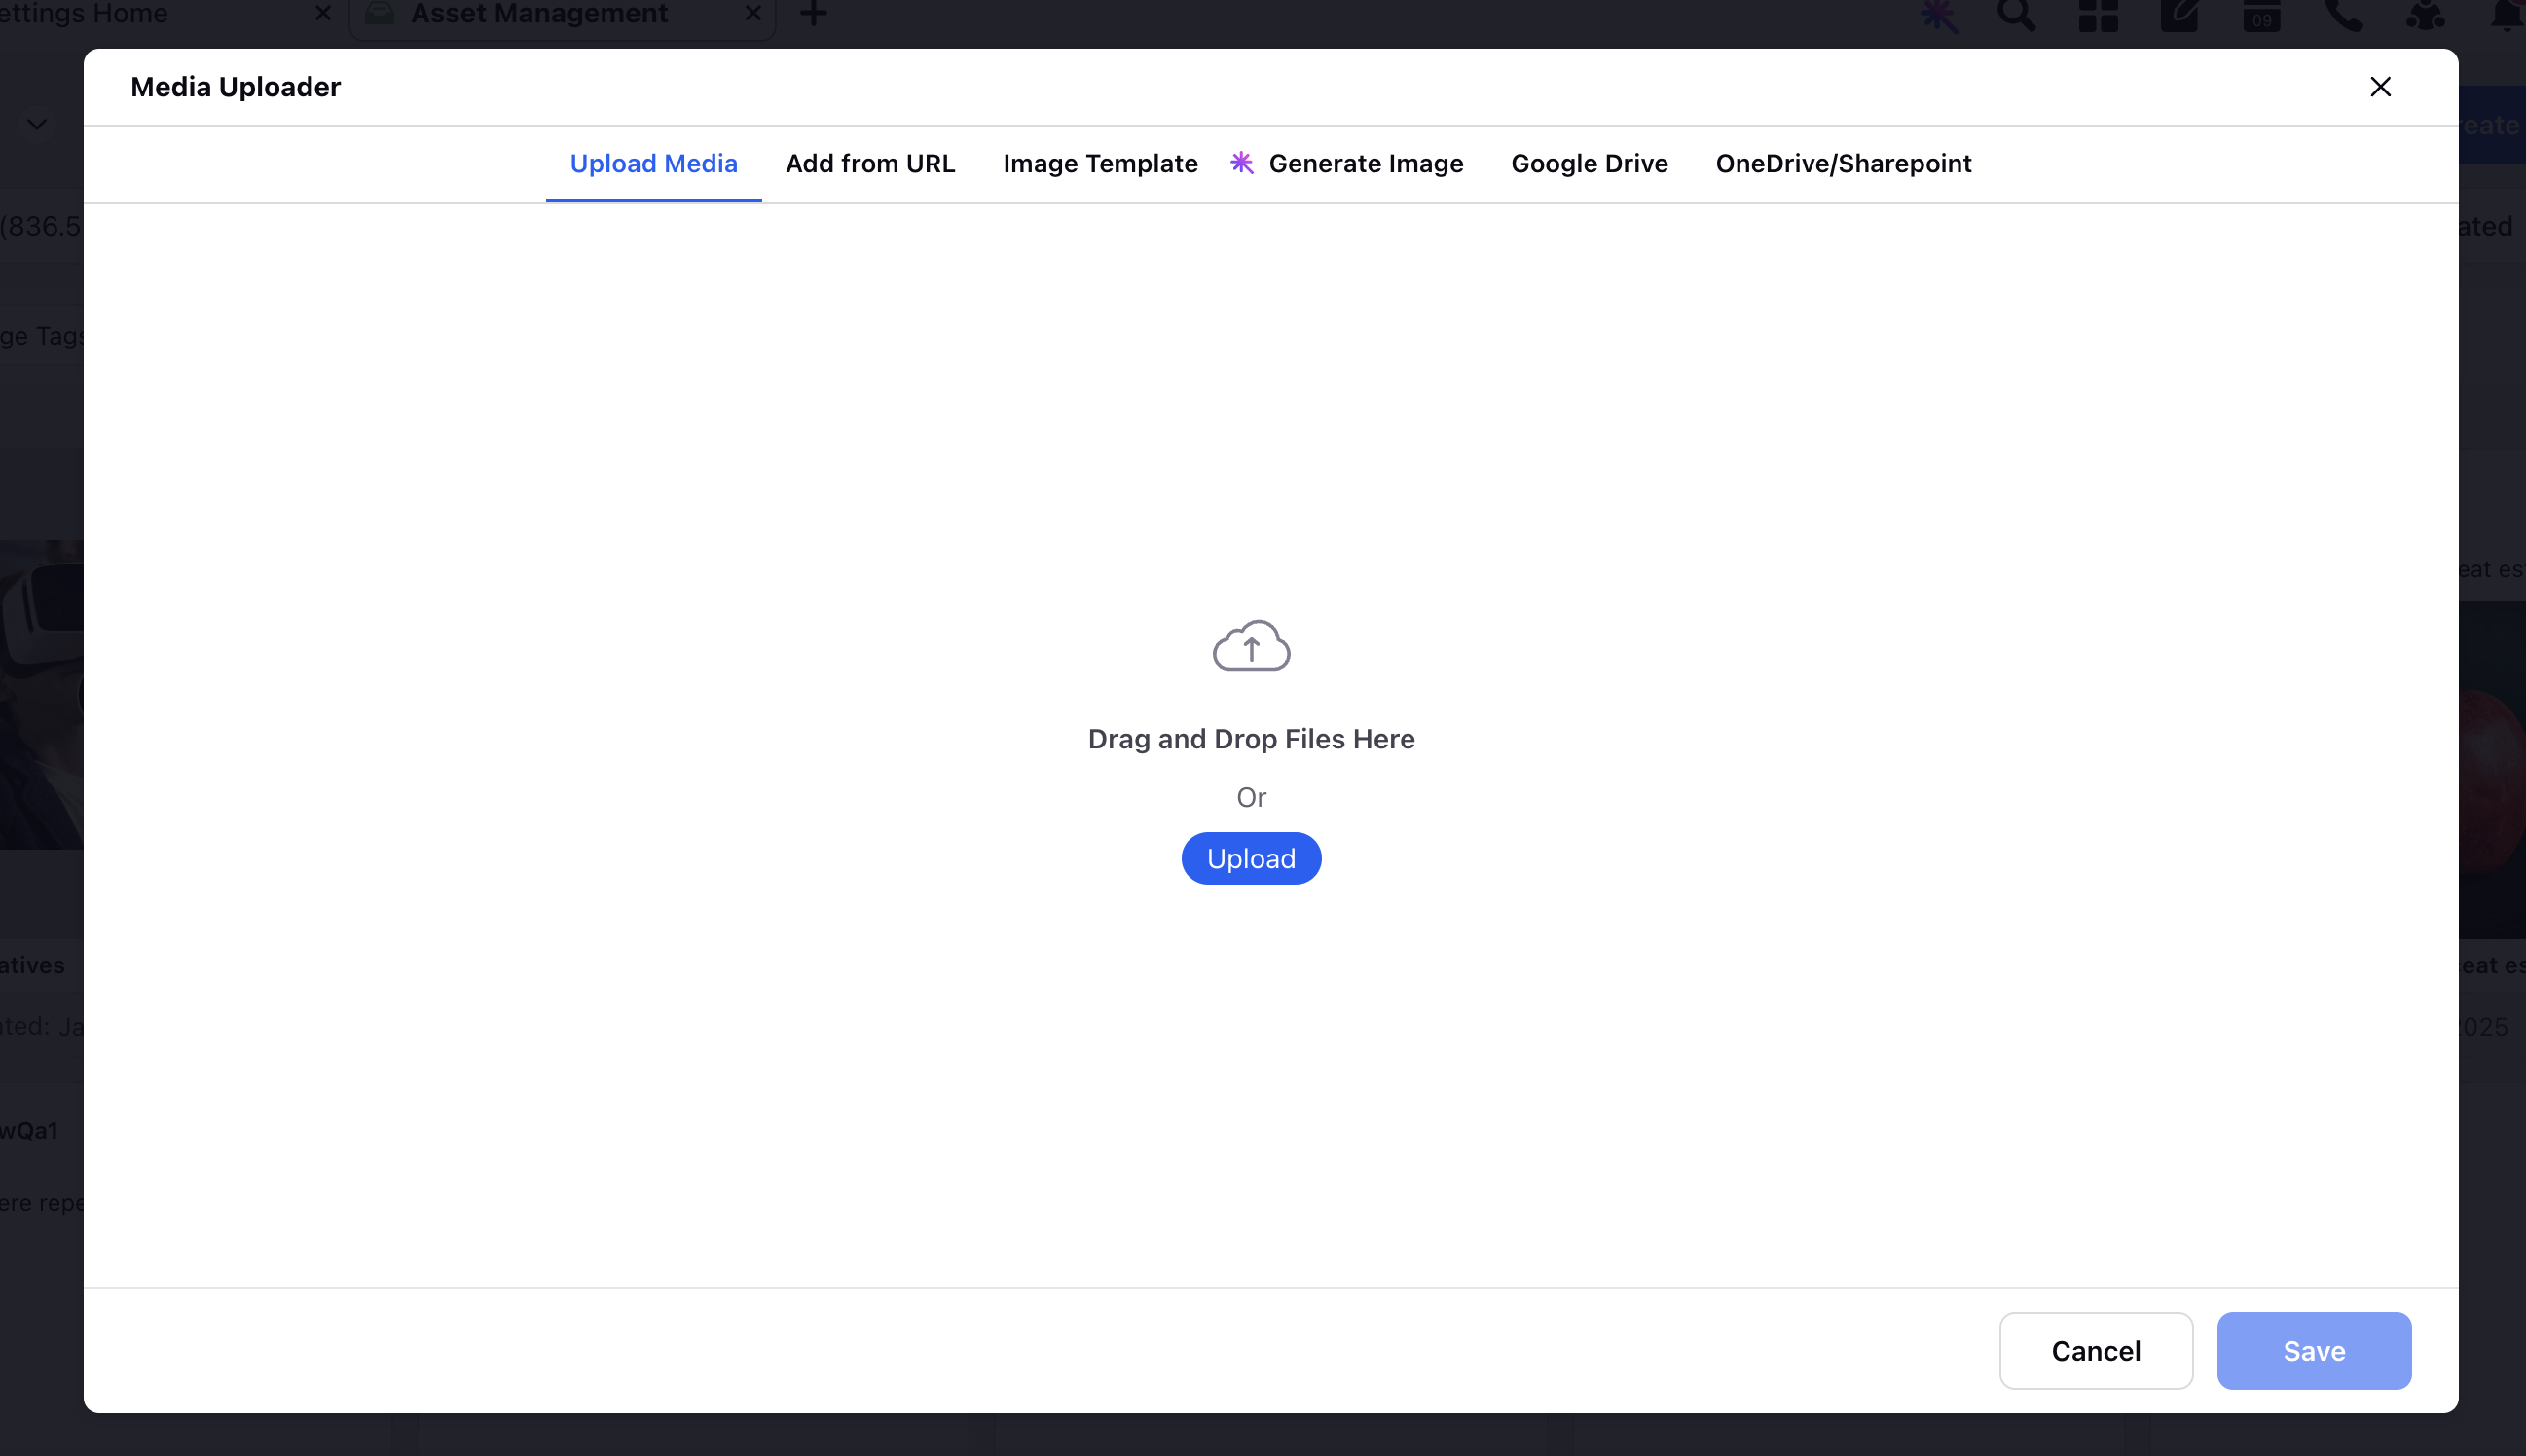
3. In Media Uploader, go to the OneDrive/SharePoint tab.
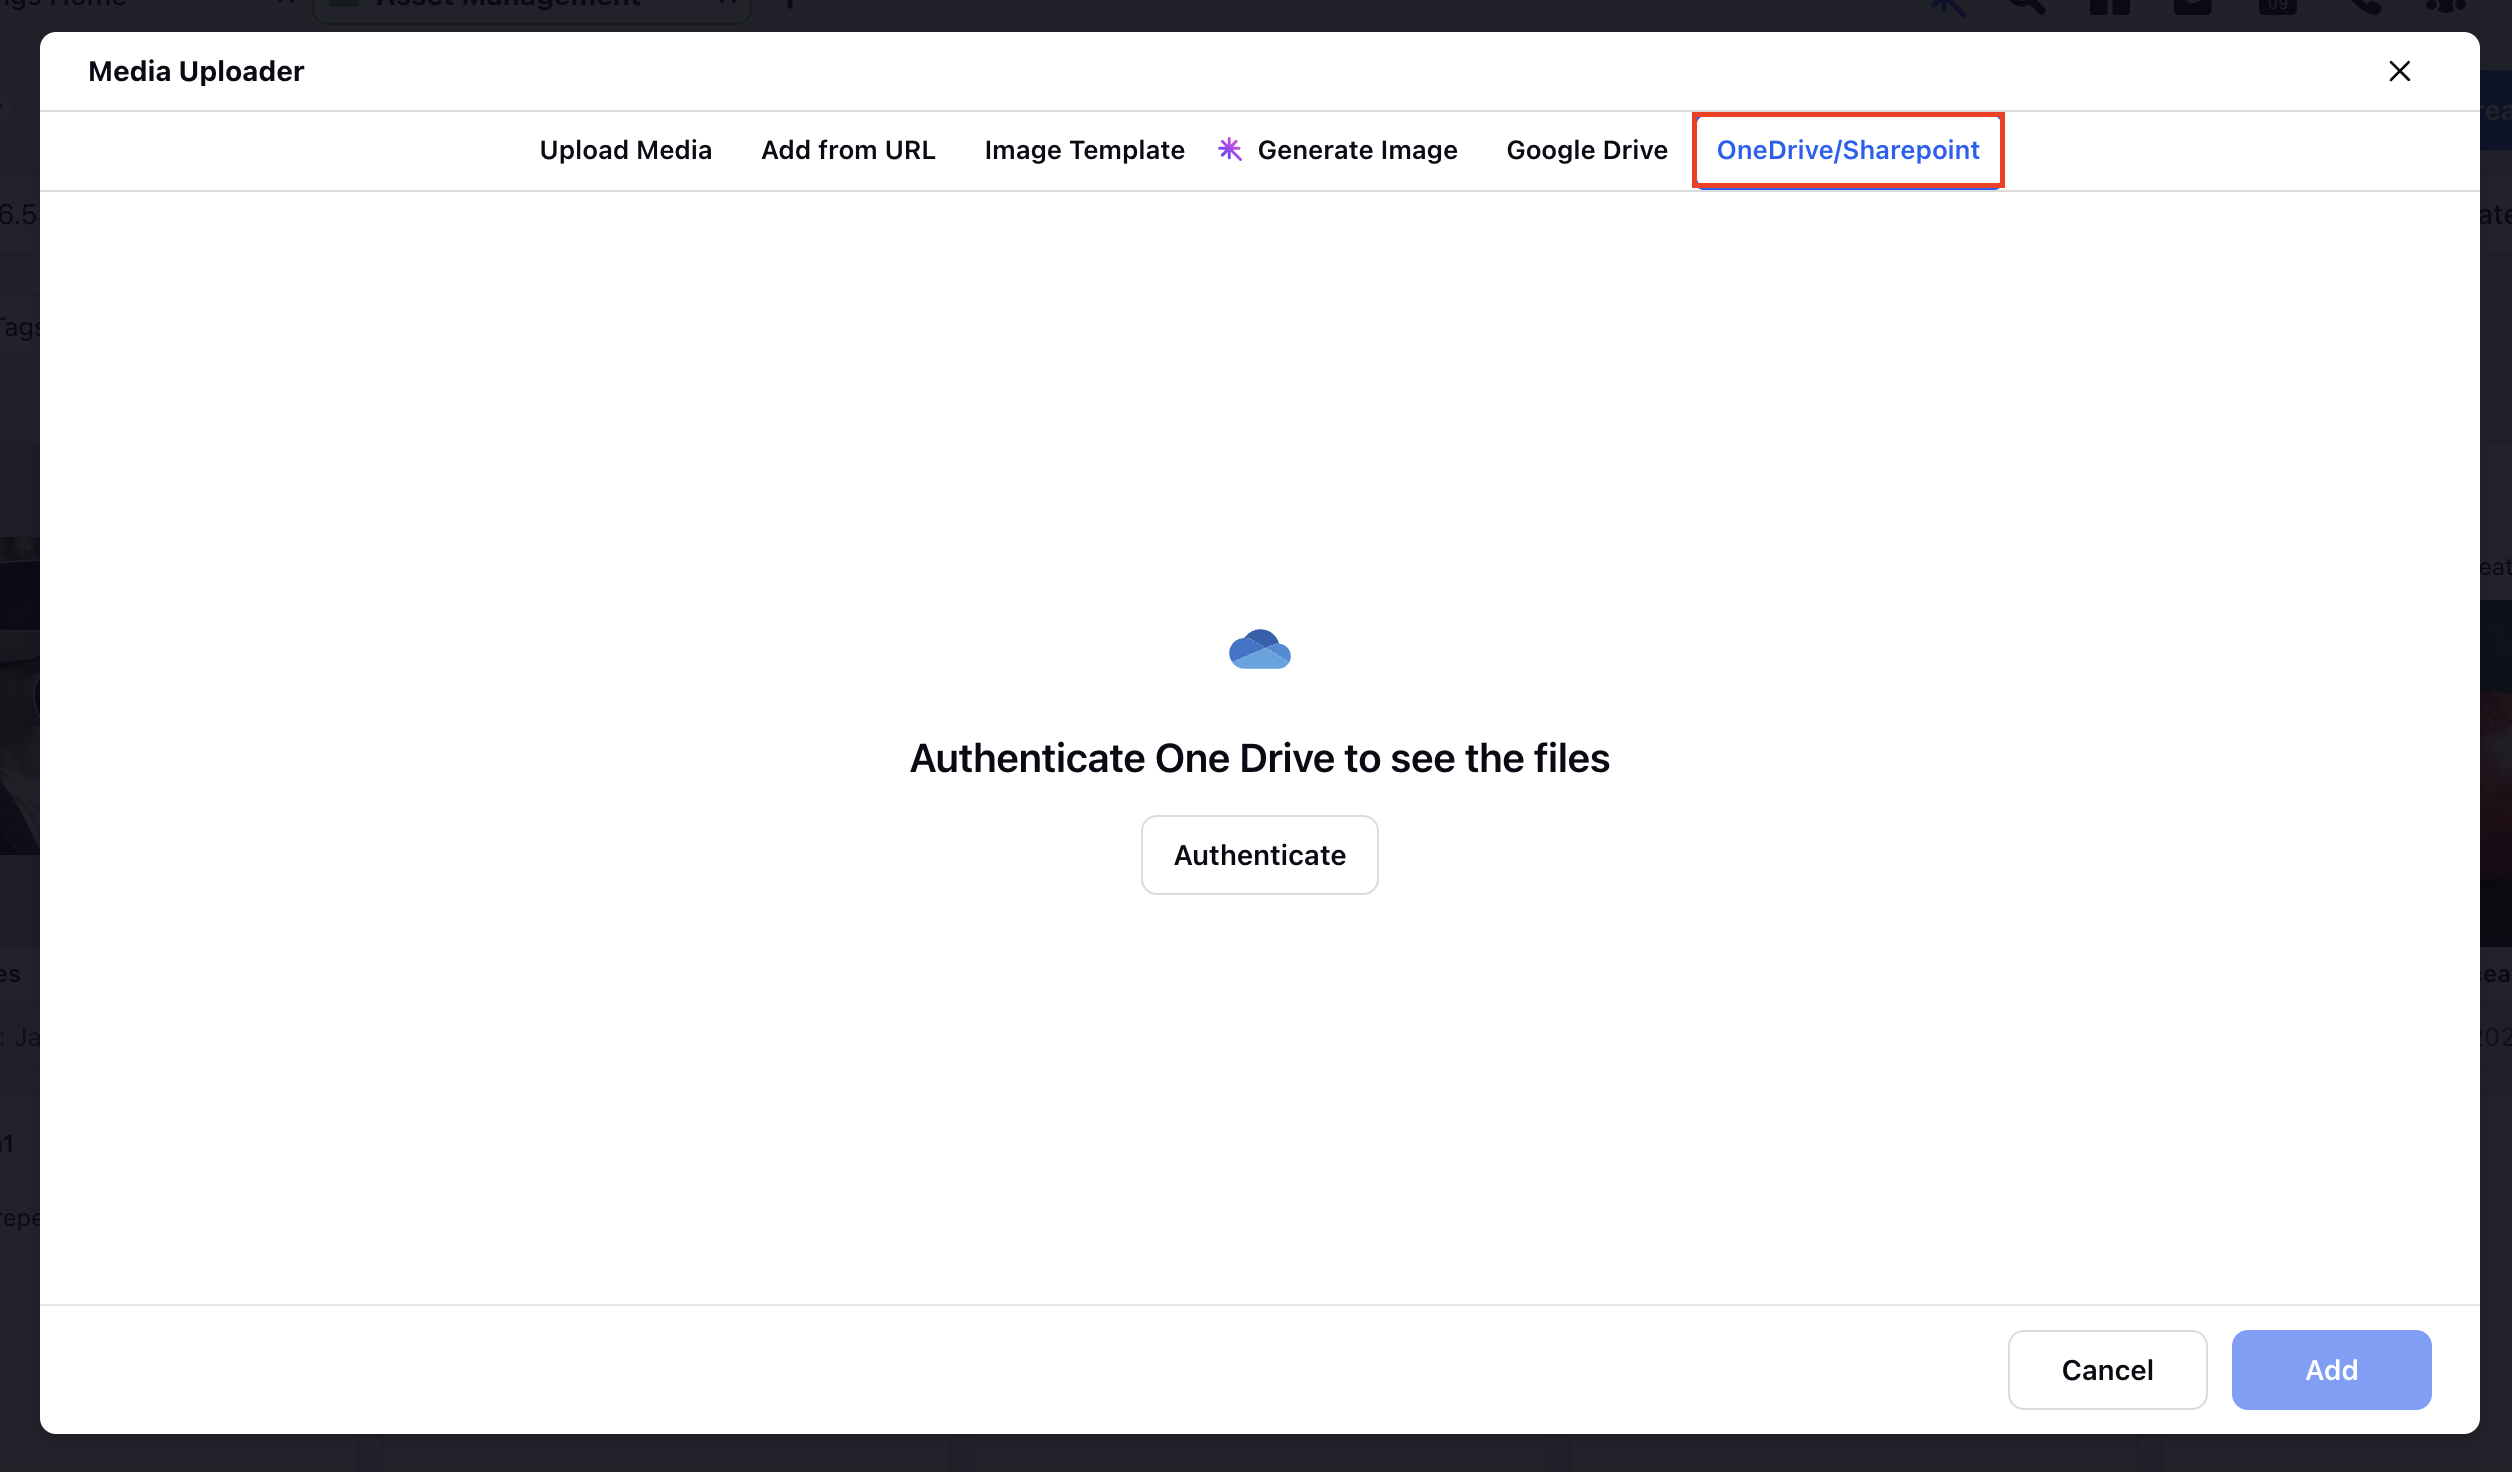
Step 3: Authenticate with SharePoint
To authenticate with SharePoint:
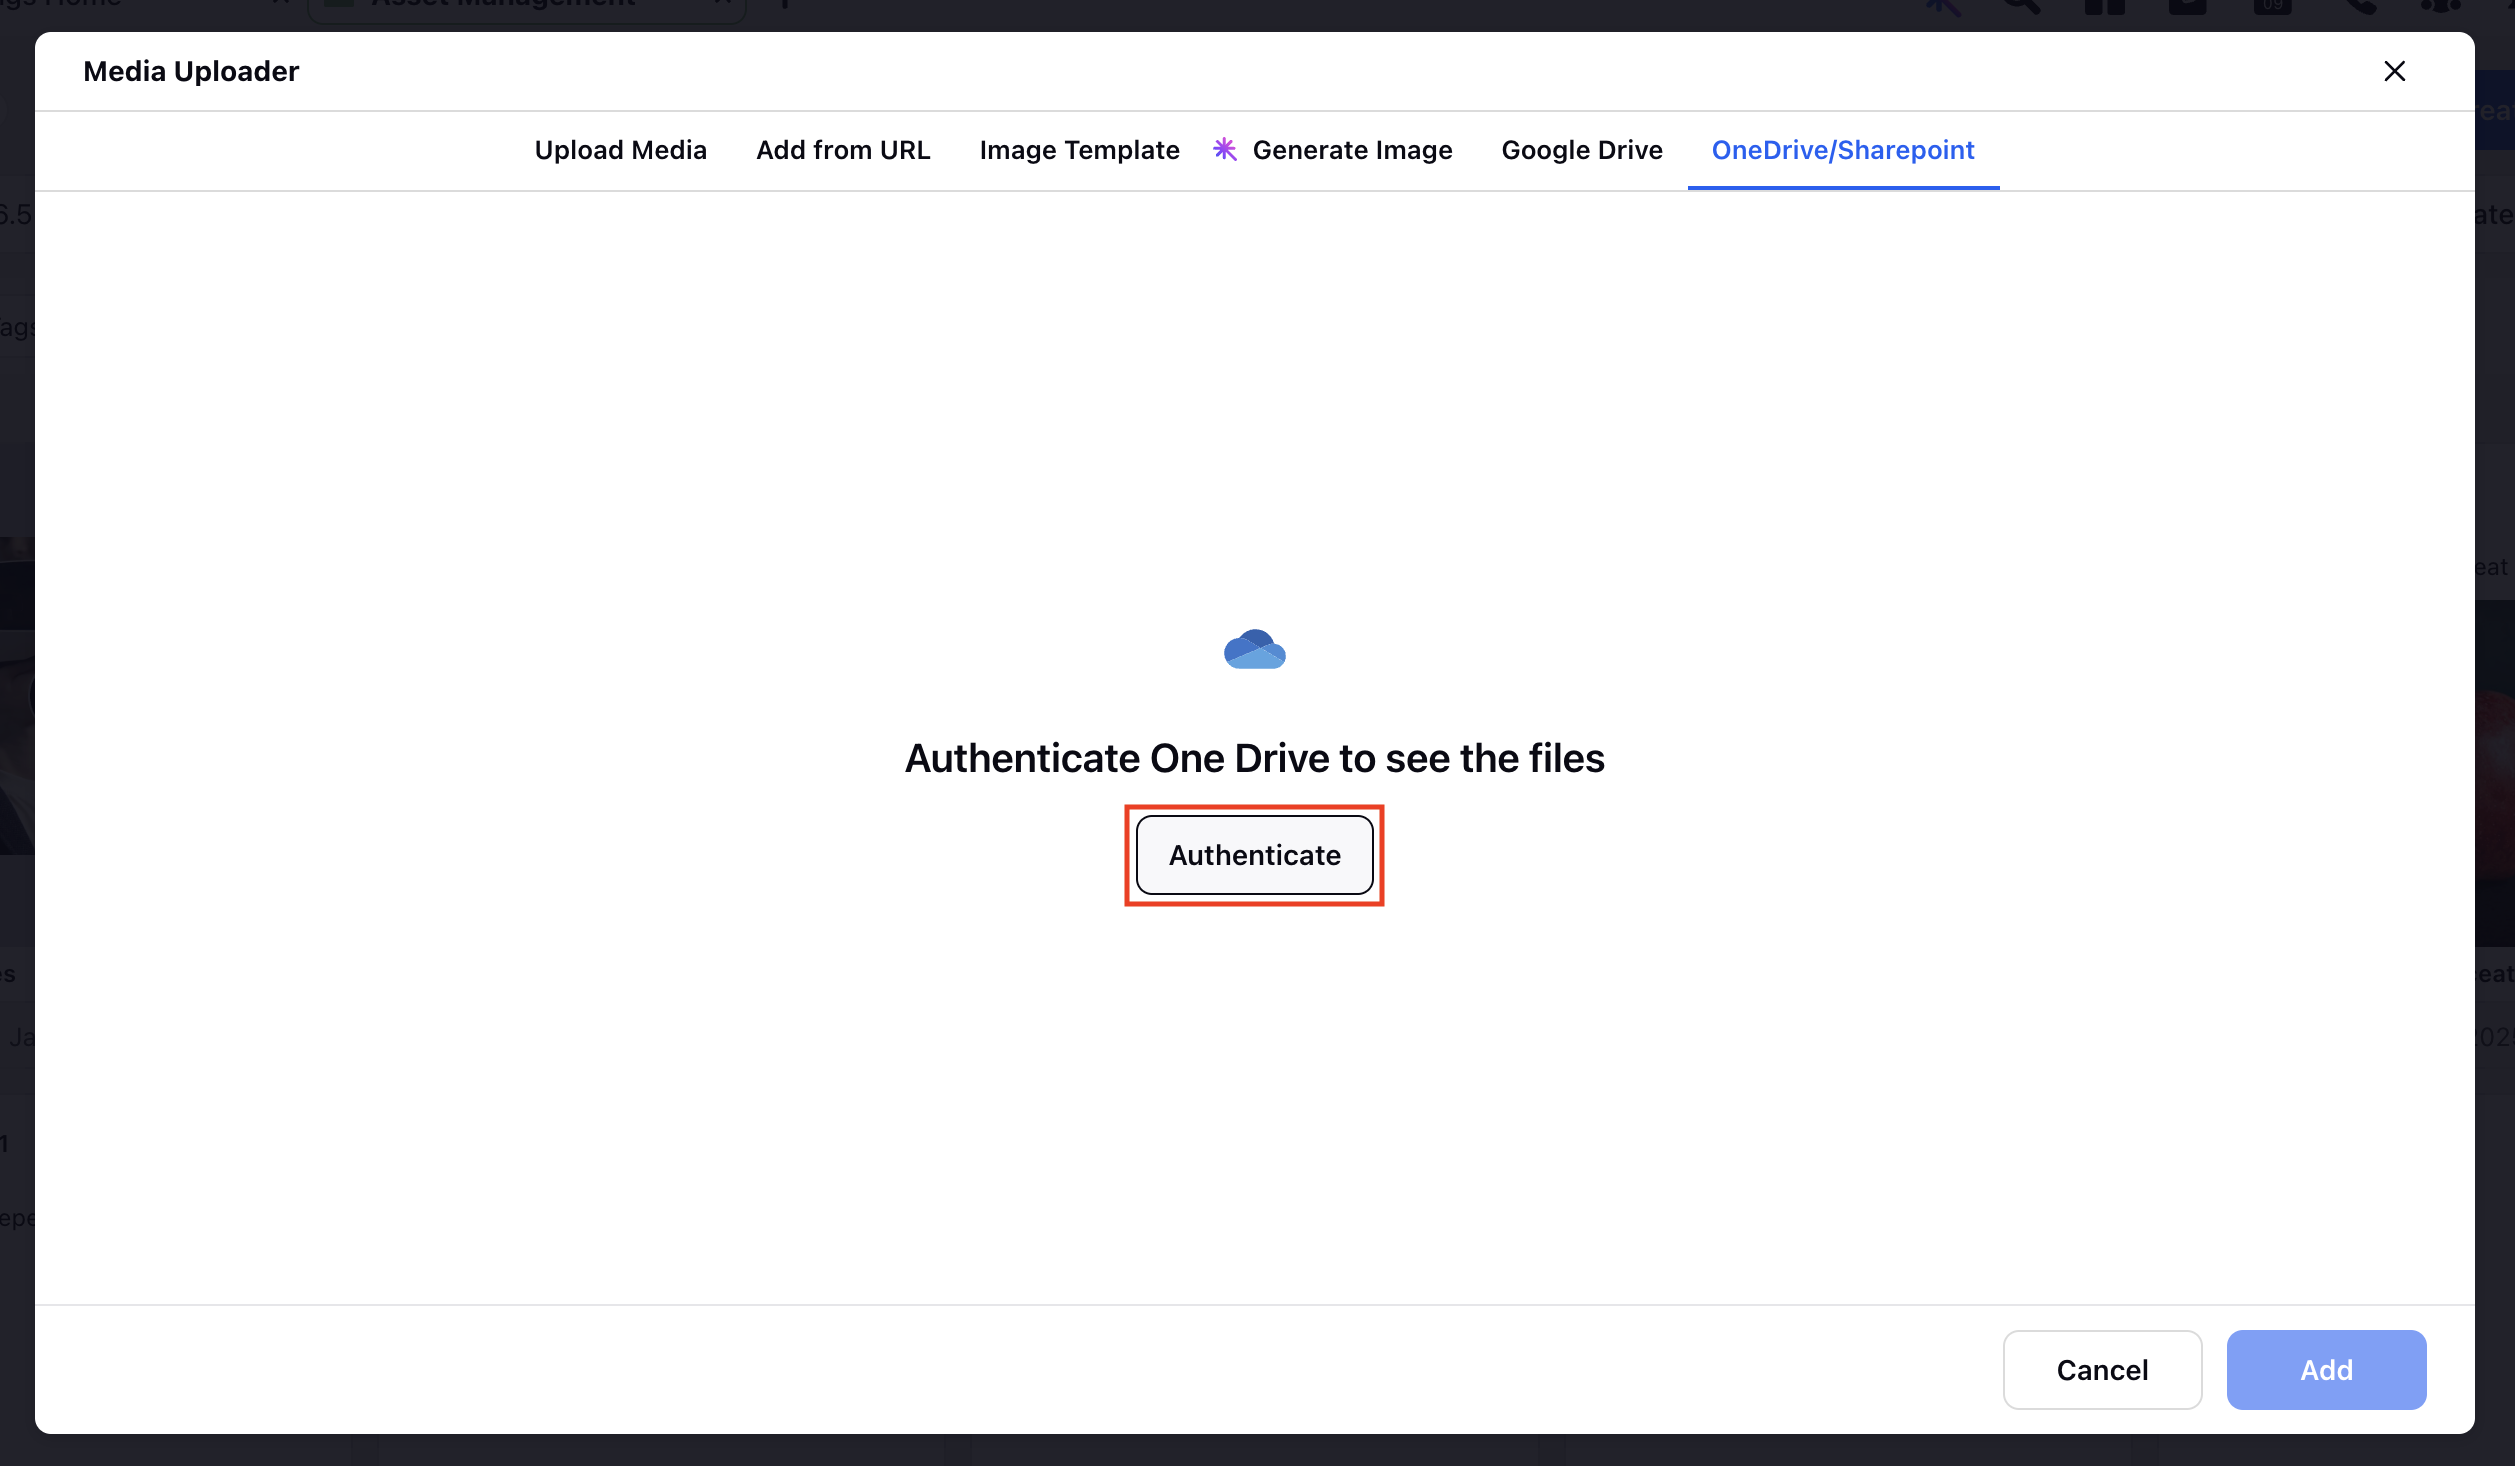
1. Click Authenticate to initiate the authentication process. The SharePoint authentication screen will open.
2. Enter your SharePoint credentials and proceed.
Note: Depending on your organization's authentication policies, you might need approval from your IT team before proceeding with authentication.
Switch to another SharePoint account: If you need to switch to a different SharePoint account, click Sign Out in the OneDrive/SharePoint tab. You can then log in with the desired SharePoint account.
Once authenticated, you are ready to upload SharePoint assets to Sprinklr. For steps, see:
Integrate from Social Avatar
To integrate Sharepoint from the Social Avatar, follow these steps:
1. Click the user icon at the top-right corner to open your profile.
2. On the user profile page, go to the Social Avatar tab.
3. Click Add Social Avatar.
This will start the authentication process for SharePoint.
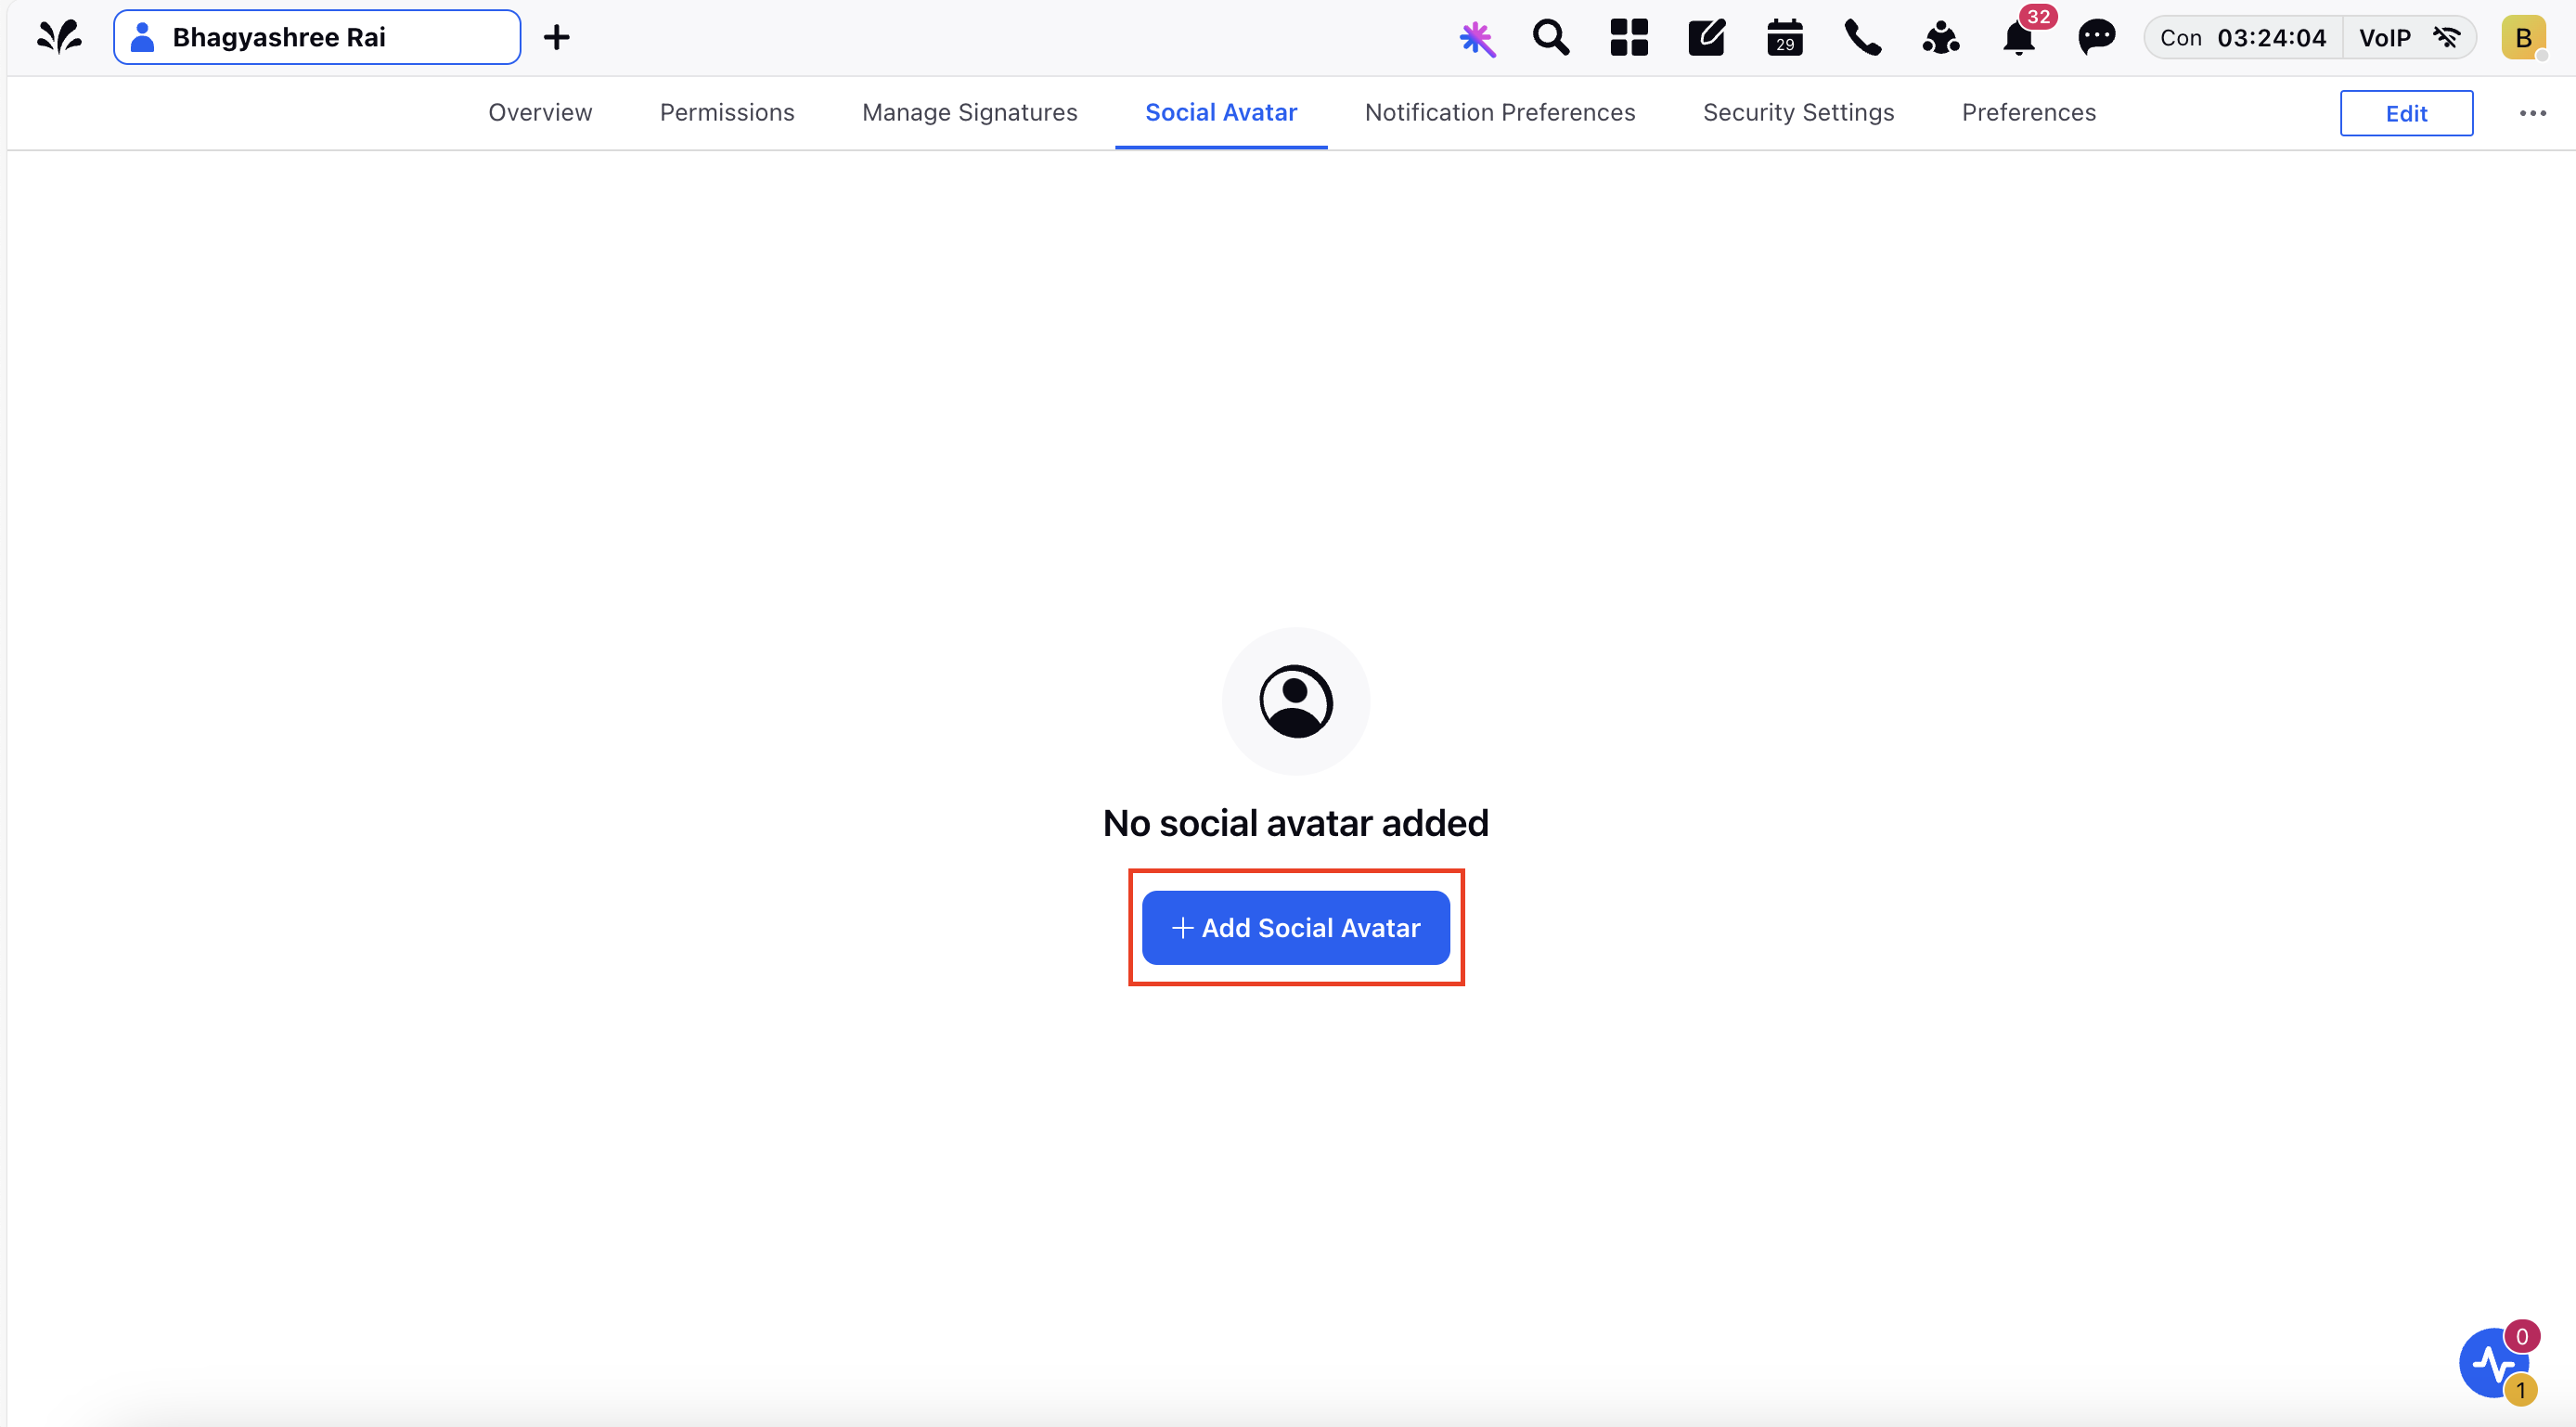
4. Enter your SharePoint credentials and proceed.
Note: Depending on your organization's authentication policies, you might need approval from your IT team before proceeding with authentication.
Once authenticated, you are ready to upload SharePoint assets to Sprinklr. For steps, see:
Uploading a SharePoint Asset to Sprinklr DAM
Follow these steps to upload a SharePoint asset to Sprinklr:
1. In Sprinklr, click New Page (+) or open the Launchpad (![]() ).
).
2. In the Launchpad, search for Digital Asset Management and click to open it.

3. On the Digital Asset Management screen, click Create Asset.

4. Select the type of asset you want to create. For example, Photo.
5. In the OneDrive/SharePoint tab of the Media Uploader, click Add.
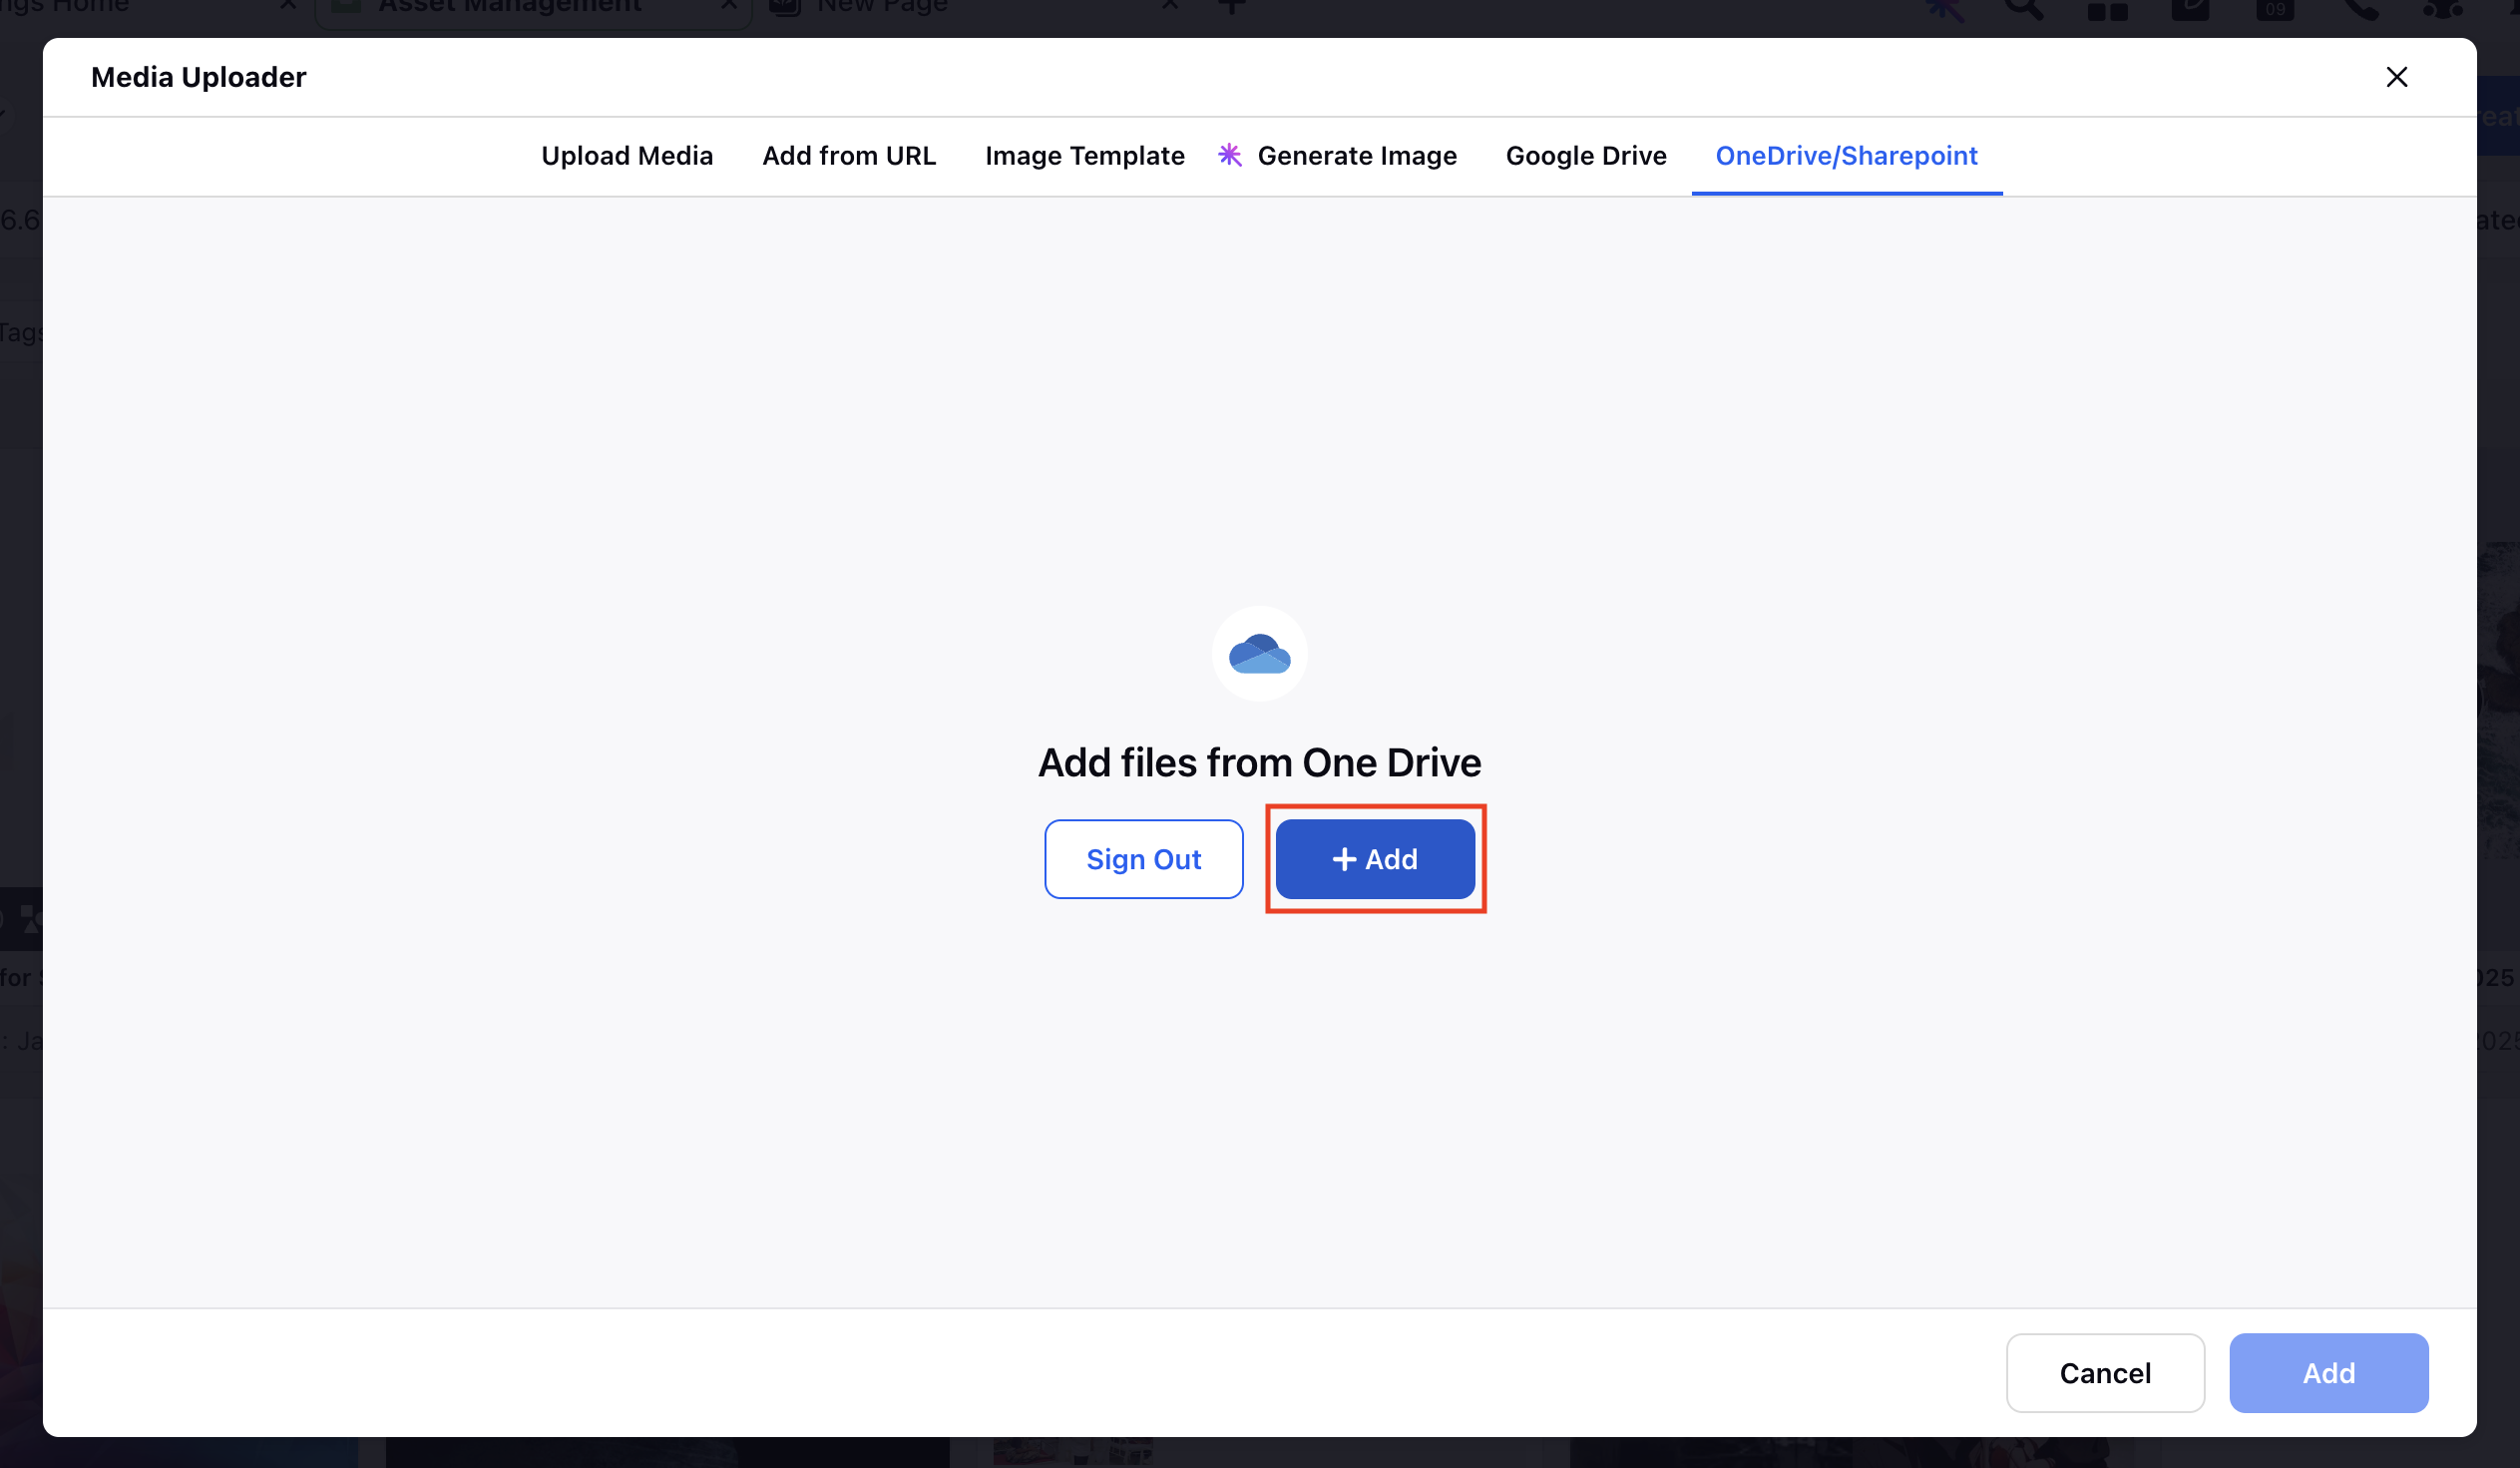
The SharePoint window will open.
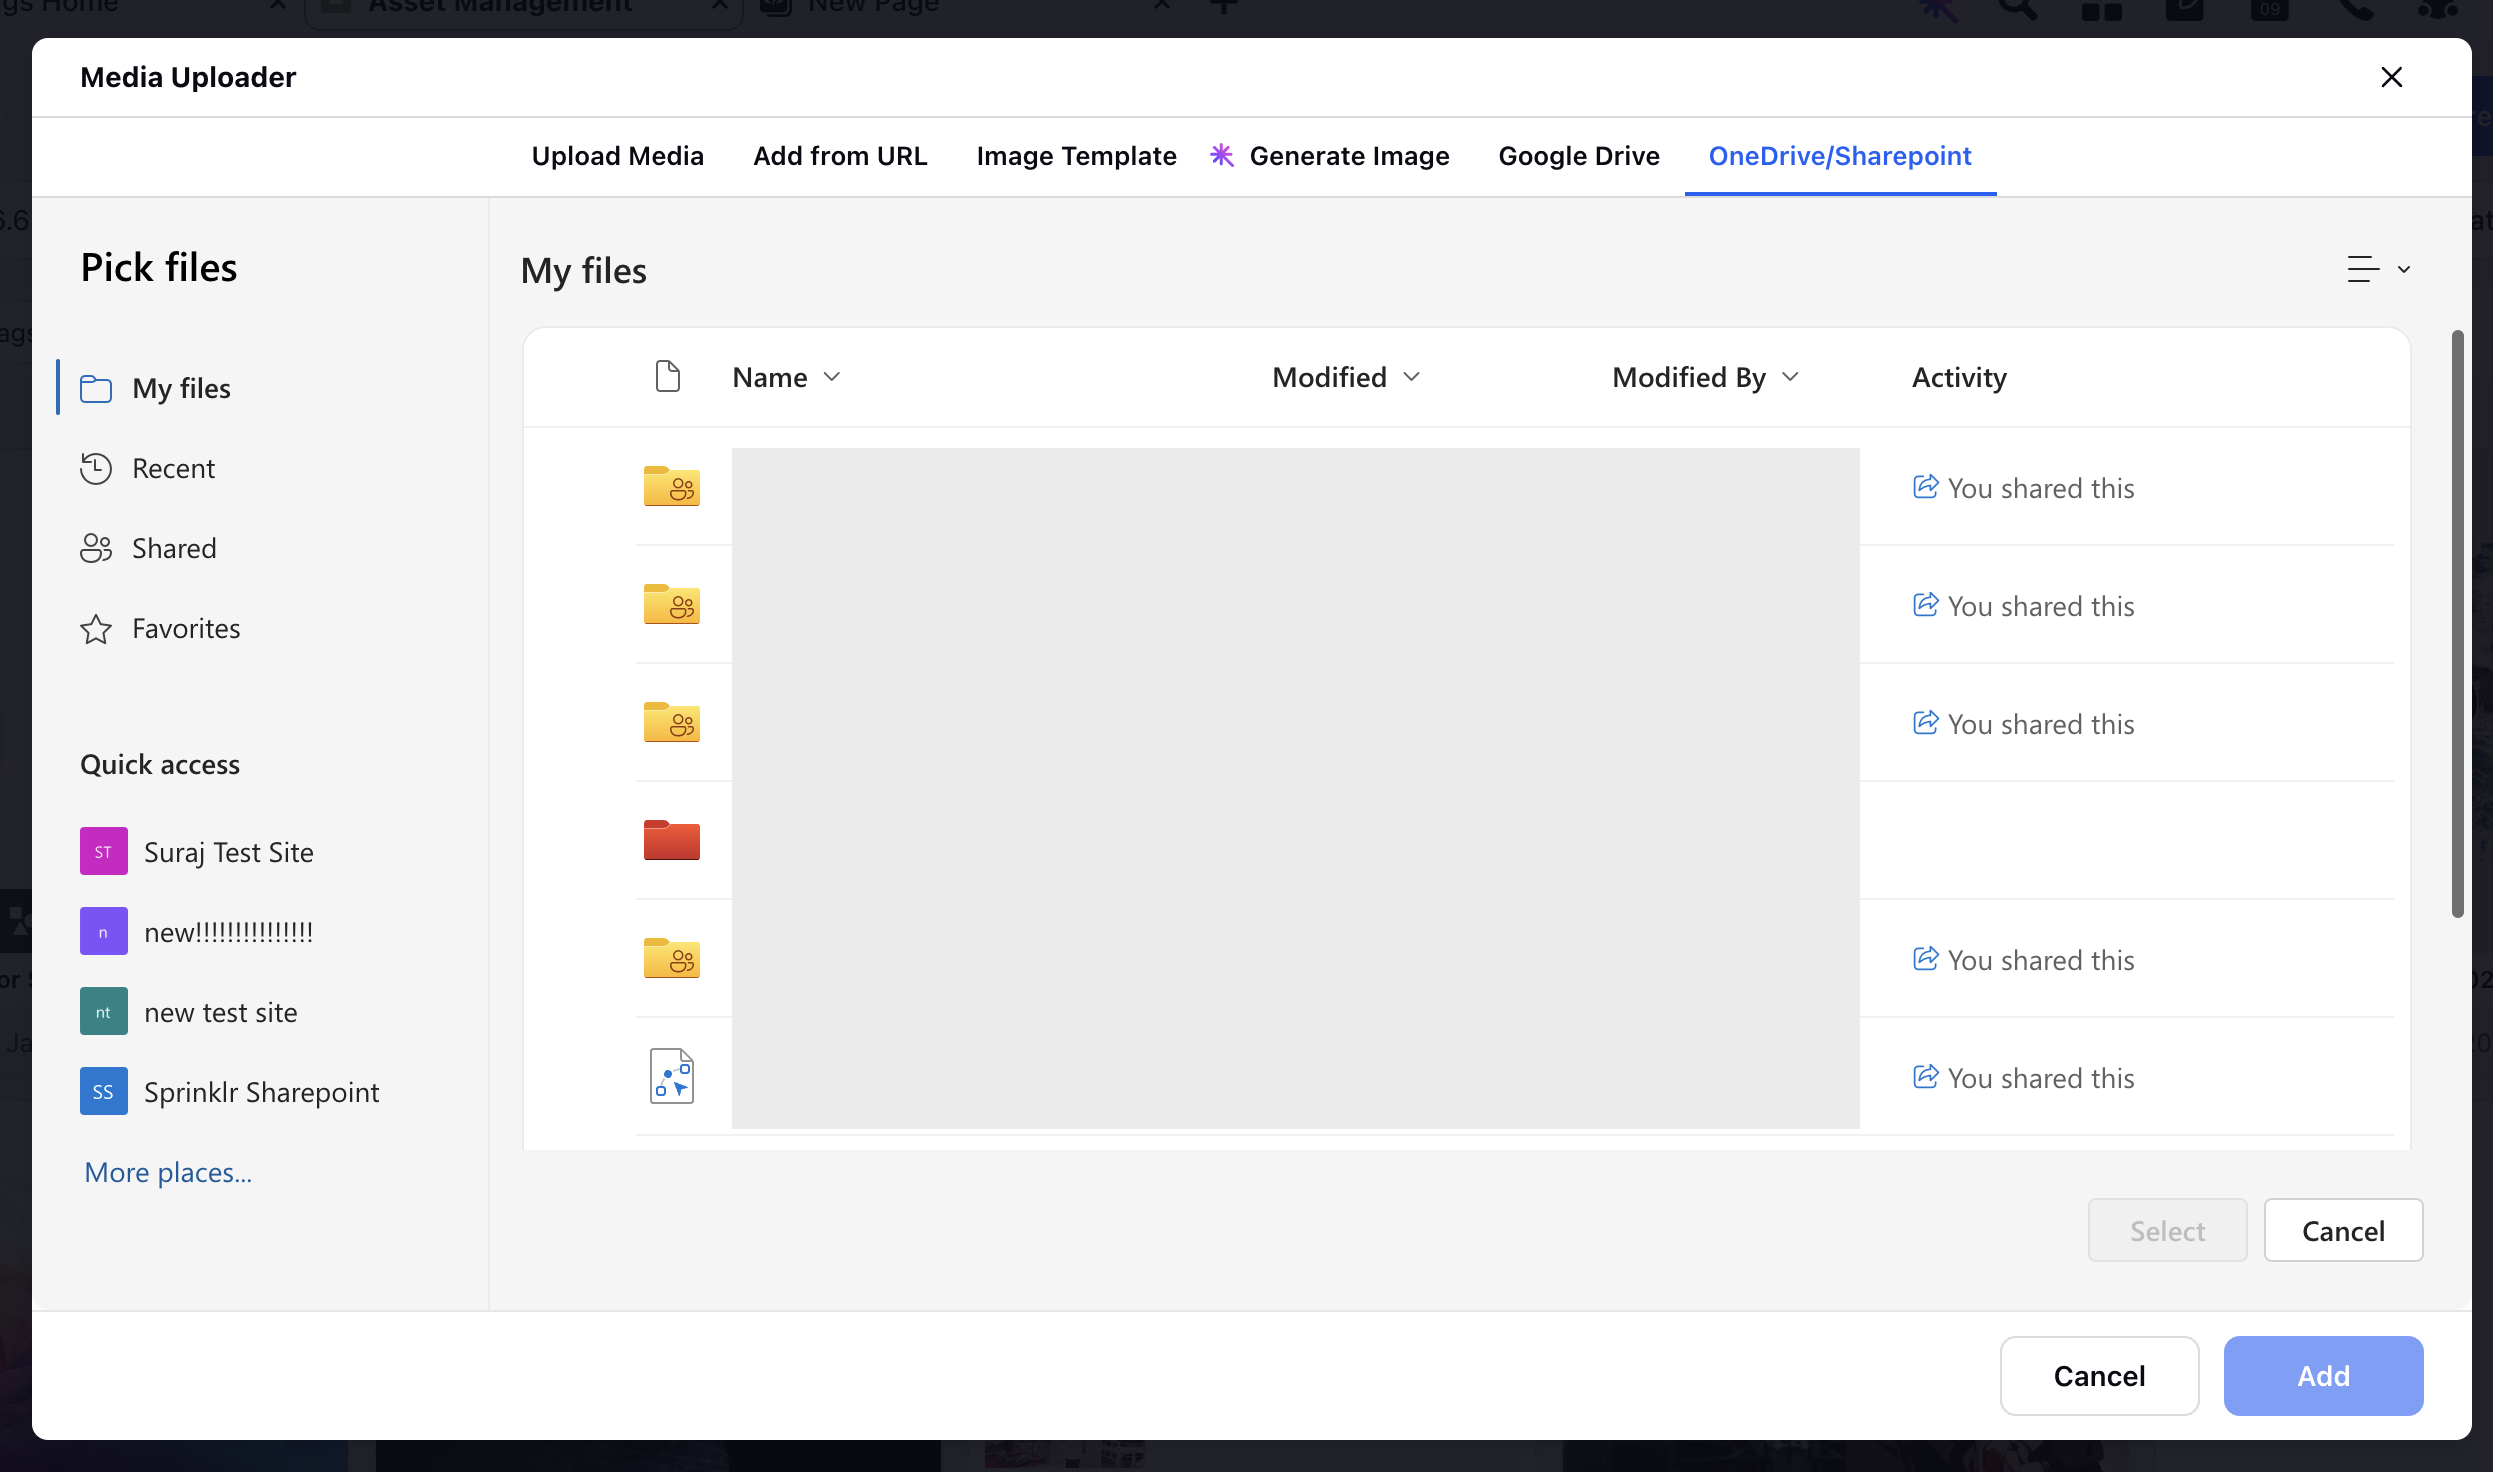
2. Navigate to the asset you want to upload. Click on the desired asset, then click Select.
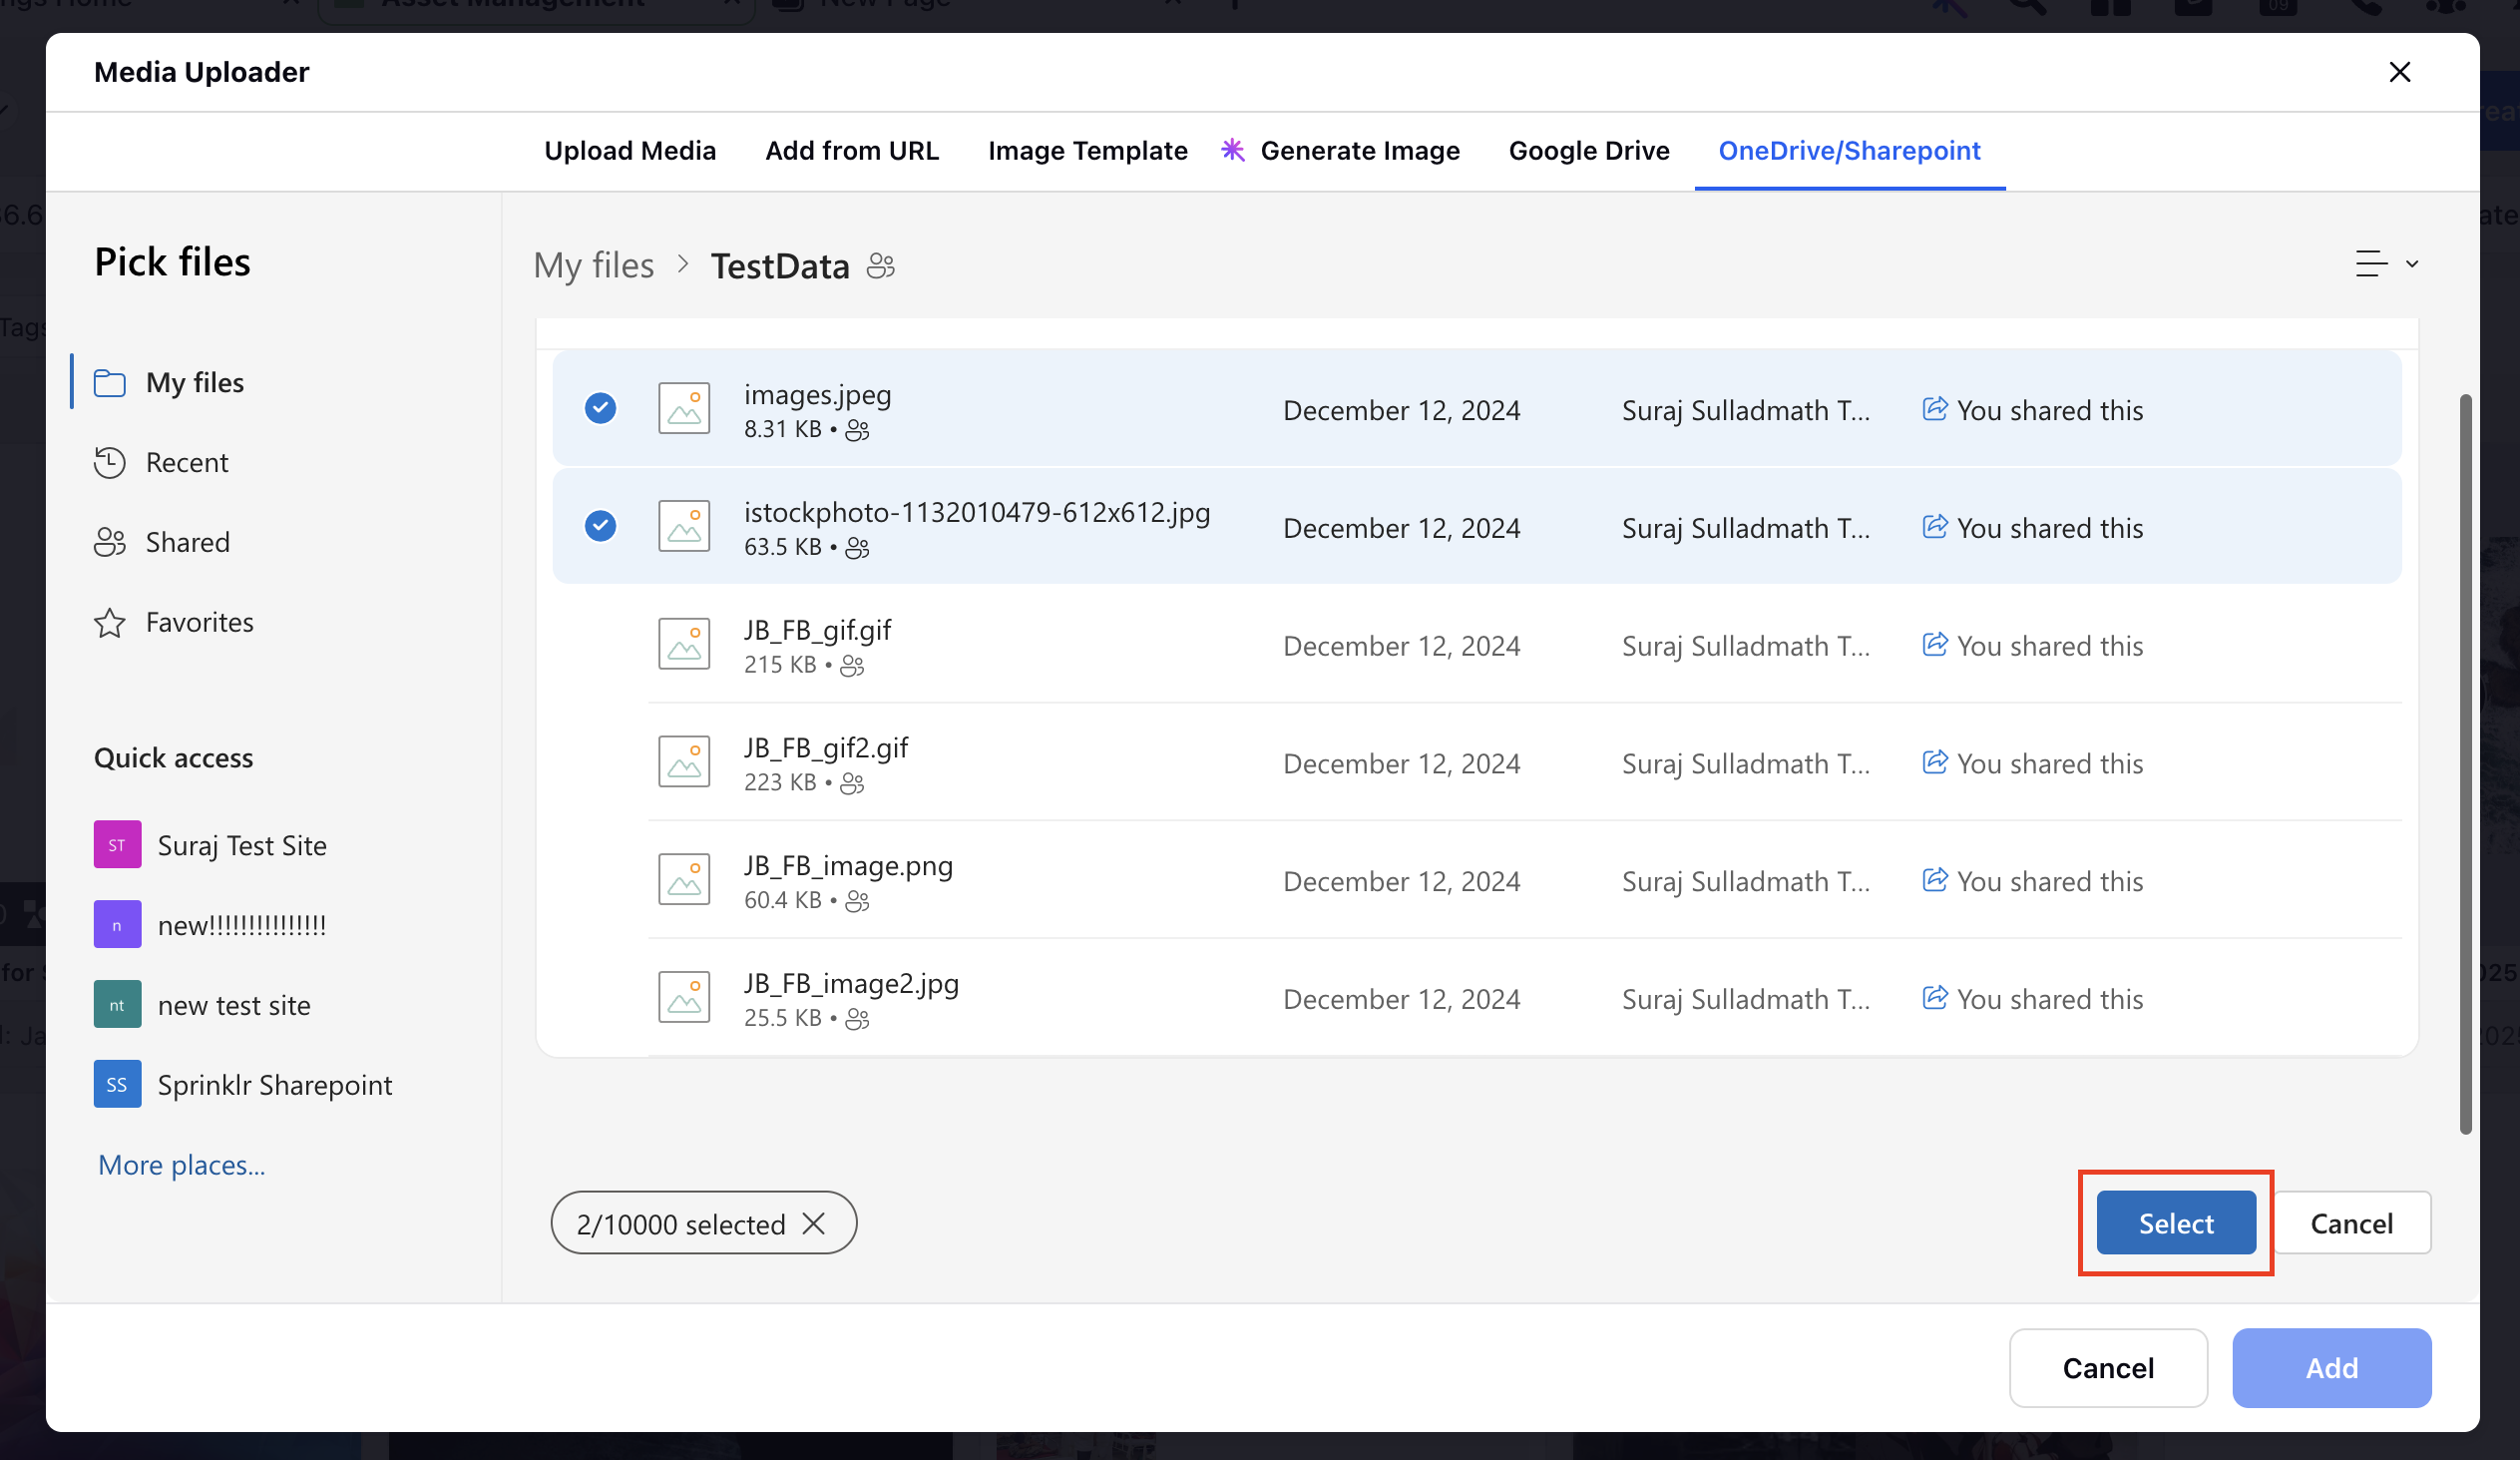
3. A preview of the selected assets will appear in the Media Uploader. Review the preview to confirm it’s the correct file, then click Add to proceed.

4. The asset editor will open. In the editor, enter relevant metadata such as title, description, tags, and other details. After entering the metadata information, click Save.
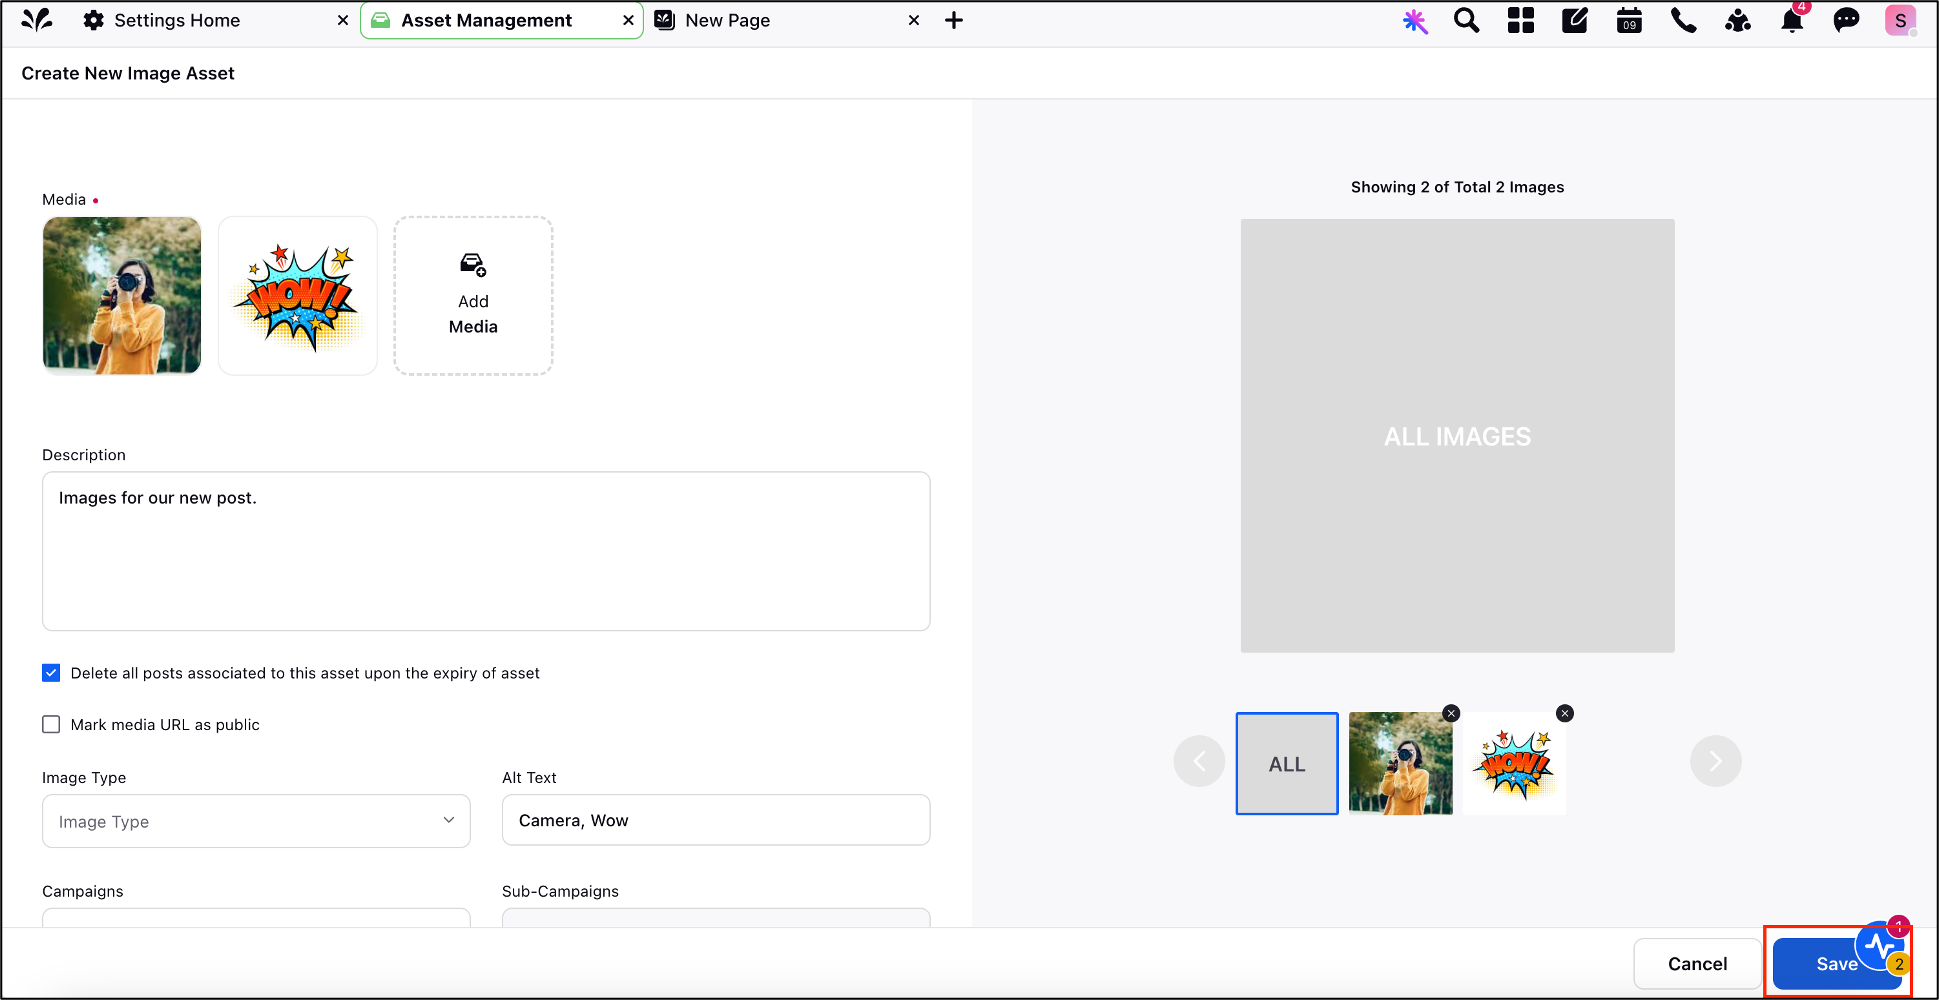
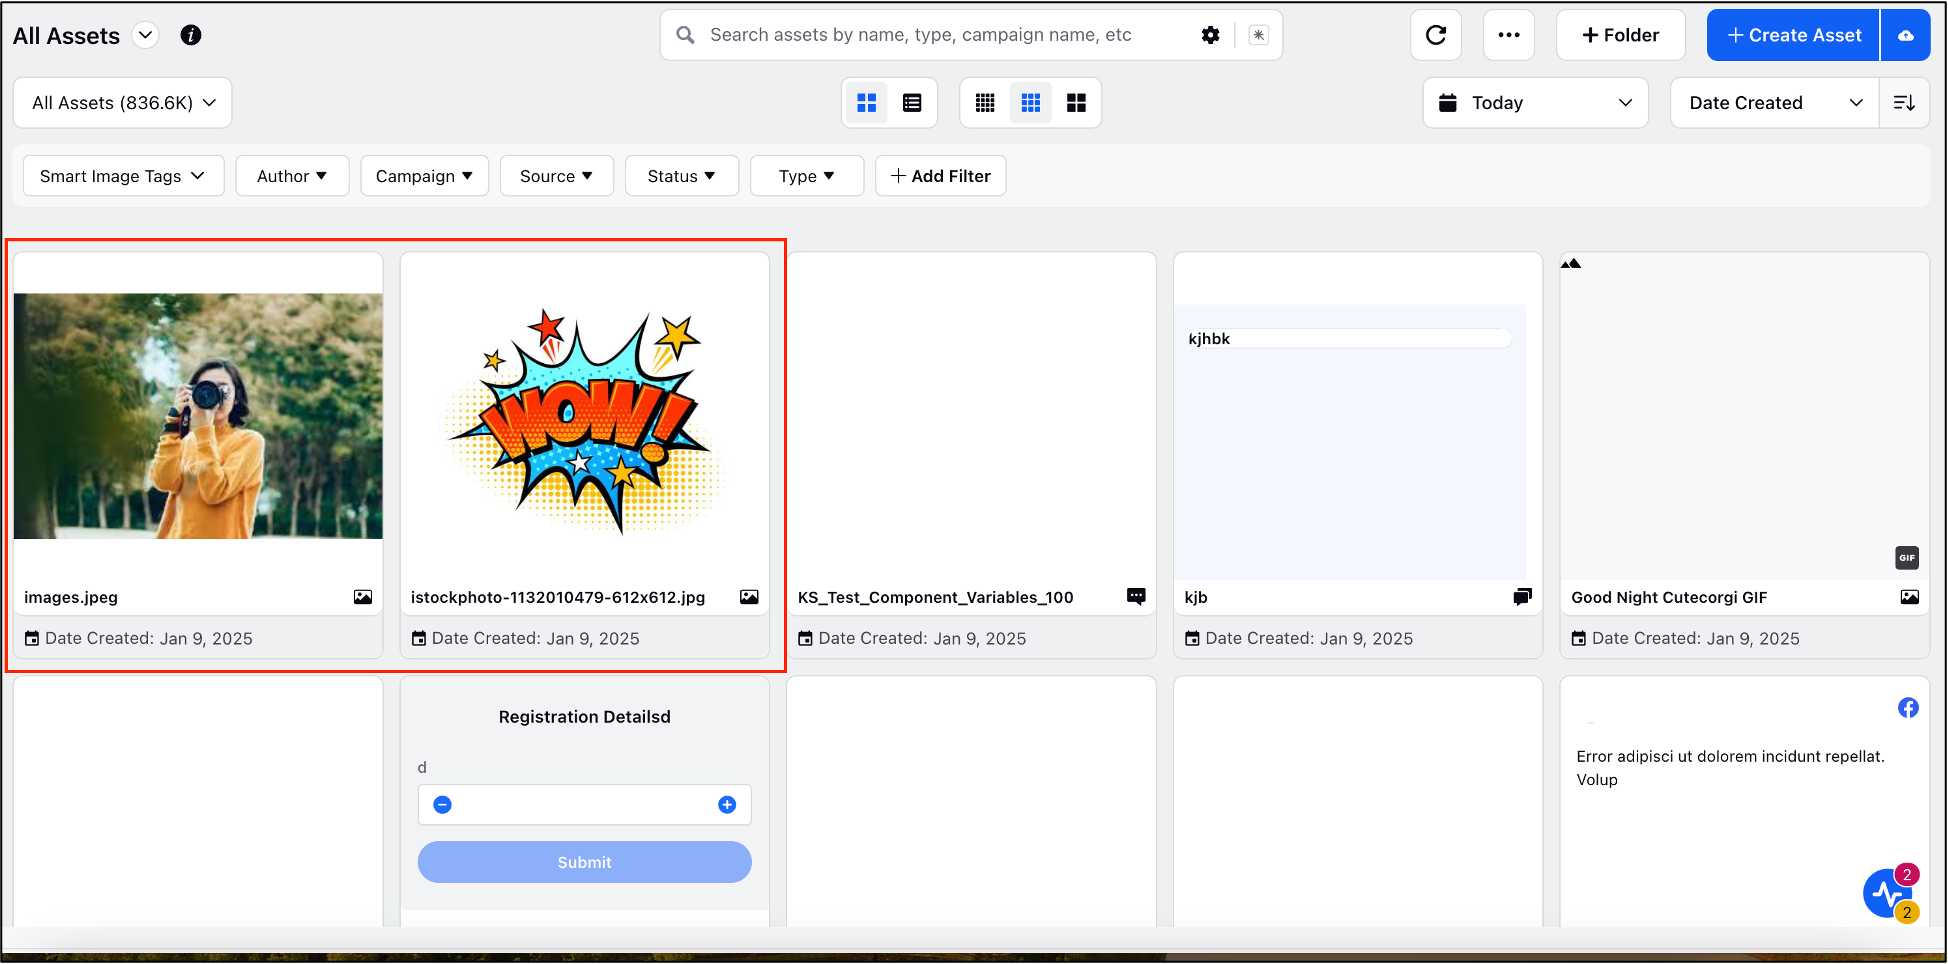
Your asset is now successfully uploaded to Sprinklr and accessible within Sprinklr DAM system.
Uploading a SharePoint Folder to Sprinklr DAM
You can also upload entire folders using the SharePoint DAM Integration.
To upload a SharePoint folder to Sprinklr DAM, follow these steps:
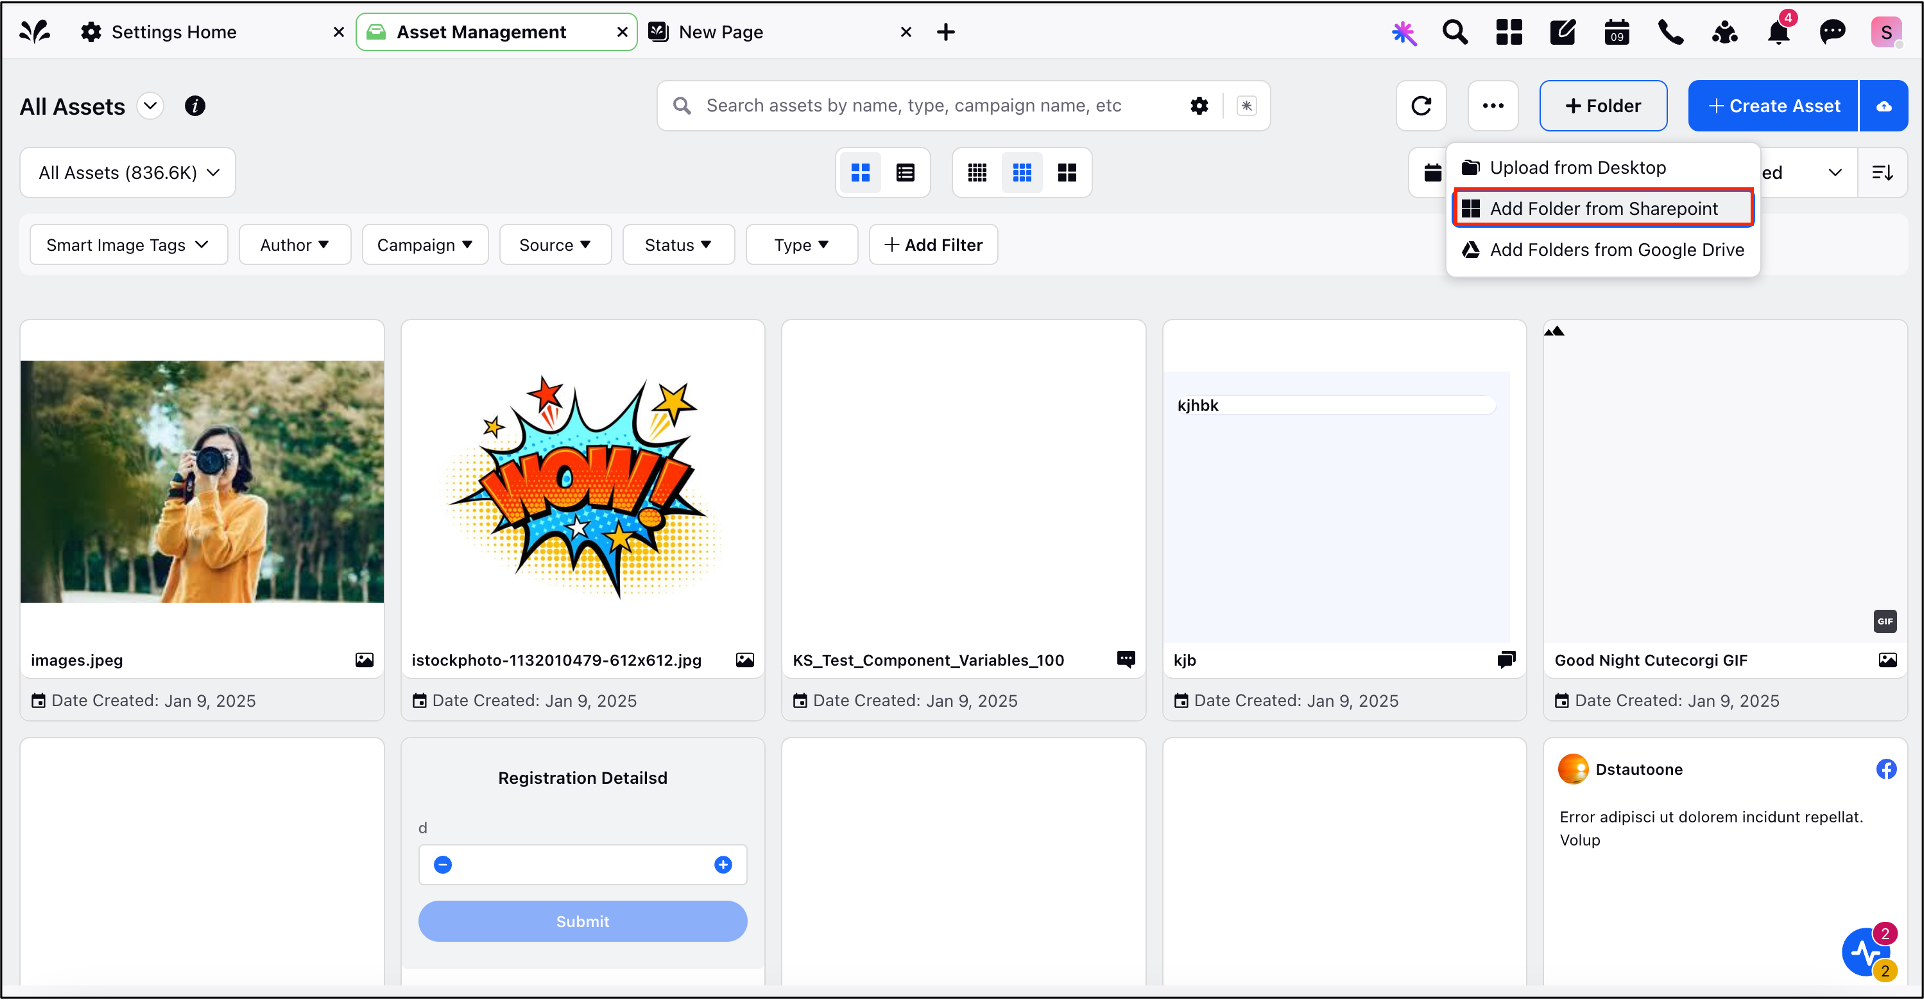
1. In the Sprinklr DAM system, click Folder.
2. Click Add Folder from SharePoint.
3. In SharePoint, navigate to and select the folder you want to upload, and then click Select.
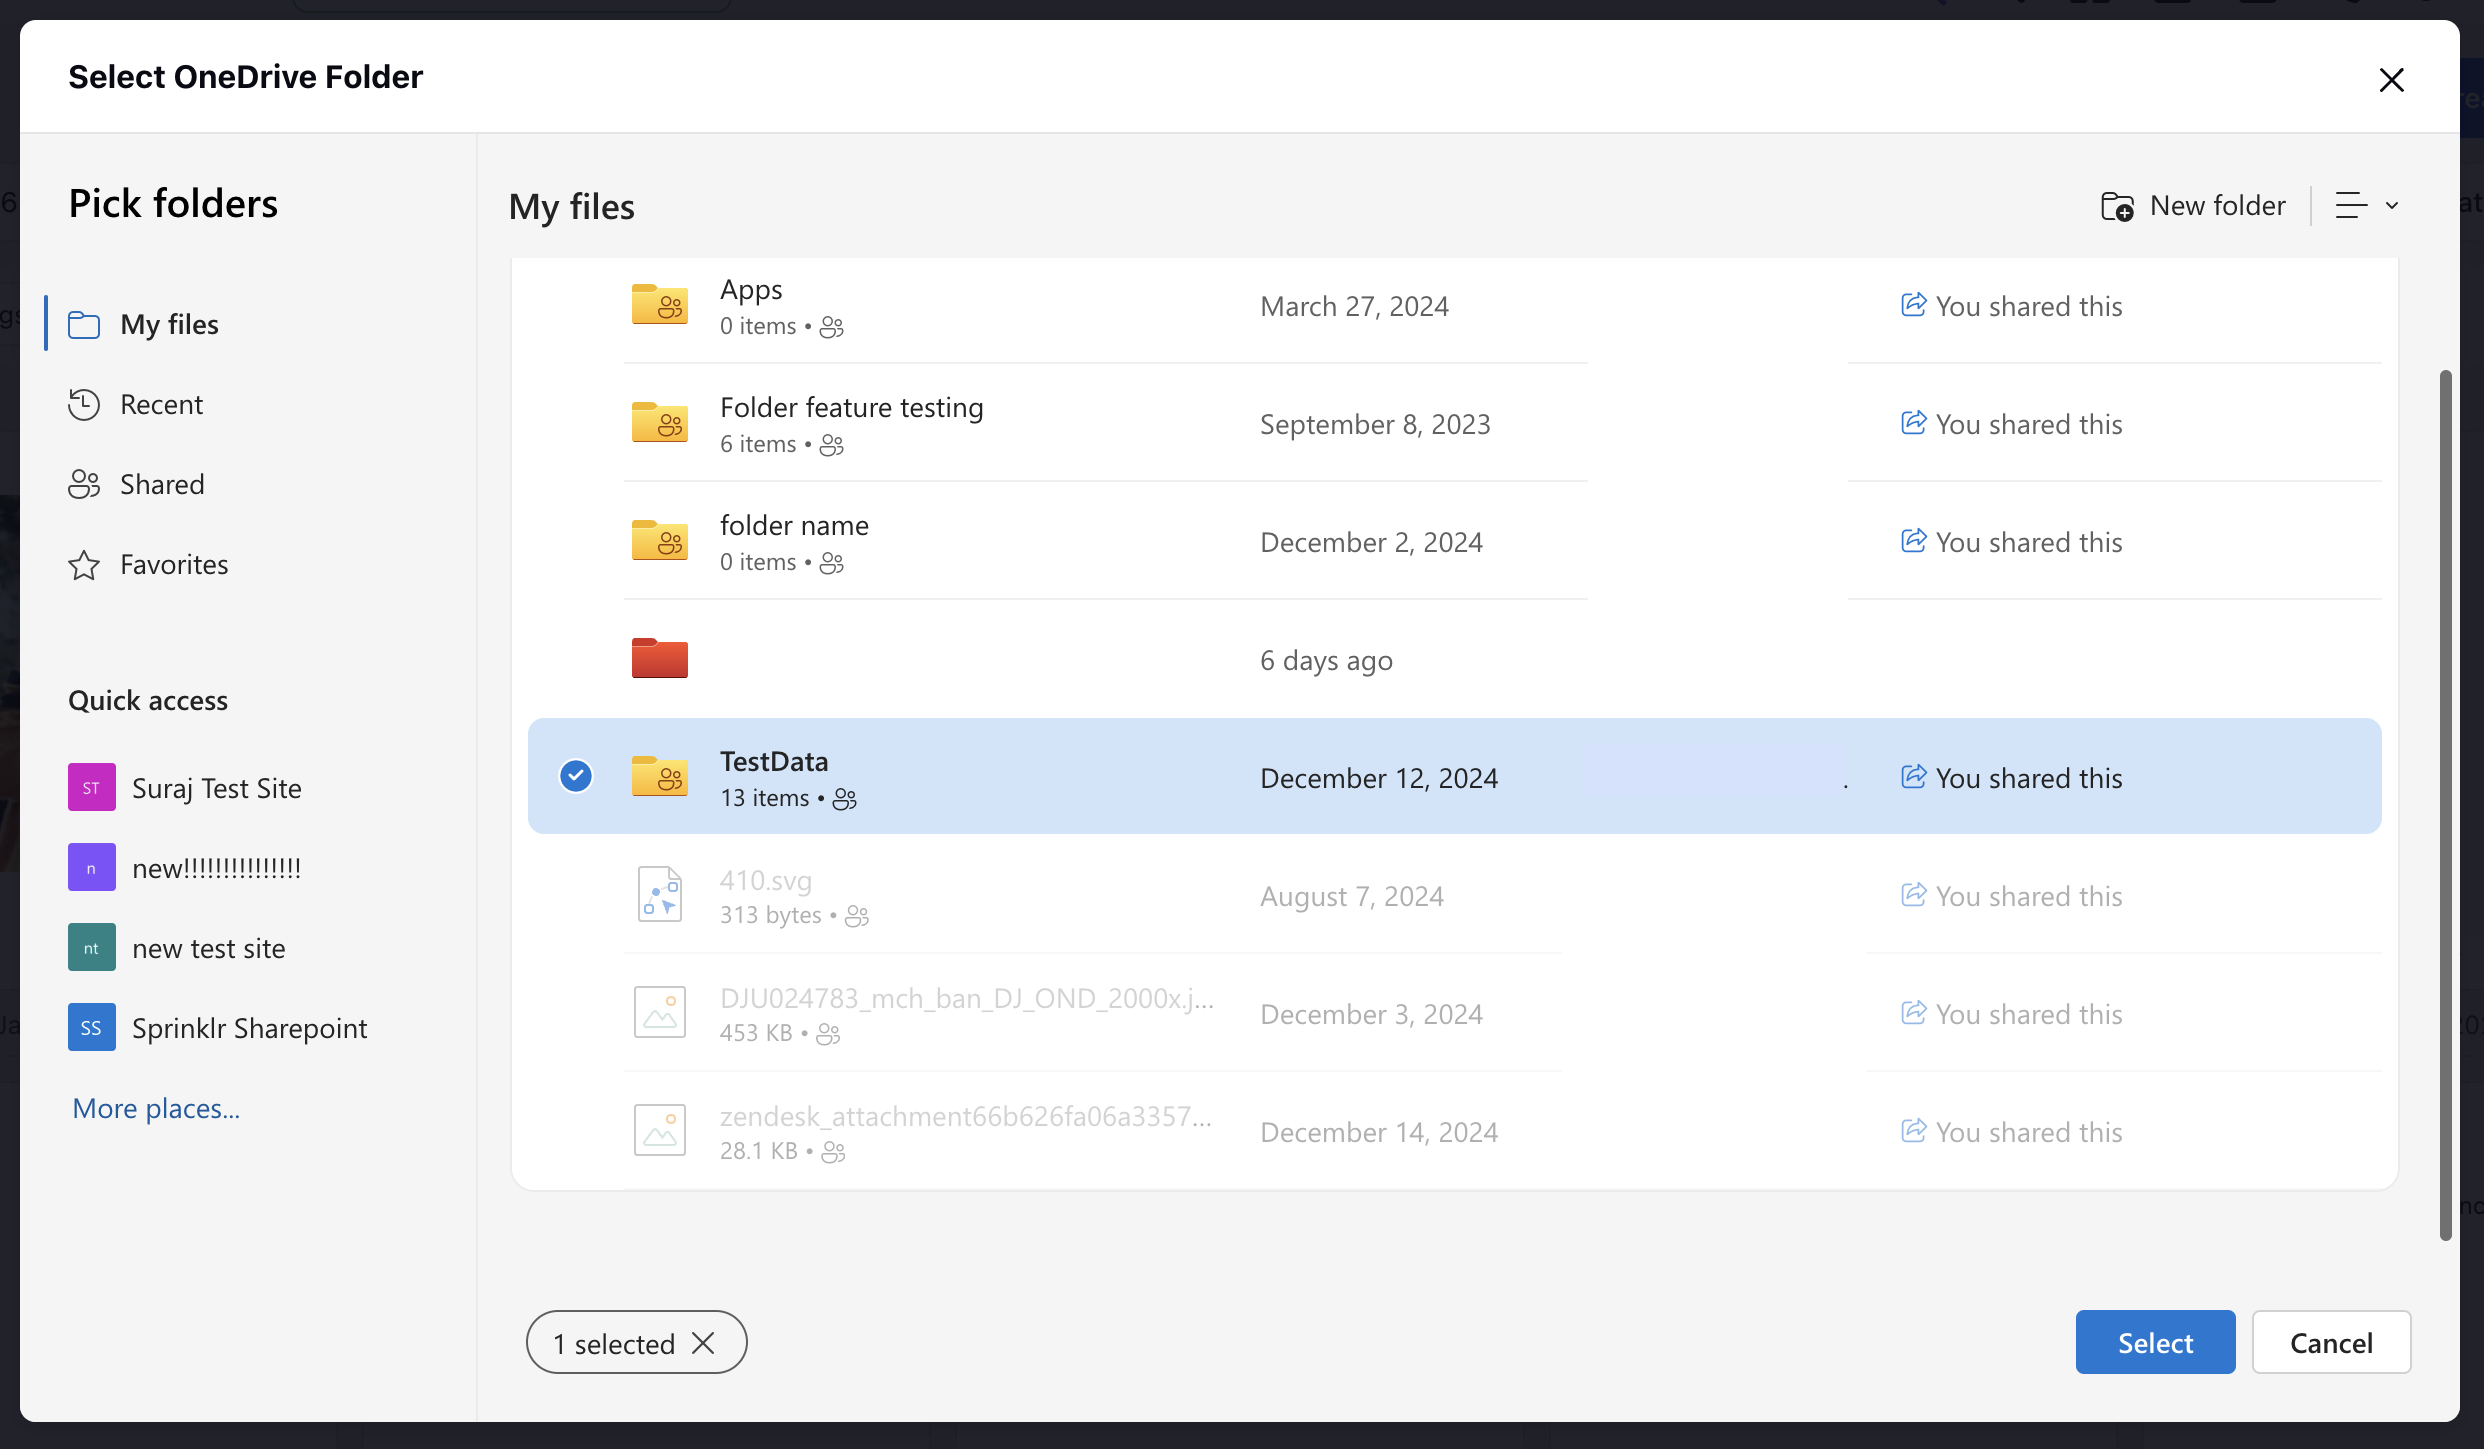
The selected folder will be uploaded, and you will be notified once the process is complete.
You have successfully integrated SharePoint with Sprinklr DAM and uploaded your assets and folders.