Sitecore DAM integration
Updated
You can leverage Sitecore as the single source of truth for assets for campaigns on modern channels. If an asset is present in Sitecore, you can search and import it in Sprinklr automatically, along with the metadata fields copied to Sprinklr custom fields, and use it for content planning and publishing. Assets pulled from Sitecore into Sprinklr are synced unidirectionally from Sitecore to Sprinklr for any updates. Any asset updated/expired in Sitecore is also reflected in Sprinklr.
Enablement note: To learn more about getting this capability enabled, please reach out to the Sprinklr support and tech services team. |
To upload Sitecore DAM assets in Digital Asset Manager
Click the New Tab icon
. Under the Sprinklr Social tab, click Assets within Engage.
On the Asset Management window, click Create Asset In the top right corner and choose the Asset Type as either Image or Video from the drop-down menu.
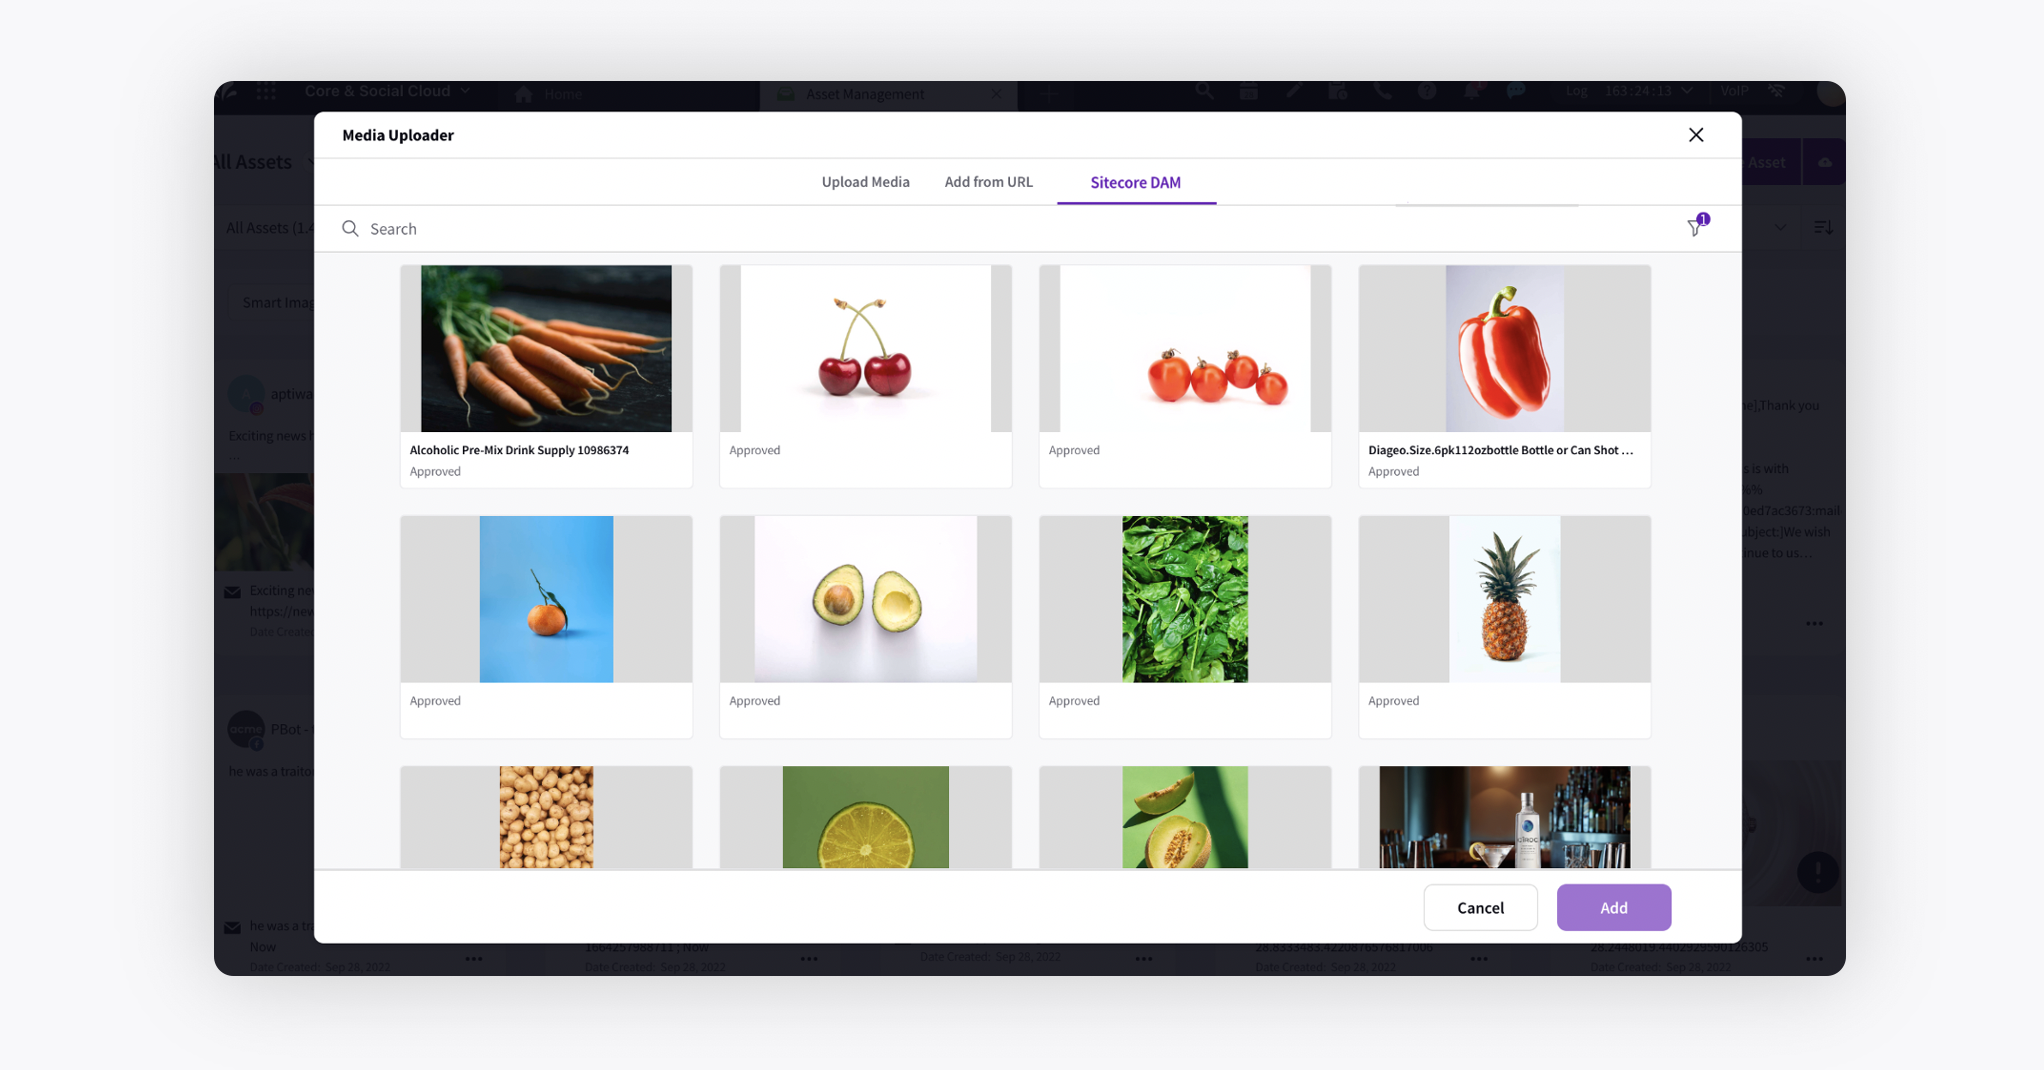
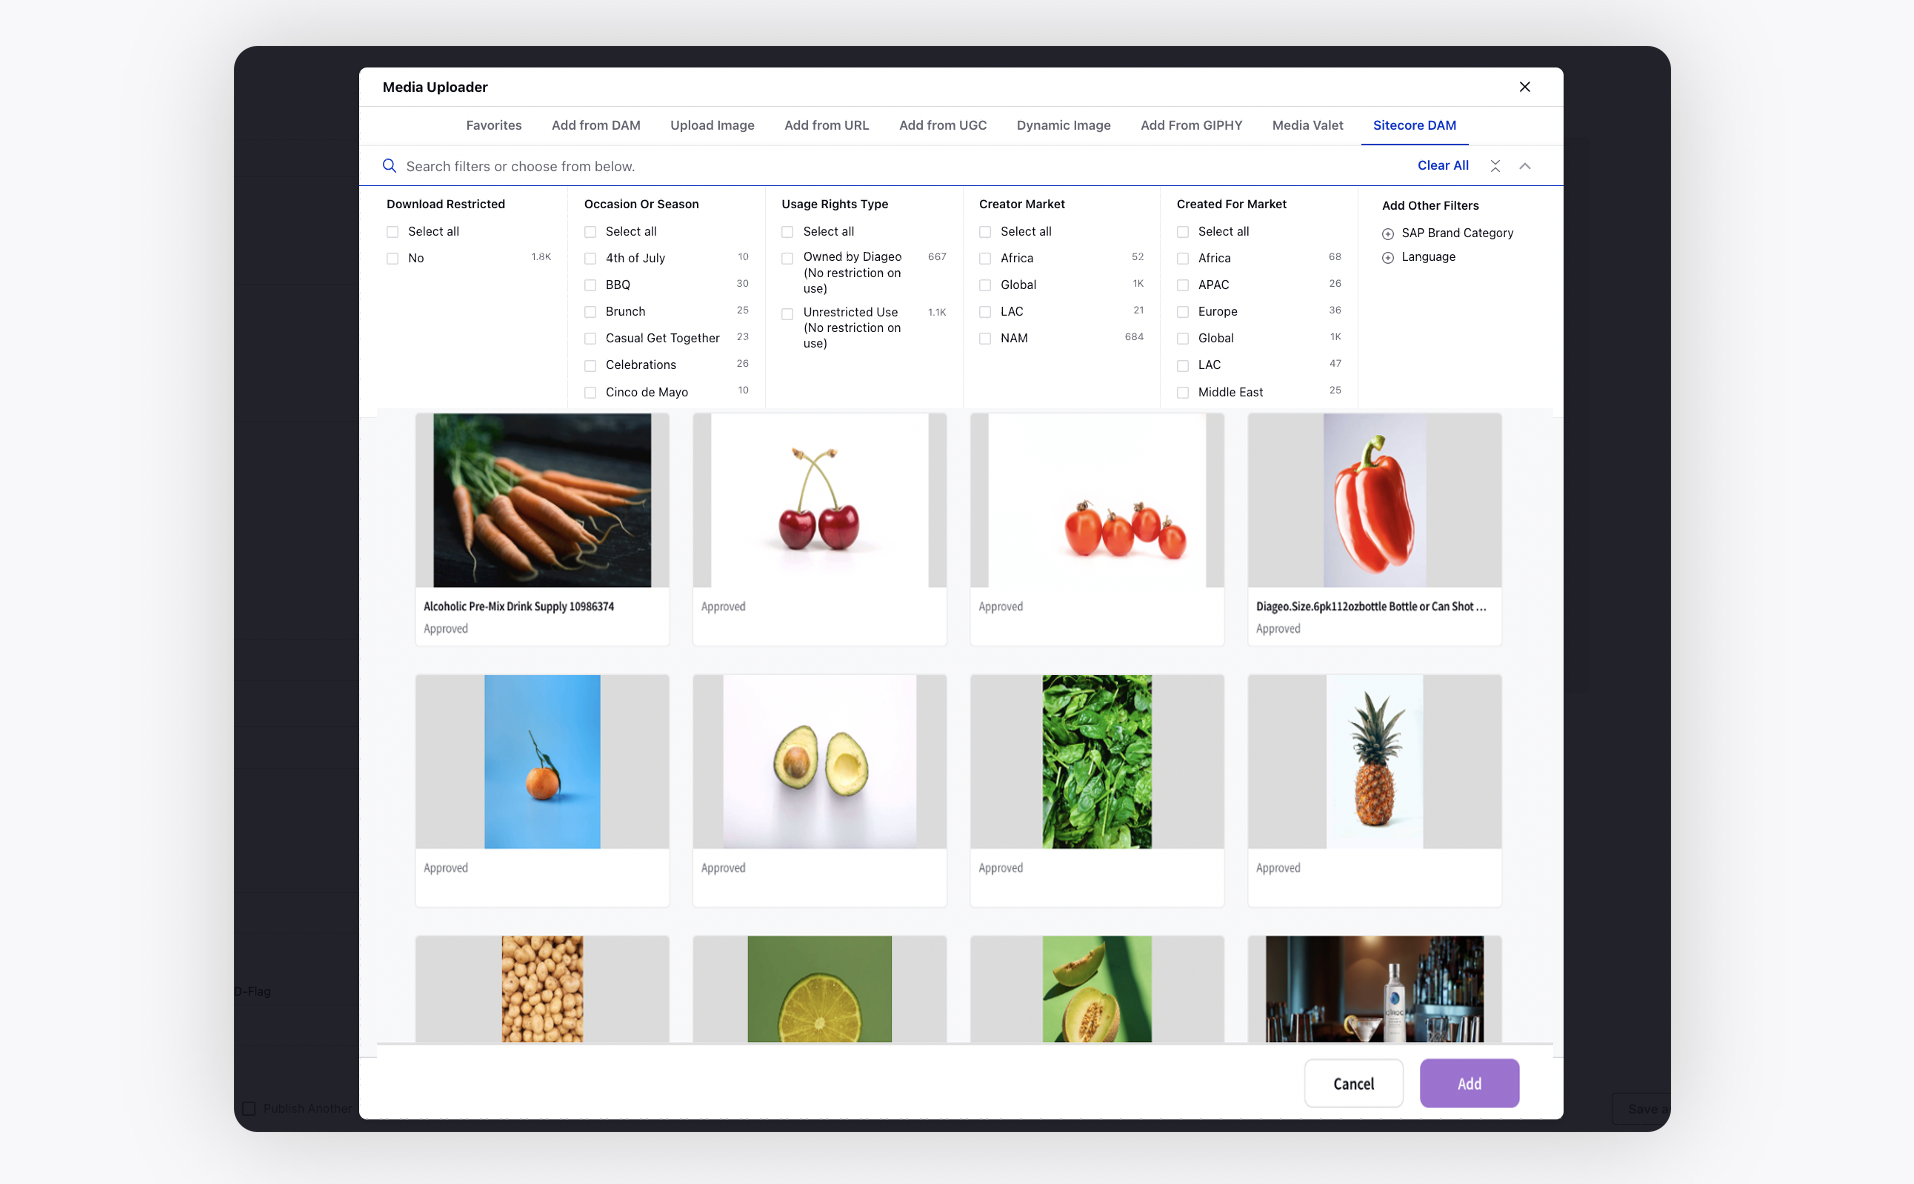
On the Media Uploader pop-up window, switch to the Sitecore DAM tab and choose the desired asset(s). You can also search for the desired asset using the search bar and apply filters to narrow your search.
Next, enter the asset details on the Create New Asset window and click Save in the bottom right corner of the window. For more information, see Upload Assets to the Asset Manager.
To use Sitecore DAM assets in Sprinklr publishers
Click the New Tab icon
. Under the Sprinklr Social tab, click Quick Publish within Engage.
Note: You can access the Sitcore assets from all the Sprinklr publishers.
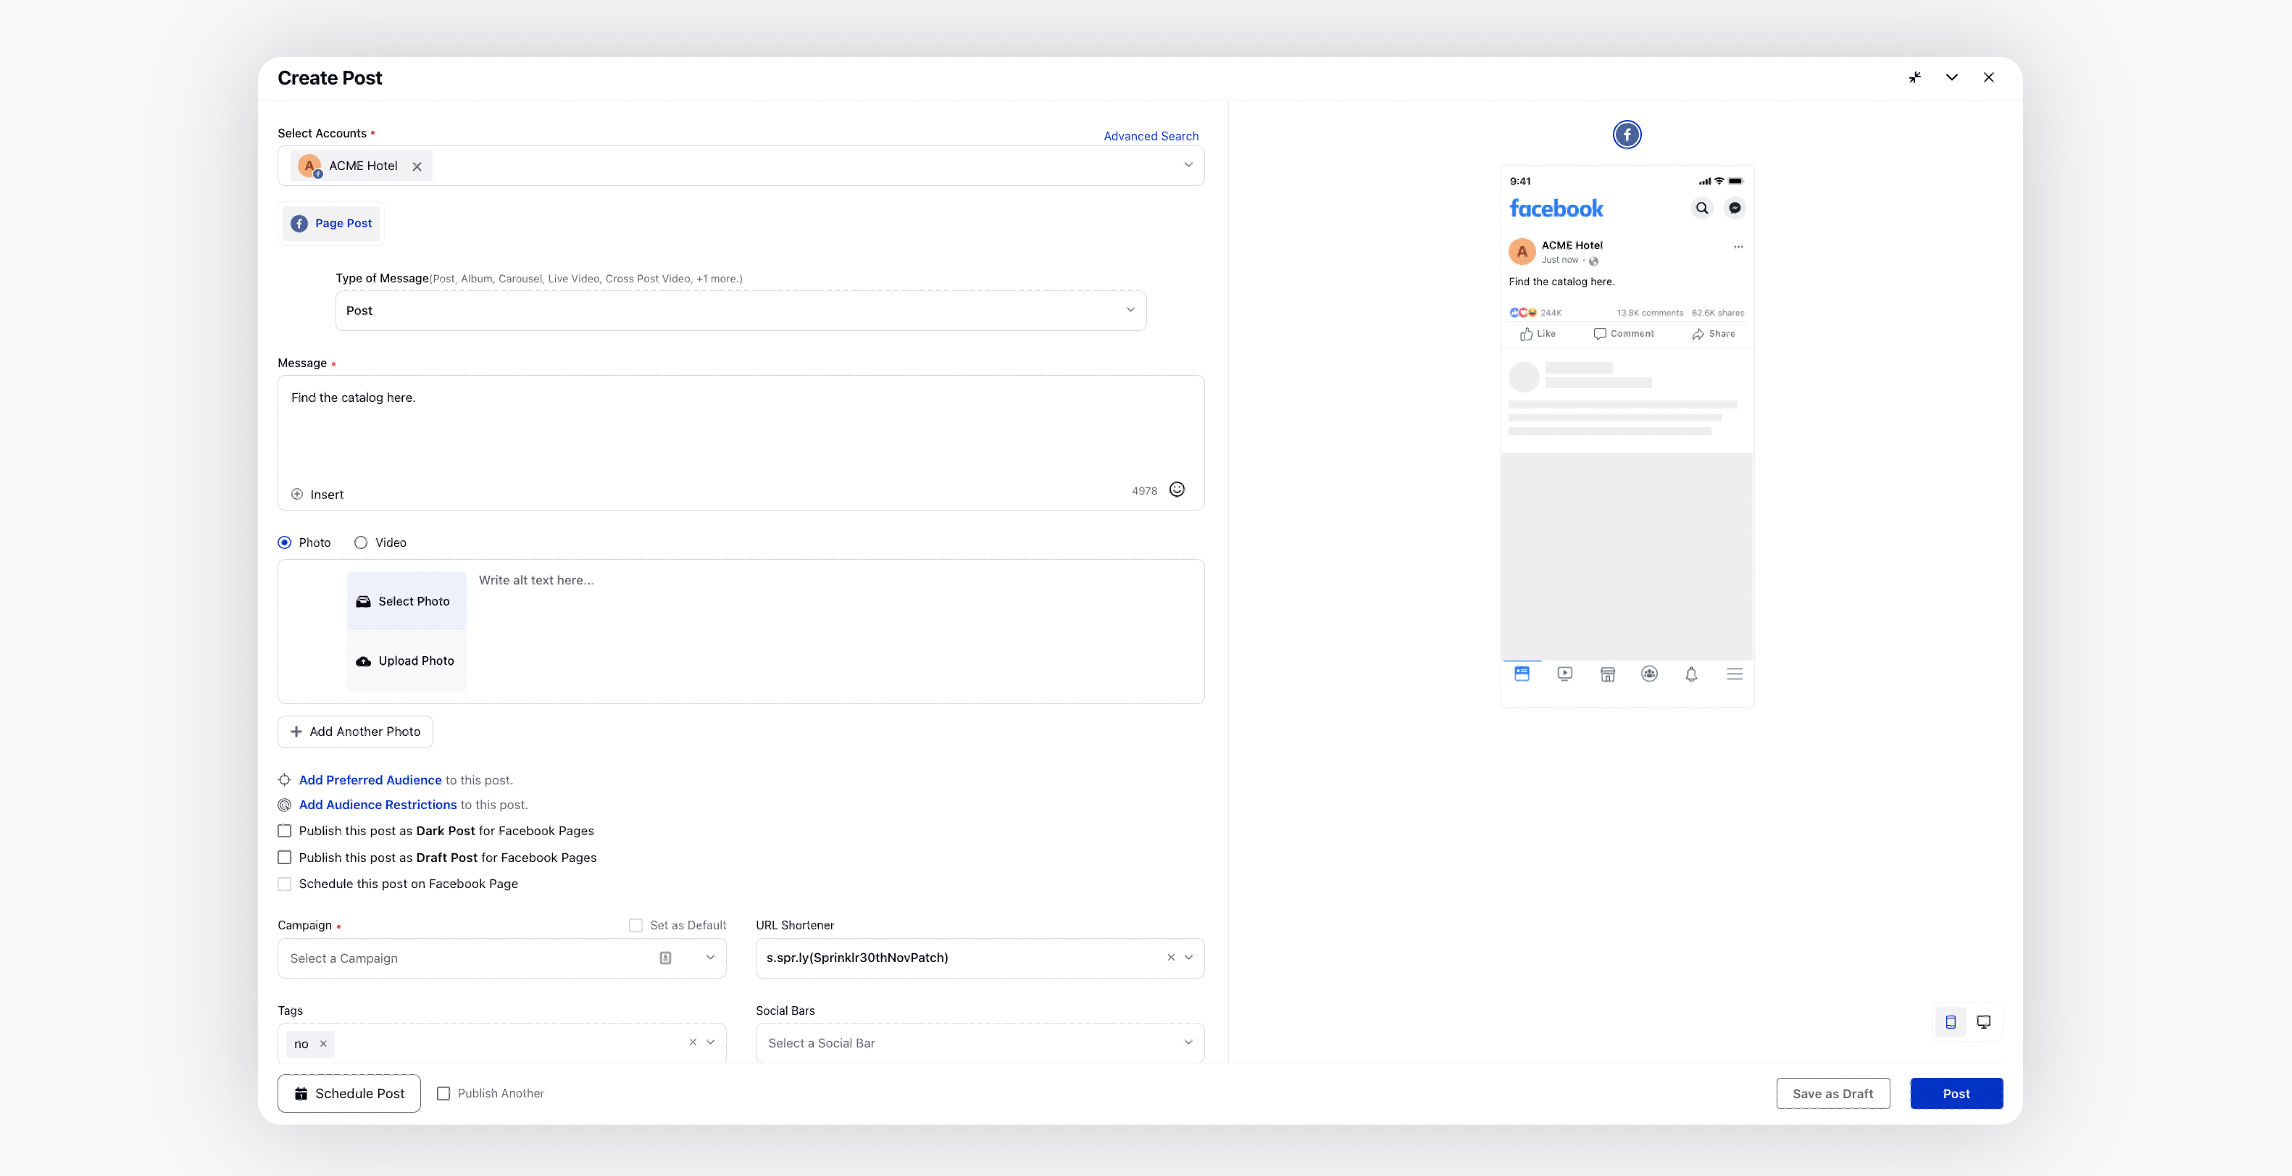
On the Create Post window, search and select the required account in the Select Accounts field.
Once you have selected the account to which you would like to publish, enter the post content in the Message box.
Click Select Photo or Select Video to add Sitecore DAM assets using the Media Uploader.
On the Media Uploader pop-up window, switch to the Sitecore DAM tab and choose the desired asset(s). You can also search for the desired asset using the search bar and apply filters to narrow your search.
Next, enter the additional required details in the Create Post window and click Post in the bottom right corner to publish your post. Fore more information, see Create a post using the Quick Publisher.