Steps to Setup Intent Reporting
Updated
Overview
Intent reporting is a critical aspect of a chatbot's functionality. It serves as the backbone for understanding and improving user interactions. By accurately capturing user intents and categorizing their queries, chatbots can provide more relevant and efficient responses. This data also allows developers to continuously refine the bot's performance, enhancing its ability to meet user needs and deliver a better conversational experience. Intent reporting is the key to making chatbots smarter, more user-friendly, and better equipped to handle a wide range of inquiries.
Before You Begin
Create a custom field to store the intents on the message. Make this custom field a picklist on both message and case levels. Add all the intent names in the custom field.
Steps to Configure Intent Tagging for Reporting
Create a dialogue tree in the same Conversational AI application where the intents have been enabled/configured.
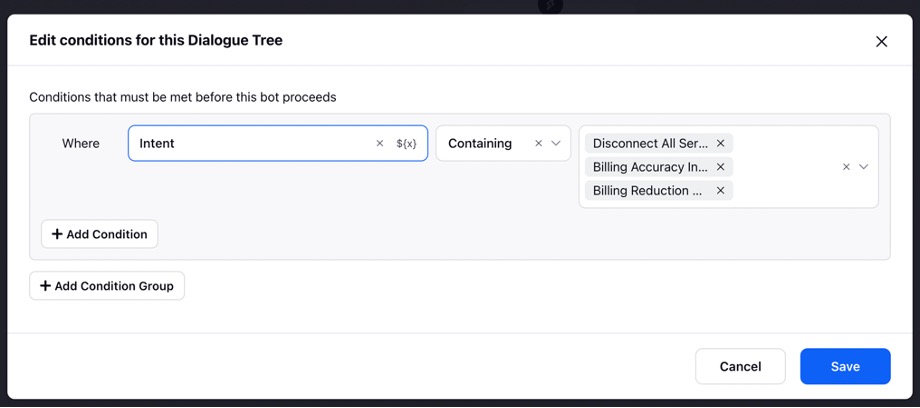
Add all the intents in the trigger filter.

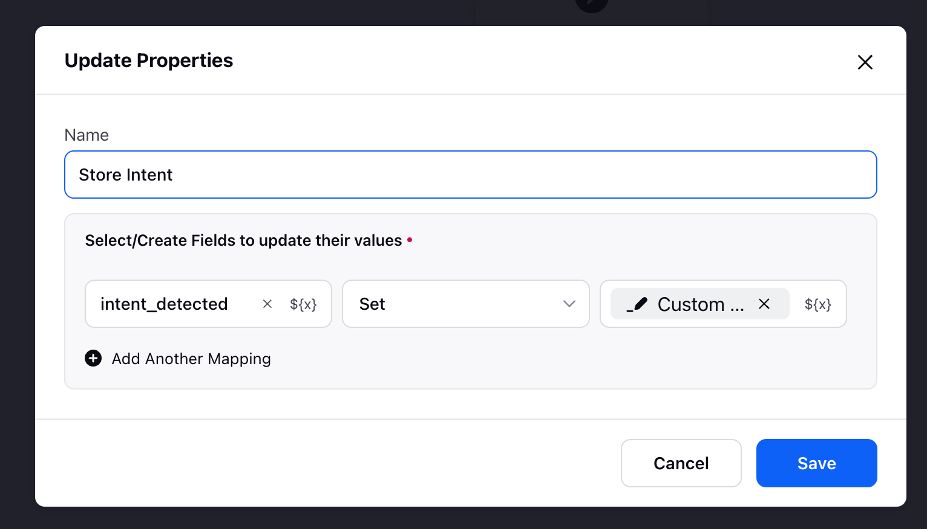
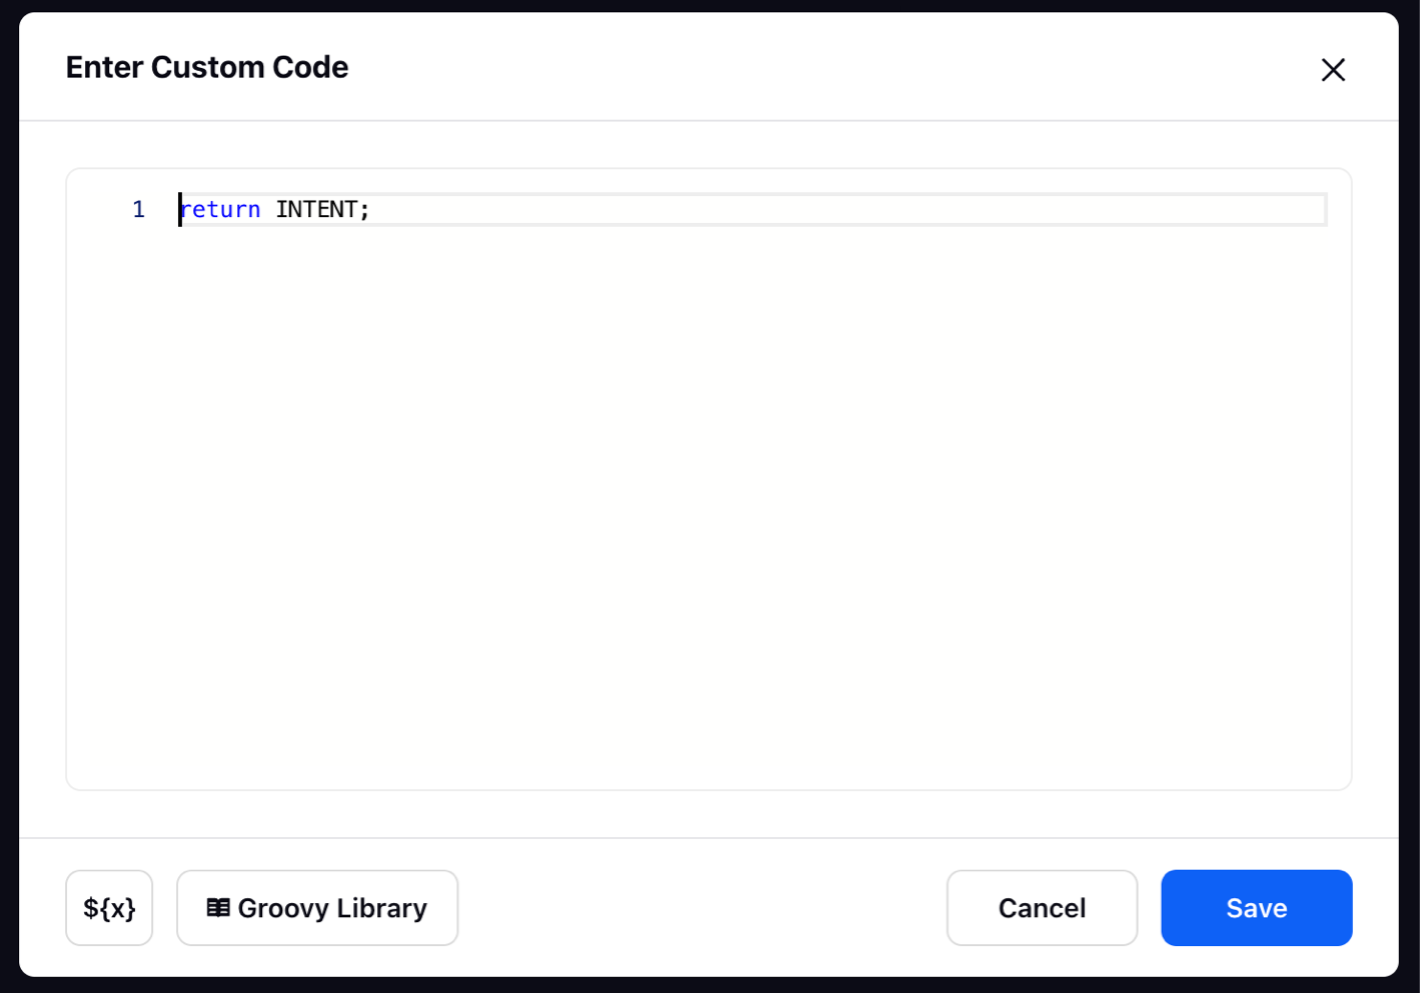
Add an Update Properties node to store the intent detected in a variable.


Next, add the Custom Field Actions node and copy the value stored in the variable to the custom field created for storing the intents.

Finally, add the End Dialogue Tree node at the end of the dialogue tree. The final flow of the DT will look as shown in the image.
Deploy the dialog tree as a Qualifying Bot in the application within Deployment Settings.

Next make an inbound rule to send inbound messages to a scheduler queue for tagging based on predefined conditions. The following conditions must be added in all scenarios:
- Account – Add all the accounts on which the model must run.
- Post Type – Select it as Fan Post so that the model only runs on fan messages.
- Message Content – Filter out messages that do not have any text data.
Additional conditions on message properties can be applied as per requirements to make sure that the model does not run on messages where reporting is not needed.
Now make an on-demand customer Queue rule to trigger the bot application. This rule will be triggered using a scheduler. Additional nodes and conditions can be added to the rule as per the use case. The trigger bot node triggers the bot application and tags the intents according to the dialogue tree created earlier.
Note: Run this rule after the case maker rule and then make a case update rule to copy the value from message to case based on the predefined case level logic specific for the client.
Points To Remember
After the intent is tagged to a message and added in a custom field, use the custom field to any filtering or any other operations. This will ensure the model is only running once on a given customer message.
The bot should only run on customer messages so add all the relevant conditions to the intent tagging rule in the Rule Engine to ensure that only messages from the right channel, accounts, etc., are hitting the model.
What's Next?
Now you can use the custom field that is being tagged via this bot to setup a reporting dashboard to view the predictions given out by AI models.