LinkedIn Parity: Results Forecasted
Updated
The "LinkedIn Parity: Results Forecasted" article explains how LinkedIn’s new forecasting tools help users predict campaign outcomes. It covers features like adjusting forecast details, choosing different time ranges, and seeing metrics for budget and audience segments. This guide is aimed at helping users understand and use these forecasting features to better plan and manage their LinkedIn ads.
Audience Insights Widgets
![]() Note: You can follow the same process for Audience Insights Widgets in Ads Composer, Ads Manager, and Ads Audience Manager. The steps below are illustrated using Ads Composer.
Note: You can follow the same process for Audience Insights Widgets in Ads Composer, Ads Manager, and Ads Audience Manager. The steps below are illustrated using Ads Composer.
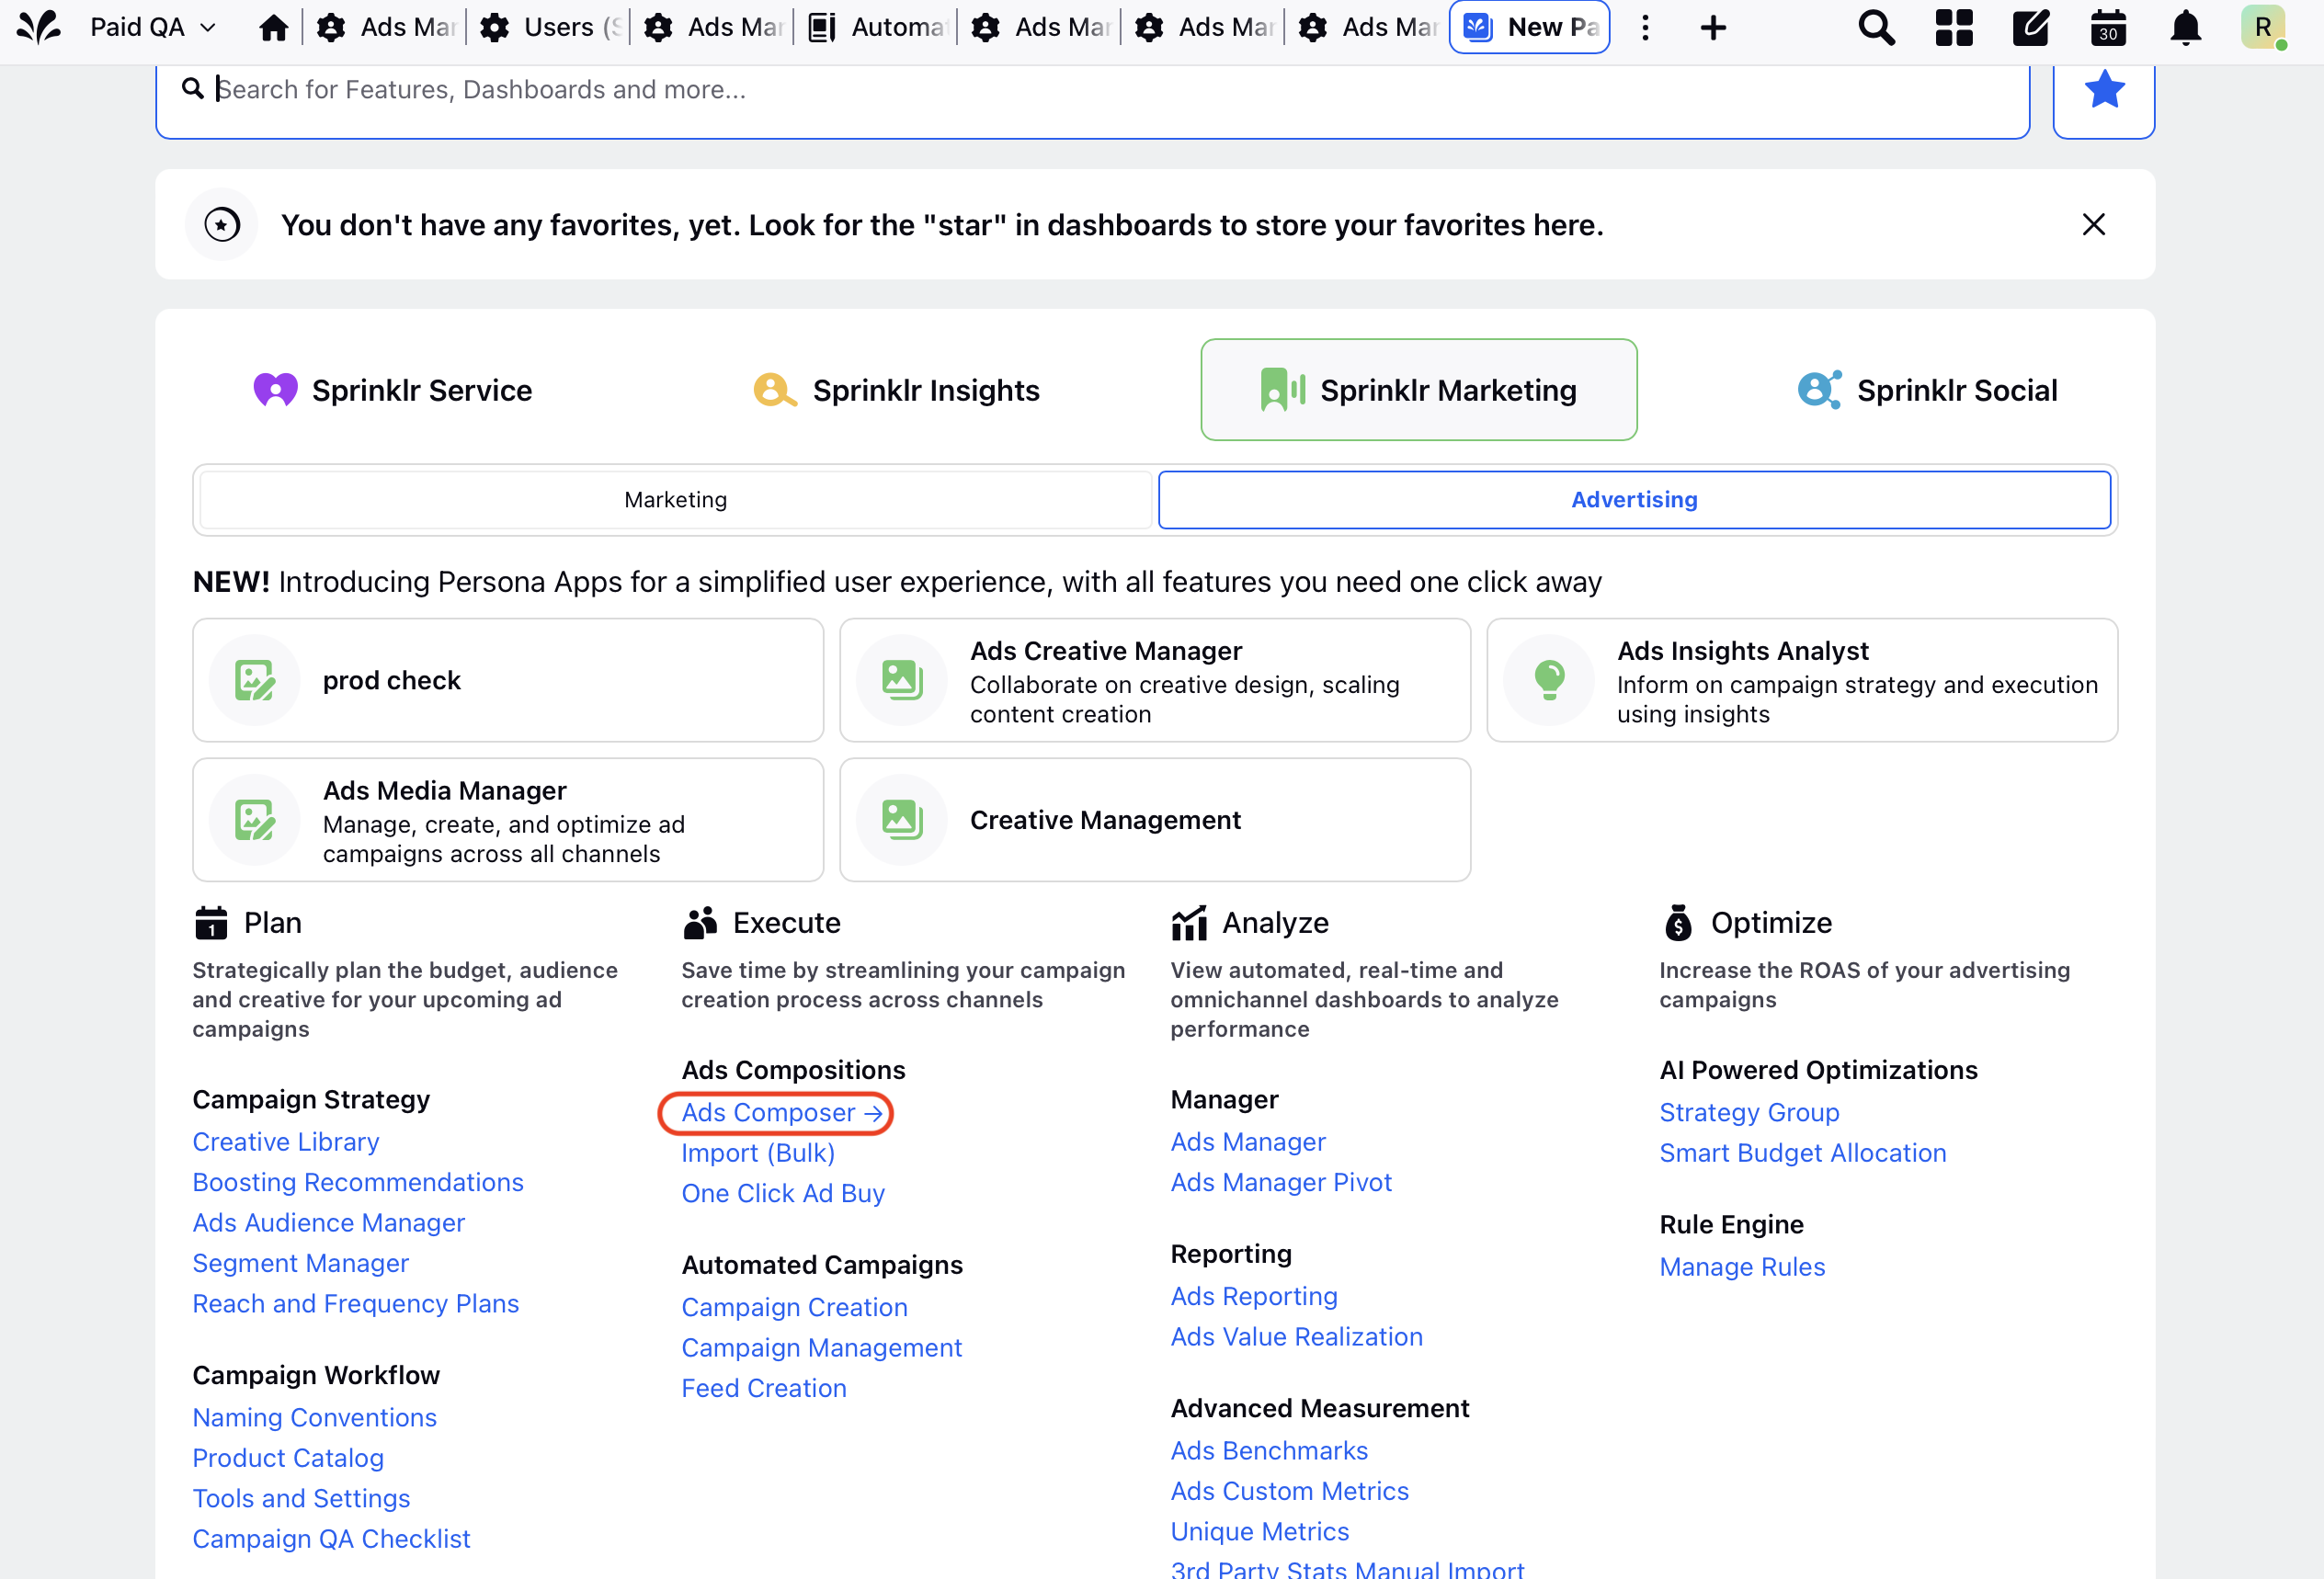
Step 1: In the Advertising section, select "Ads Composer".
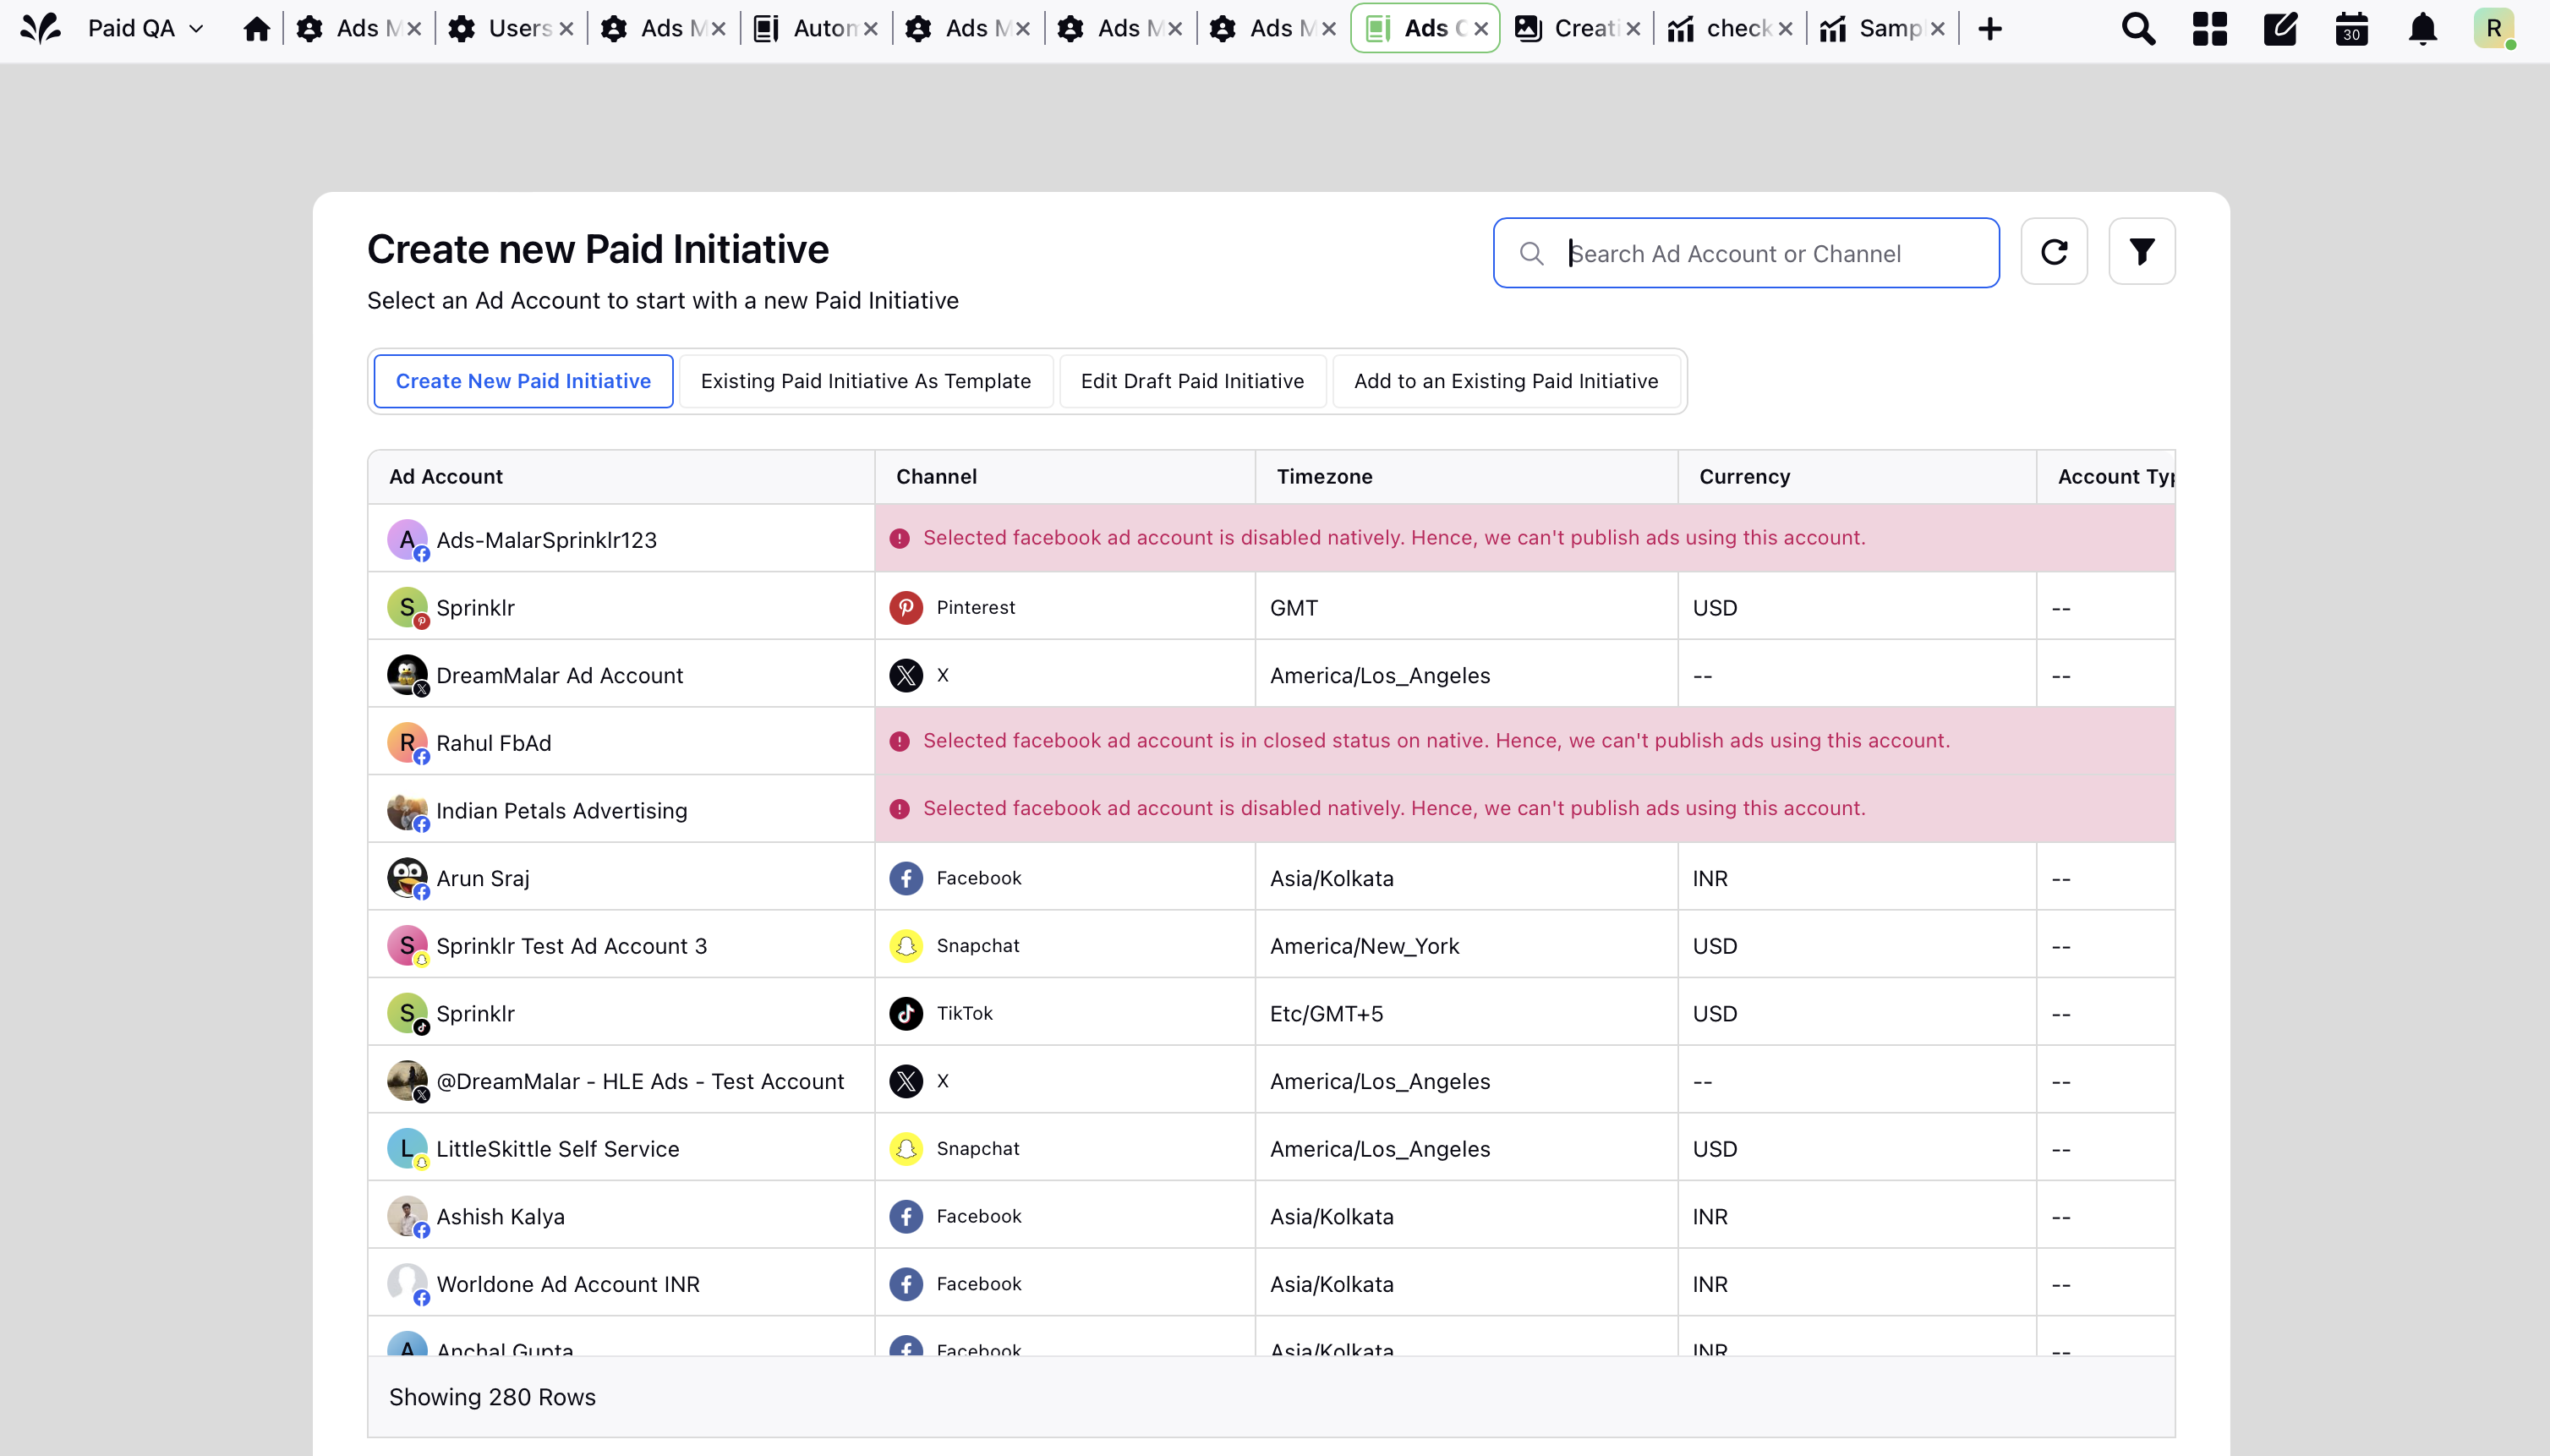
Step 2: To create a new paid initiative, click on "Create New Paid Initiative".
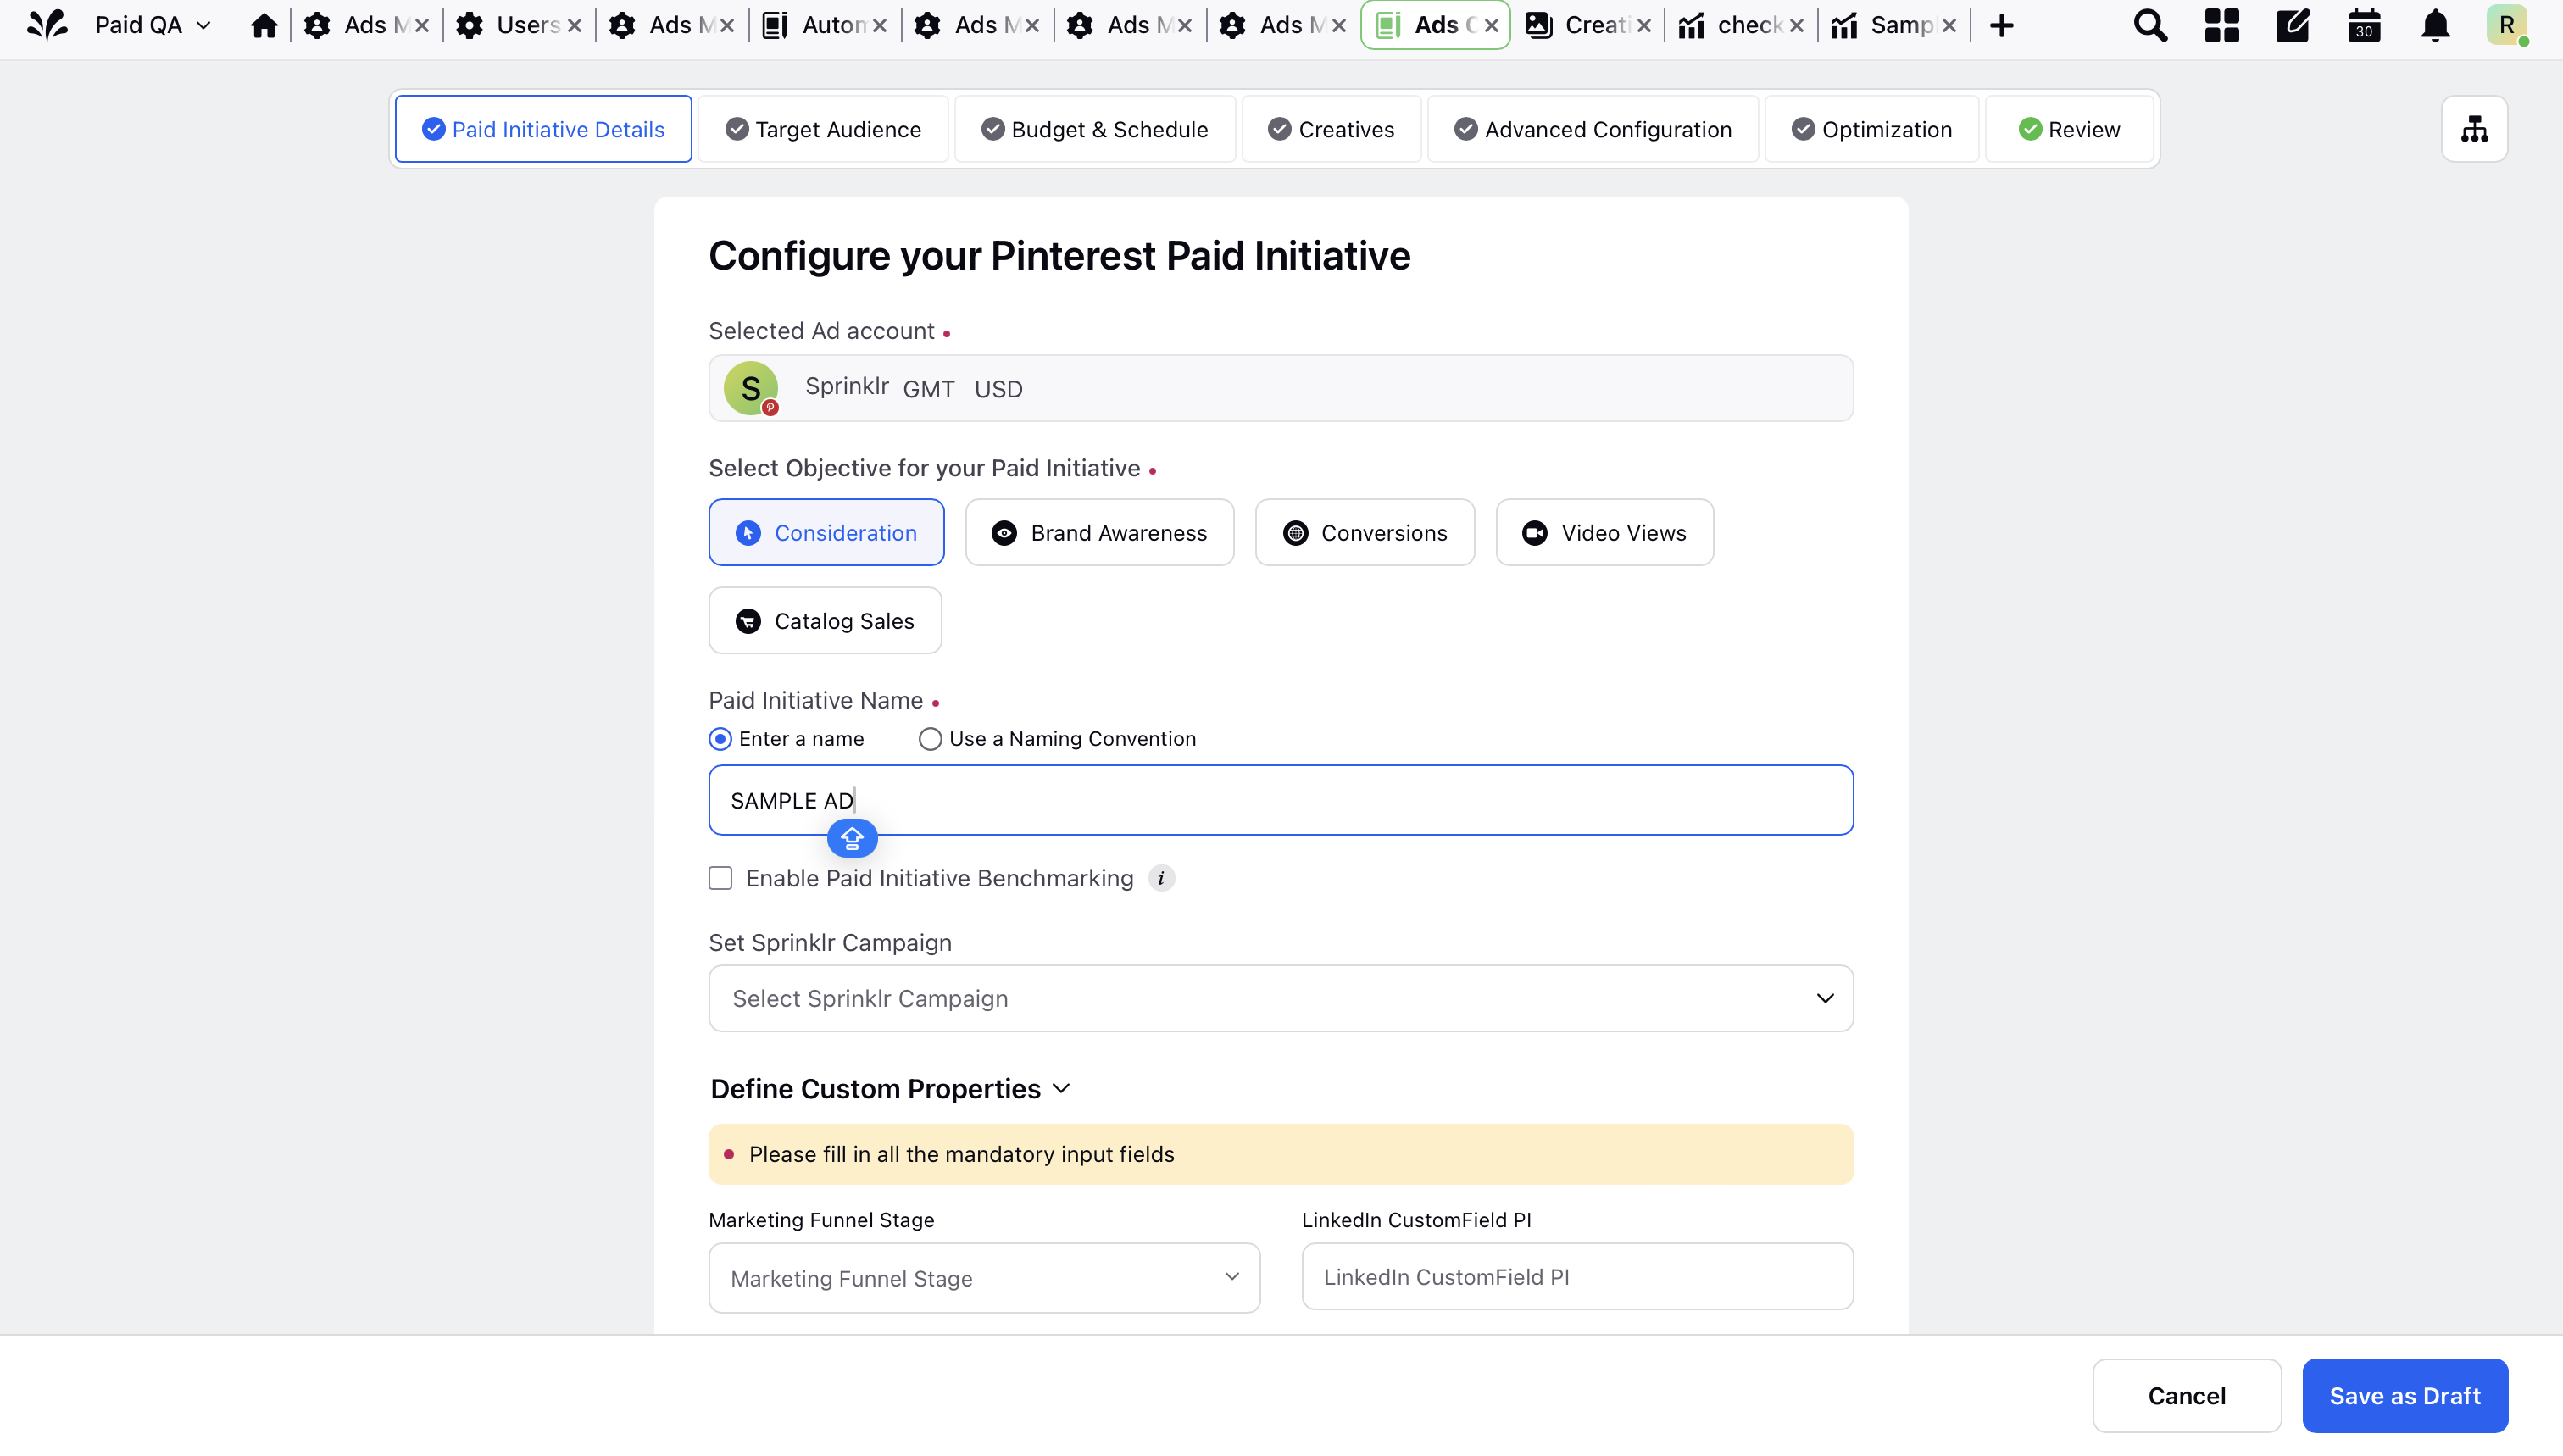
Step 3: Create a paid initiative and add details such as the name and any required custom properties.
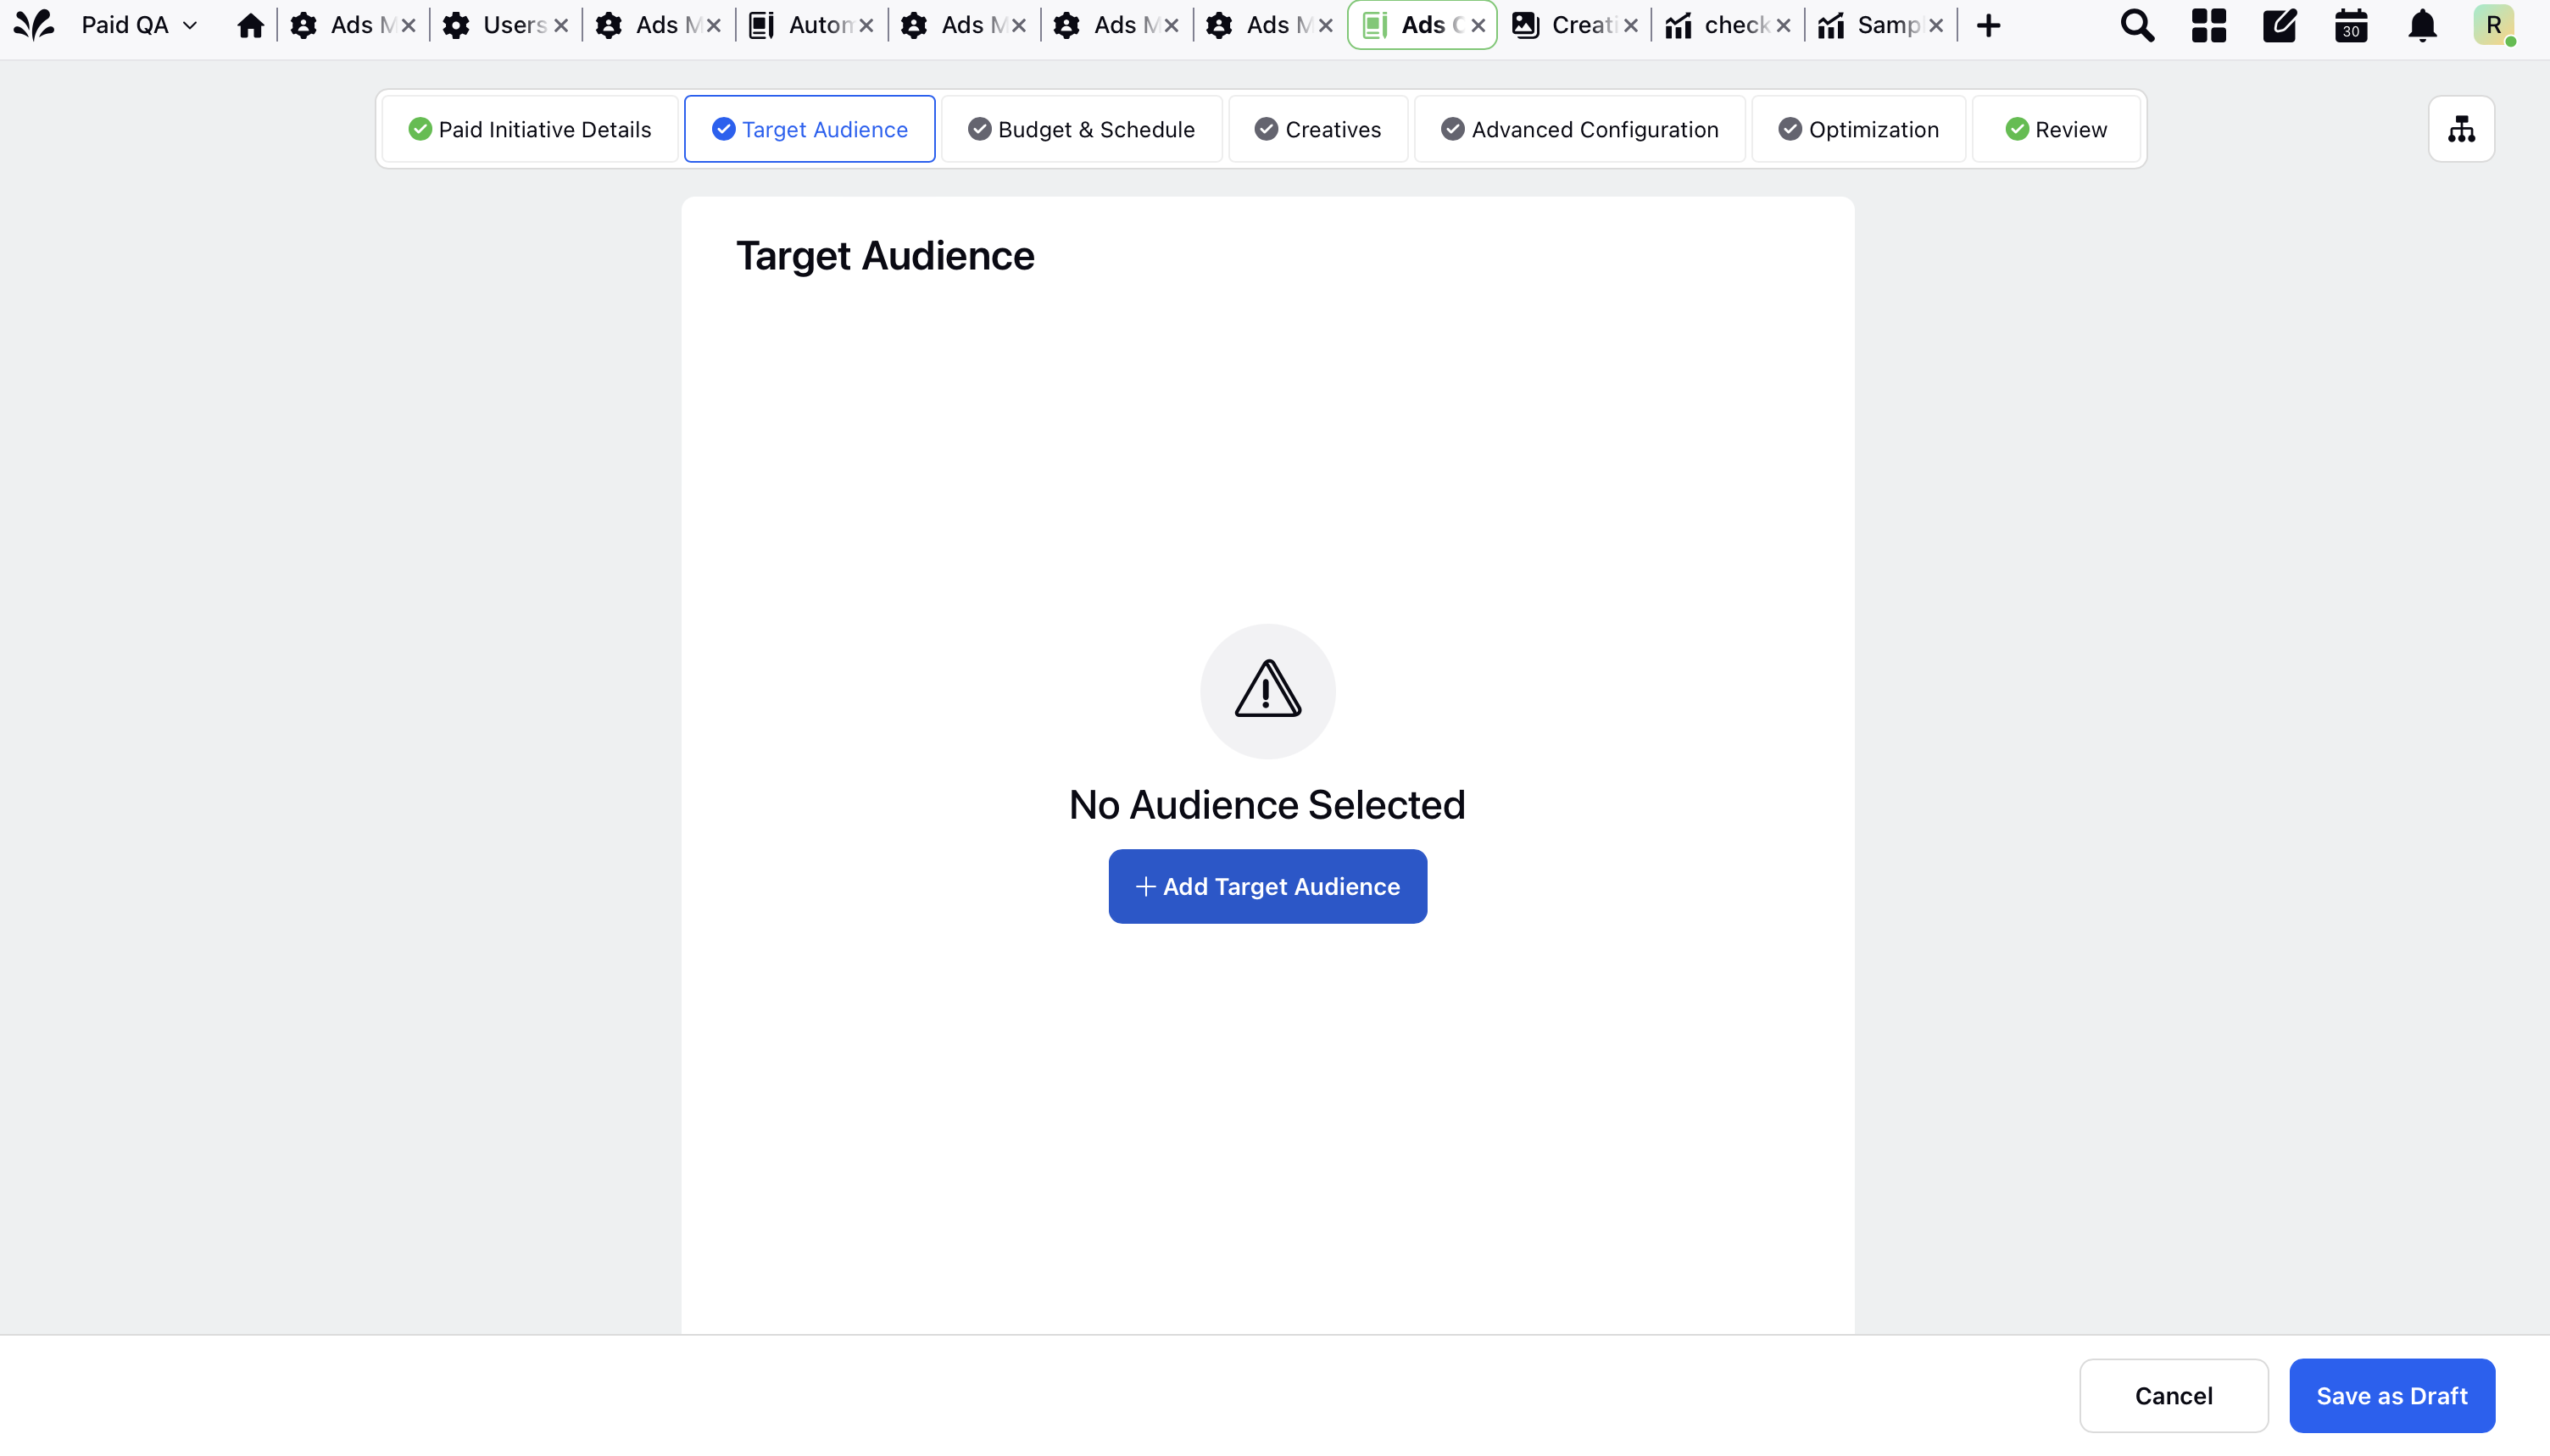
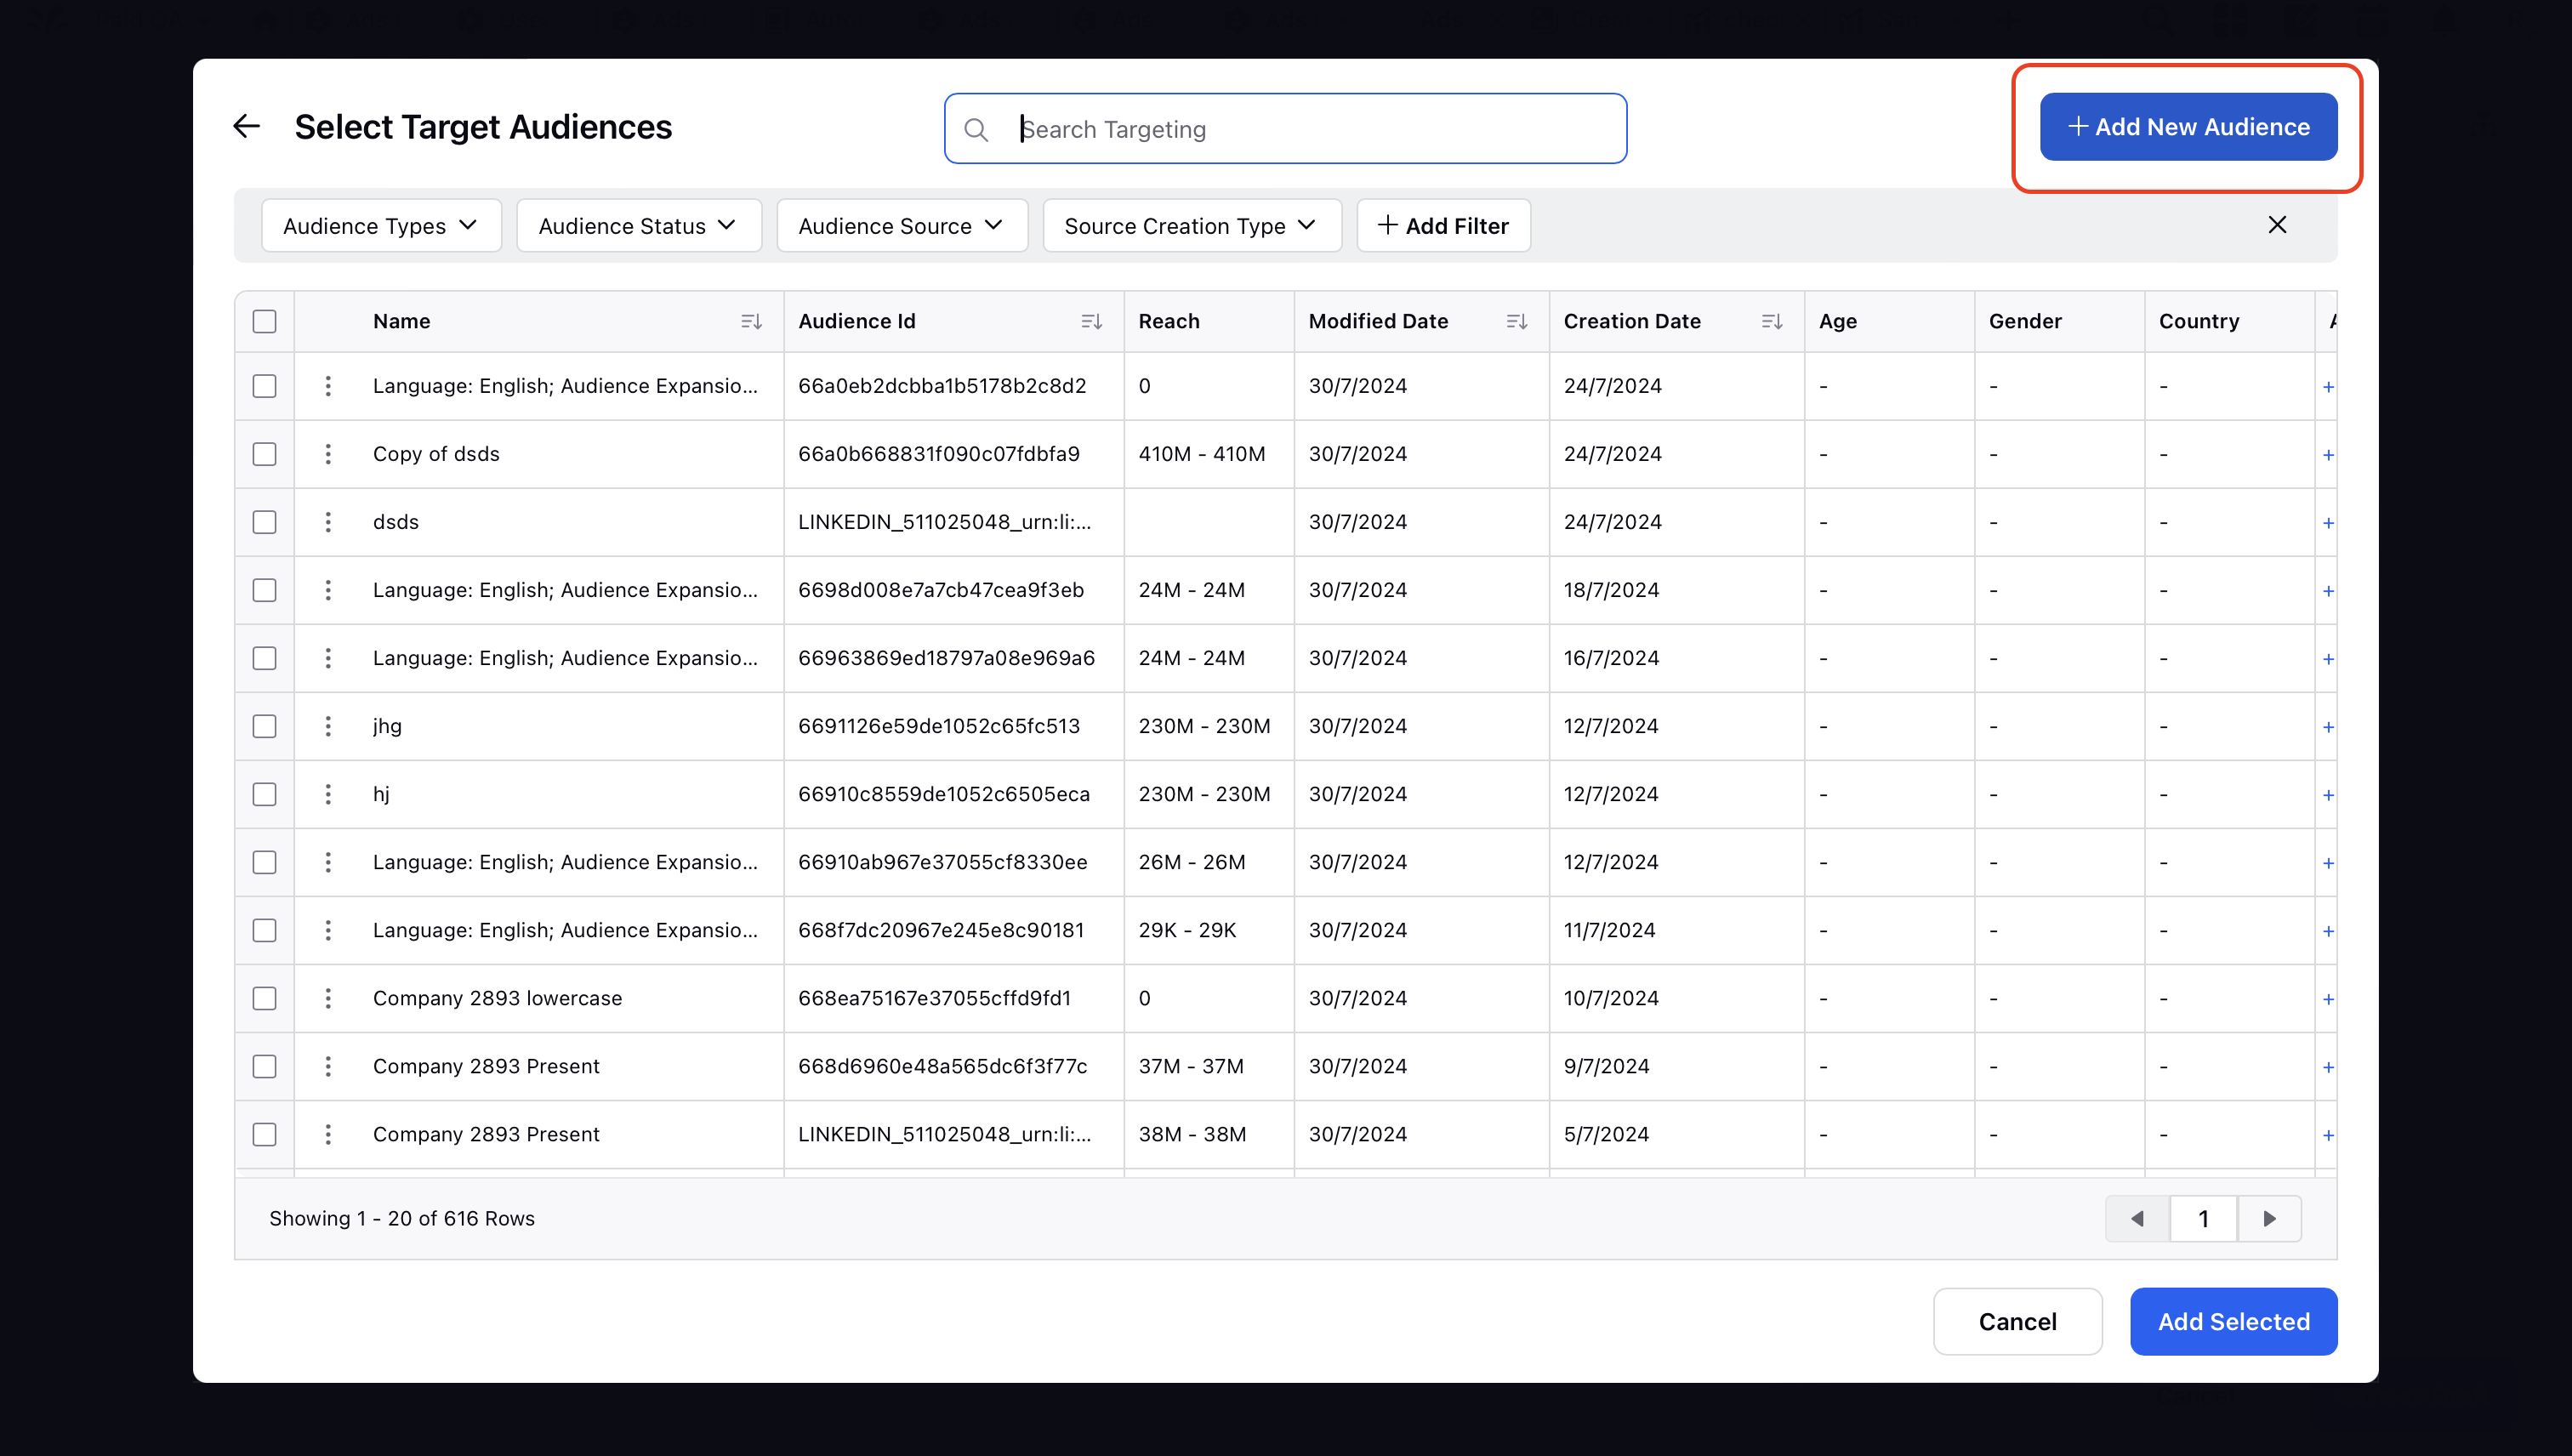
Step 4: In the target audience section, click on the "Add Target Audience" option shown in the snapshot below.
Step 5: Click on- "Add New Audience".
Step 6: The bulb icon displays the "Target Audience Results" and shows an error message if the required inputs are missing.
Target Audience Results: Fields
User can check target audience results with respect to the fields provided below.
Fields for Target Audience Results |
Interests |
Function |
Seniority |
Years of Experience |
Company Size |
Industry |
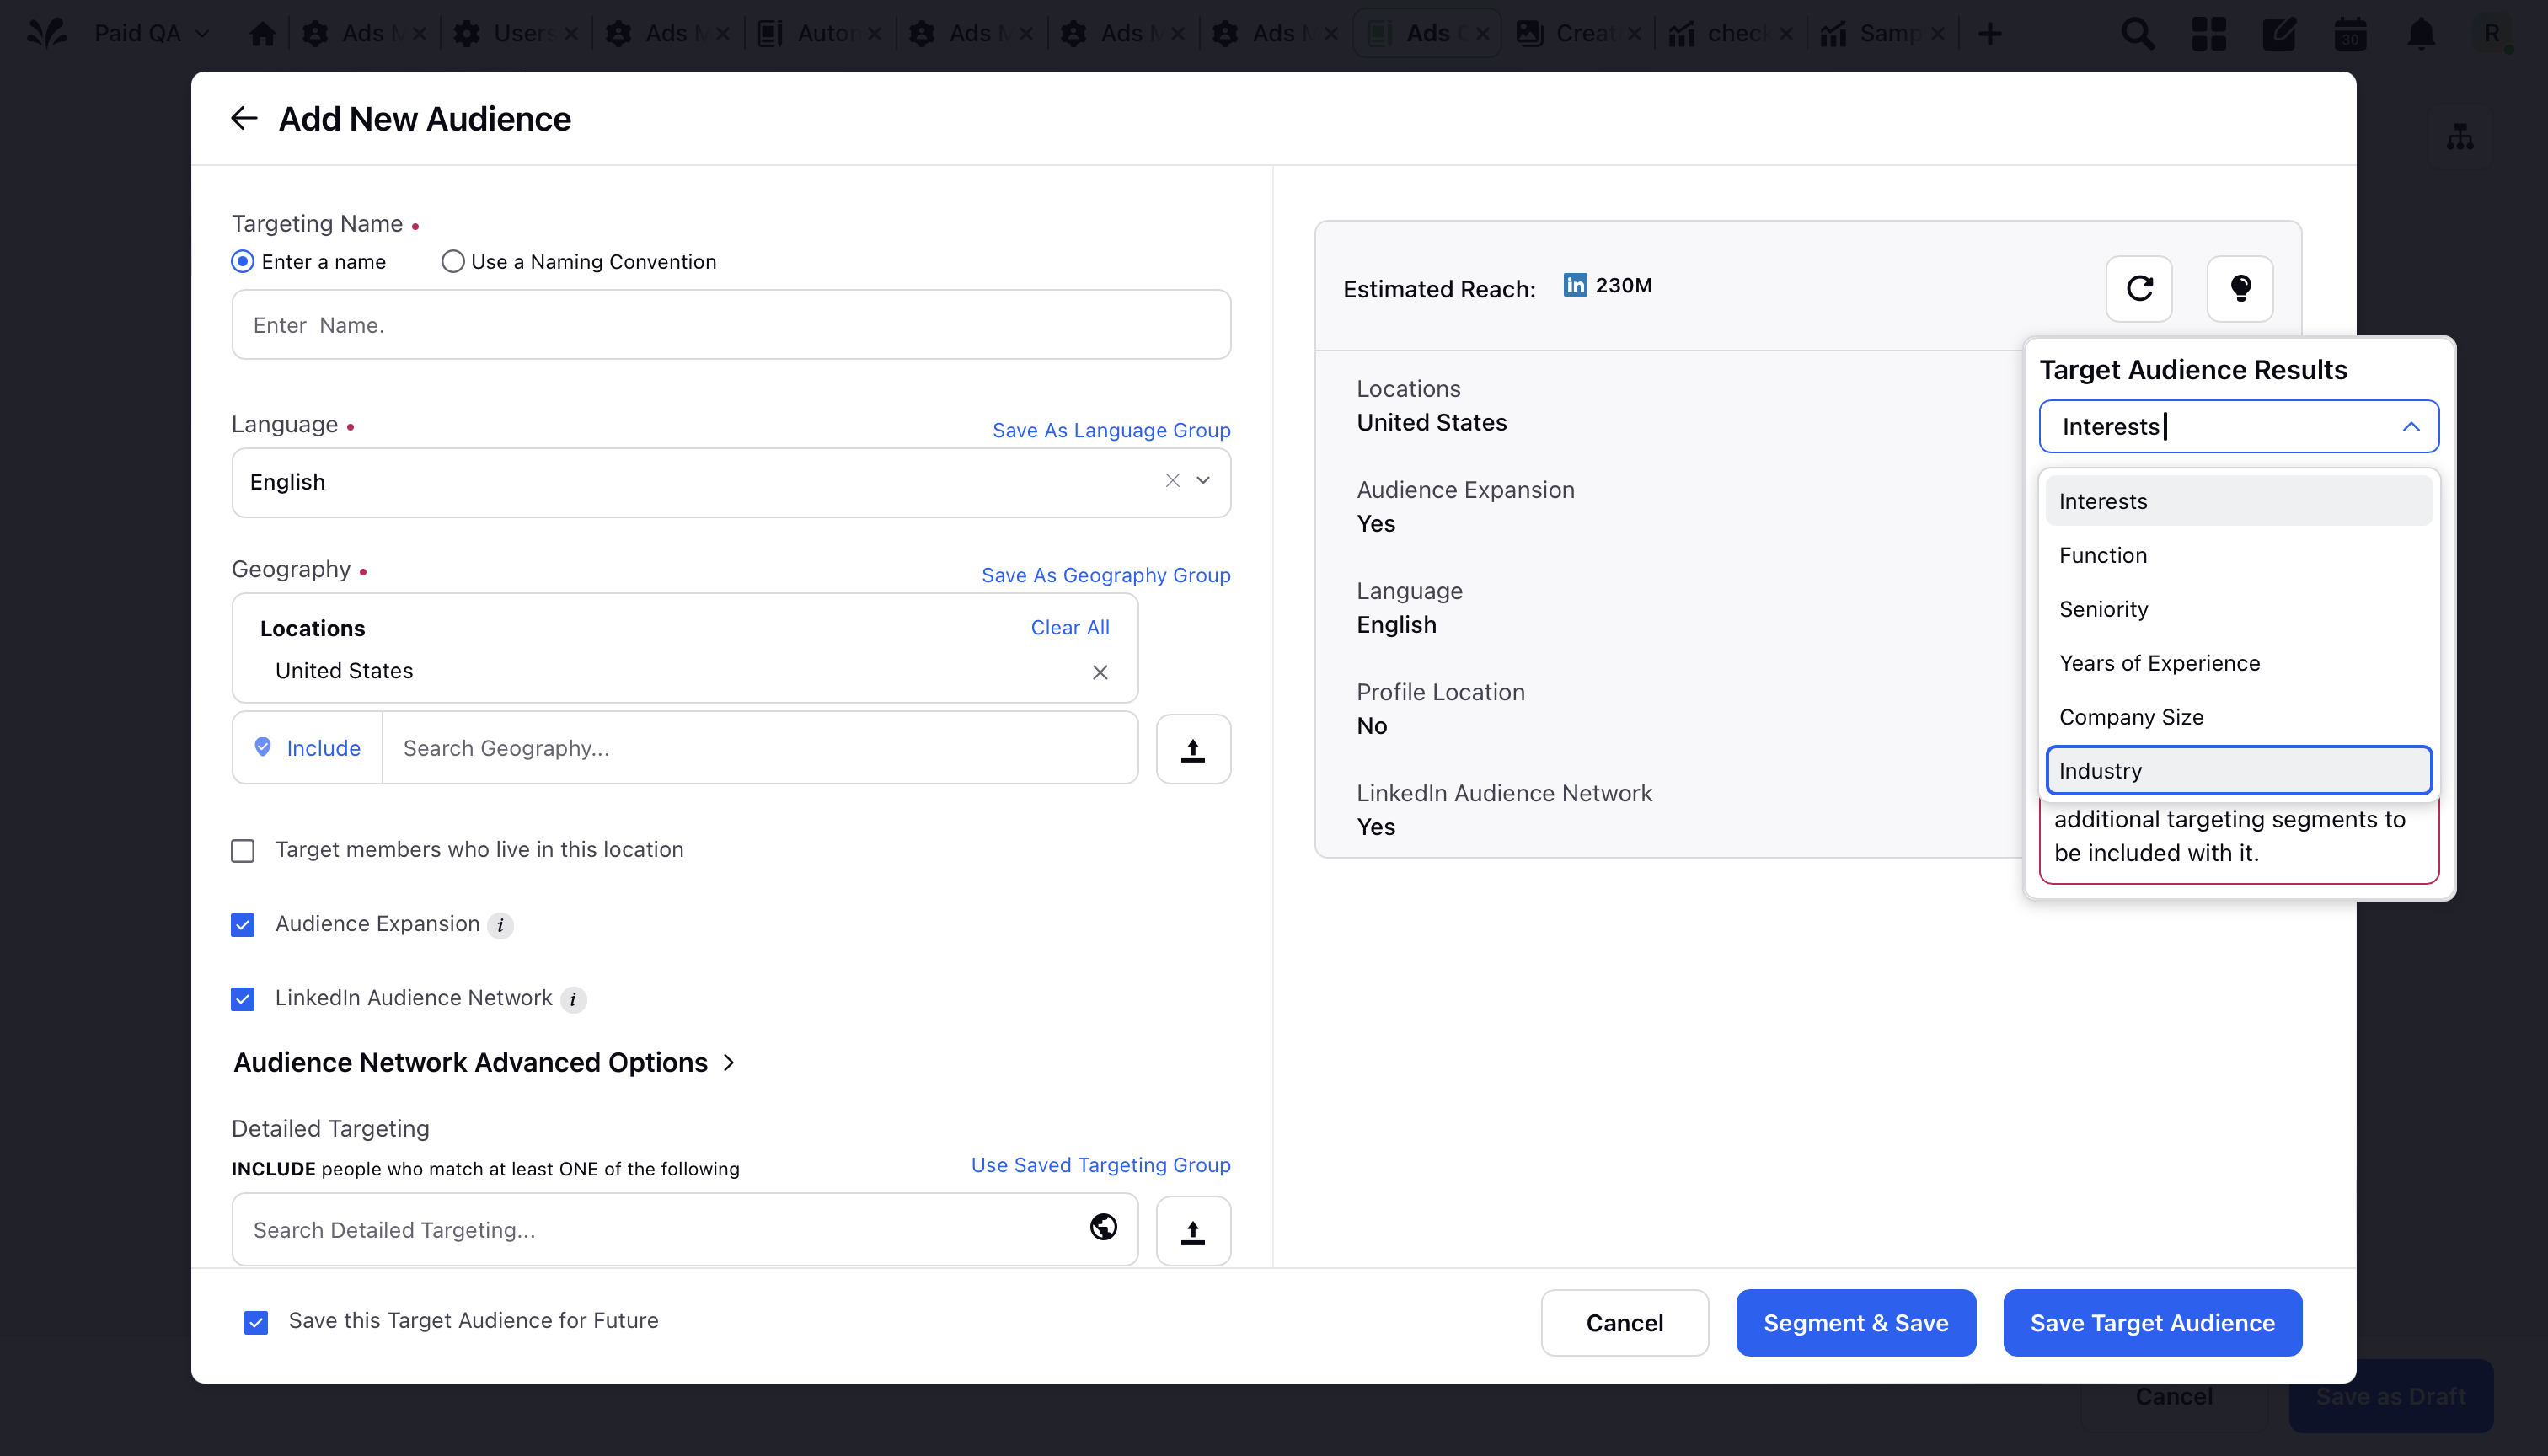
Step 7: After adding the relevant detailed targeting options, the target audience results are displayed as percentages based on the "interest" fields, as shown in the video below.
Required Details for Audience Insights Widgets
Ensure your targeting includes either geo or profileGeo
Include one additional targeting segment (e.g., job function, company size) beyond age, gender, or language
No extra segments are needed for matched audiences or dynamic segments
Budget Widgets
![]() Note: You can follow the same process for Budget Widgets in both Ads Composer and Ads Manager. The steps below are illustrated using Ads Composer.
Note: You can follow the same process for Budget Widgets in both Ads Composer and Ads Manager. The steps below are illustrated using Ads Composer.
Step 1: After selecting the target audience, choose the "Budget and Schedule" option.
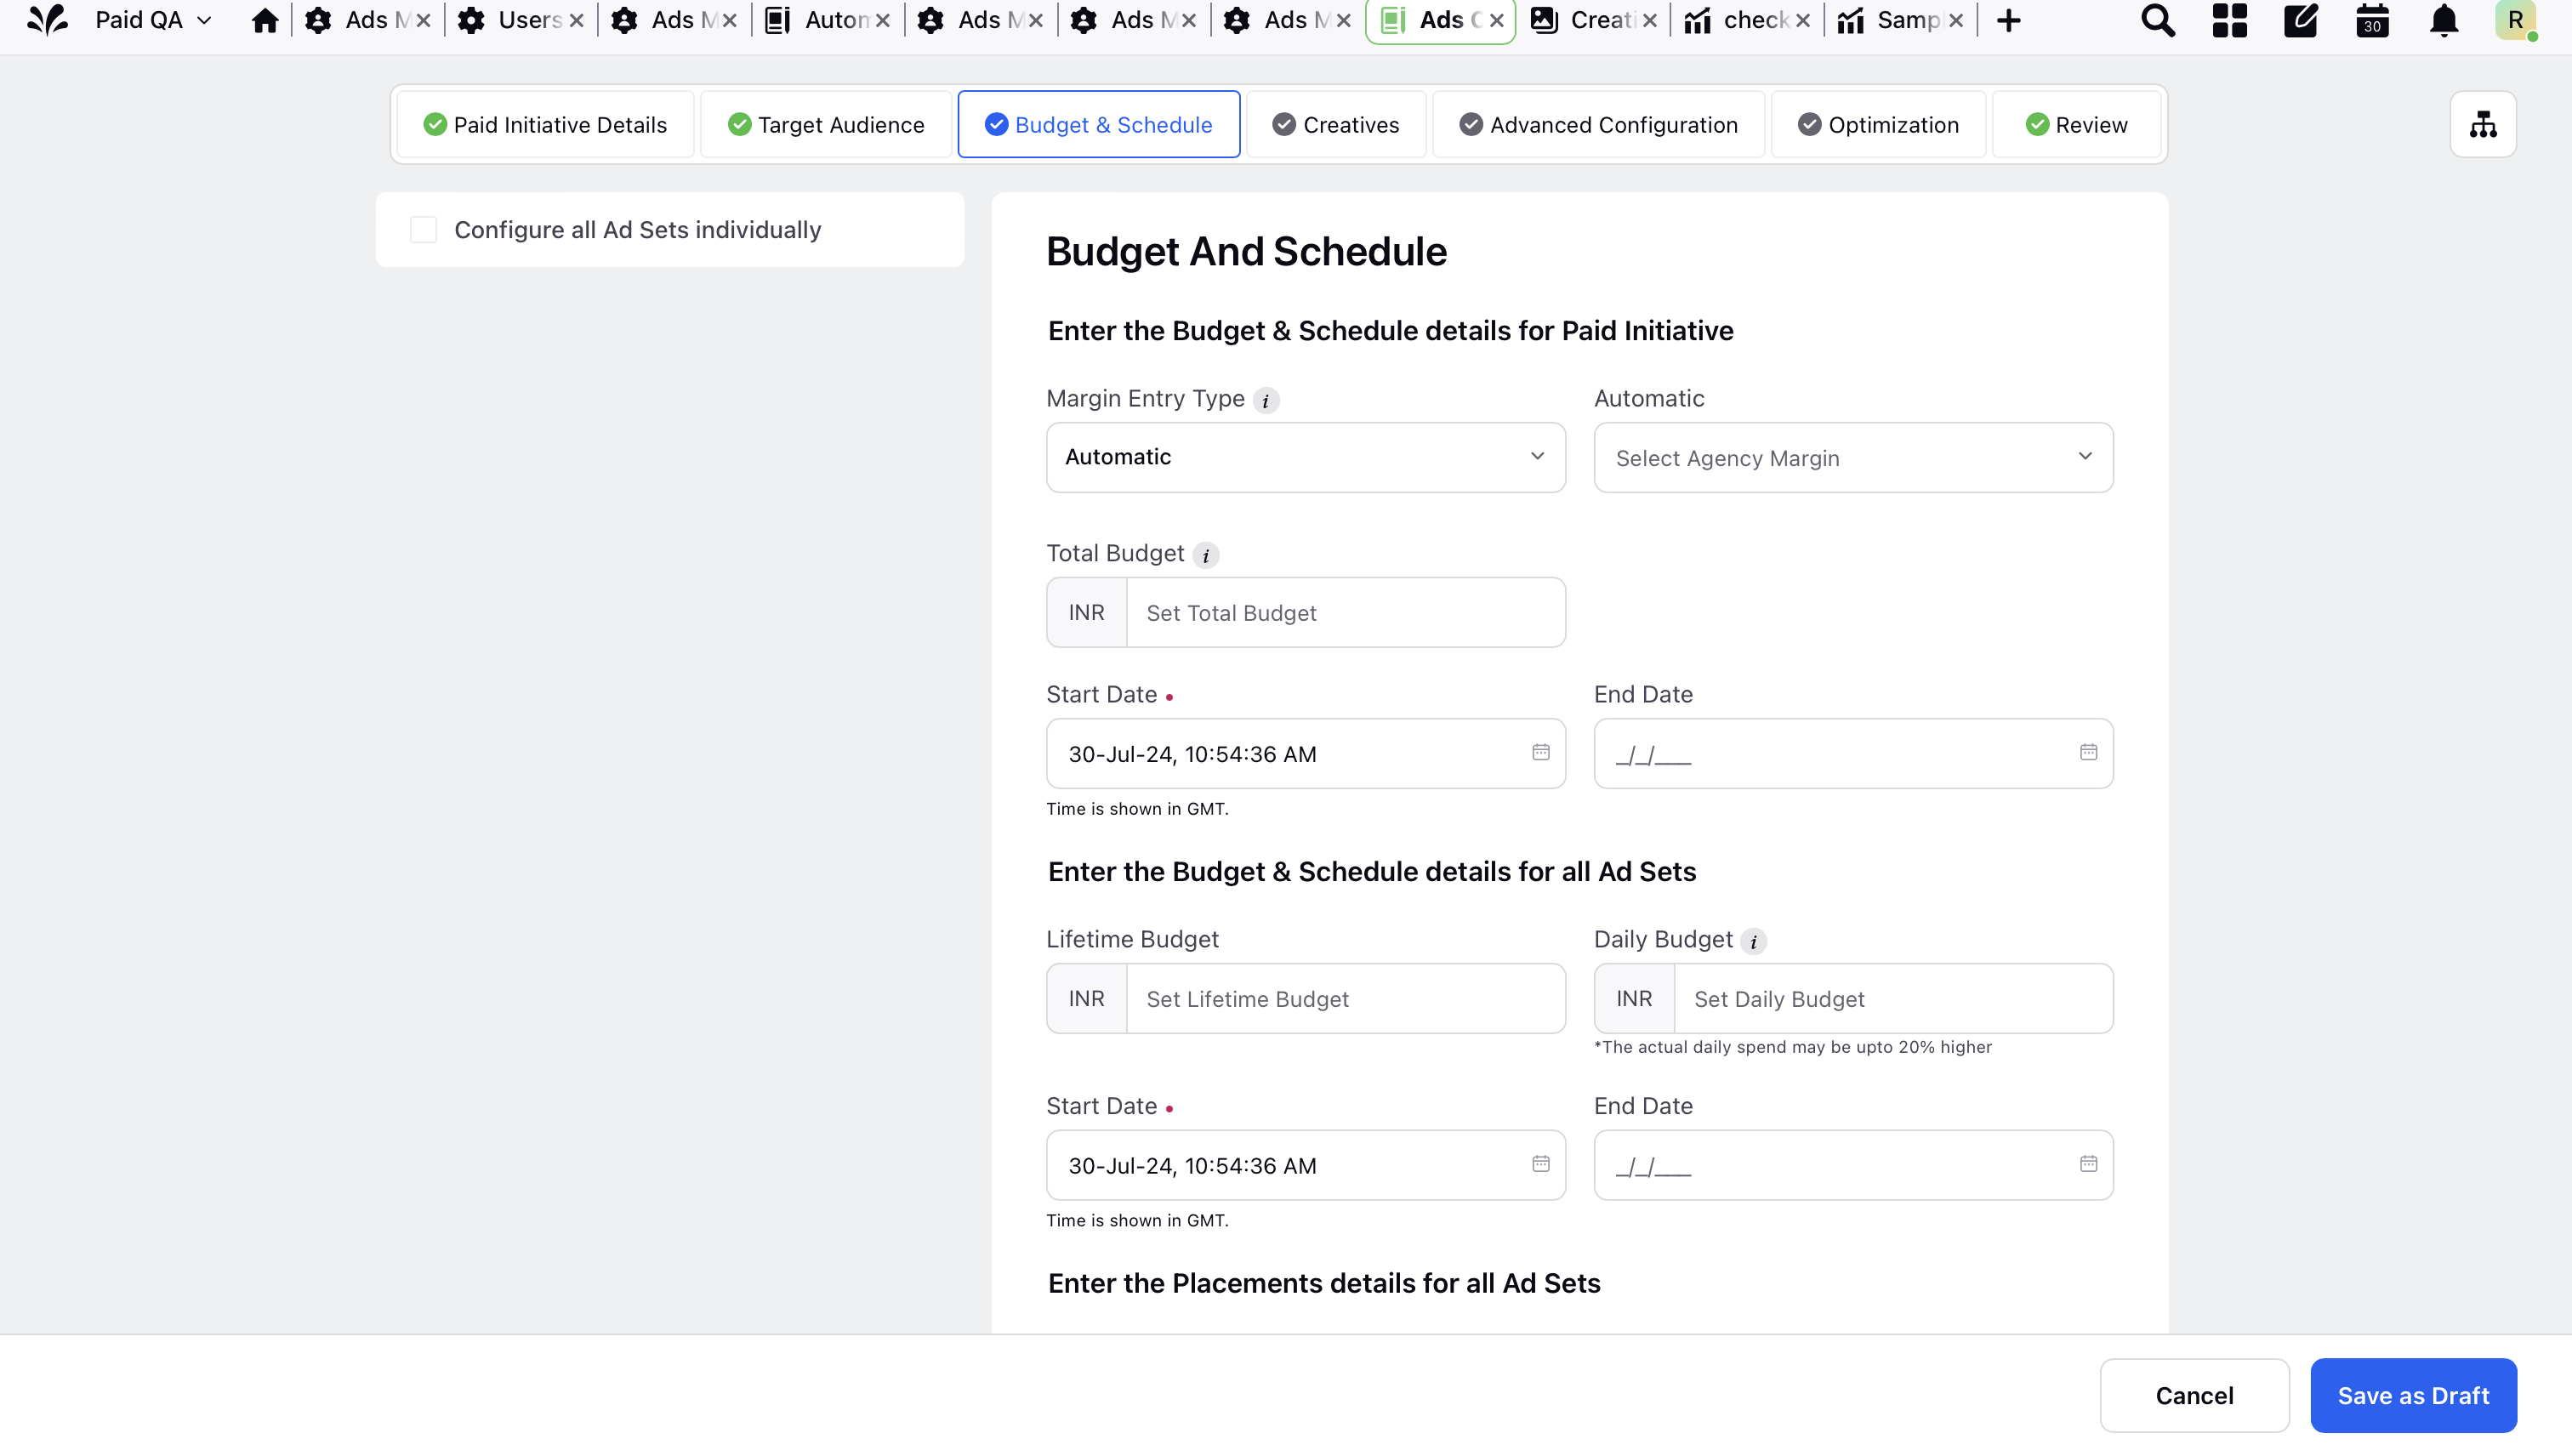
Step 2: After adding the "Daily Budget," users can view the budget and schedule results, as demonstrated in the video below.
![]() Note: The Budget and Schedule Results are available for 1 day, 7 days, and 30 days.
Note: The Budget and Schedule Results are available for 1 day, 7 days, and 30 days.
Required Details for Budget Widgets
A Daily Budget is required
The Lifetime Budget must be valid if included
The time must be set from the present to a future date