Ads Custom Metrics Value Proposition
Updated
Define and calculate key metrics for your business using custom metrics and keep track of important data like ROI.
Similar to the standard metrics used in reporting widgets, you can create your own metrics across all reporting dashboards within Sprinklr. Custom Metrics in Ads are critical for reporting as they can be used to calculate metrics that are important to the business, like ROI, and bring similar metrics from different channels together to give one global view of a particular metric. You can use these metrics to collect and analyze data that reporting doesn't automatically track.
Custom metrics offer much more dynamic reporting capabilities such as non-standard engagement calculations, agency spend fees, cross-channel metrics, and more. In this article, we will be explaining how to create custom metrics in Ads Reporting.
Sprinklr Ads Reporting provides you with the following capabilities:
For examples of custom metrics, see Custom Metric Examples.
To Create a Custom Metric
Click the New Tab icon
. Under the Sprinklr Marketing (Ads) tab, click Ads Reporting within Analyze.
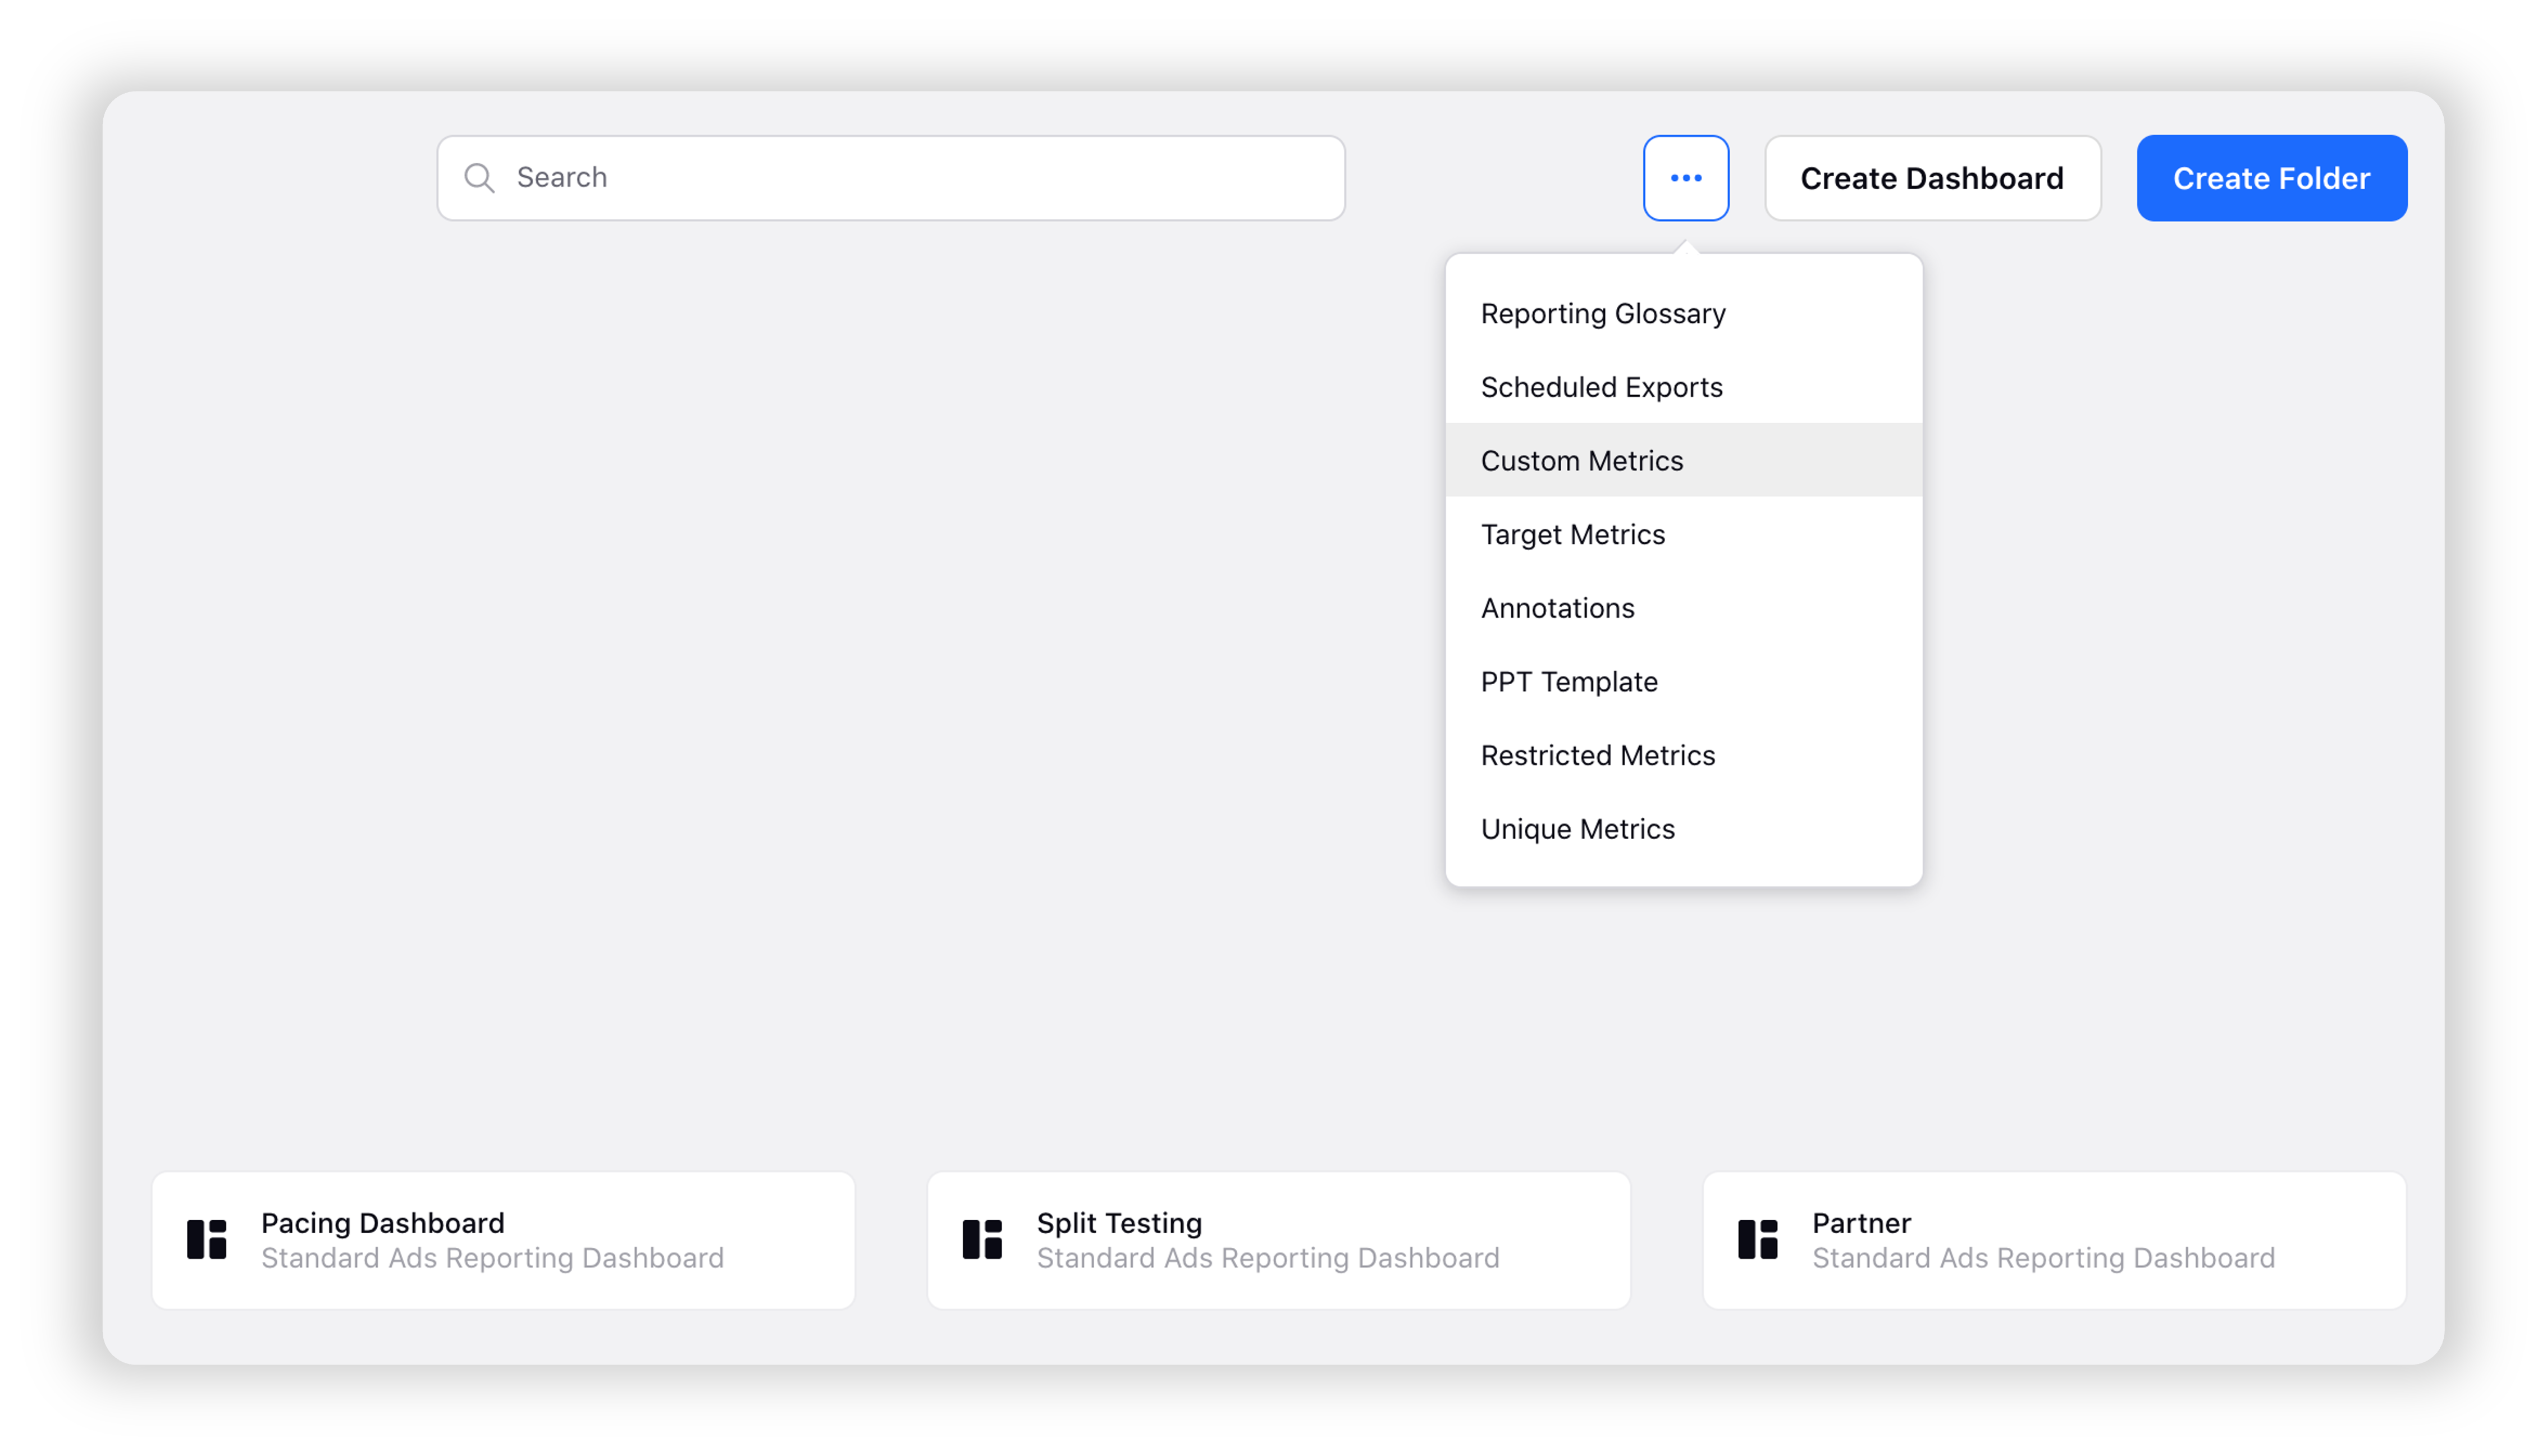
On the Ads Reporting Home, click the Options icon
in the top-right corner and select Custom Metrics.
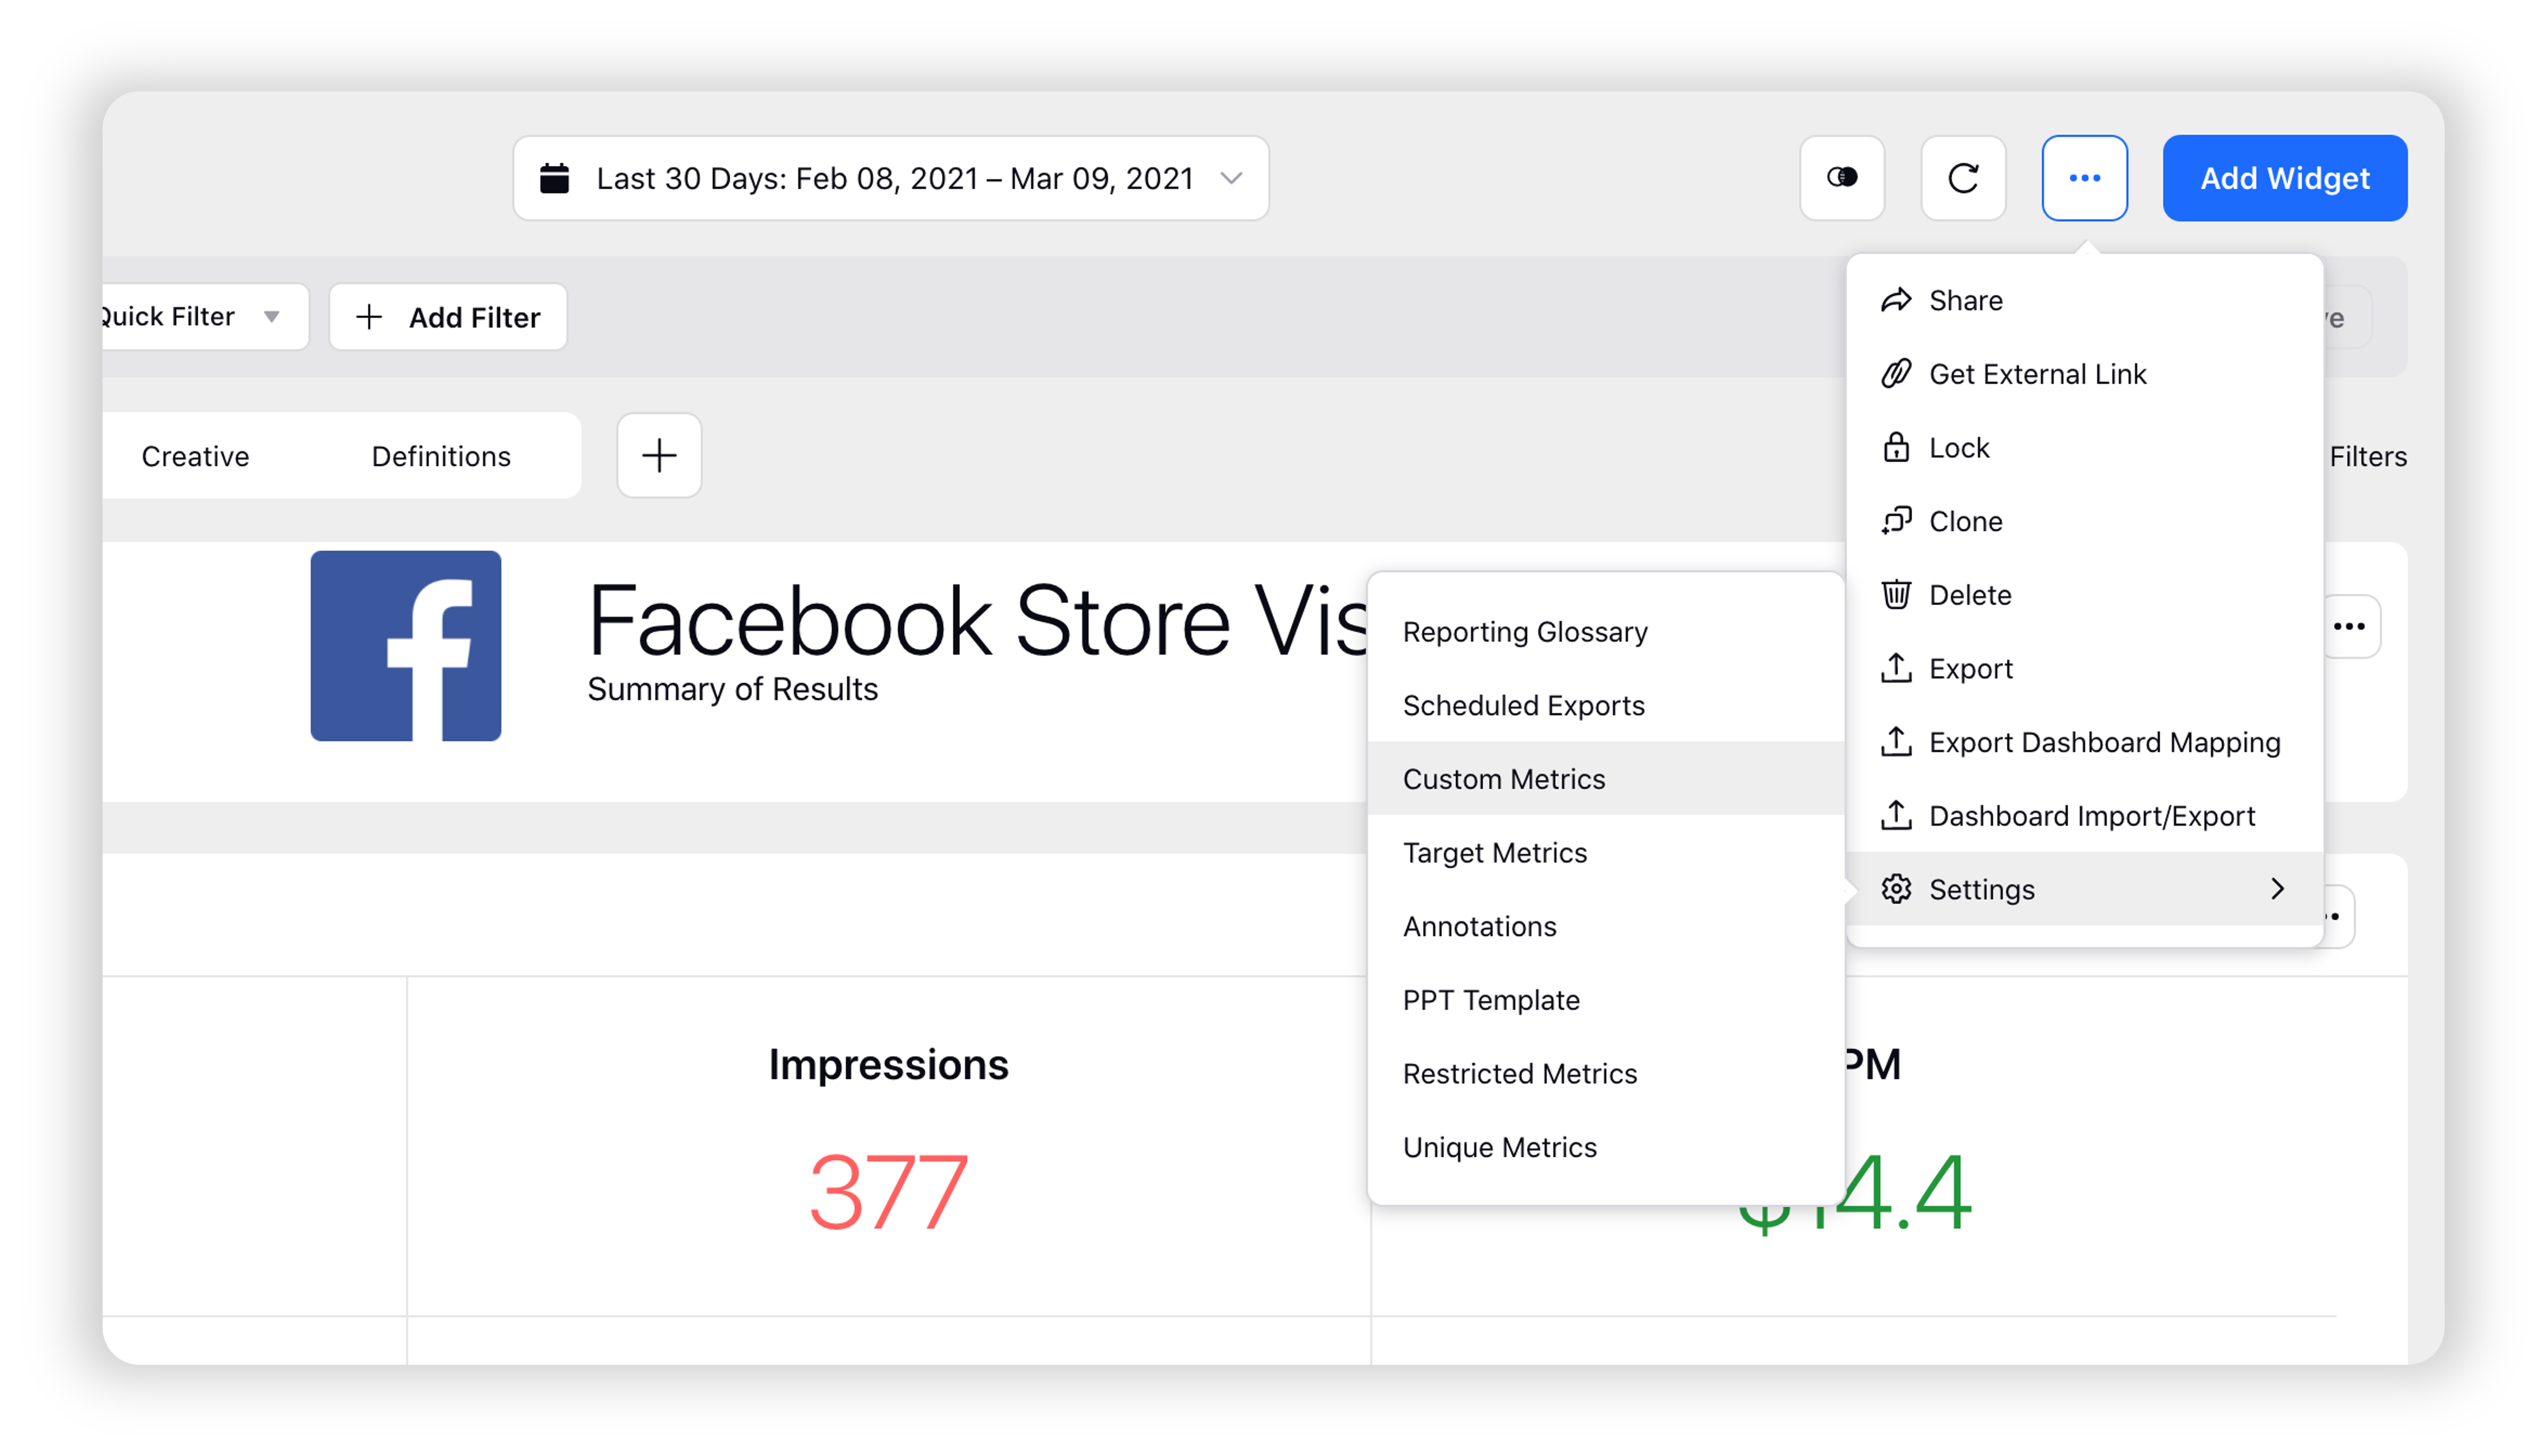
If you are on a Reporting Dashboard, click the Options iconin the top-right corner and scroll down to Settings. Hover over Settings and select Custom Metrics.
In the top-right corner of the Custom Metrics window, click Add Custom Metric.
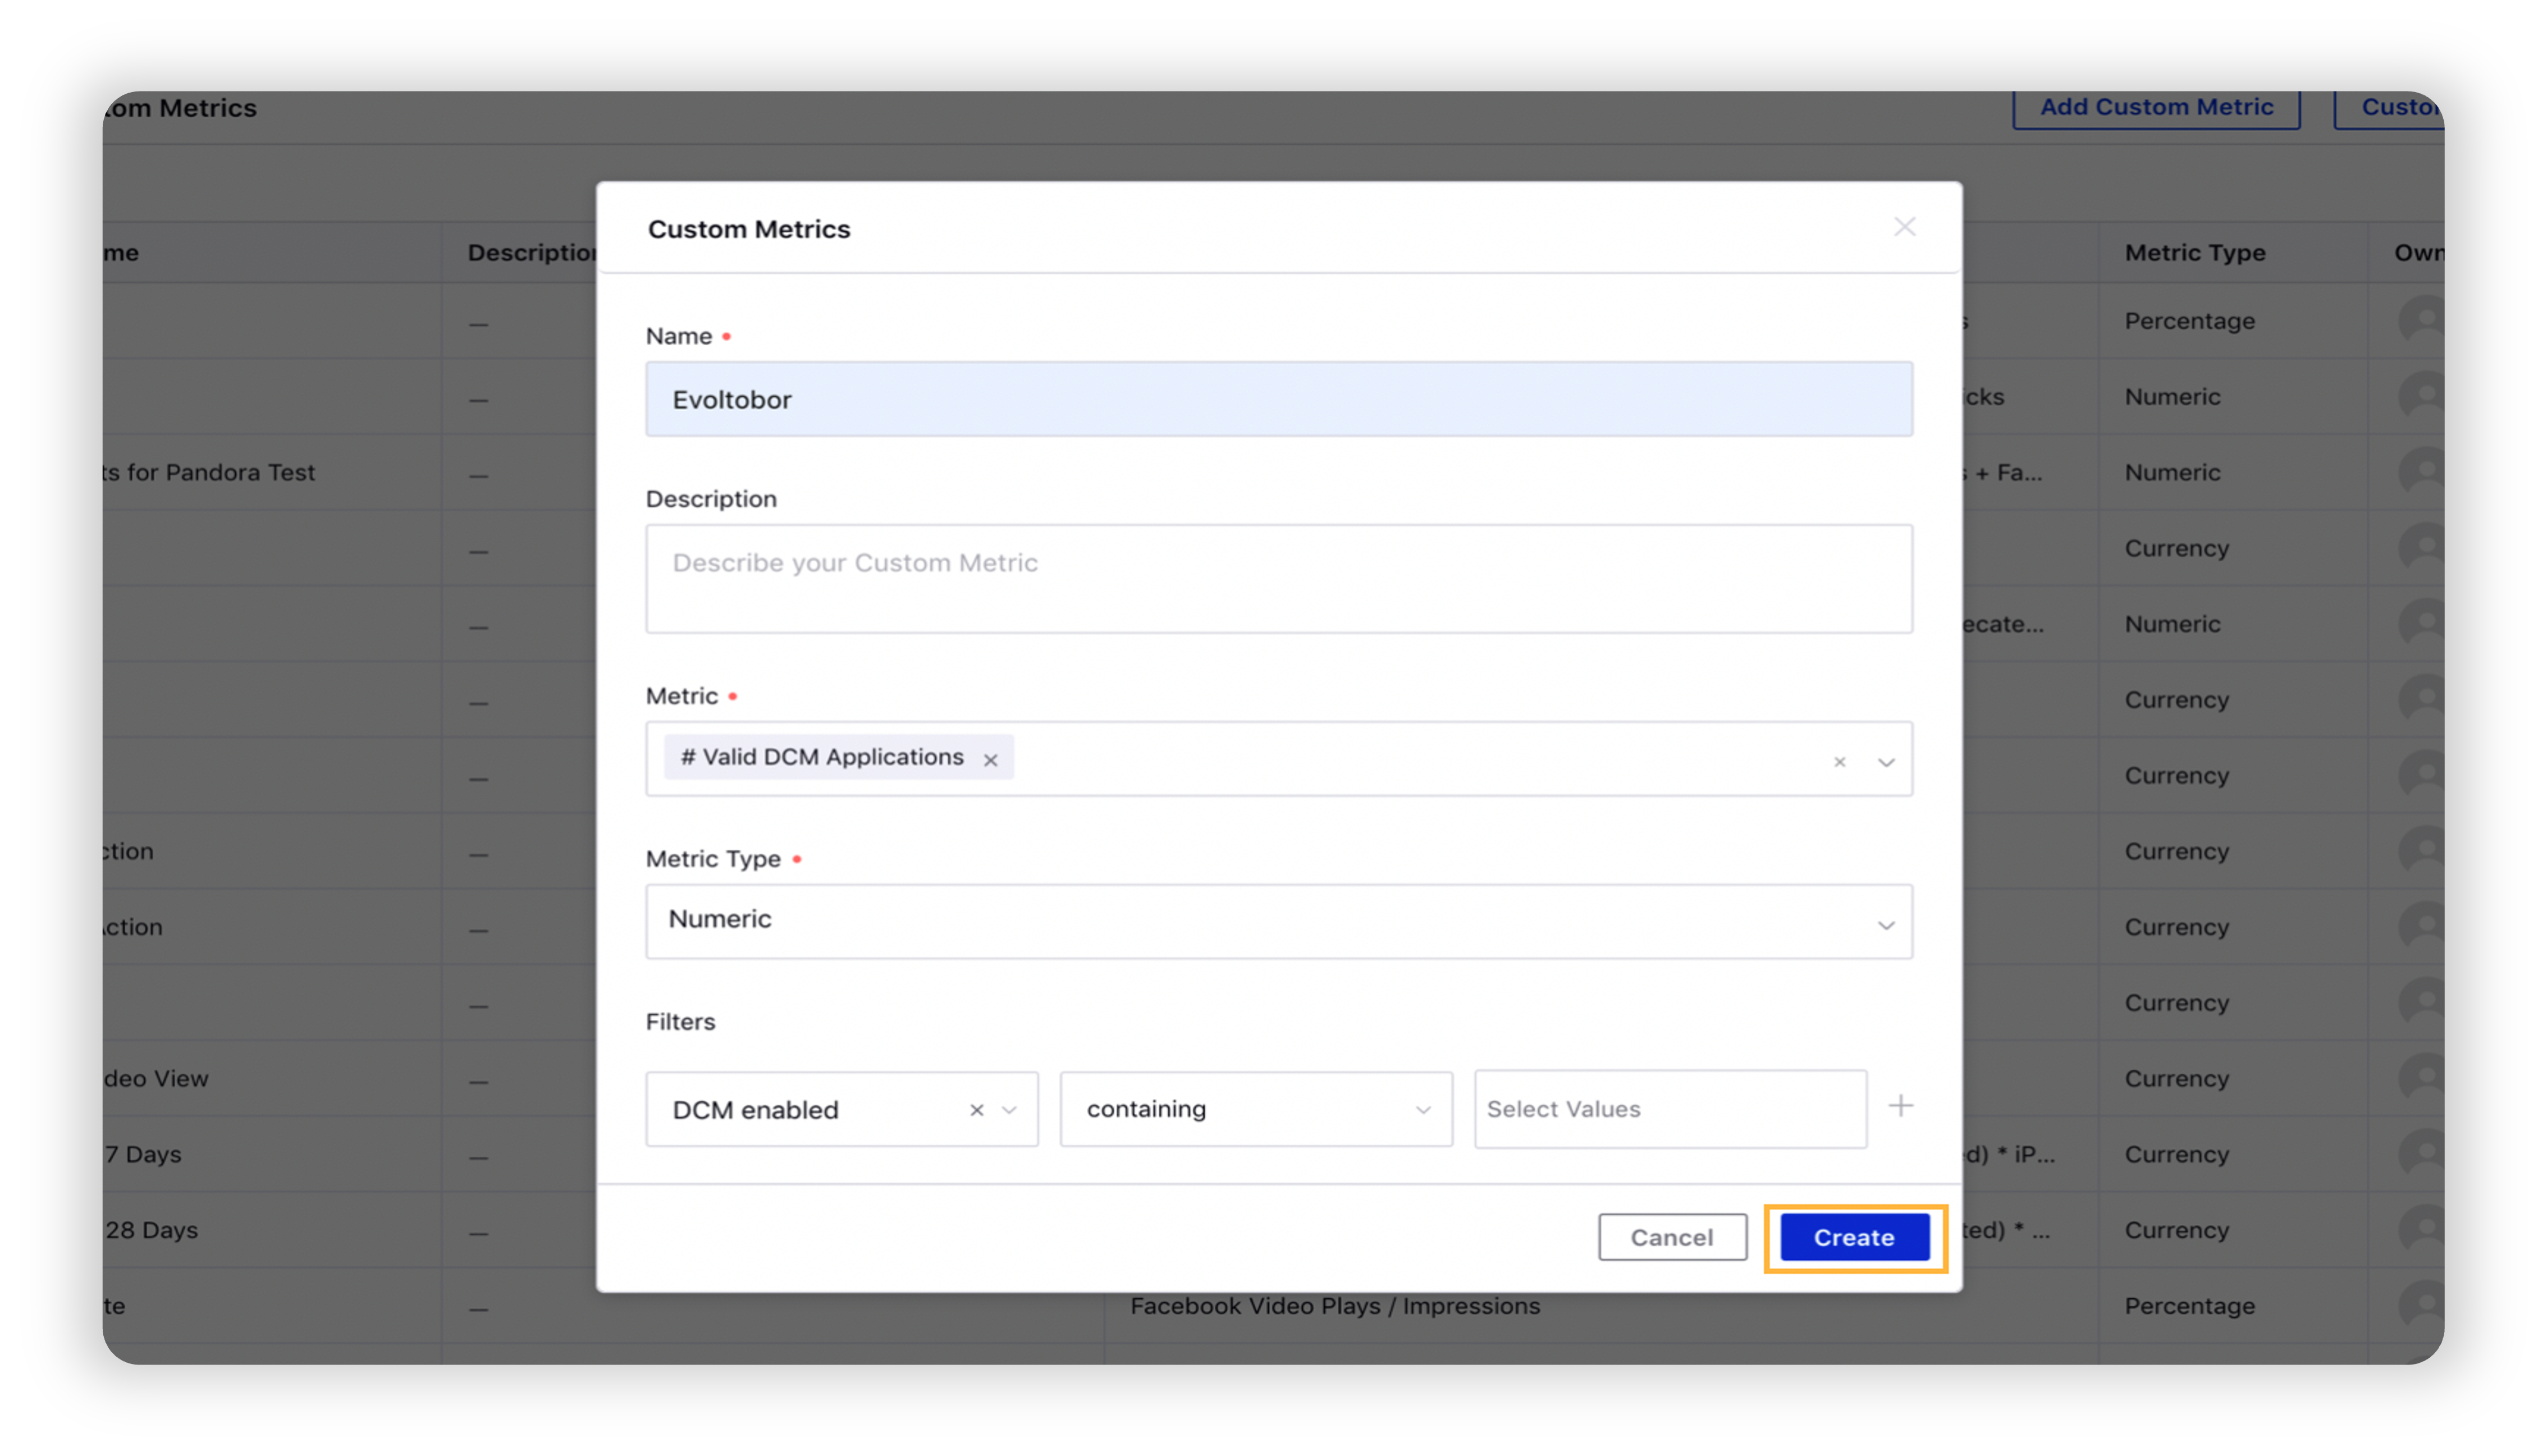
On the Custom Metrics pop-up window, enter the Custom Metric details, and click Create in the bottom right corner. For more information, see Custom Metrics — Field Descriptions.
Note:
|
To Import/Export Custom Metrics
Click the New Tab icon
. Under the Sprinklr Marketing (Ads) tab, click Ads Reporting within Analyze.
On the Ads Reporting Home, click the Options icon
in the top-right corner and select Custom Metrics.
In the top-right corner of the Custom Metrics window, click Custom Metric Import/Export.
To Import Custom Metrics
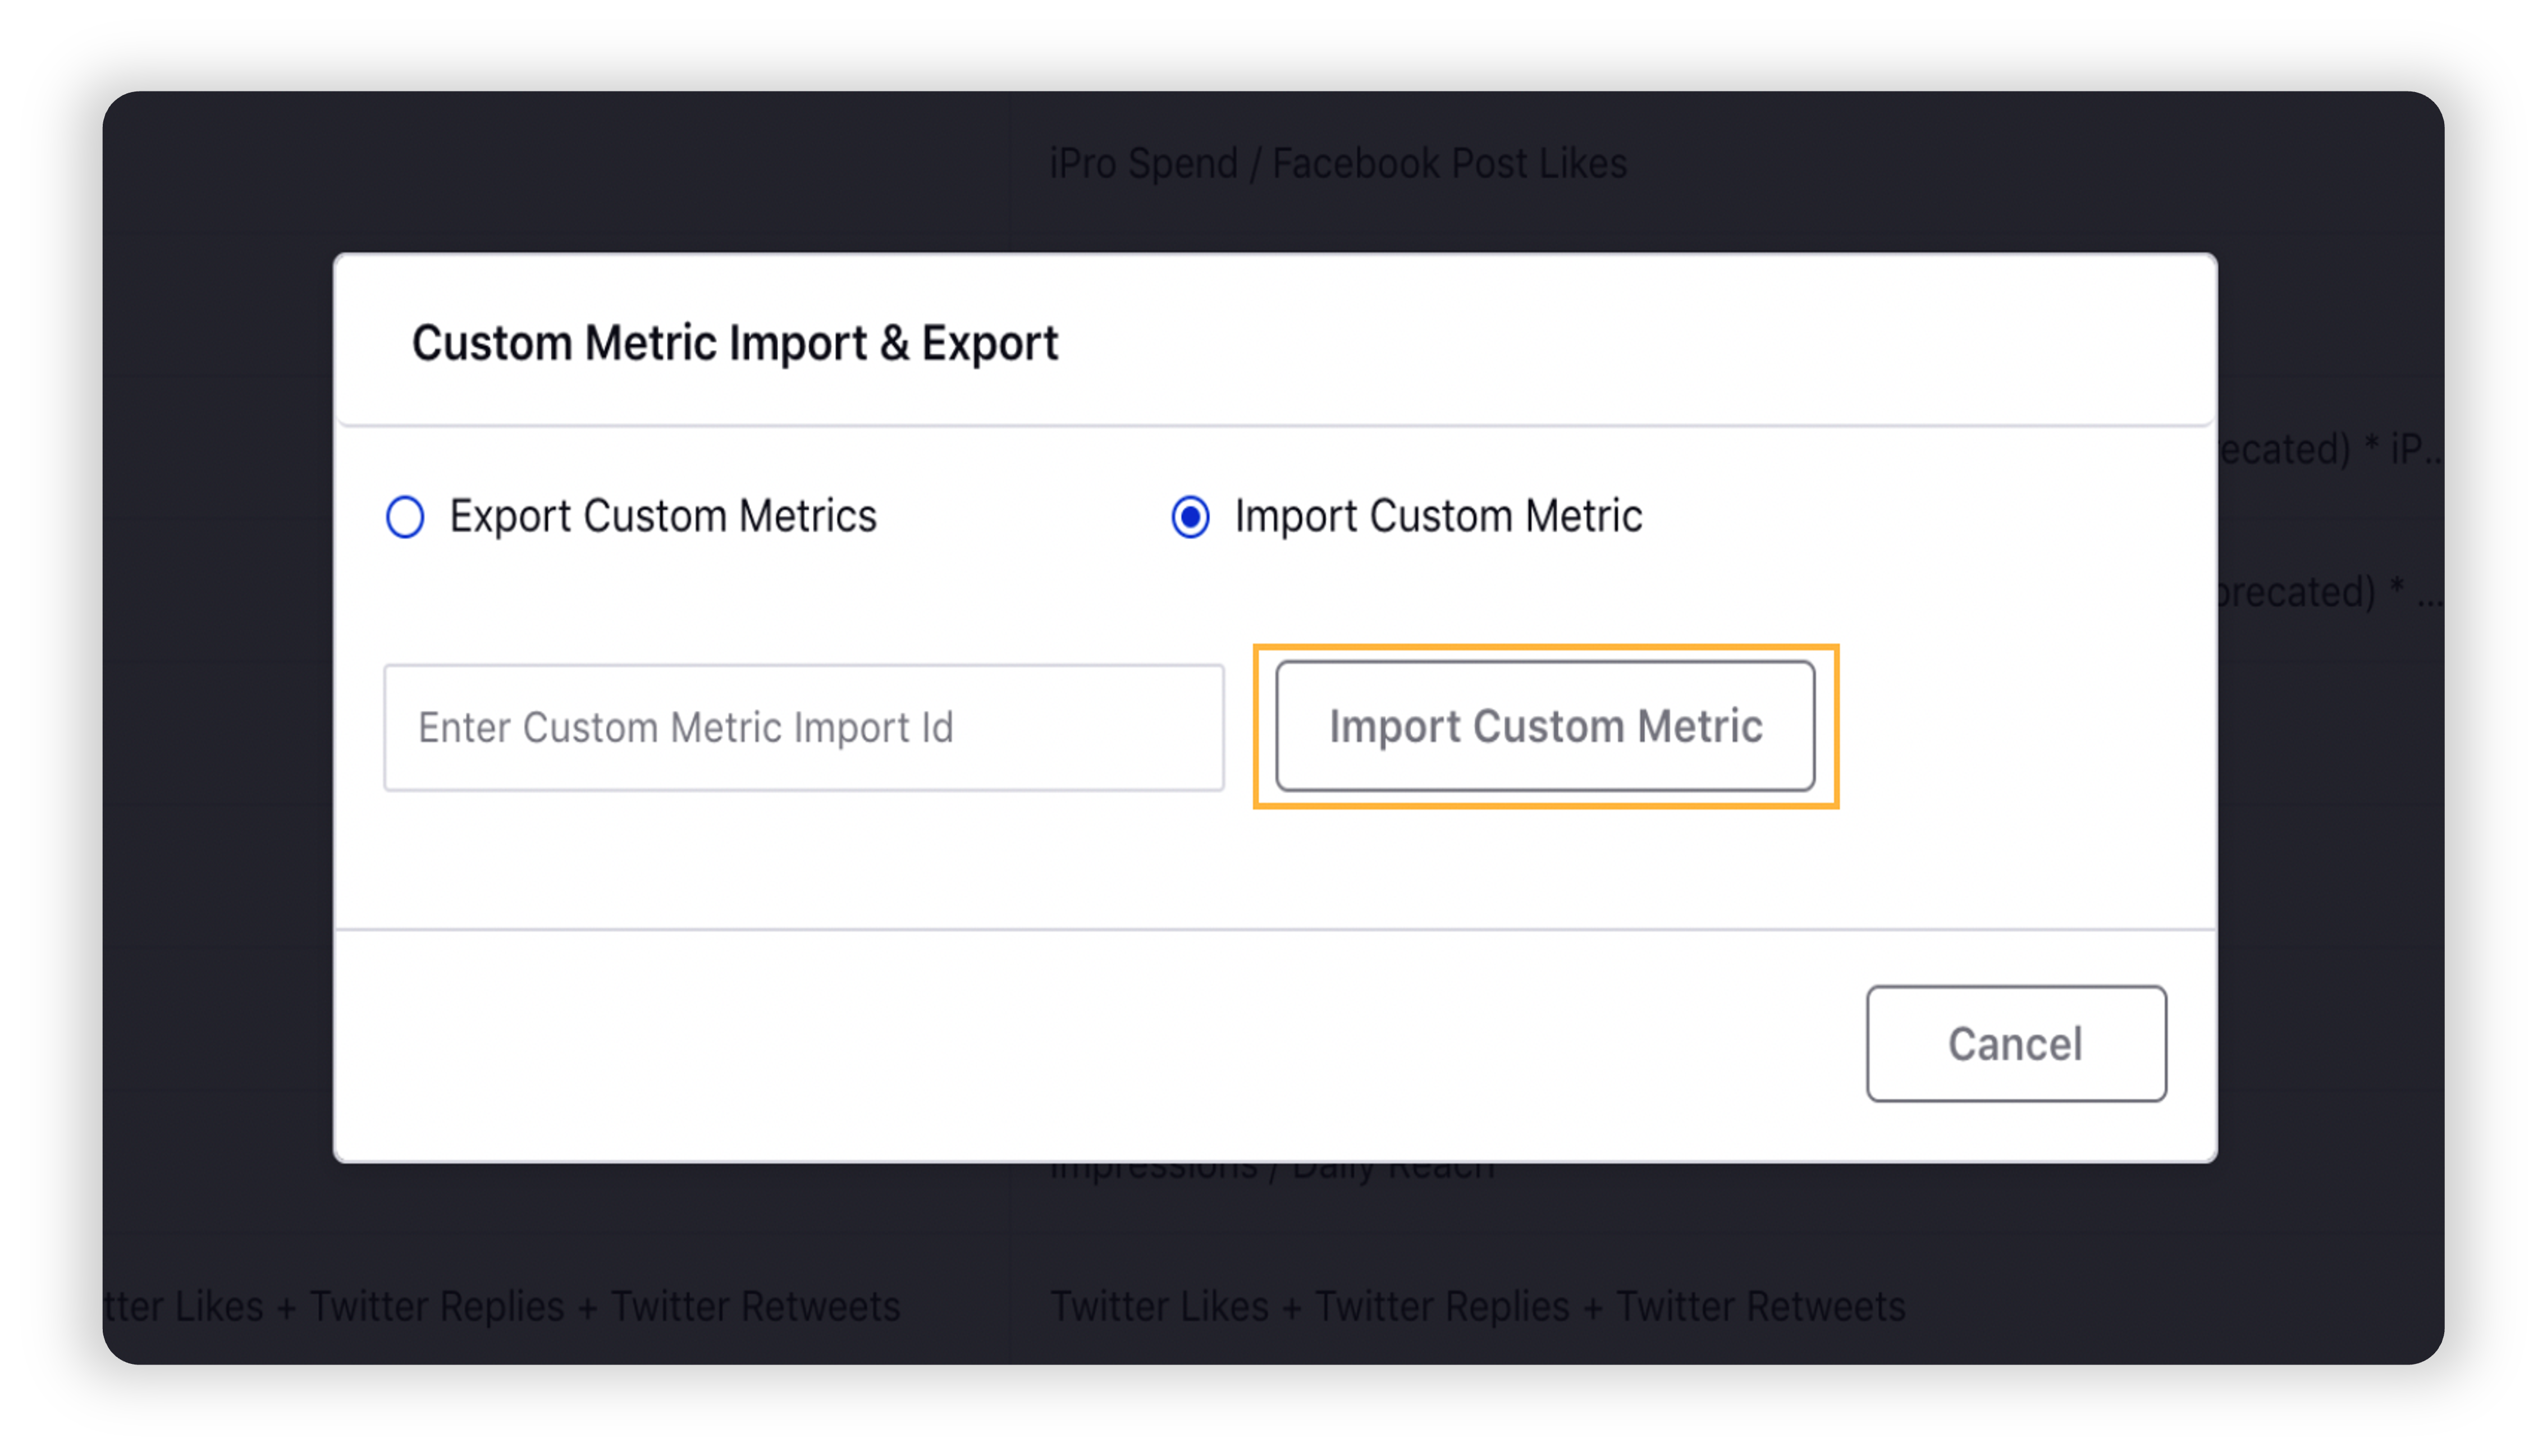
On the Custom Metric Import & Export pop-up window, select the radio icon alongside the Import Custom Metric and provide the Custom Metric Import Id in the given field.
Note: To learn how to generate the Custom Metric Import Id, see steps 1-3 of To Export Custom Metrics.
Click Import Custom Metric alongside to import your custom metrics.
To Export Custom Metrics
On the Custom Metric Import & Export pop-up window, select the radio icon alongside the Export Custom Metrics.
Select the desired custom metrics you want to export from the drop-down menu.
Click Generate Import Id to generate the custom metric import id.
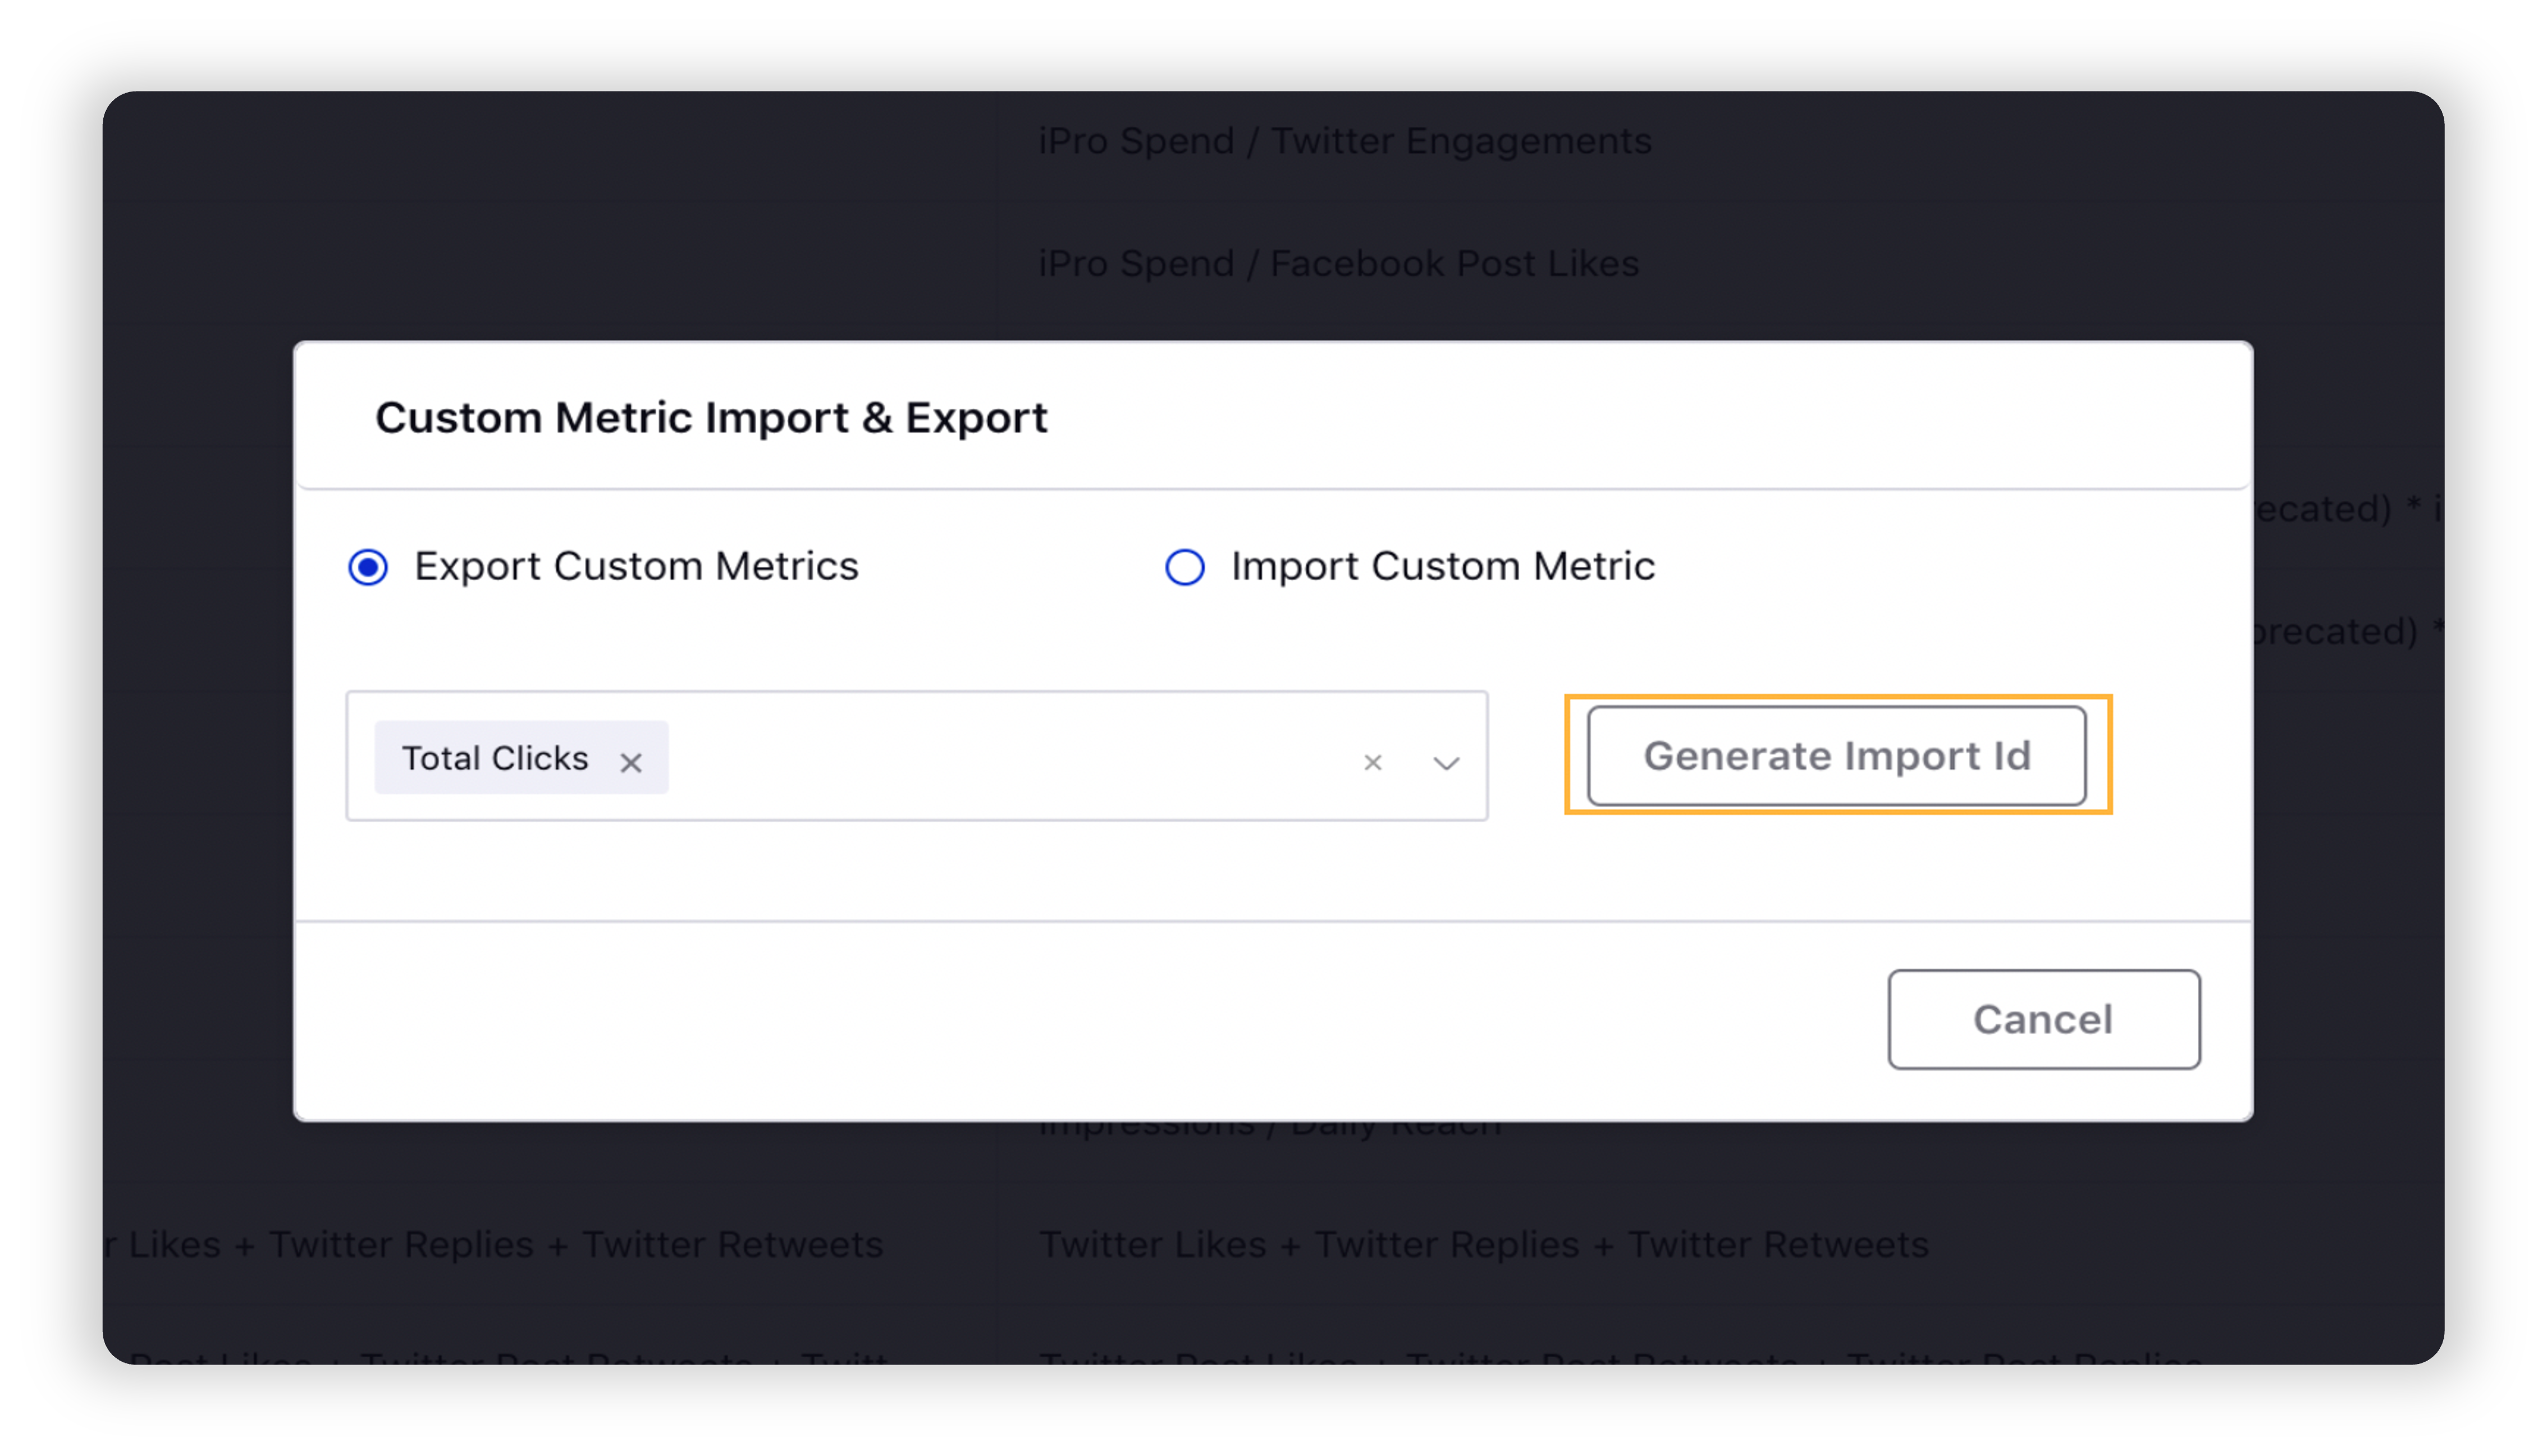
Once the Custom Metric Import Id is generated, you can use this id to import the metrics into a different Partner.
Note: Custom metrics cannot be exported and imported within the same Partner. |
Custom Metrics — Field Descriptions
Term | Description | ||||
Name | Enter a name for the metric. | ||||
Description | Enter a description of the metric that you want to create.
| ||||
Metric | Select the metric(s) from the list. You can select a numeric operator from the list and add another metric.
| ||||
Metric Type | Select the desired metric type. The metric type is the unit in which the data count gets reflected. You may select from the following metric types:
| ||||
Filters | Add dimensions, filter type, and select values. | ||||
Color Coding | Define the desired value ranges and associated colors. These will be reflected in Table and Cross-Tab (Listening) widgets where the metric is used. | ||||
Note:
| |||||