Create a New Portfolio
Updated
In this article we will discuss how to create a portfolio. If you wish to know about what a portfolio is, collaboration in portfolio management and how to get permissions to create a portfolio, refer to the article What is a portfolio?
Following are the steps to create a portfolio:
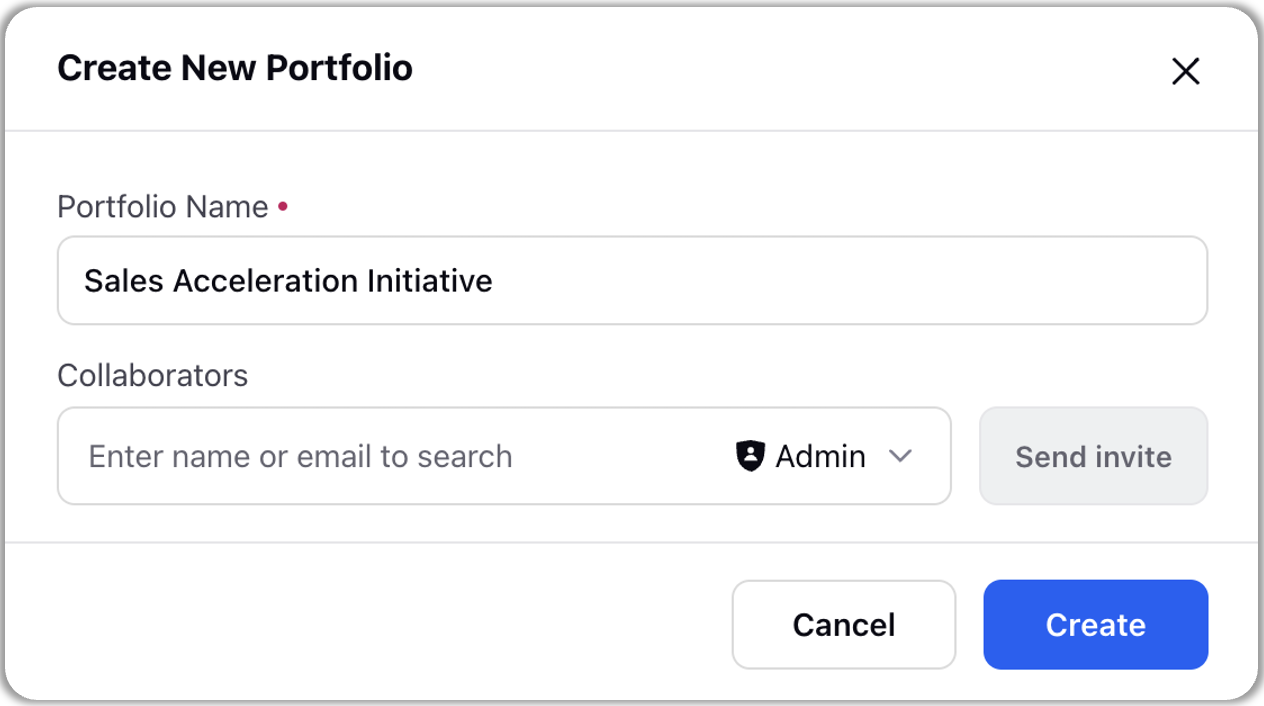
Navigate to the “Portfolio” page in Project Management by clicking on the portfolio icon on the left your screen. Then click on “Create” button on the top right of portfolio page. This will open “Create New Portfolio” pop-up.

In the Create New Portfolio pop up, name your portfolio.

By creating the portfolio, you automatically become the Owner of the portfolio. As an owner of the portfolio, you hold all the permissions in the portfolio. There can only be one portfolio owner.
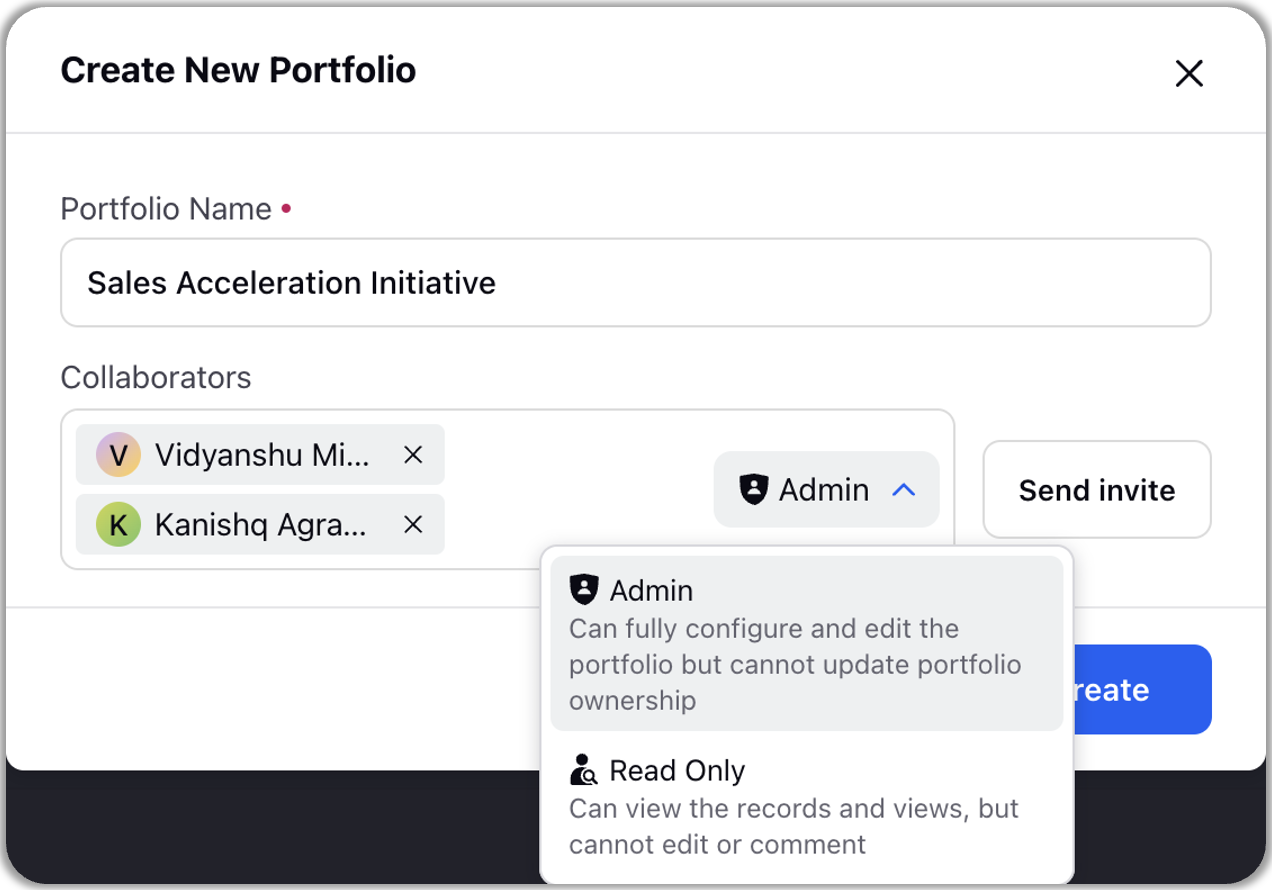
Share the portfolio with your team members by adding them as collaborators. You can give them Admin or Read Only access.
Admin: Admins can fully configure and edit the portfolio but cannot update portfolio ownership.
Read Only: Users with read only access can only view the records and comment on the tasks but cannot edit the records. Also, they cannot add/edit collaborators in portfolio and its projects.

Note: By default, users inherit the same permissions in projects as they possess for the respective portfolio (that is admin of a portfolio automatically becomes the admin of all the projects that have been created or will be created in the portfolio). However, a project owner or admin can change the permissions of other collaborators at project level by promoting their permissions (you cannot reduce permission for the project from what collaborator already has in portfolio).
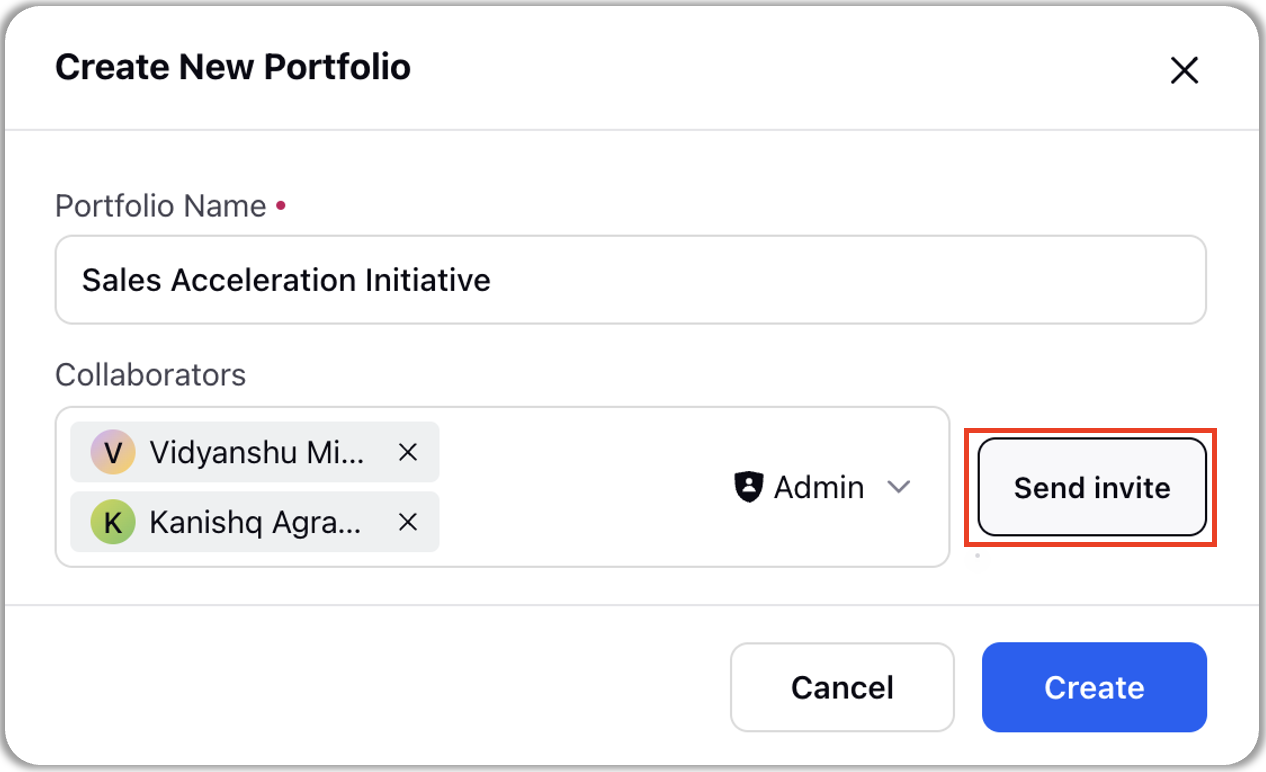
Click on “Send Invite”. The collaborators will be notified through inbox, platform and email notification.

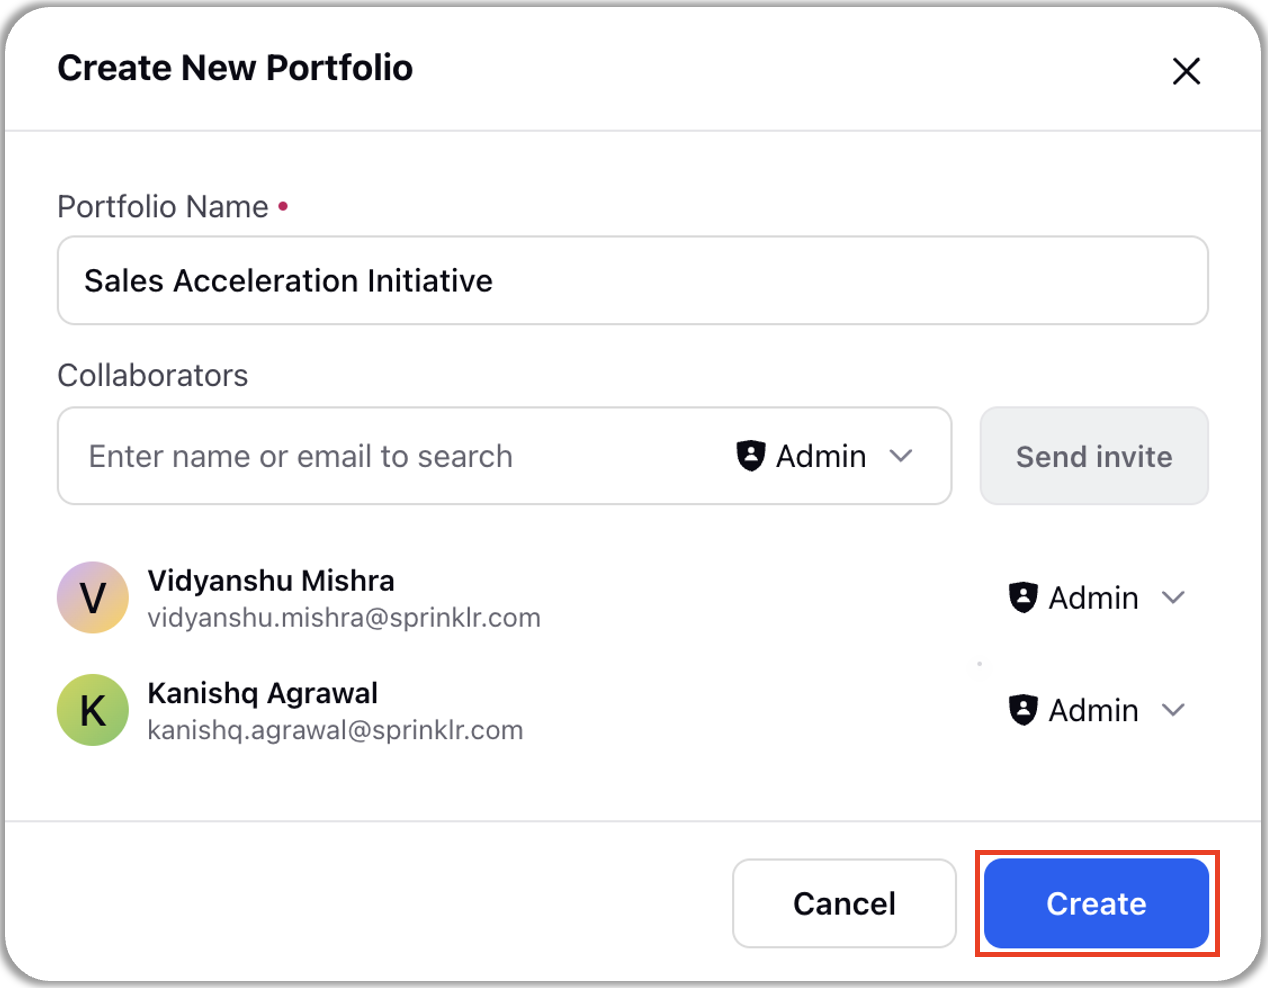
Click on “Create” button to create your portfolio.
