Post Call Workflow
Updated
Post-call workflow system helps improve the conversion rate and effectiveness of call center operations by automating and streamlining the tasks that are performed post-call through voice-led campaigns, such as assigning follow-up tasks, updating customer information, and sending follow-up emails and messages.
The post-call workflow system can be used by call center agents, supervisors, and managers. The system will enable them to:
Send automated follow-up emails or messages to customers
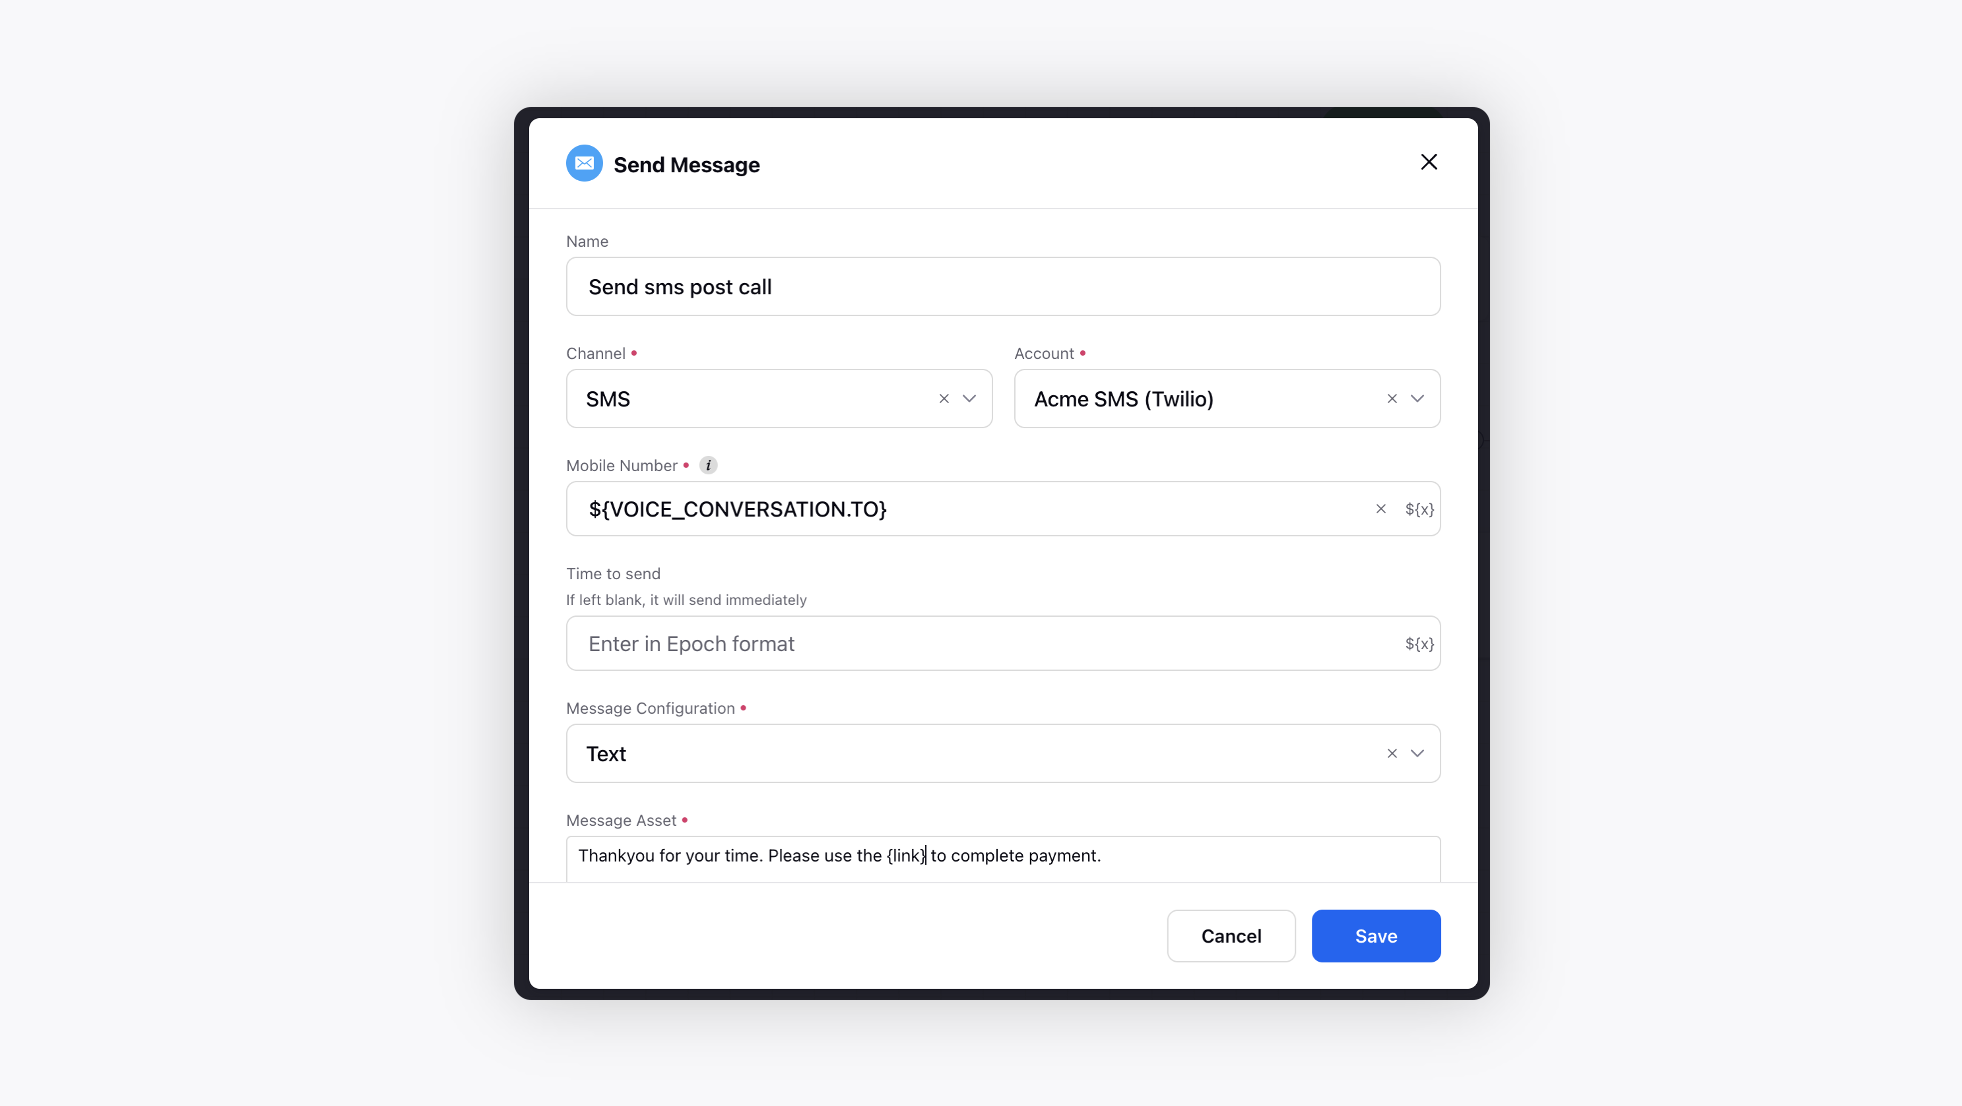
The system enables brands to send automated follow-up emails or messages through an omnichannel console deflecting the conversation to the customer's preferred channel based on the call's outcome. Some examples include communicating with the customer with questions regarding the call, sending product and payment links post-conversation, etc.
Assign follow-up tasks to the appropriate team members
The system enables the creation and assignment of tasks to the appropriate team members based on the call's outcome, which allows supervisors, managers, and agents to effectively manage customer follow-up. This will help to ensure that tasks are completed in a timely and efficient manner and that customers receive appropriate follow-up.
Update customer information in a centralized CRM system
The system can integrate with a centralized CRM system, updating the information post-conversation with the customer. This will ensure that customer information in CRM remains accurate and up-to-date and that customer interactions are tracked and analyzed.
To create a Journey
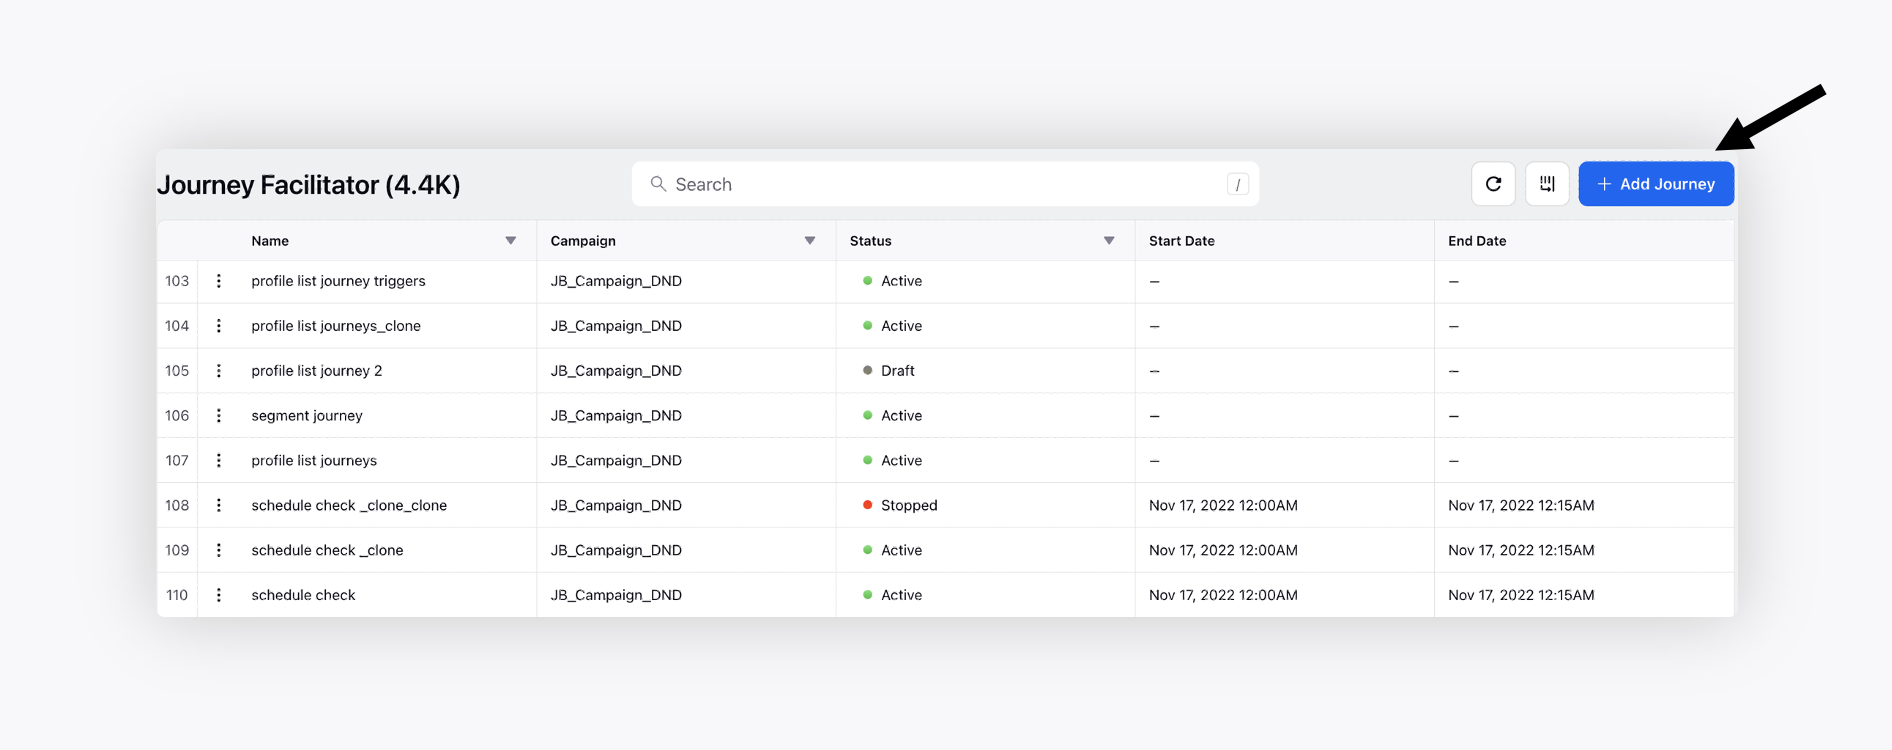
Sprinklr’s Journey Facilitator helps create unified, omnichannel customer journeys using a visual, state-of-the-art flow builder.
Click the New Tab icon
. Under the Sprinklr Service tab, click Journey Facilitator within Resolve.
In the top right corner of the Journey Facilitator window, click Add Journey.
On the Create Journey window, add a Journey Name.

Select a campaign form the Add to Campaign dropdown.
Select the Conversion type.
Select a Start date and an End date for the journey from the calendar.
Select Trigger Based journey and configure the Share Settings. Click Save and proceed.
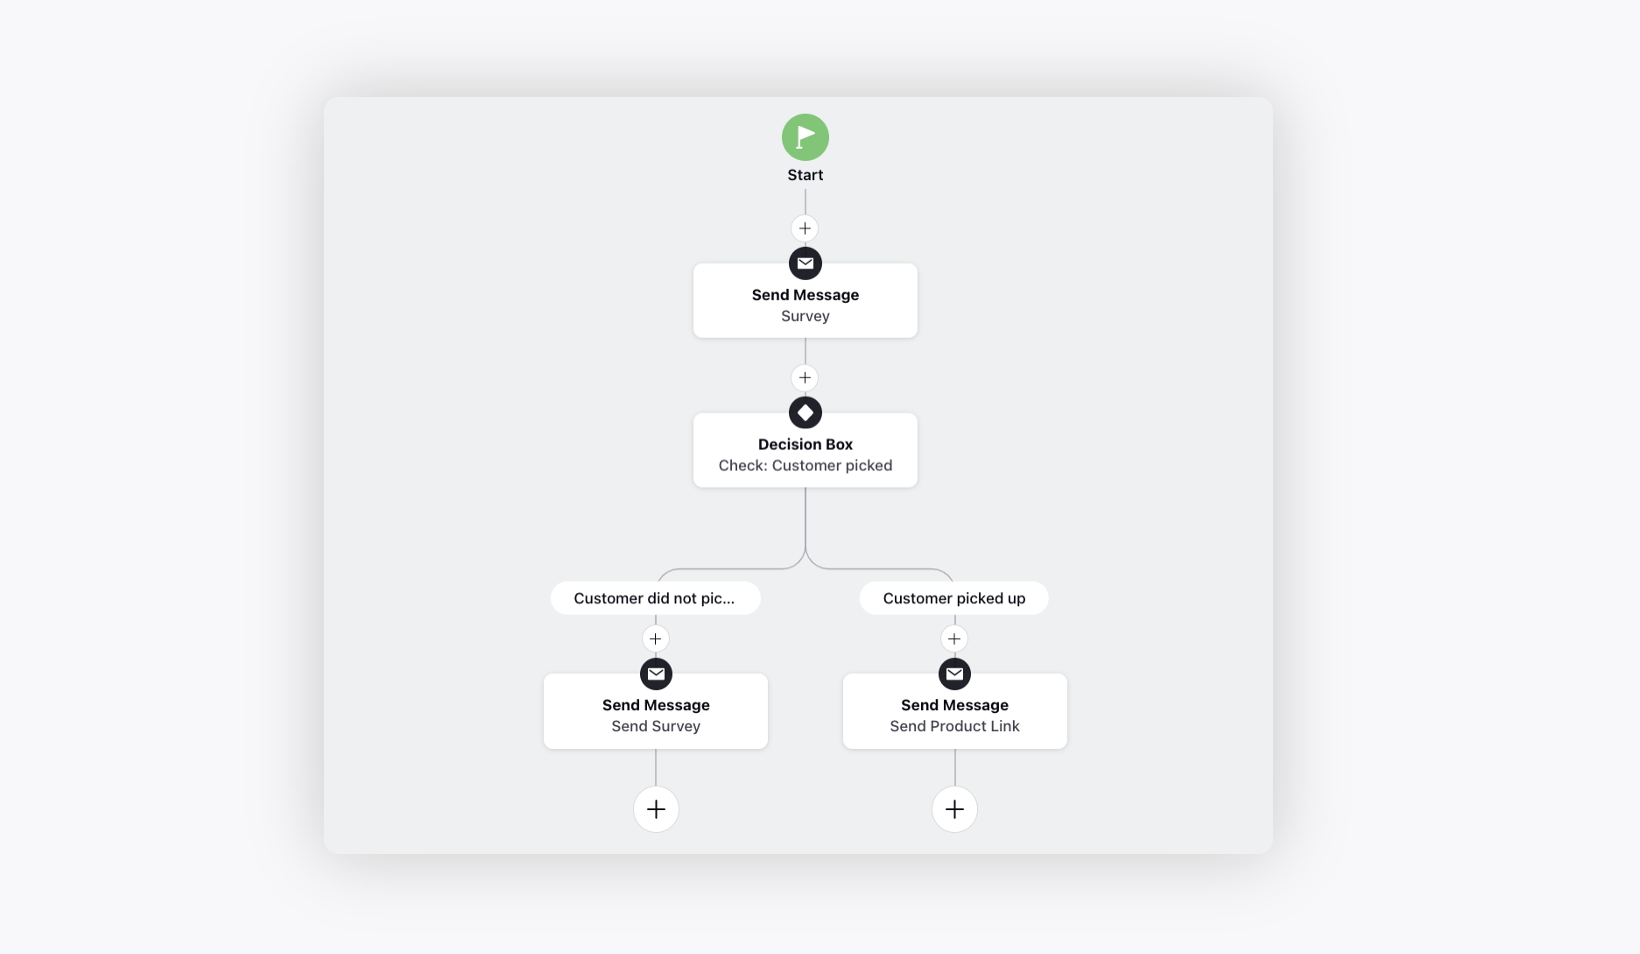
On the Journey Builder, click the addition icon
and select the appropriate action (as per workflow). Complete the rest of the journey using the available actions.
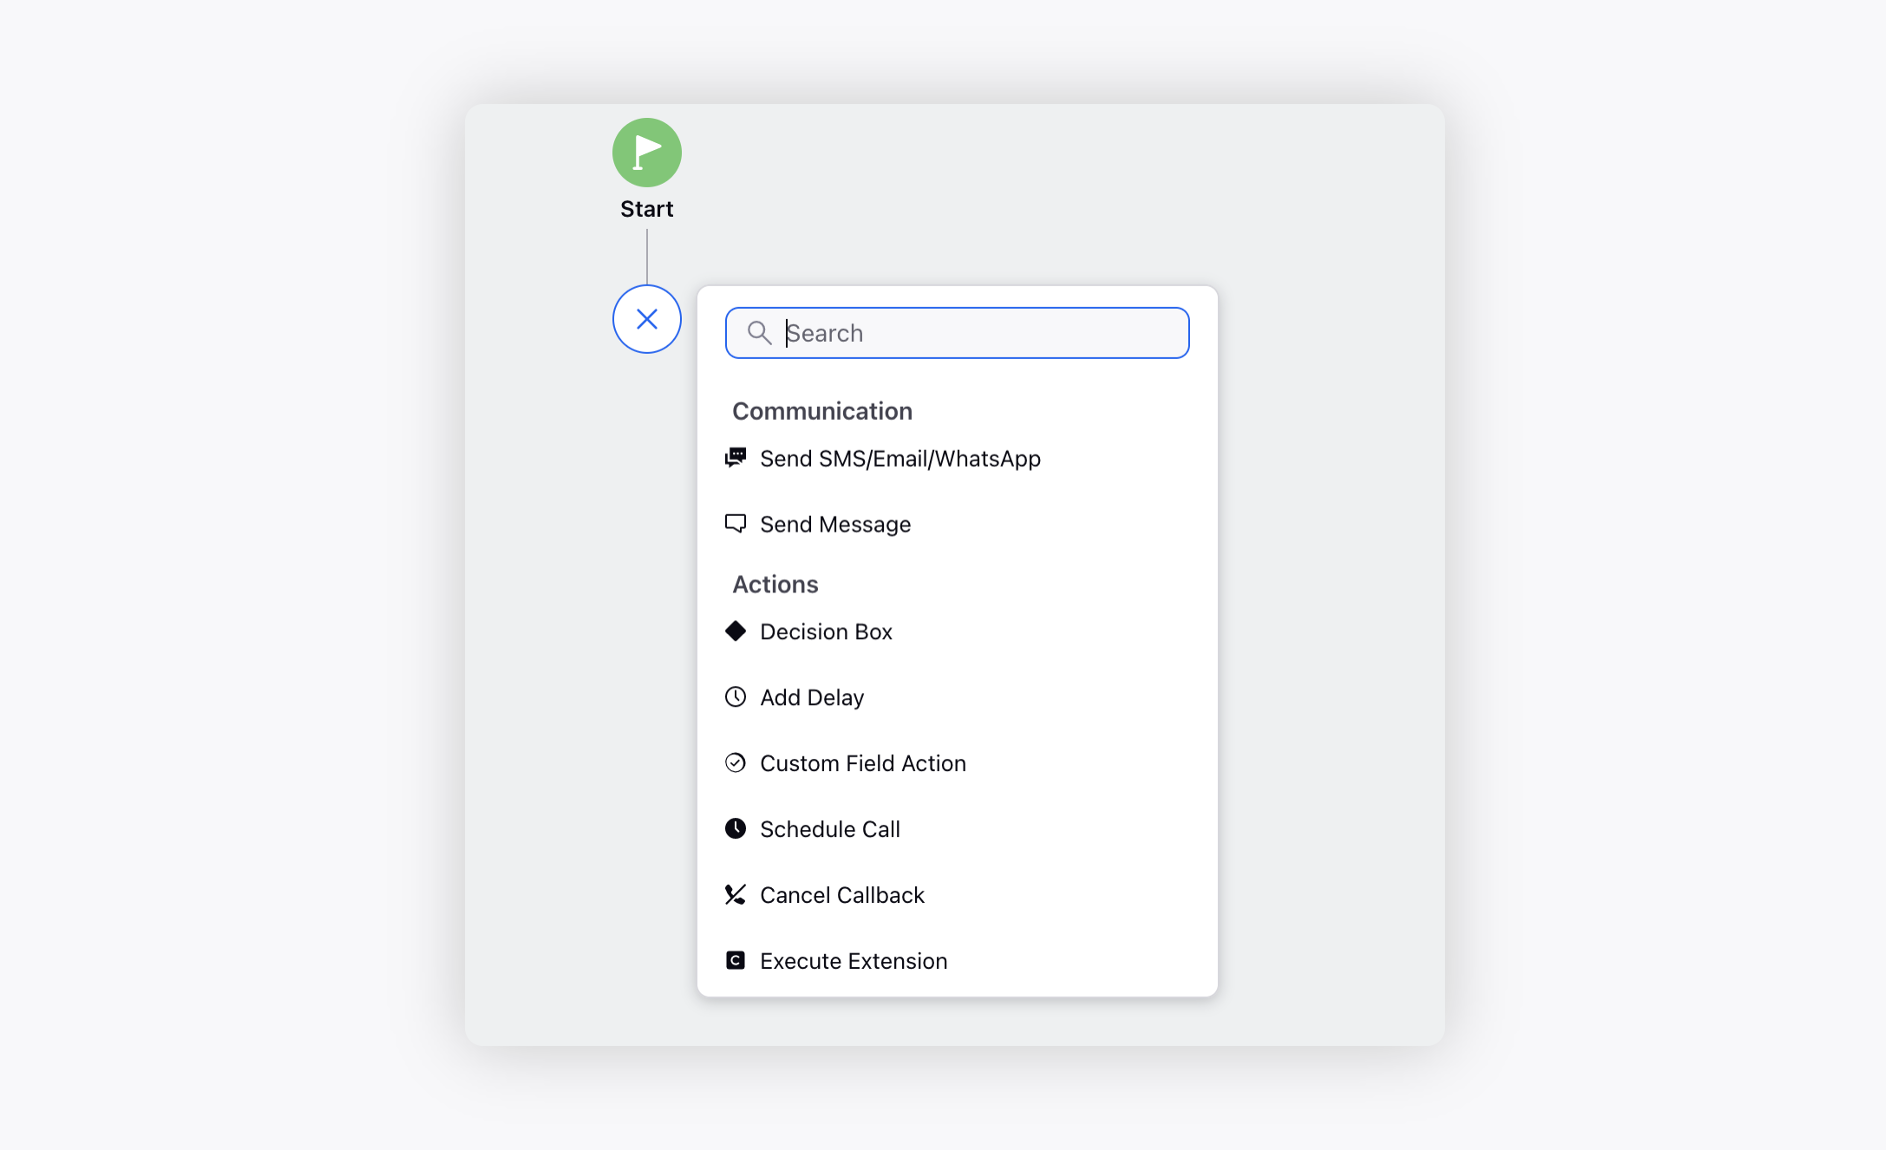
For sending automated follow-up email/message, use the Send SMS/Email/WhatsApp action and add the relevant configuration.
For creating and assigning follow-up tasks, use the Create Records node and add the relevant configuration.
For updating in the CRM system/sending and receiving data from other API, use the Add API action and add relevant configuration.
Once the journey is complete, deploy the journey from the journey manager.
In the voice campaign being used, select the journey deployed from the post-call workflow drop-down.
To create a Voice Campaign
A campaign is an objective that a brand wants to achieve. For example, a brand wants to sell Credit Cards and maximize the revenue of Credit Cards. A voice campaign is just a type of campaign that the brand wants to run over voice as a channel.
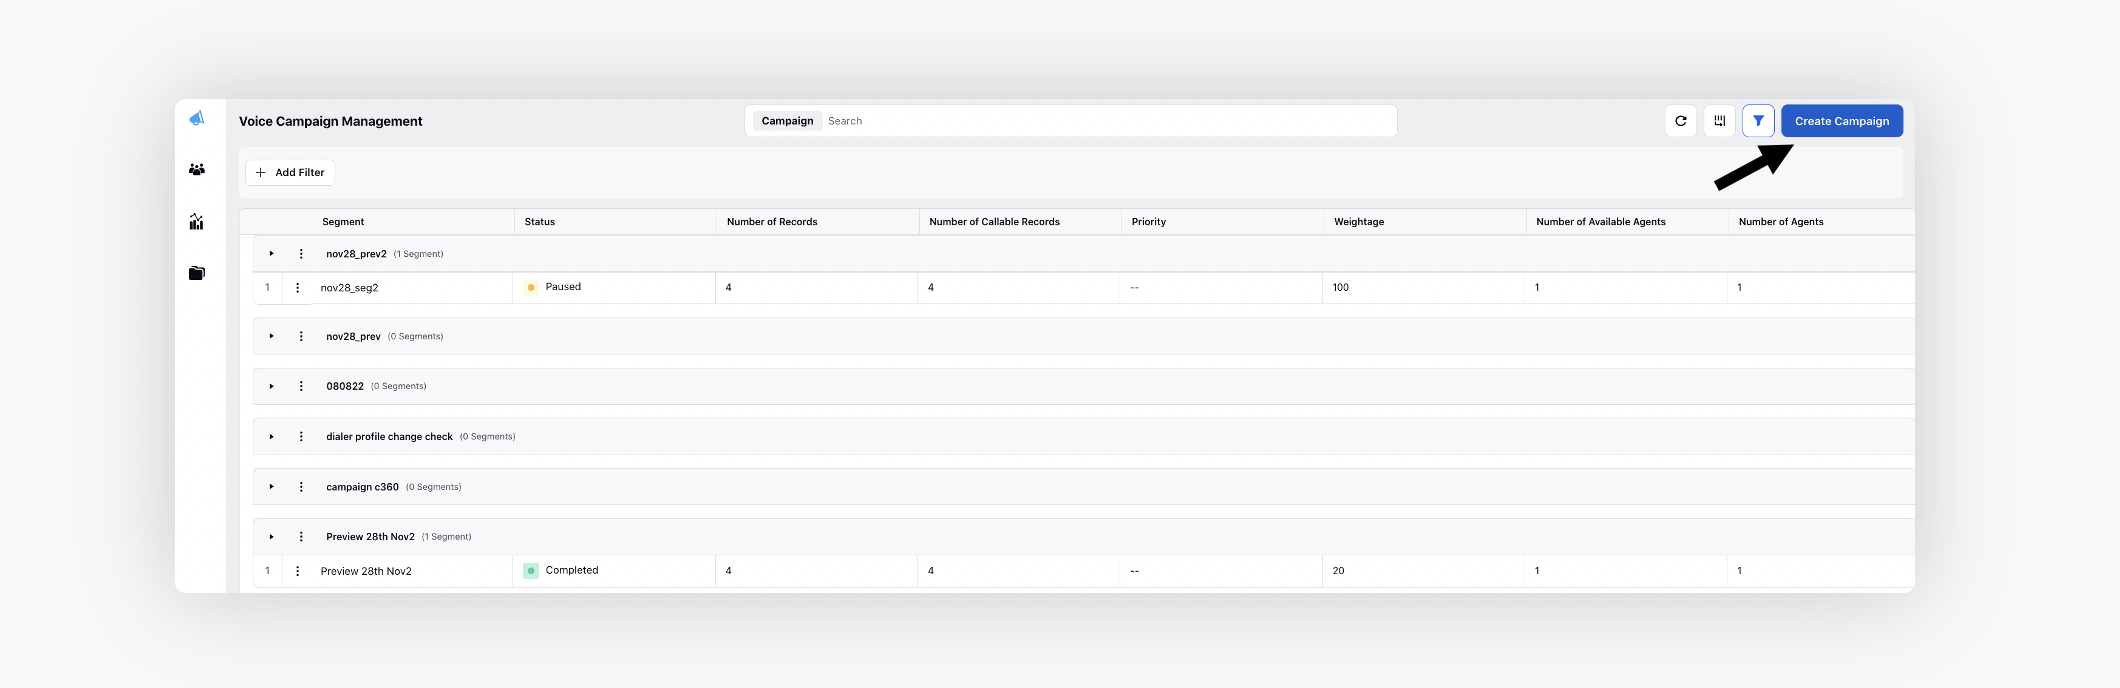
Click the New Tab icon. Under the Sprinklr Service tab, click Campaigns within Voice.
On the Voice Campaign Management window, click Create Campaign in the top right corner.
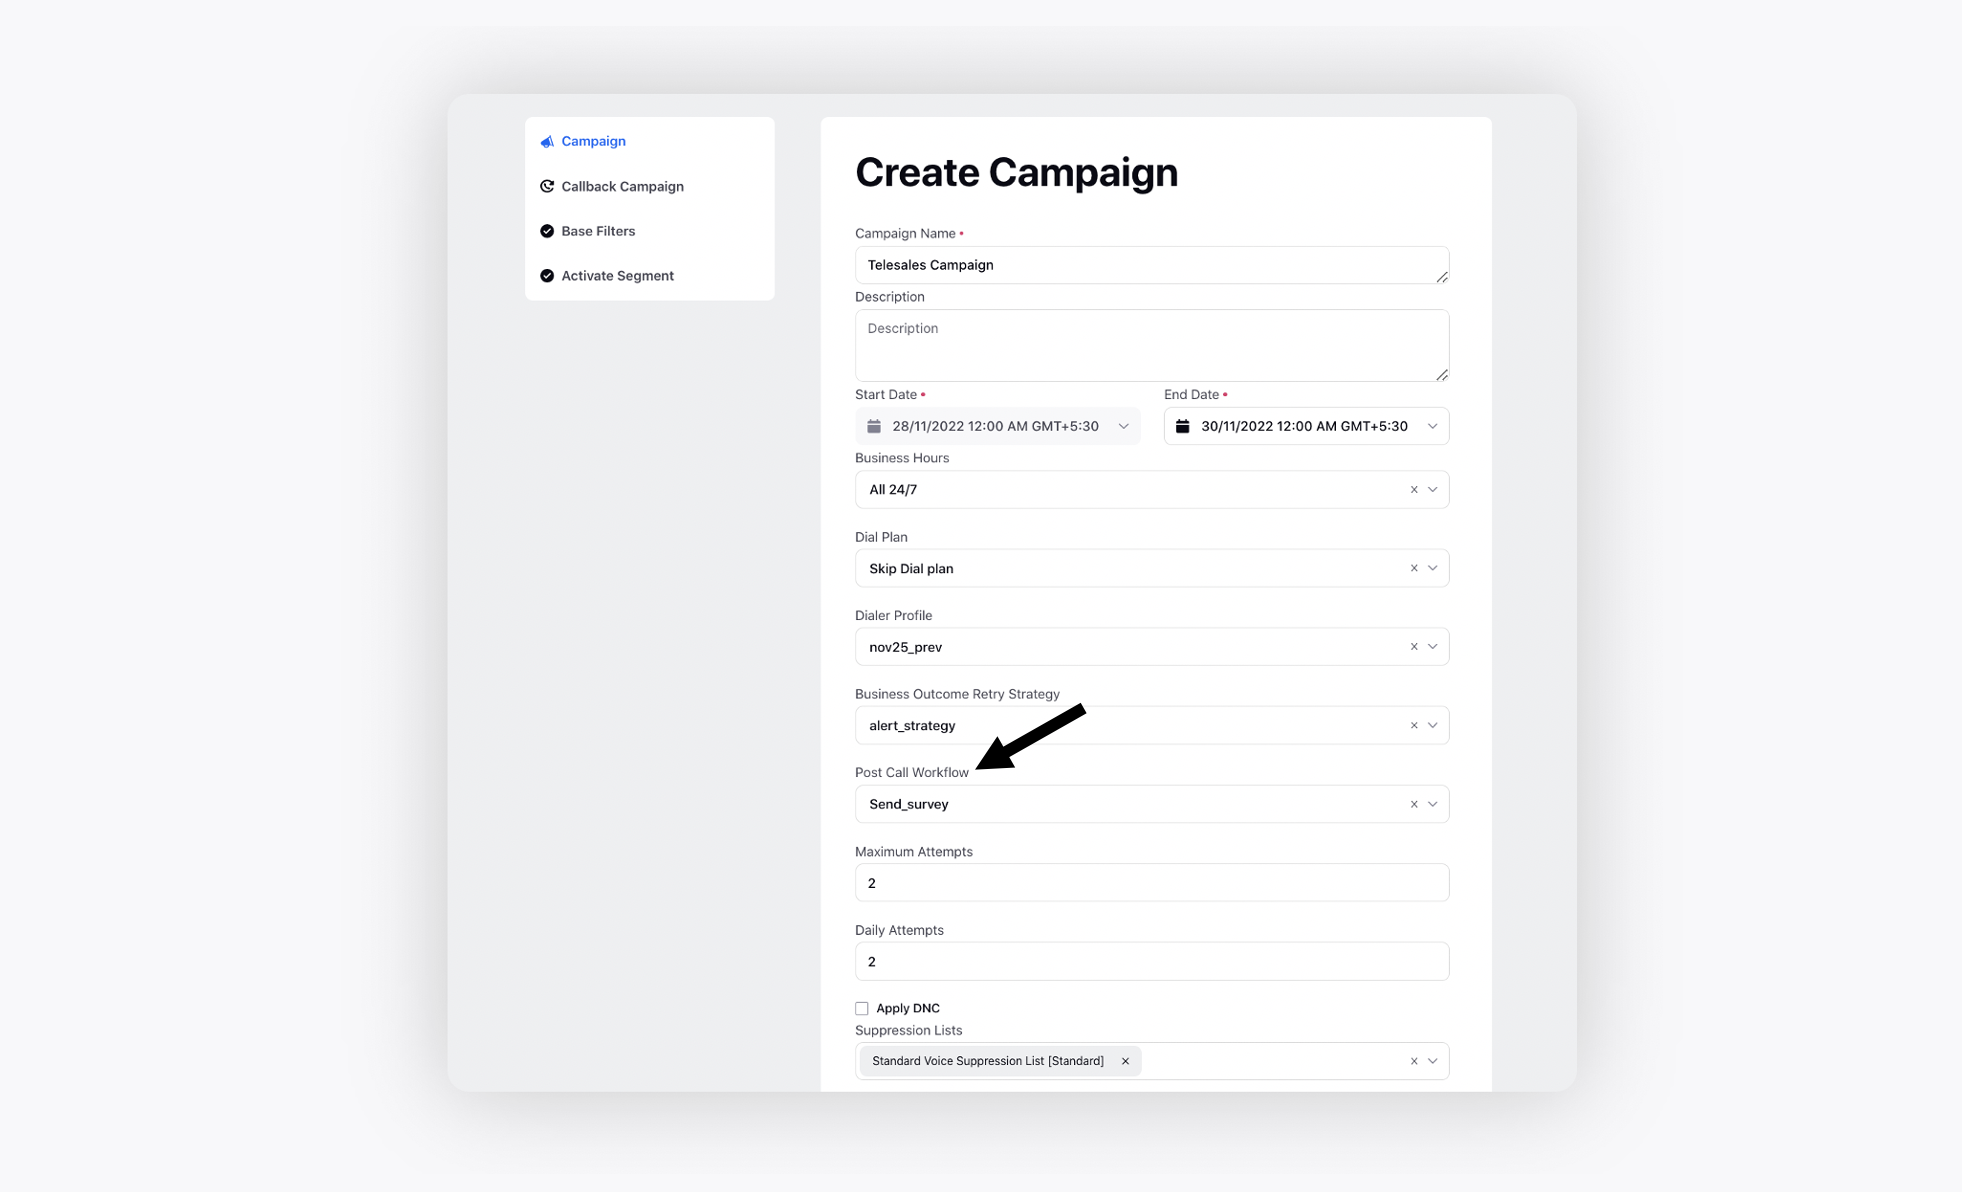
On the Create Campaign window, select the deployed journey from the Post Call Workflow dropdown. Fill other relevant details as required. Click Save at the bottom right once all the details are provided.
To trigger the Post Call Workflow
Once the campaign is activated, the post call workflow will be automatically triggered post each call.