Journey Facilitator - Email
Updated
In this article, you will learn how to create and analyze end-to-end customer journeys for Email channel using Journey facilitator.
Workflow
Importing leads into Sprinklr - Gather valuable leads by importing contacts using Audience Profiles into Sprinklr to send the intended message on the supported channels. In this document, we will talk about Email Marketing, SMS, and WhatsApp channels.
Audience Segmentation - Now, segment the audience based on different attributes such as Client Profile List, Partner Profile List, or any other Profile Custom Field, in the Segment Manager.
Create an Asset - Create an asset by choosing the desired template type, for both Email, SMS and WhatsApp to be sent to the potential leads in Digital Asset Management.
Create and Deploy the journey in Journey Facilitator - Strategize and create the journey in the Journey Facilitator using the journey builder and then deploy it.
Import leads into Sprinklr
1) Click the New Tab icon. Under the Sprinklr Service tab, click Audience Profiles within Learn.
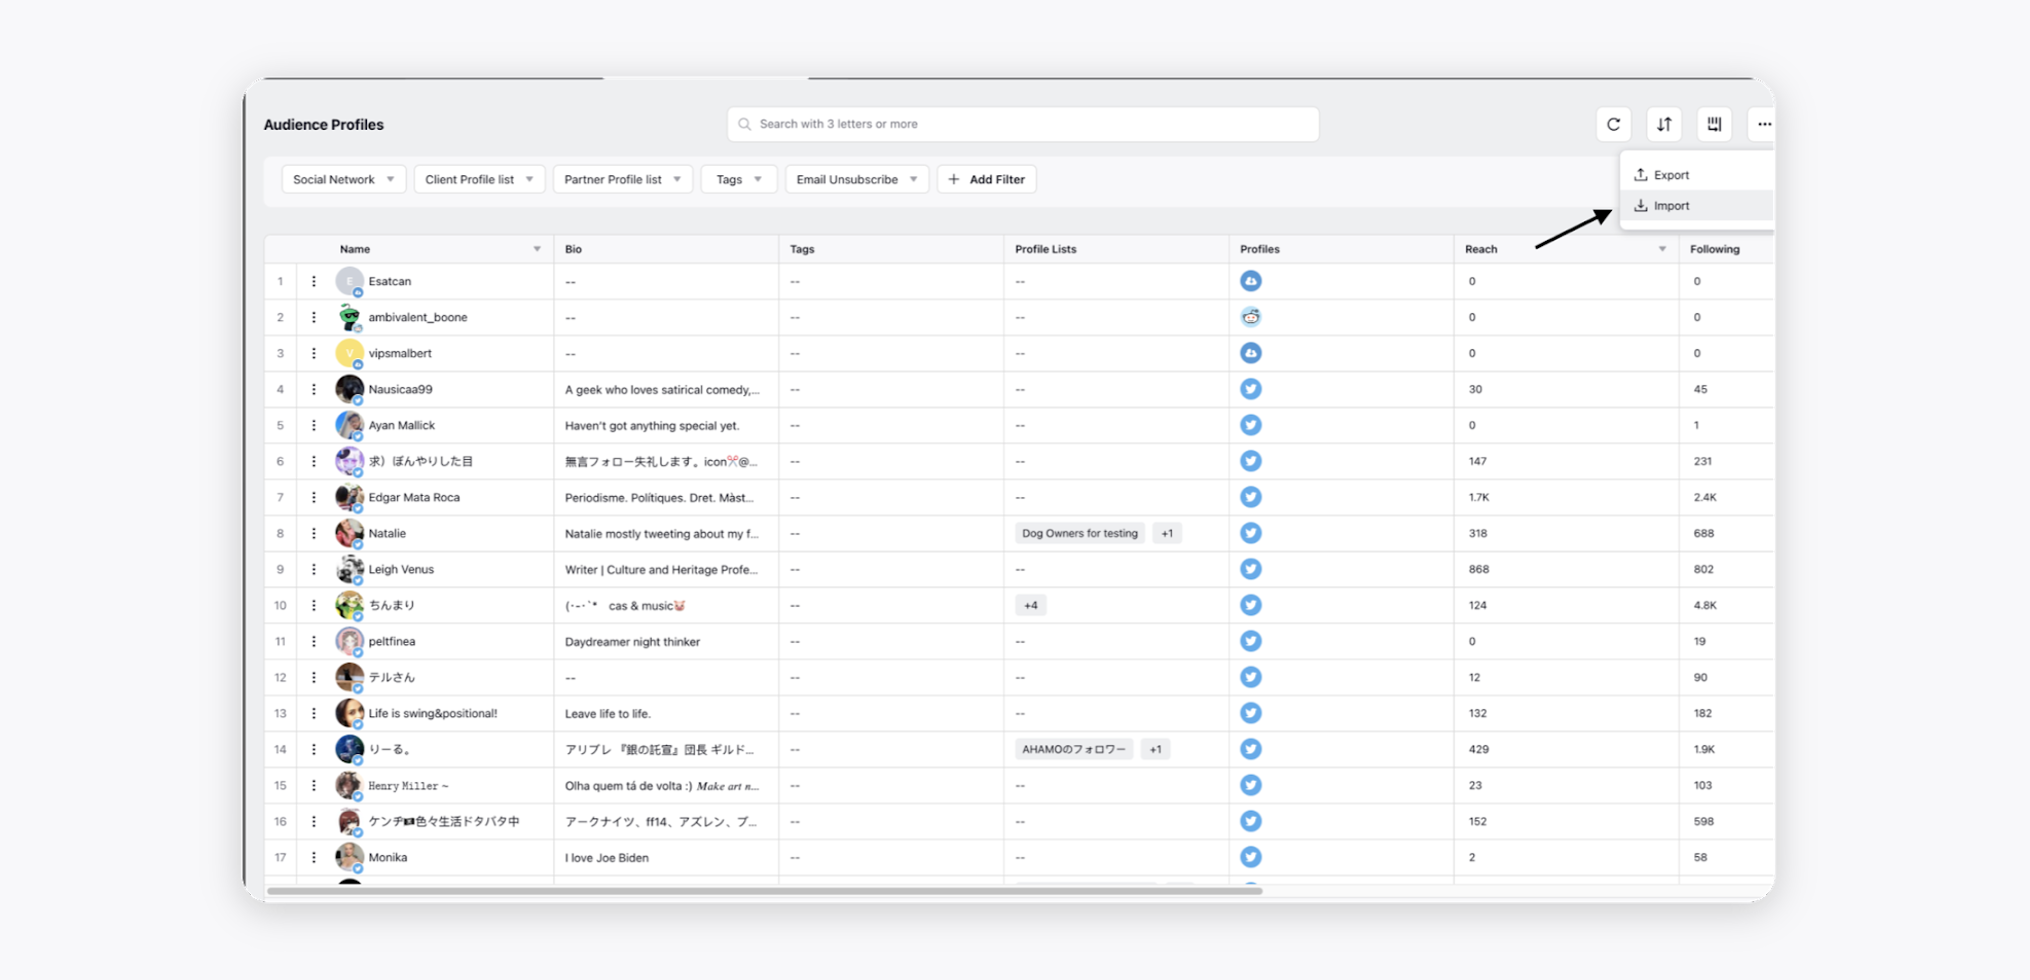
2) On the Audience Profiles window, click the Options icon on the top right corner and select Import.
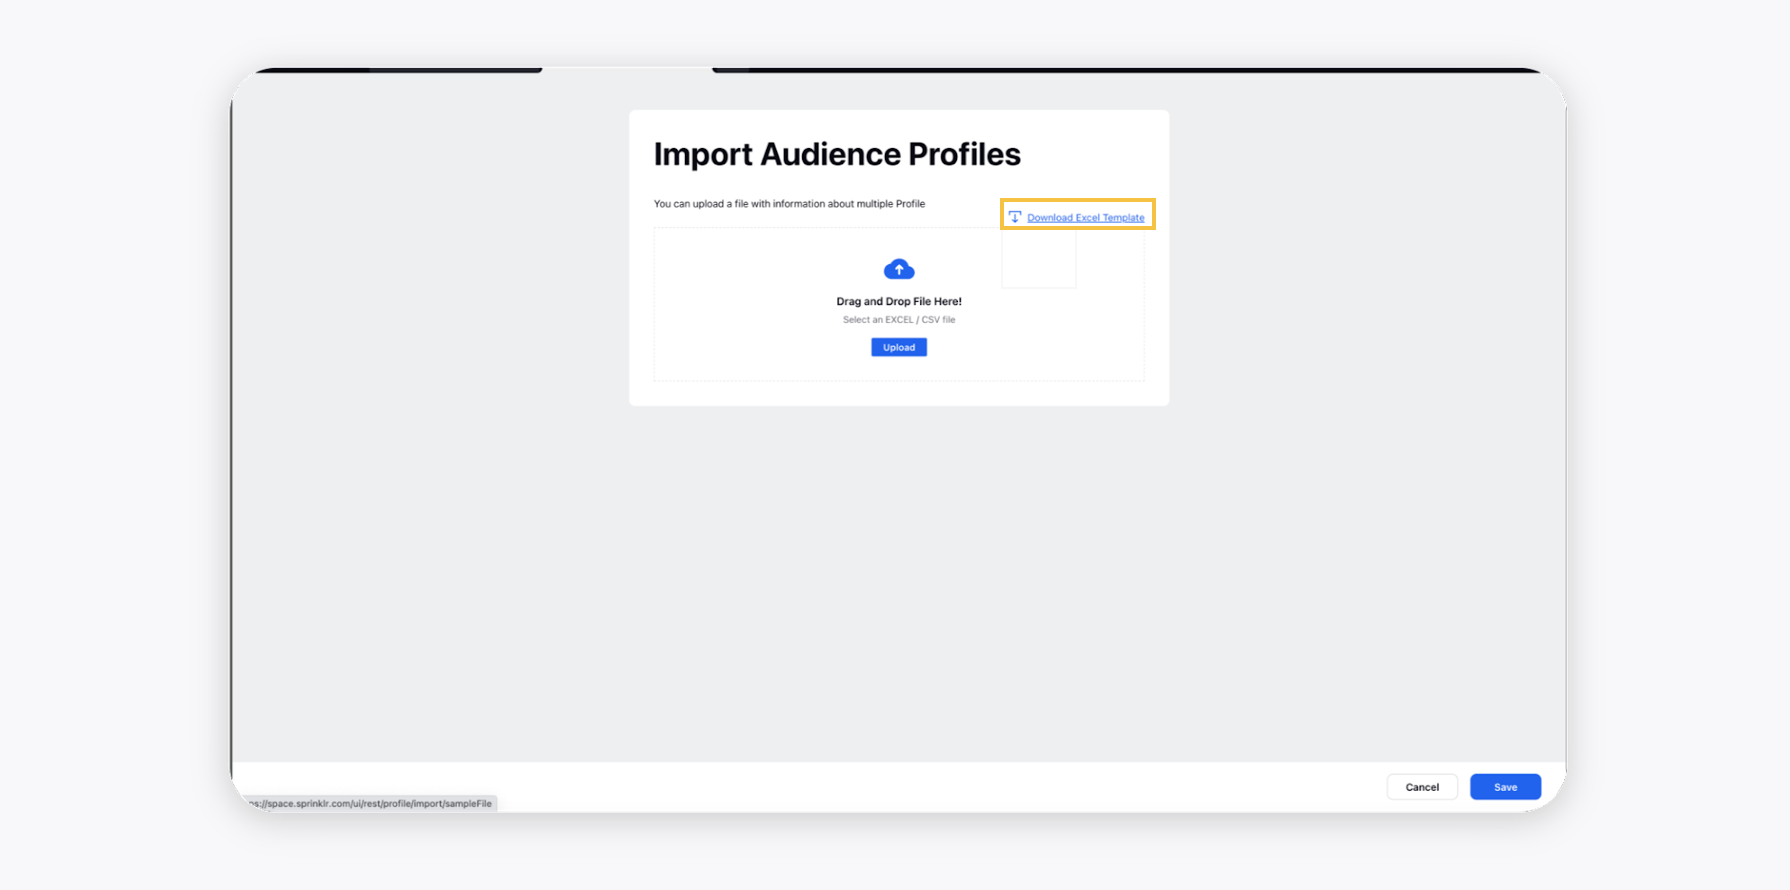
3) Within the Import Audience Profiles window, click Download Excel Template.
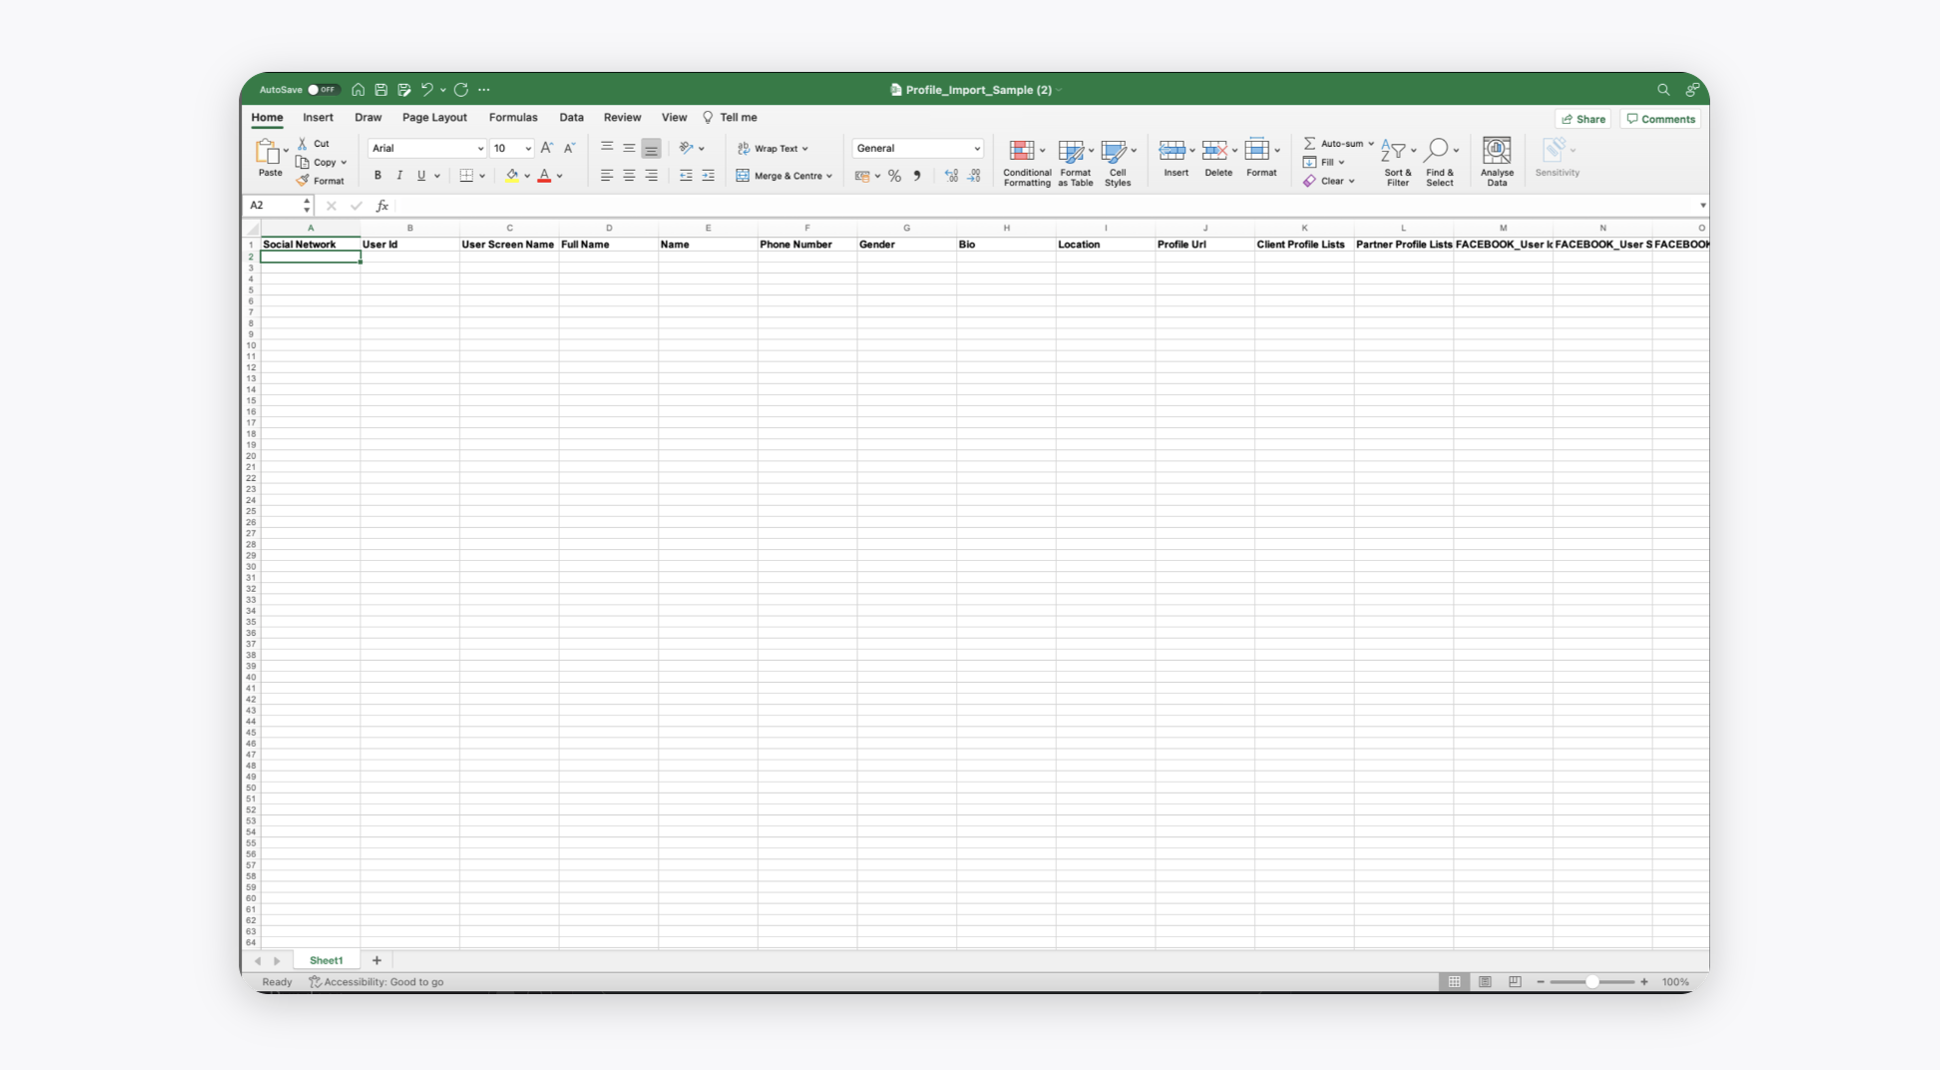
4) Fill in the downloaded Excel template with all the necessary details. Please note that the first 4 fields (columns A, B, C, and D) are mandatory.
5) Upload the filled Excel template back to the Import Audience Profiles window.
Create an Audience Segment from the imported leads
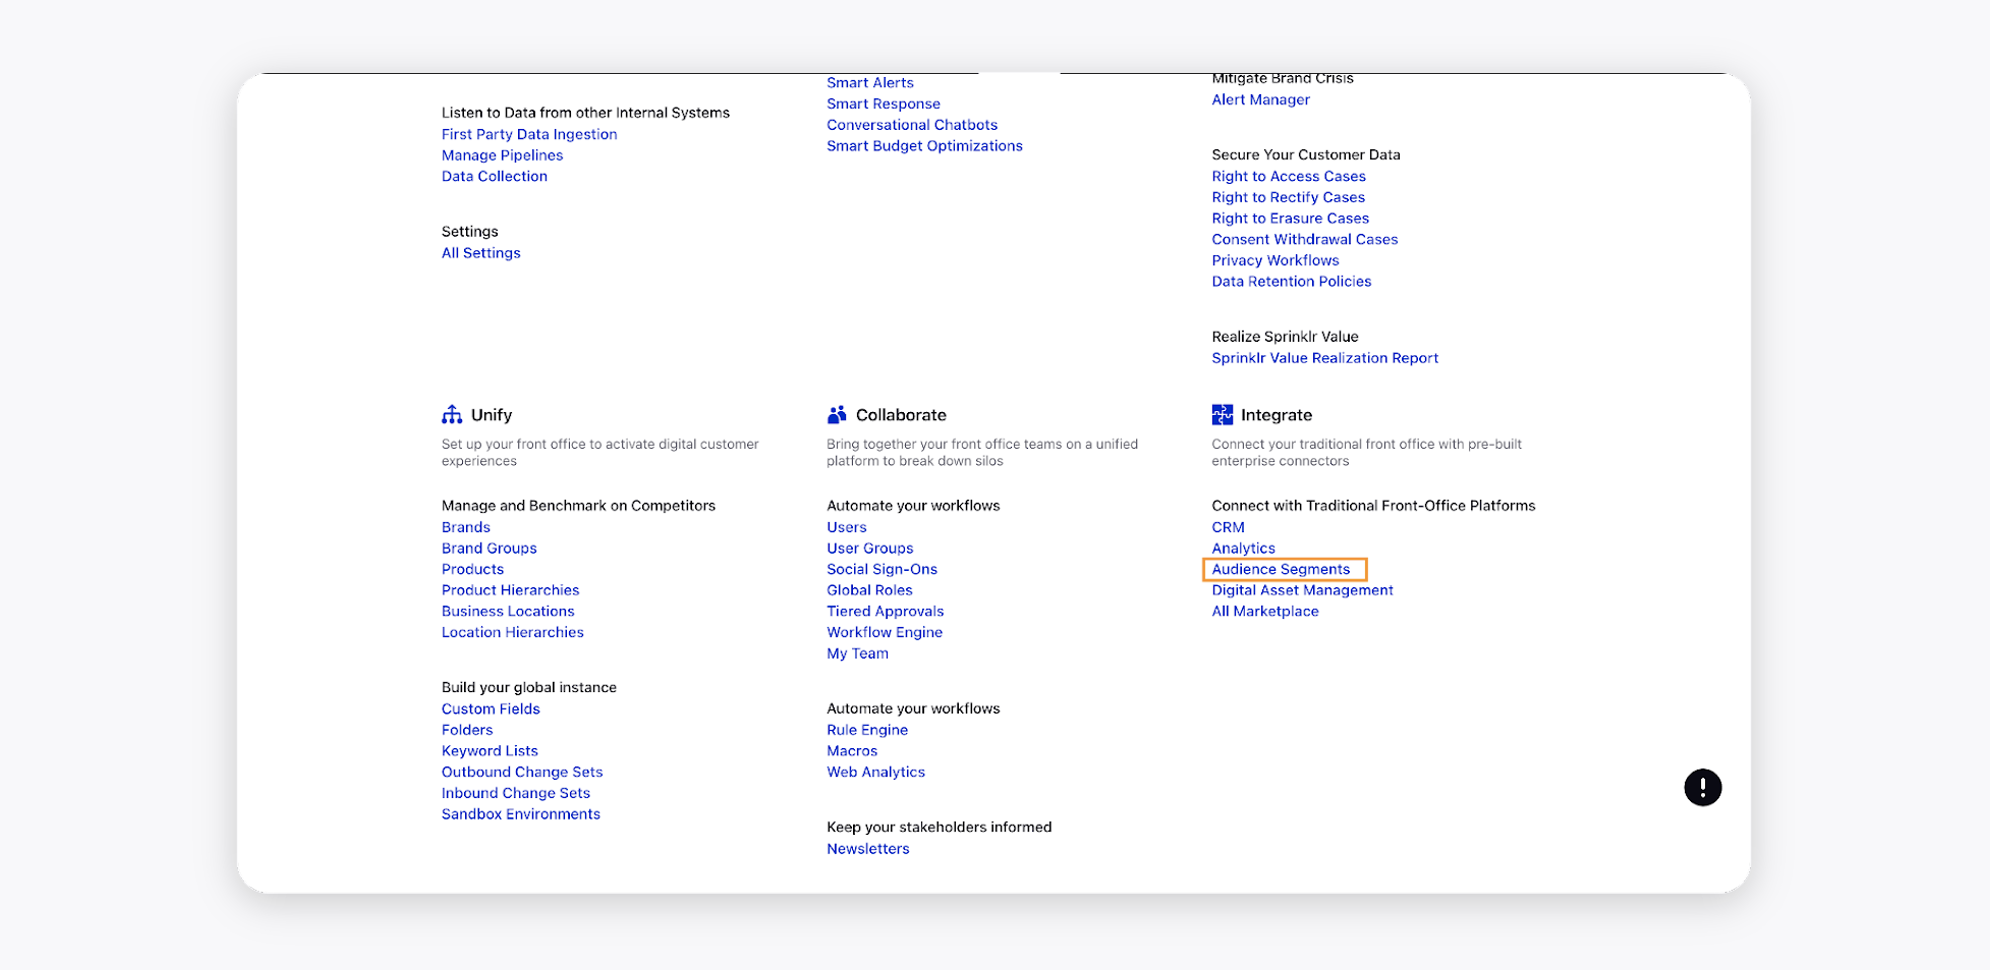
1) Click the New Tab icon. Under Governance Console, click Audience Segments within Publish.
2) On the Segment Manager window, you can either create a new segment or edit the existing segment.

Create an Email asset to be sent to the leads
1) Click the New Tab icon. Under the Sprinklr Service tab, click Content Templates within Learn.
2) In the top right corner of the Content Template Builder window, click New Content Template.
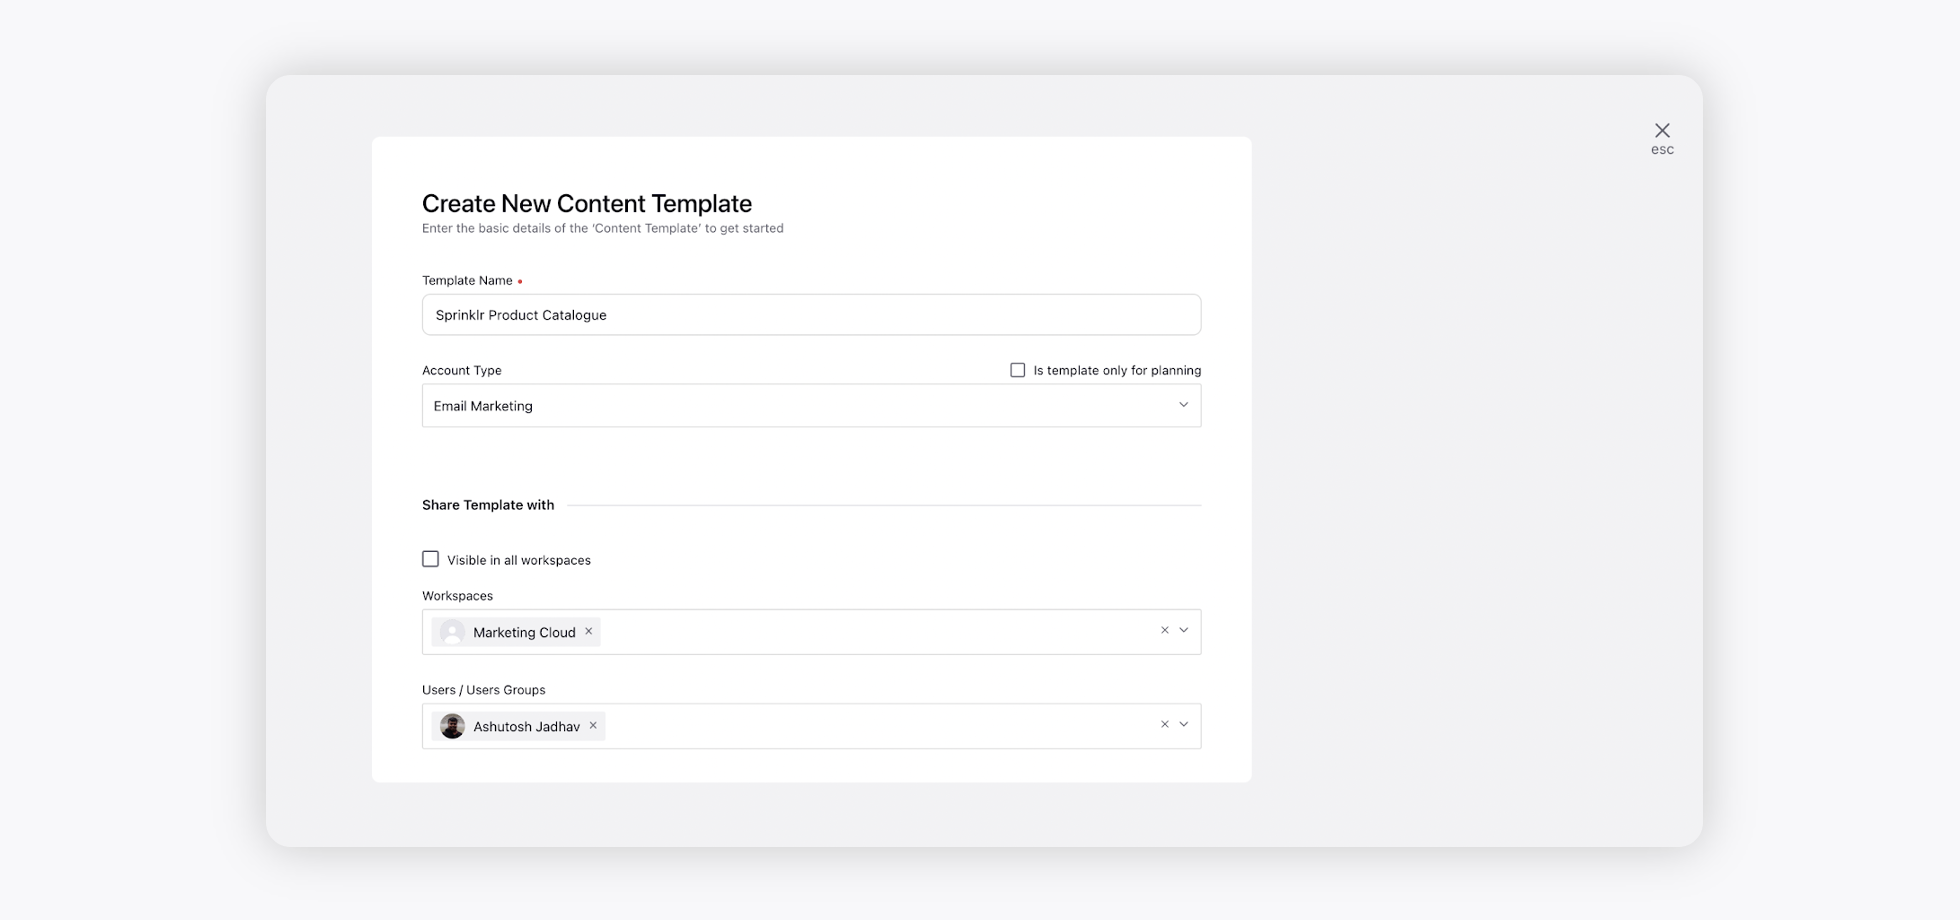
3) Enter the basic details in the Create New Content Template window. Give your template a Name and select Email Marketing as the Account
type. Select the Workspace(s) and User group(s) to share your template.
4) To know more about creating email templates, see Create Email Templates.
Once you have created the Content Template, you can start creating the Email Marketing Asset in Digital asset Management as follows :
1) Click the New Tab icon. Under the Sprinklr Marketing tab, click Digital Asset Management within Plan.
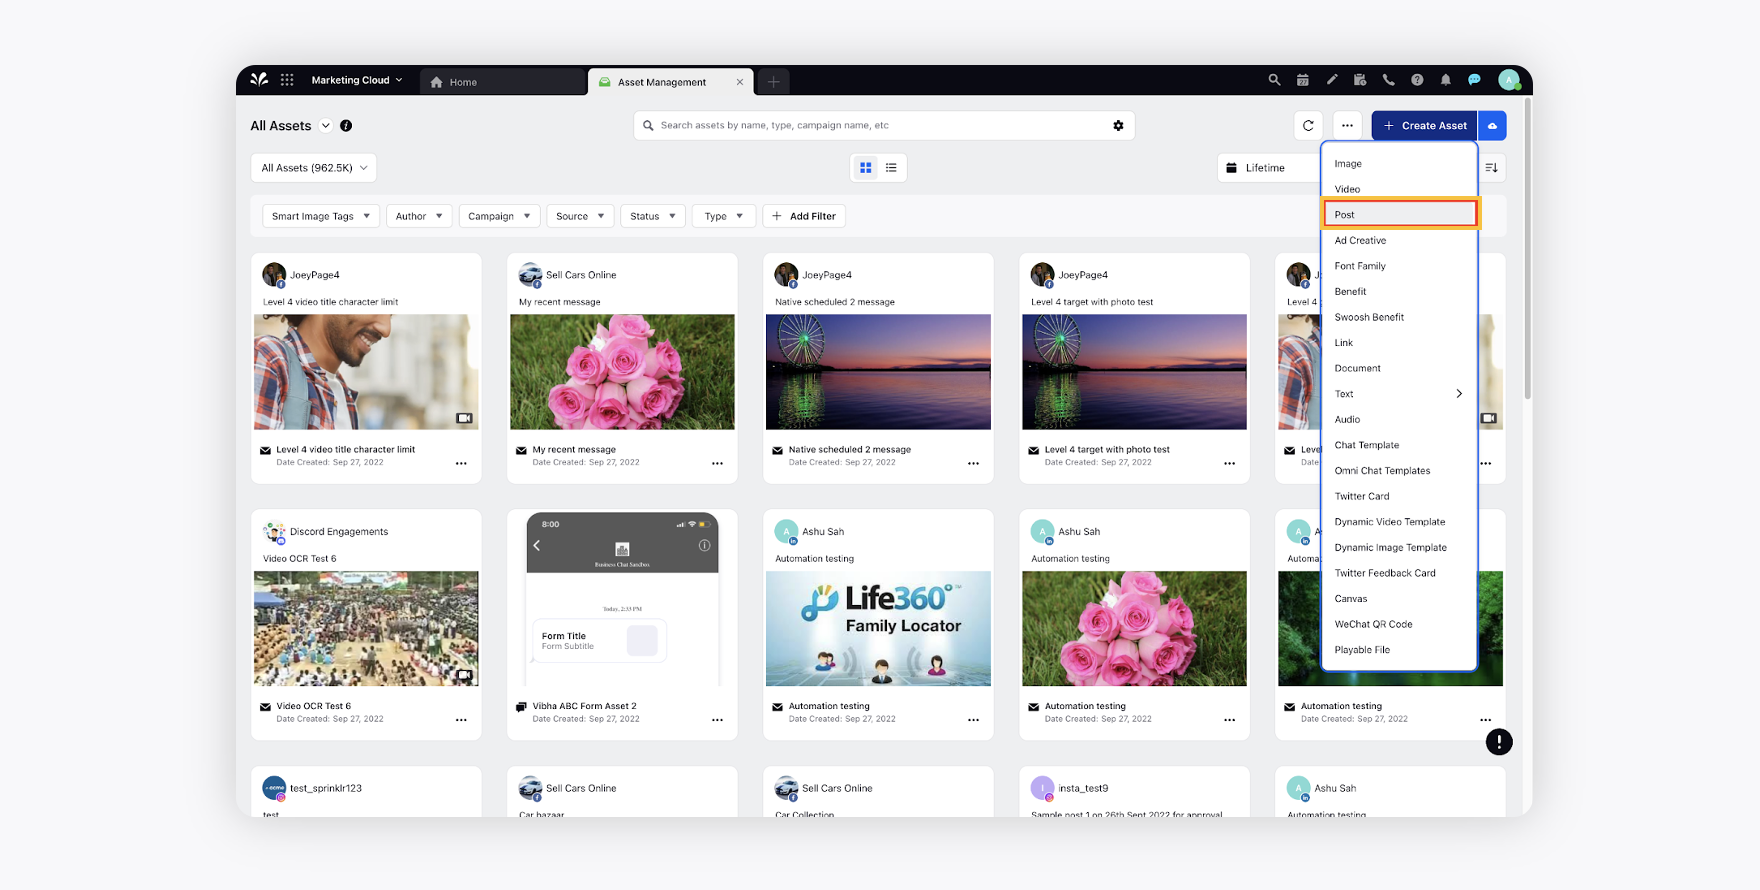
2) On the top right corner of the Asset Manager window, click Create Asset.
3) Select Post from the Create Asset drop-down.
4) Within the Create New Asset window, fill in a Name and Description for the asset in the respective fields under Basic Details.
5) Under the Channel, dropdown select Email (Email Marketing) and select the desired Content Template from the Type of Message dropdown.
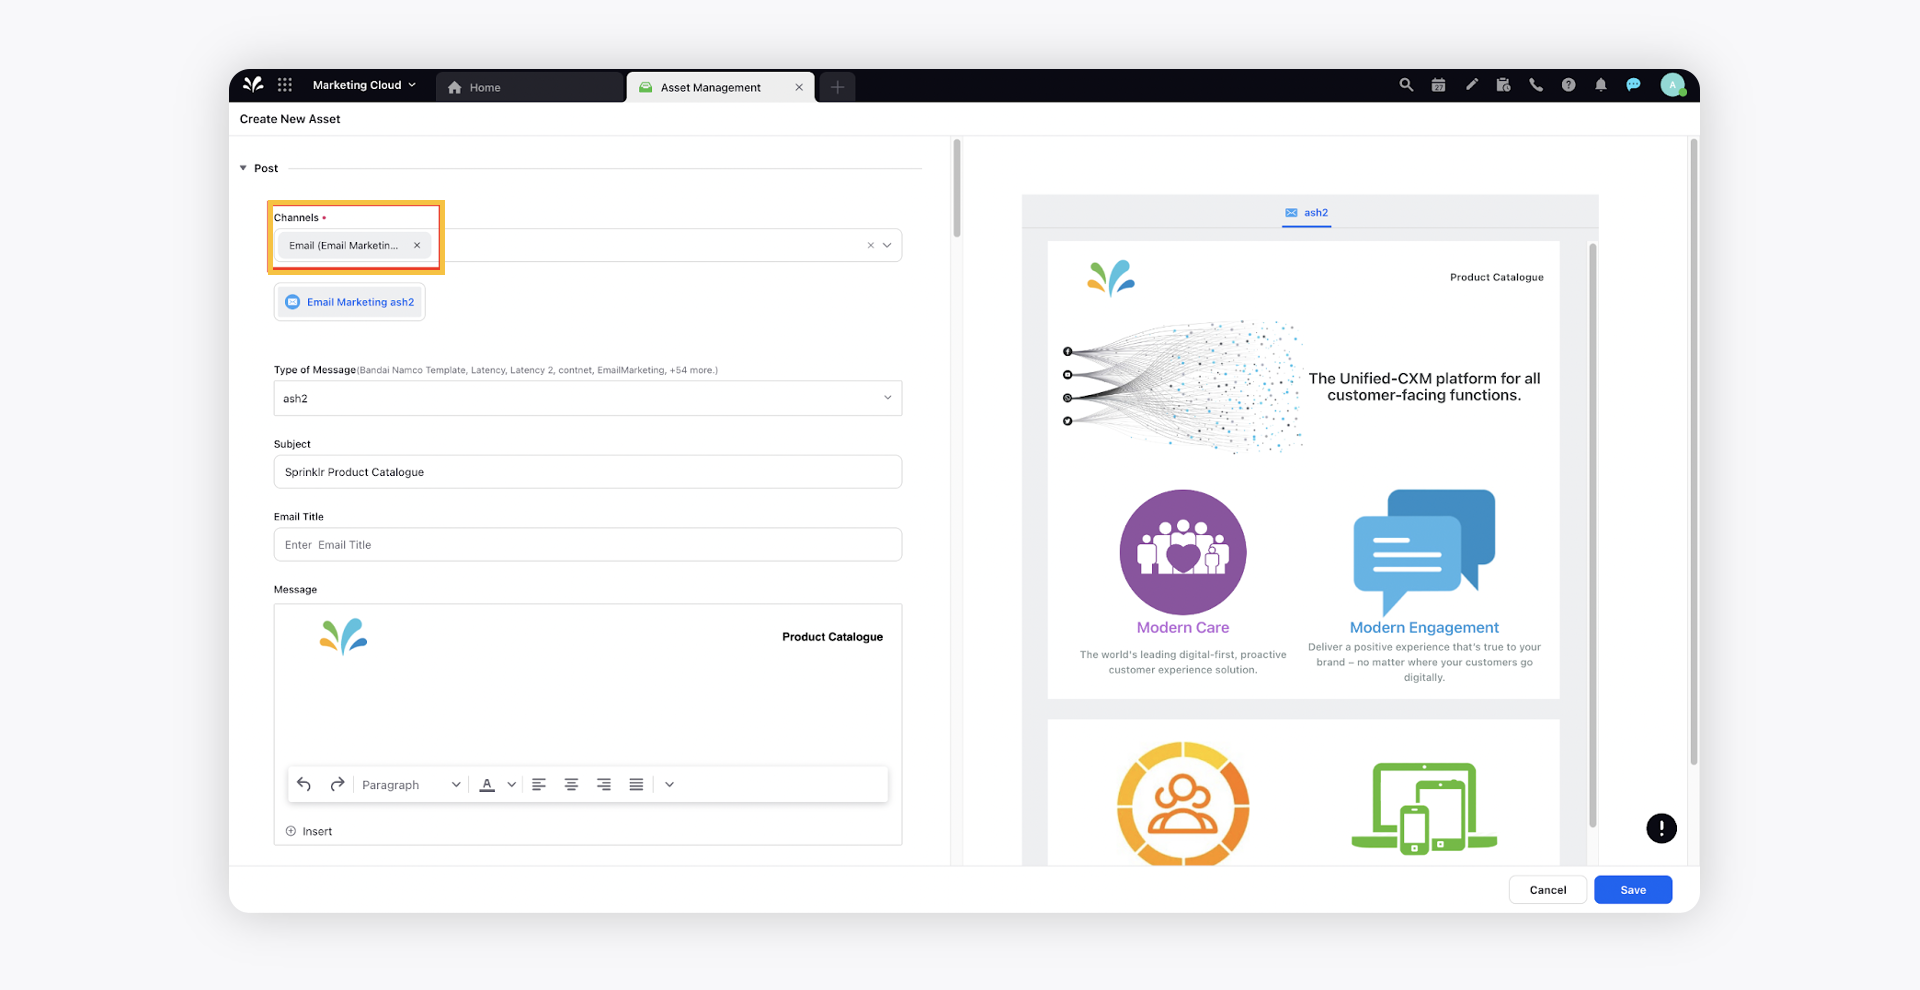
6) Click Save.
Create a journey from Journey Facilitator
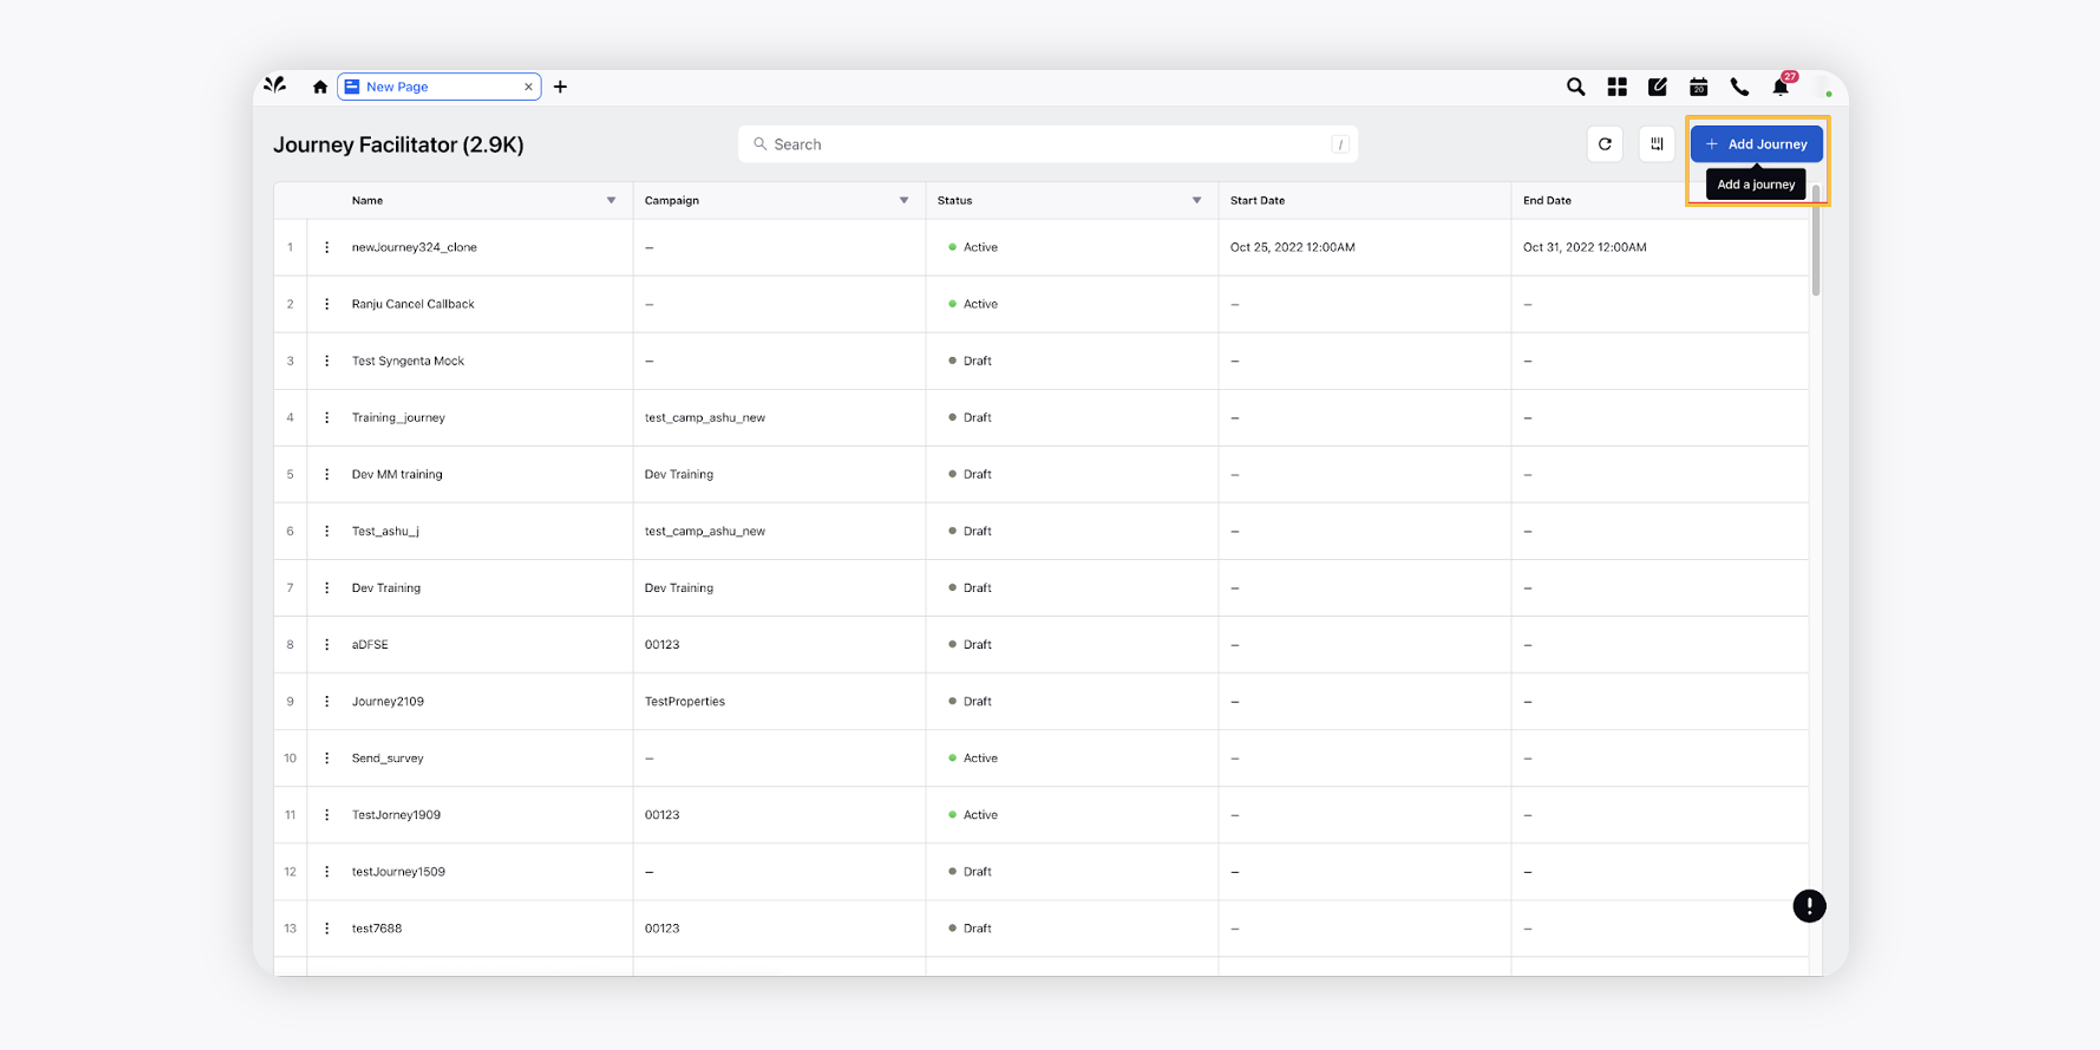
1) Click the New Tab icon. Under the Sprinklr Marketing tab, click Journey Facilitator within Publish.
2) In the top right corner of the Journey Facilitator window, click Add Journey.
3) On the Create Journey window, provide Basic Information such as Journey Name, Add to Campaign (choose the campaign you have created in the steps above), Audience (choose the one you have created from the Audience Segment Manager), Share Settings details, and more.
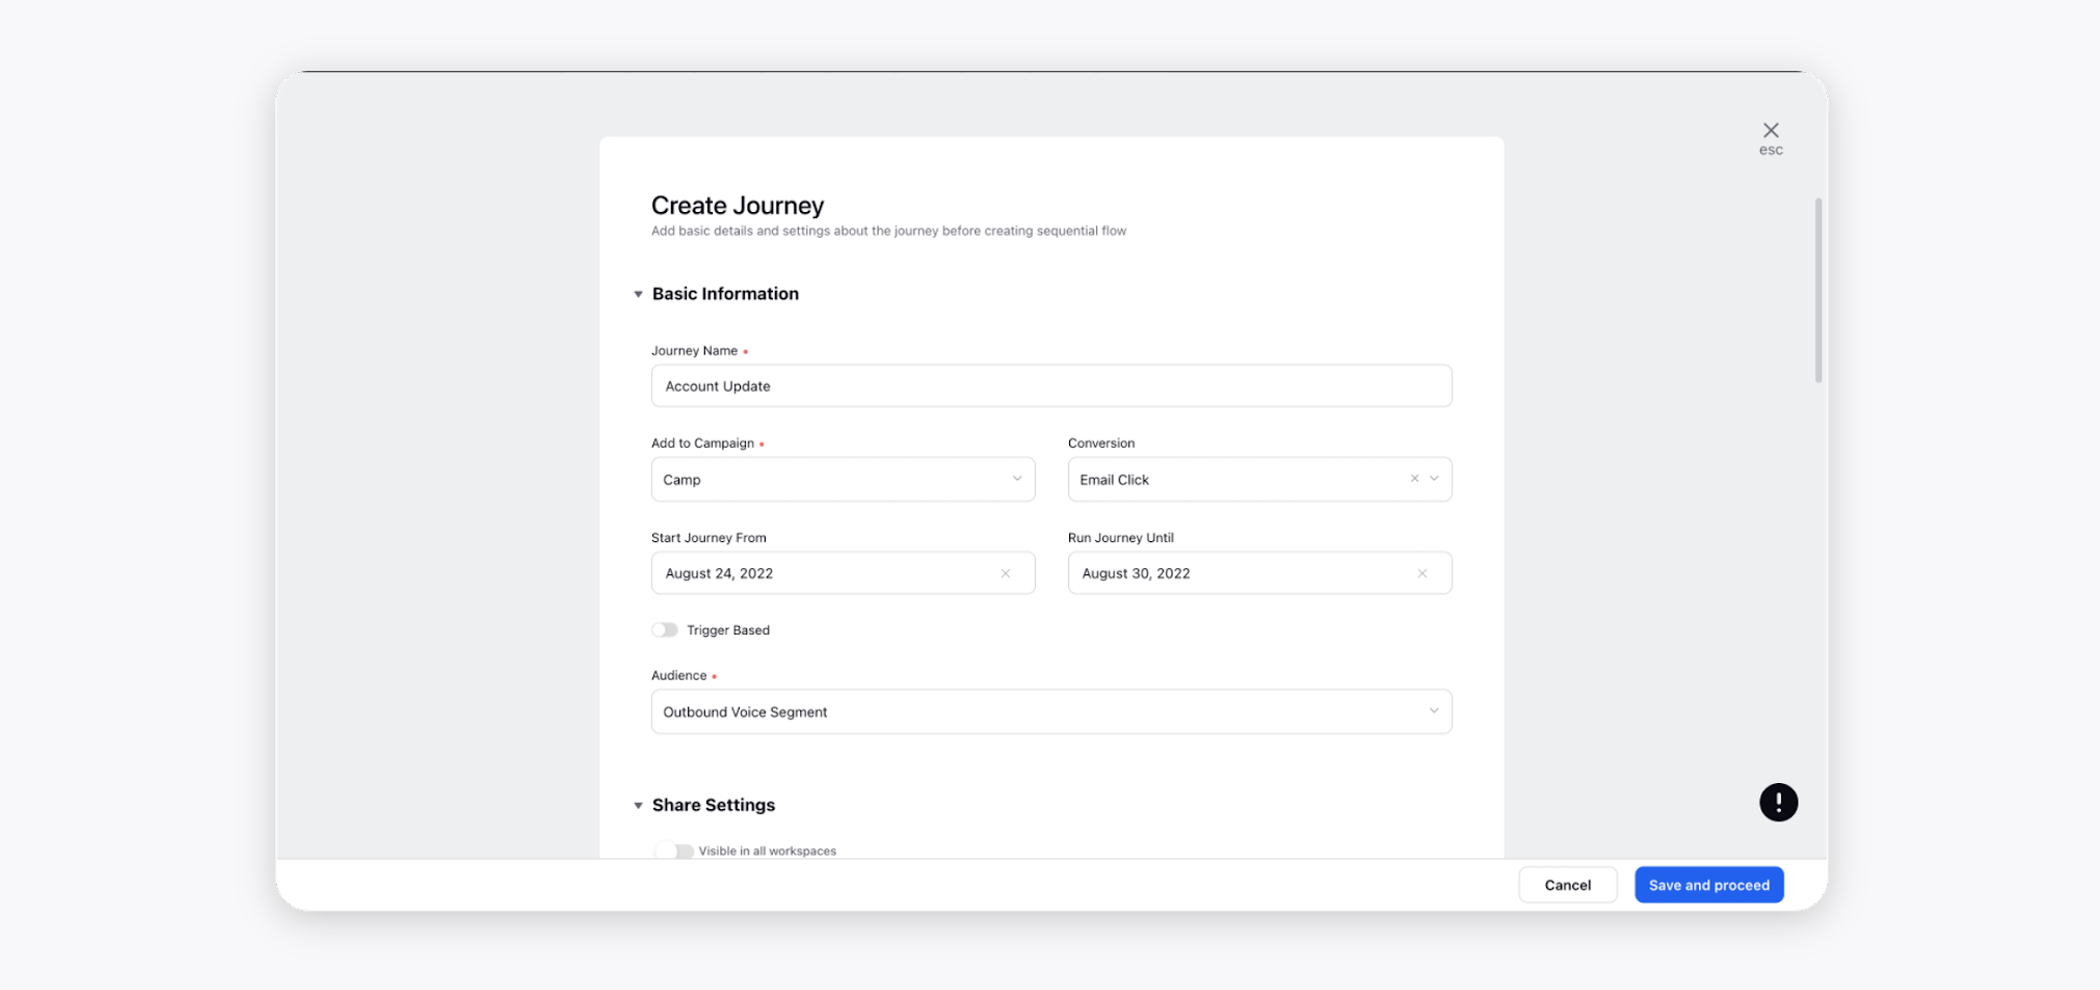
4) Click Save and proceed at the bottom. You will be redirected to the Journey Builder.
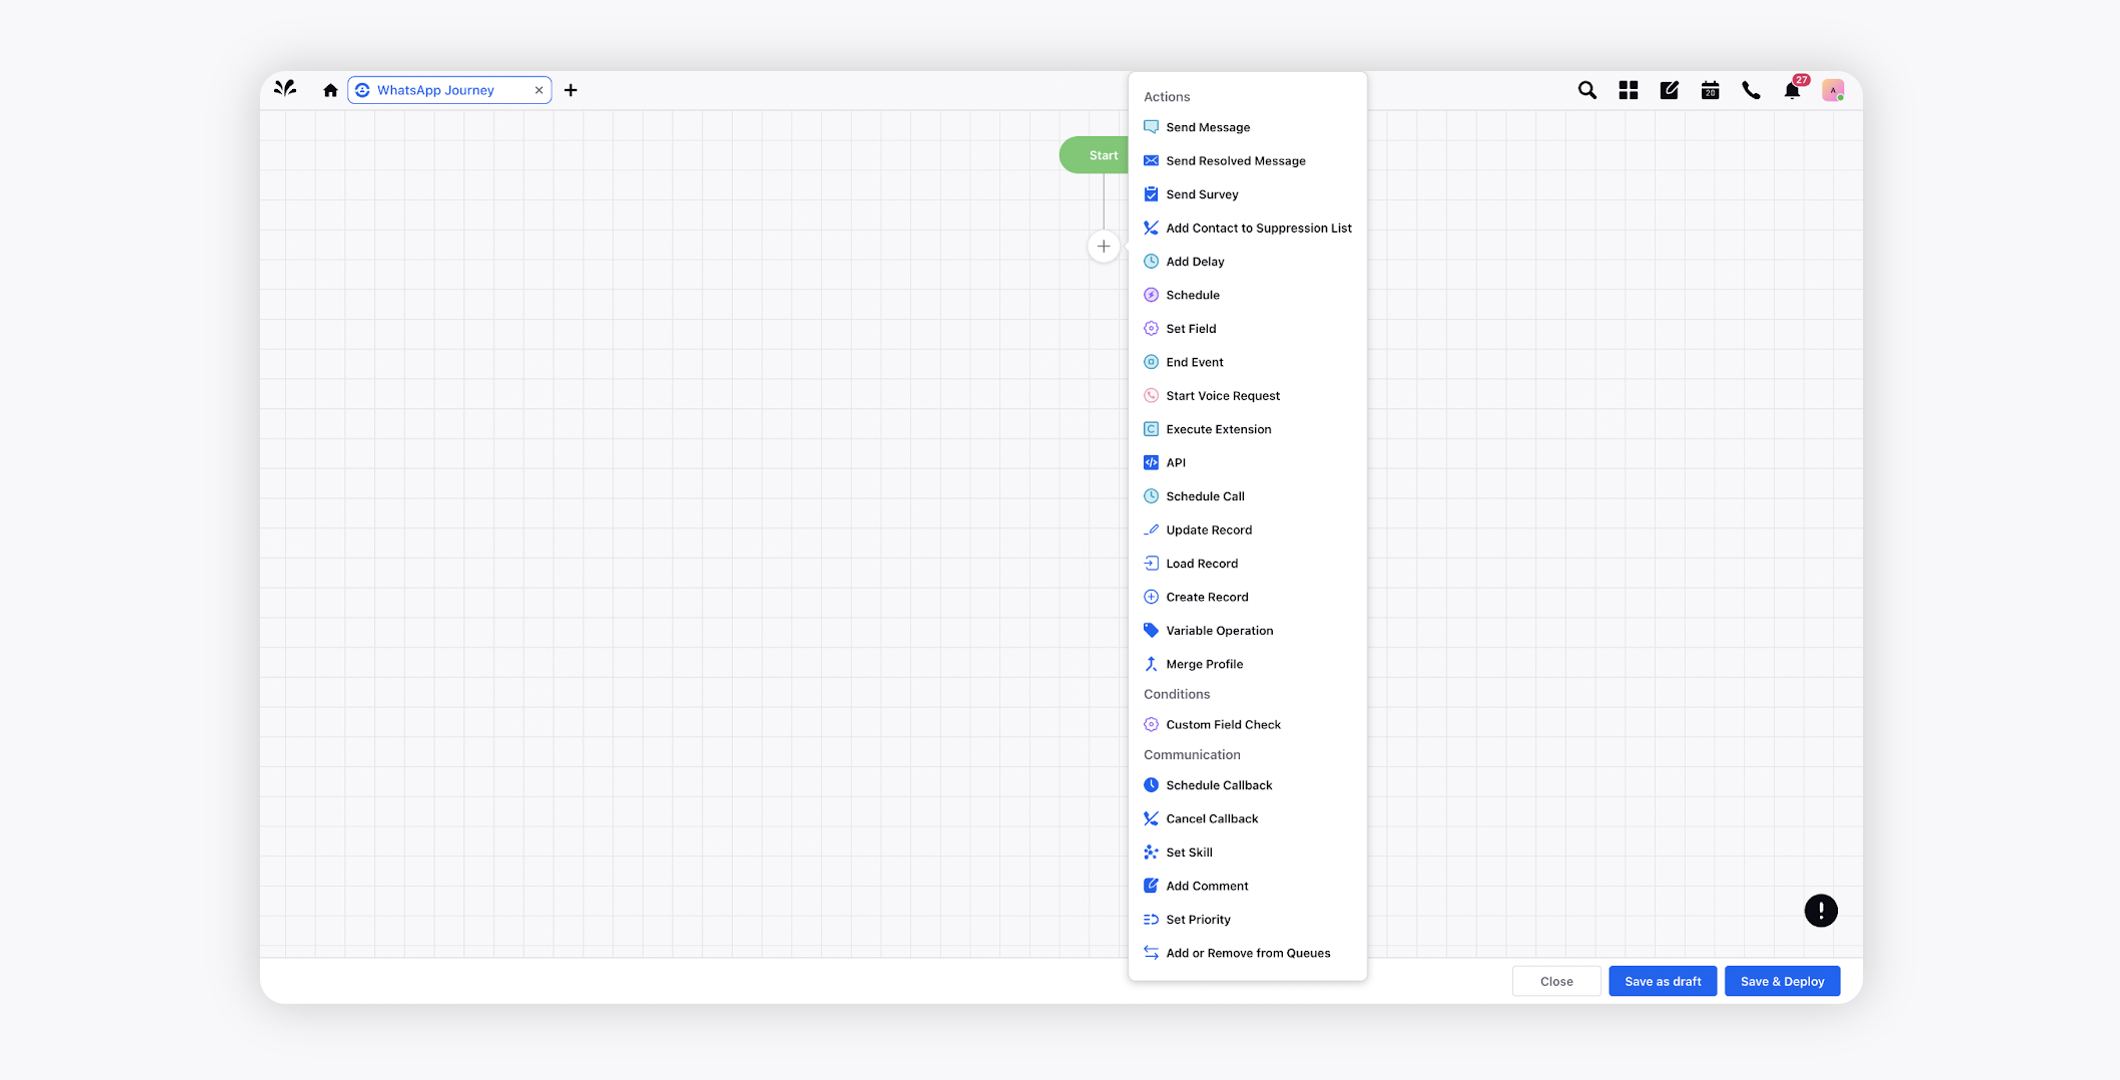
5) On the Journey Builder window, click the Addition icon to initiate the journey and choose the action Send Message to be sent to the customer segment that you have chosen in the Audience Profile.
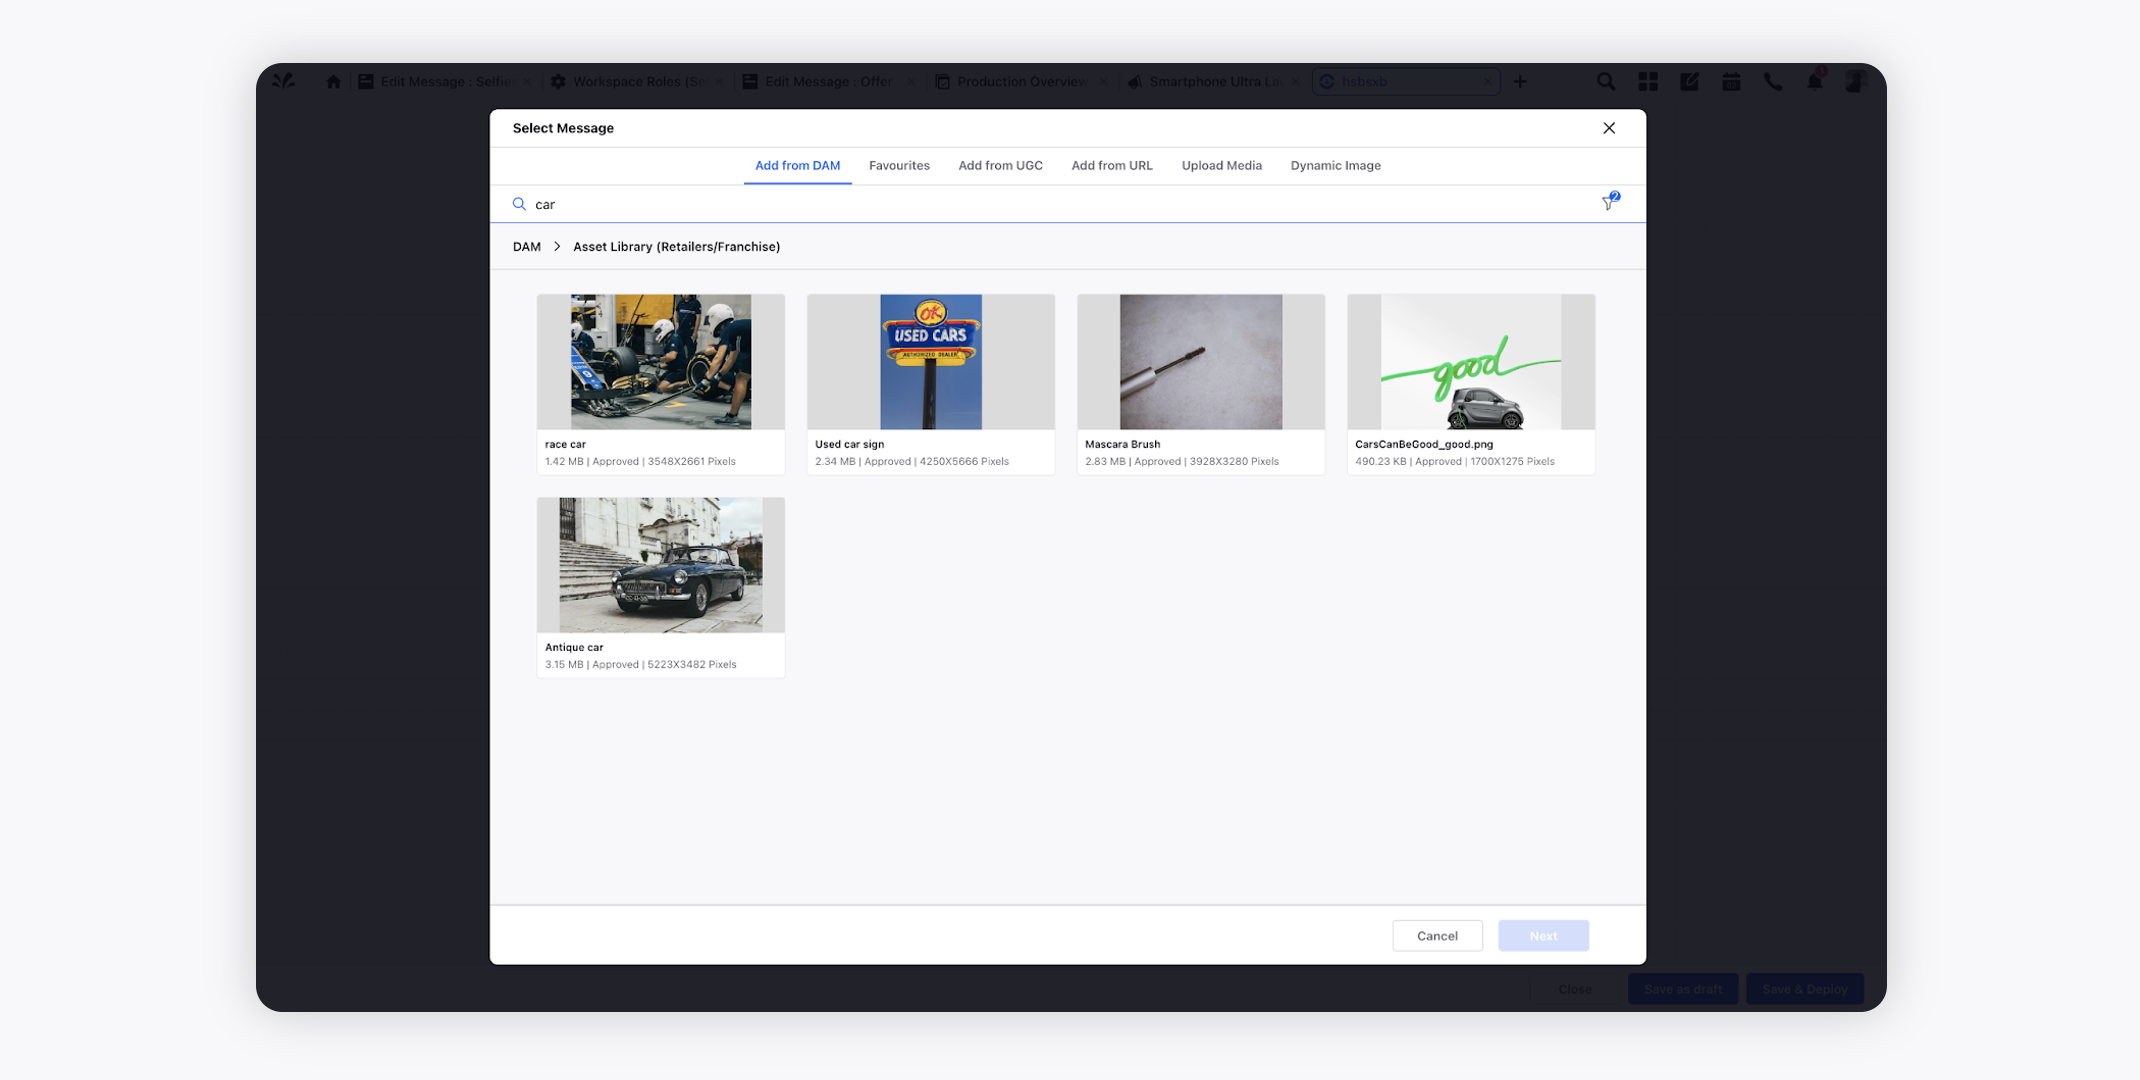
6) Select the Email Marketing Asset created earlier and click Next.
7) On the Select Account window, choose the Account from which you want to trigger the message to the customer segment and click Save.

8) After adding the desired actions in the Journey Builder, select End Event. The journey will end here.
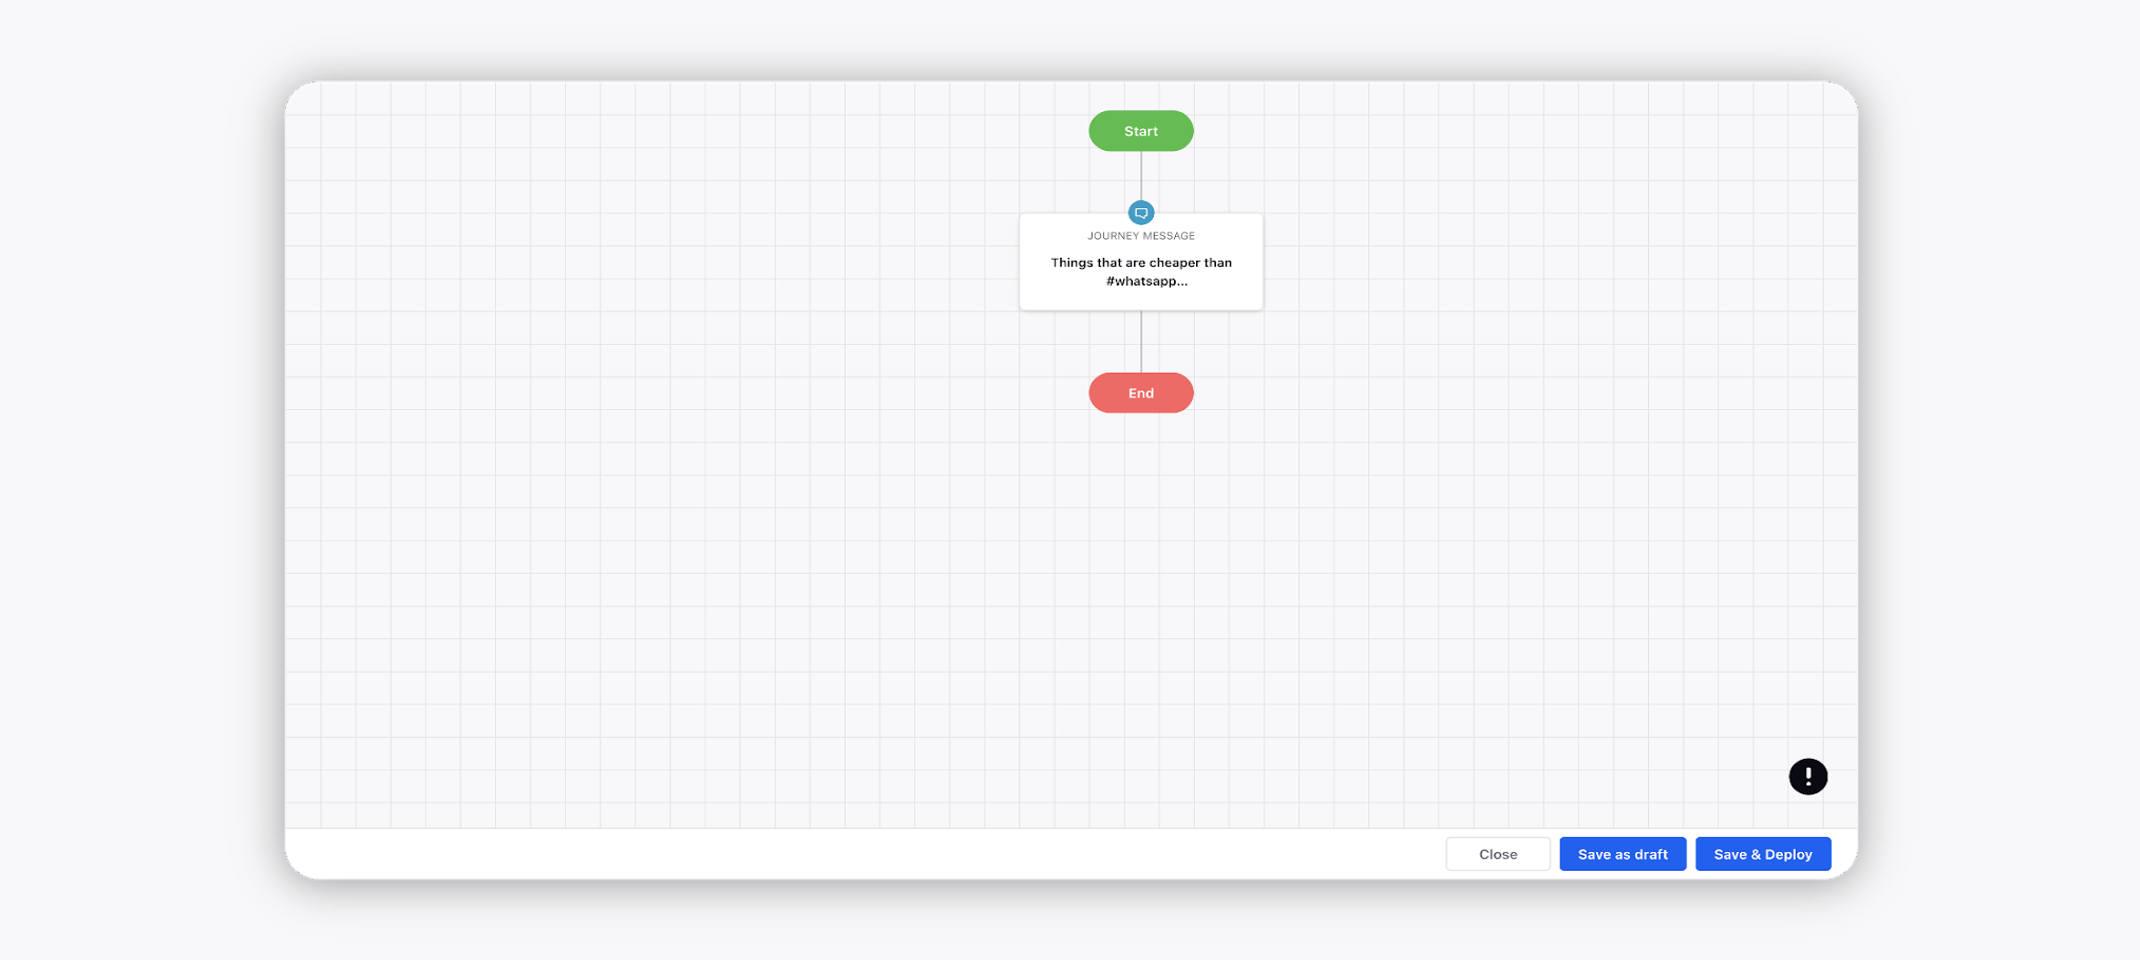
9) Click Save & Deploy at the bottom and the journey message selected will be sent to the customer segment. You can also click Save as draft in case you want to make the changes later.