The Pinterest tag is a powerful tool that enables you to gather valuable insights into your website's performance and create highly-targeted audiences for your Pinterest advertising campaigns. It is a small piece of code that you can easily add to your website or landing pages.
A Conversion Event is a specific action taken by a user on your website, such as making a purchase or signing up for your newsletter. With Sprinklr, you can track conversion reporting for activities such as Add to Cart and Sign Up.
What are Add to Cart and Sign Up?
Add to Cart: This Conversion Event tracks when a user adds items to their shopping cart. This allows you to see which products are most popular and helps you optimize your campaigns accordingly.
Sign Up: This Conversion Event tracks when a user signs up for your products or services. By tracking this event, you can gain insights into your user acquisition process and optimize your campaigns to attract more customers.
By tracking these events, you can make data-driven decisions to optimize your campaigns and increase your ROI.
To Setup Pixels
Click the New Tab icon. Under the Sprinklr Marketing (Ads) tab, click Tools and Settings within Plan.
On the Tools and Settings window, click Pixels within Channel Specific Settings.
In the top right corner of the Pixels window, click Add Pixels.
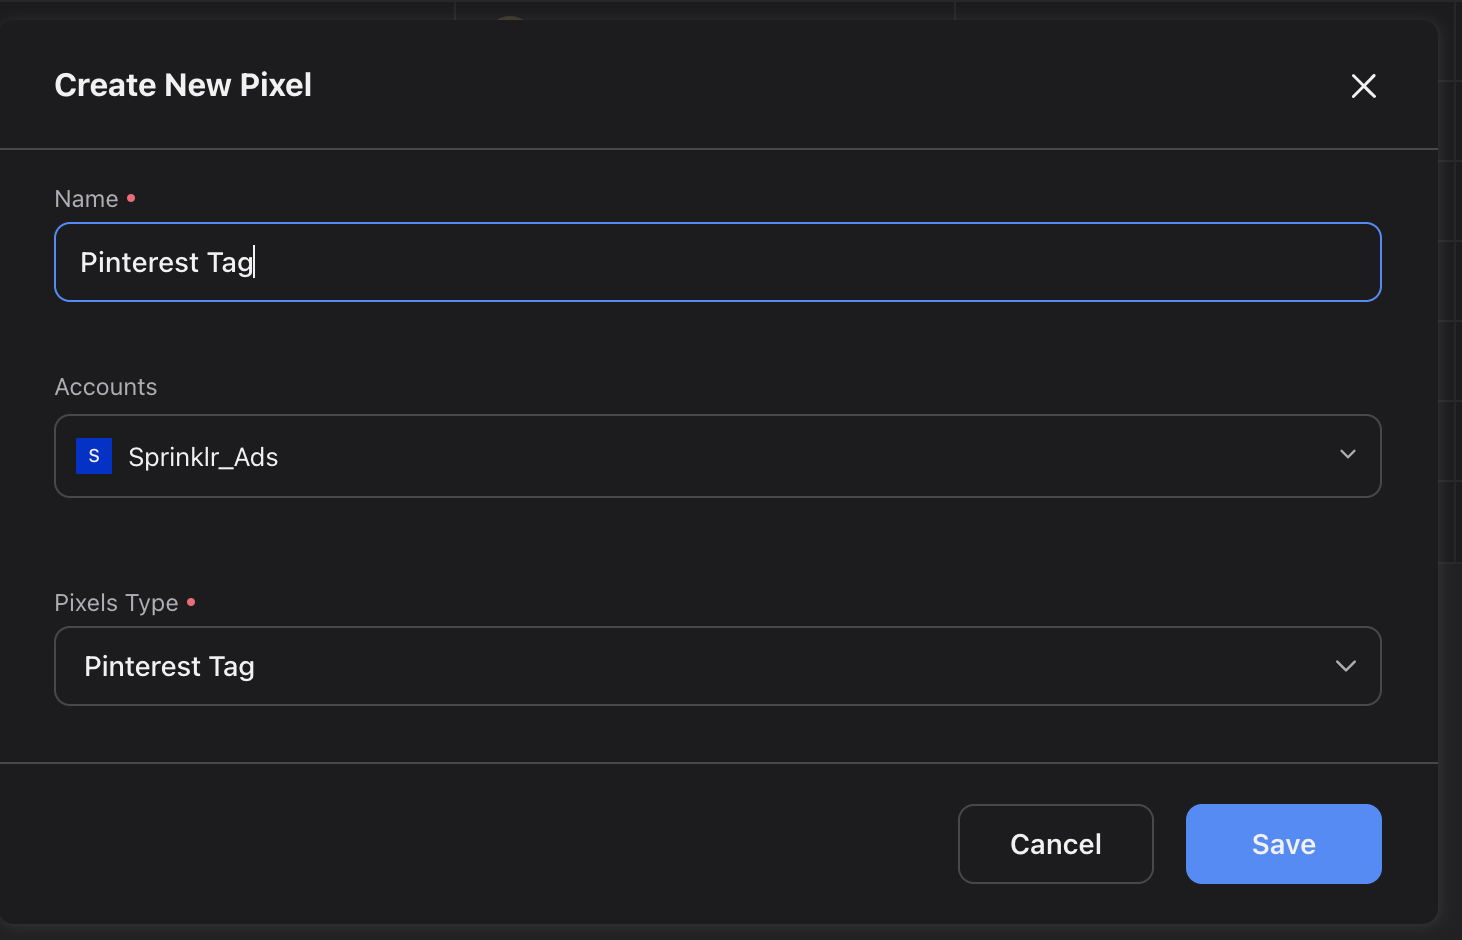
Enter the parameters for your pixel as required.
Custom Conversion
Ad Account
Select the Ad account
Pixel Type
Select the pixel tag from the dropdown menu.
Click Save in the bottom right corner to complete the process.
Click the New Tab icon. Under the Sprinklr Marketing (Ads) tab, click Ads Composer within Execute.
On the Ads Composer window, select your Pinterest ad account.
Within the Campaign Details section, select Conversions as your campaign objective from Select Objective for your Campaign.
Under Campaign Name, enter a name for your campaign or use a naming convention. Click Next.
Provide the required details and proceed to the Budget & Schedule section. Scroll down to Enter the Bidding details for all Ad Groups and select the Pinterest Tag and Conversion Event from the drop-down. If you cannot find your Pinterest Tag, select Sync Pinterest Tag from the drop-down menu.
6. Follow the prompted steps and publish your campaign.
To View Insights
Once you have published your ad campaign, you will be redirected to the Ads Manager window.
On the Ads Manager window, hover over the Options icon alongside the desired campaign and select View & Edit.
In the Edit pane to the right, click Analytics from the right navigation pane.
From the Analytics window, select a conversion pixel metric for which you want to view insights from the drop-down menu to the top. You can now view how your campaign is performing. In this section, you can track your conversion data corresponding to your ad.
On the Ads Manager window, hover over the Options icon alongside the desired campaign and select View Insights.
From the Select Dashboard to View Insights pop-up window, select the desired dashboard to view insights and click Open. Here you can further track your conversion data.