Kill Switch Rule
Updated
Manage the risk of PR crises with the ability to automatically stop publishing across various social channels by enabling the kill switch rule.
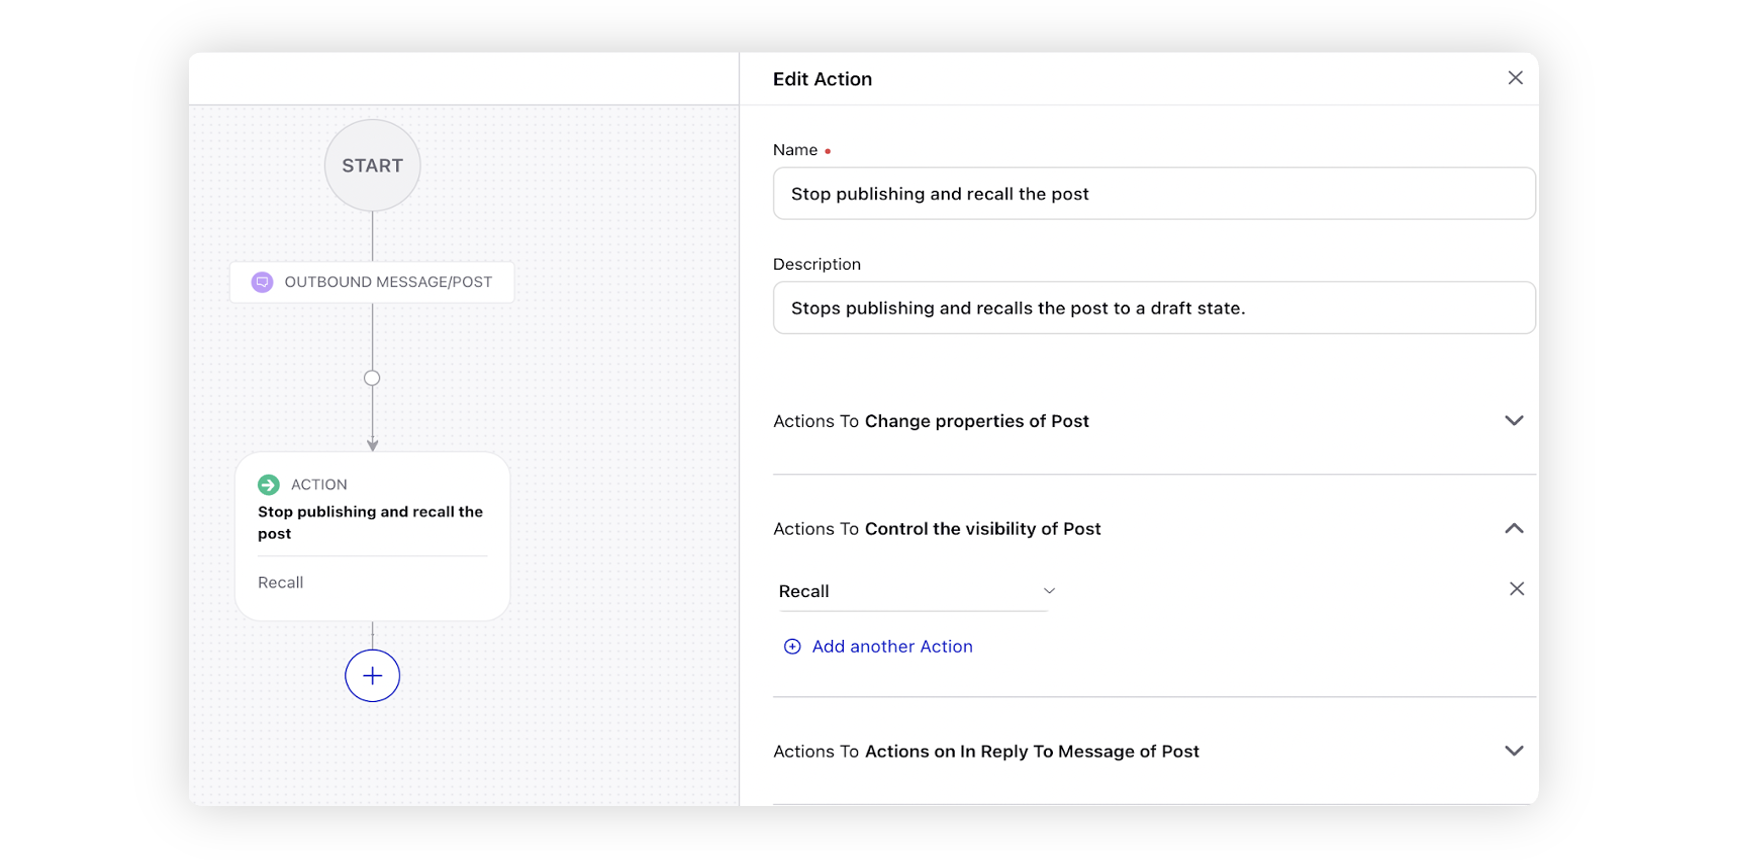
Example use case shown below: As soon as the kill switch rule is enabled, all the messages getting published via Sprinklr will get recalled.
How to set up
Click the New Tab icon. Under the Platform Modules, click Rule Engine within Collaborate..
In the top right corner of the Rule Engine window, click Create New Rule. For more information, see Create New Rule.
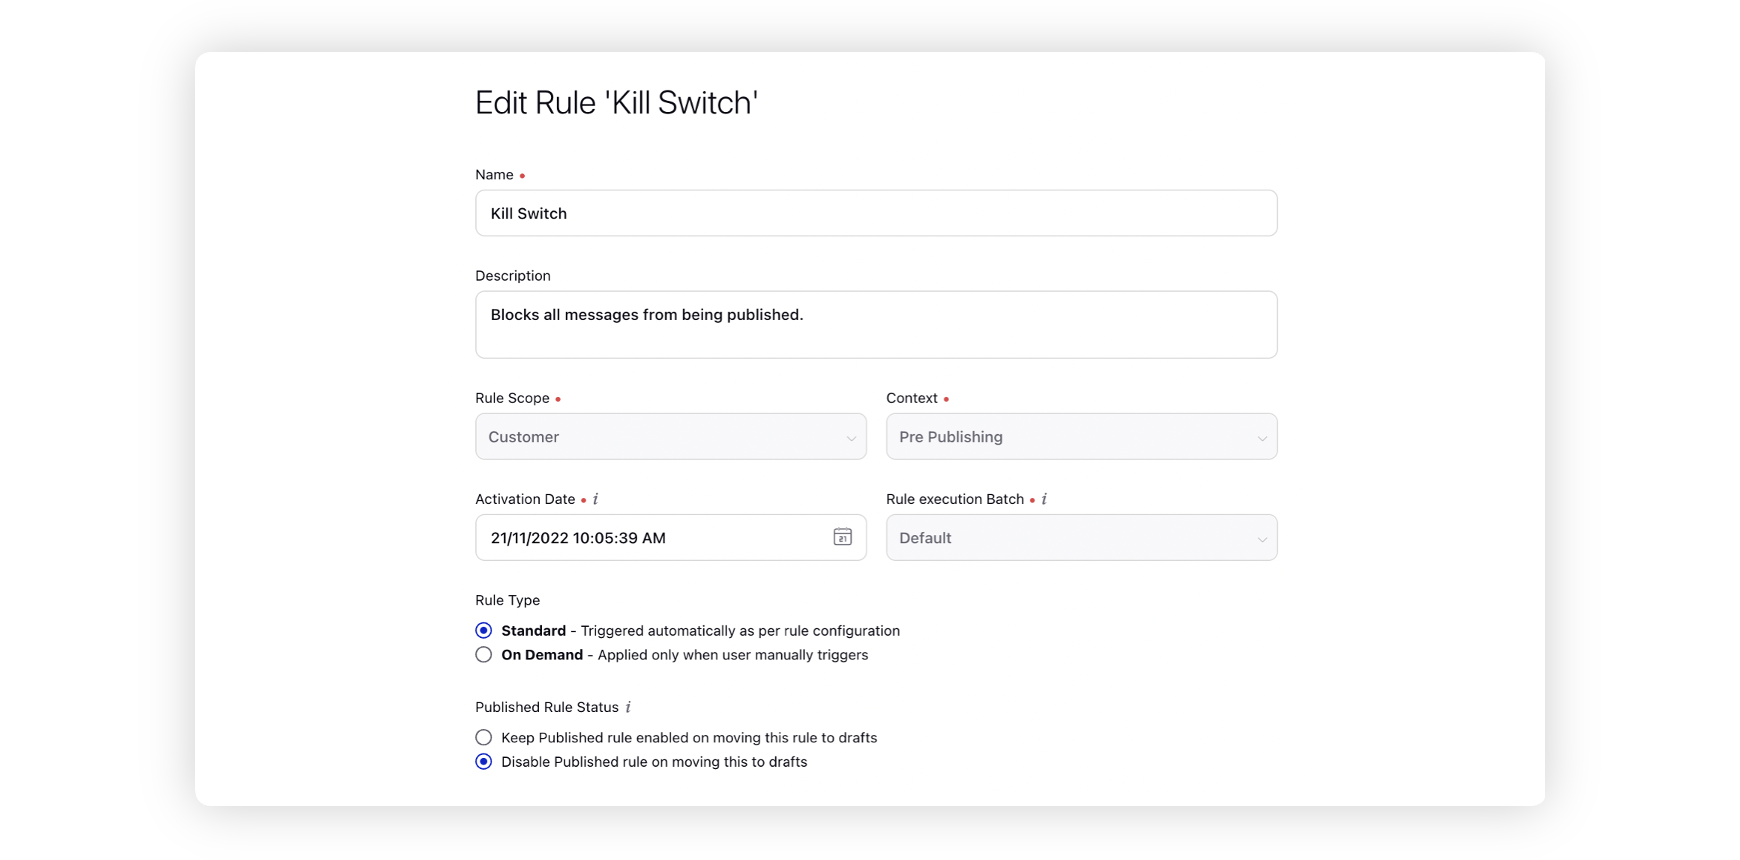
On the New Rule window, fill in the required details. Make sure you select Pre Publishing from the Context dropdown.

Modify the values for Activation Date, Rule Execution Batch, Rule Type, and Custom Fields. To proceed with the default values, click Next in the bottom right corner.
On the Rule Builder window, select Add Condition to set up specific scenarios that must be met for subsequent actions to execute. You can also chain multiple conditions together to refine the scenarios. For more information, see Pre-Publishing Rule — Conditions.
In this example, no specific condition has been defined. But users can also define various conditions such as Country = Australia. This will ensure that the kill switch rule gets localized to that specific country / team / department.
To configure actions in a rule, select Add Action on the Yes or a No branch of the condition depending on when you want the action to be executed. For more information, see Pre-Publishing Rule — Actions.
Select Recall as the action that you wish to perform when the condition becomes true under Actions to Control the visibility of Post.

Click Save in the bottom right corner to finalize the creation of your new rule, or Save as Draft to create a draft version of your rule.