Create an X Poll on Sprinklr
Updated
Sprinklr provides you with the capability to publish X (formerly Twitter) polls directly from the Sprinklr platform. While creating an X poll, you can set the duration, as well as the options for answers(upto 4 options). The poll is private Neither the poll creator nor the participants get to know who voted for which option. Find below the steps to publish an X poll from Sprinklr.
Steps to Publish an X Poll from Sprinklr
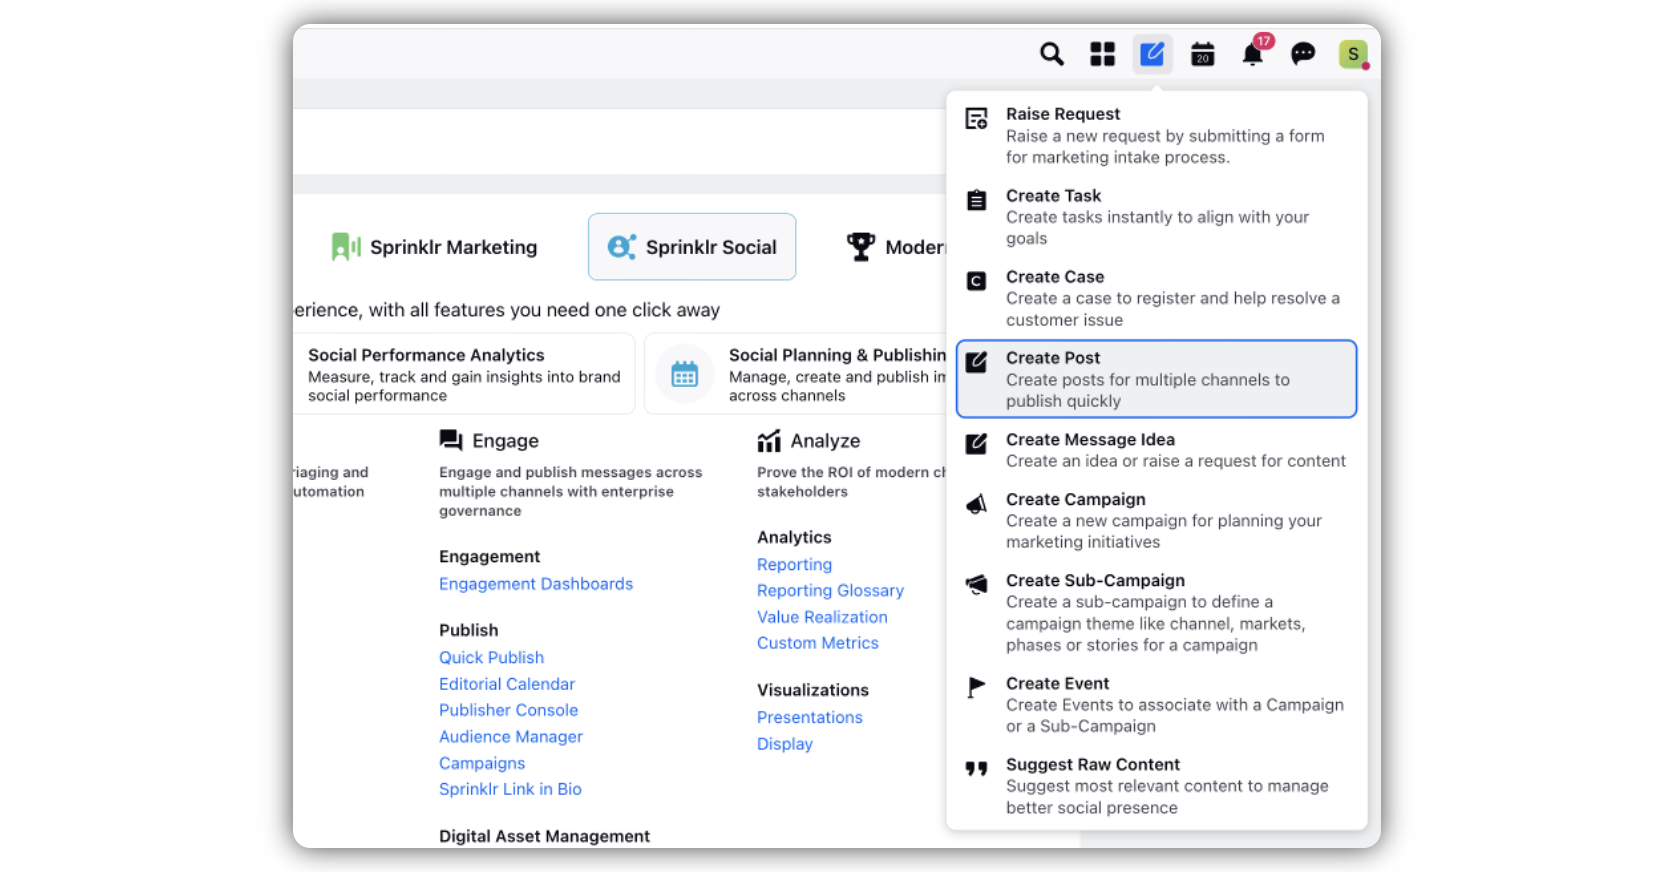
Click the Publisher icon
in the top right corner of the top navigation bar and select Create Post.
In the Create Post window, search and select the required X account in the Select Accounts field. You can also use Advanced Search to narrow your searches by a series of various filters.
Note:
To maintain compliance with X policies, the ability to select multiple X accounts at the same time in the Publisher is unavailable.
In addition, if you pick an account group with multiple X accounts, your post will not be published on X. You can only select one account for publishing at a time.
You can Pin your favorite and frequently used Account. You will not have to go through the hassle of adding the same account every time you publish a post. This will lead to quick publishing and increase efficiency.
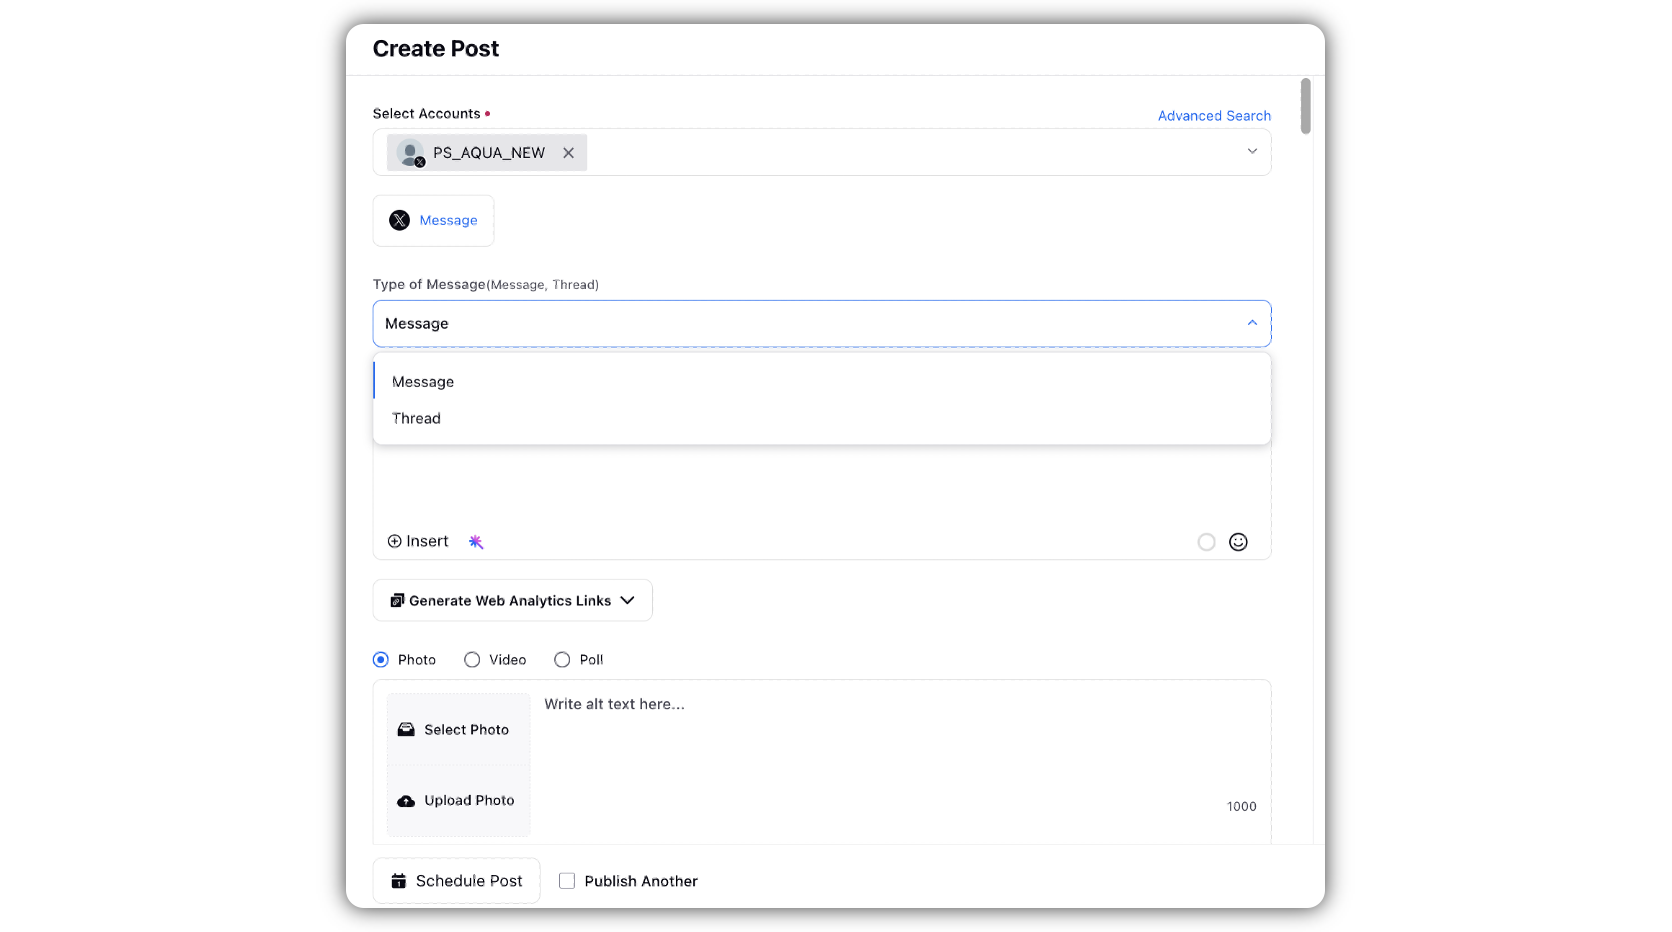
Under Type of Message, select your choice from the dropdown. You can select either Message or Thread.
In the Message box, enter your post content, along with the poll question.
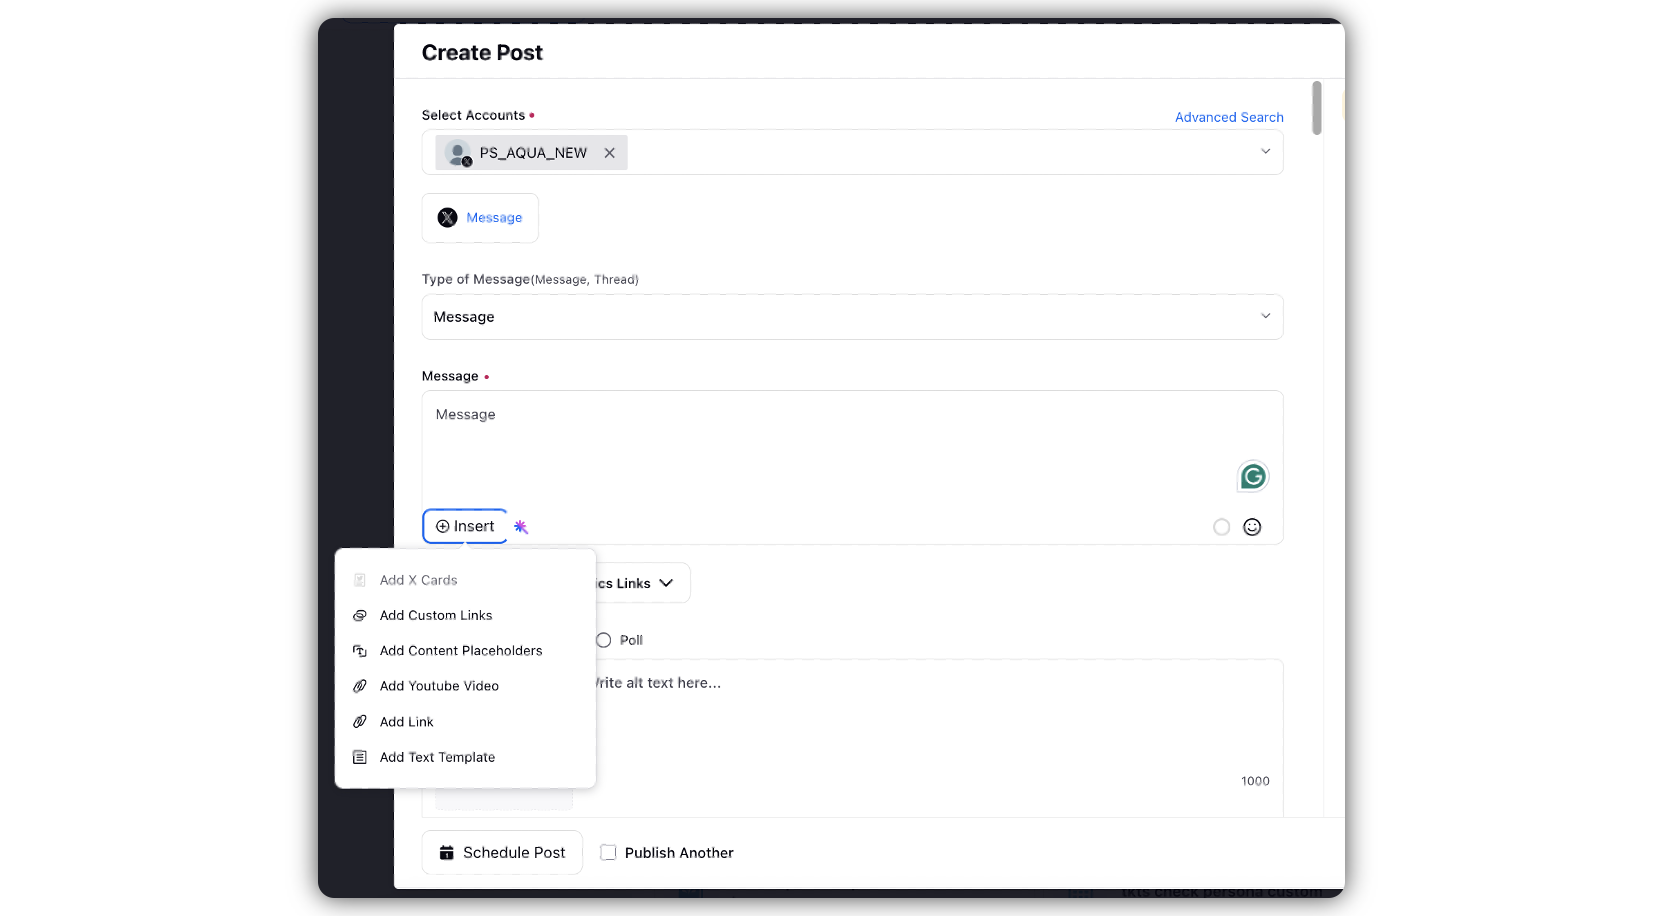
Click the Insert icon to add custom links or content placeholders or to add YouTube video, or to add any link or text template.
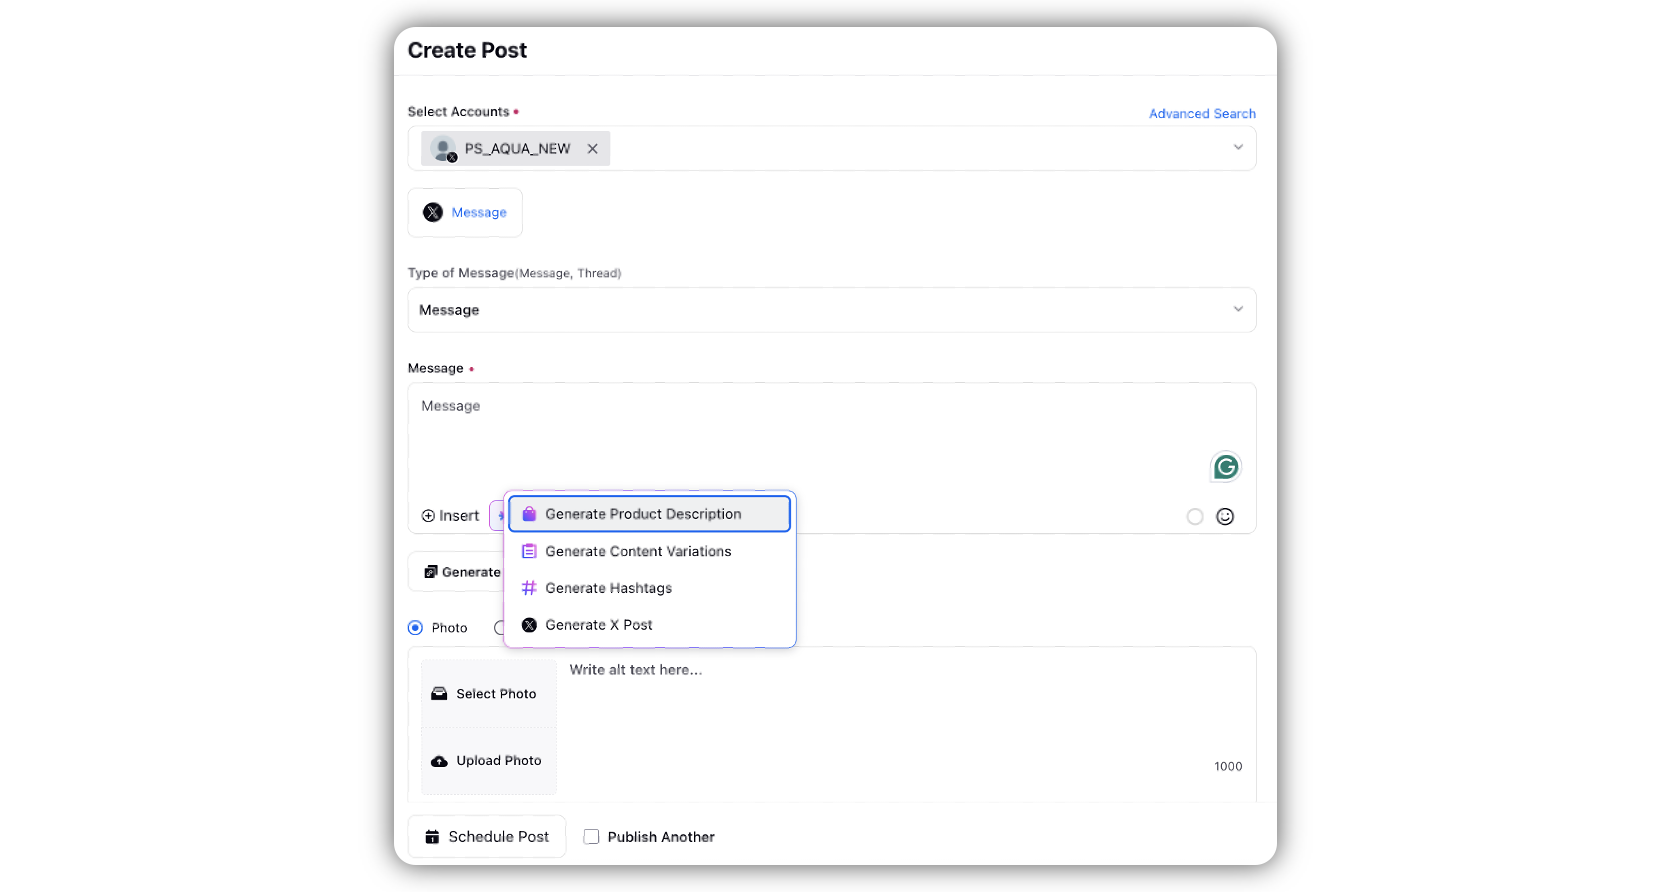
Click the Sprinklr AI+
 icon if you want to generate a product description, or content variation, or to generate hashtags, etc.
Among Photo, Video, and Poll, select Poll.
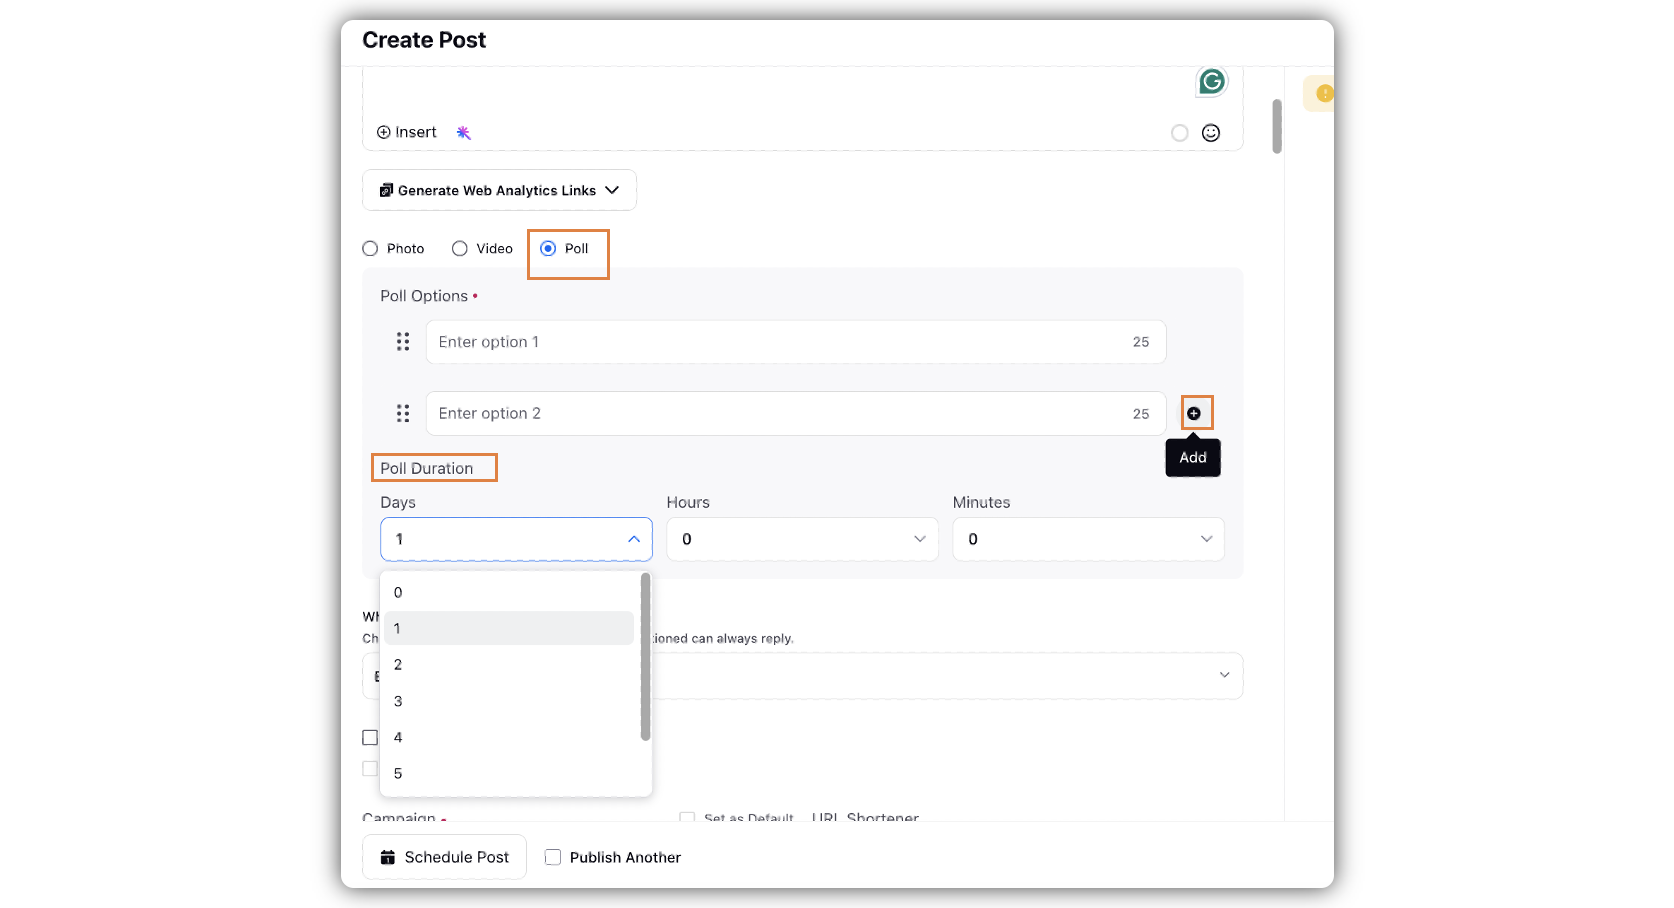
Under Poll Options, enter the possible answers to the poll question. Limit your answers to a maximum of 25 characters. Your audience will select one of these options.
Click the Add icon to add another option. You can add a maximum of 4 options.
Under Poll Duration, select Days, Hours, and Minutes from the dropdown menus.
Under Who can reply, select your choice from the drop-down menu.
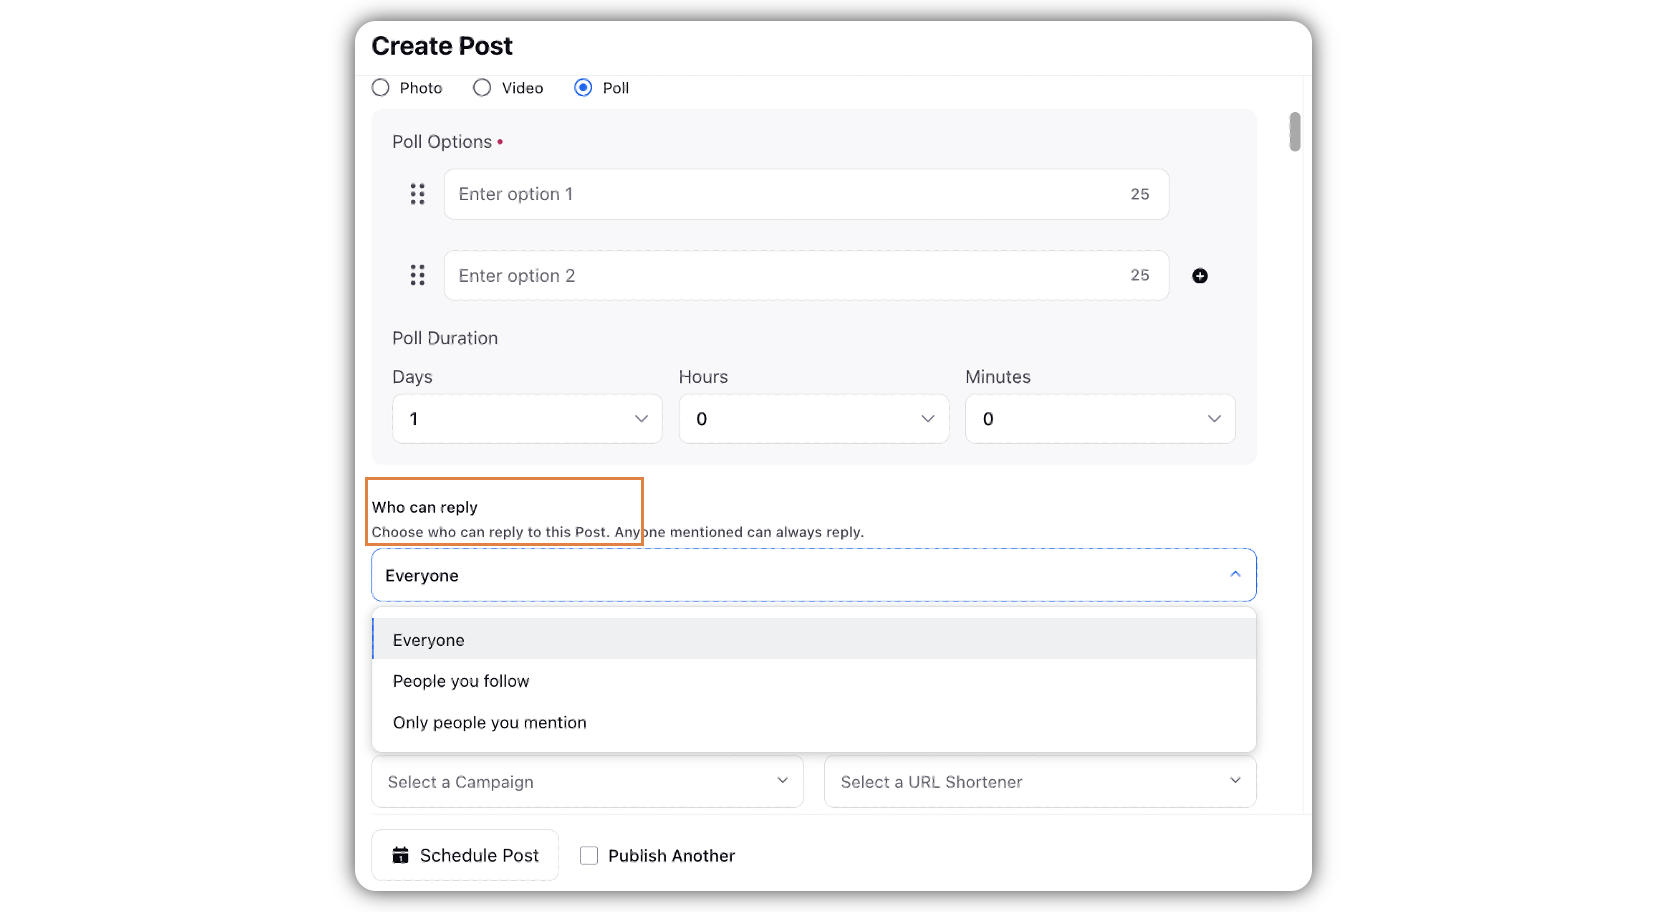
You can also publish the post as a Dark Post and enable Private Messaging by checking the respective boxes.
When you check the Enable Private Messaging box, it adds a call to action button to your tweet which will allow anyone to click and open the message window within the native X account.
Whether anyone will be able to send Direct Message or not depends on the privacy permission of the account. To allow everyone to send you private messages, please enable the Allow message requests from everyone option from X (formerly Twitter) Direct Message Settings.
If you add a media in the tweet, the CTA button won't appear.
Select a campaign from the Campaign drop-down menu to associate your post with. You can also set your campaign as default by clicking Set as Default. Select a sub-campaign from the Sub-Campaign drop-down menu to associate your post with.
Select Social Bars from the drop-down menu respectively and apply the respective custom properties to the post.
You can select URL Shortener to shorten every link that you paste in your message. This helps you make the most of the character limit.
Under Approval, set an Approval Type for your post. You can also add an Approval Note.
Preview of the post will render on the right pane.
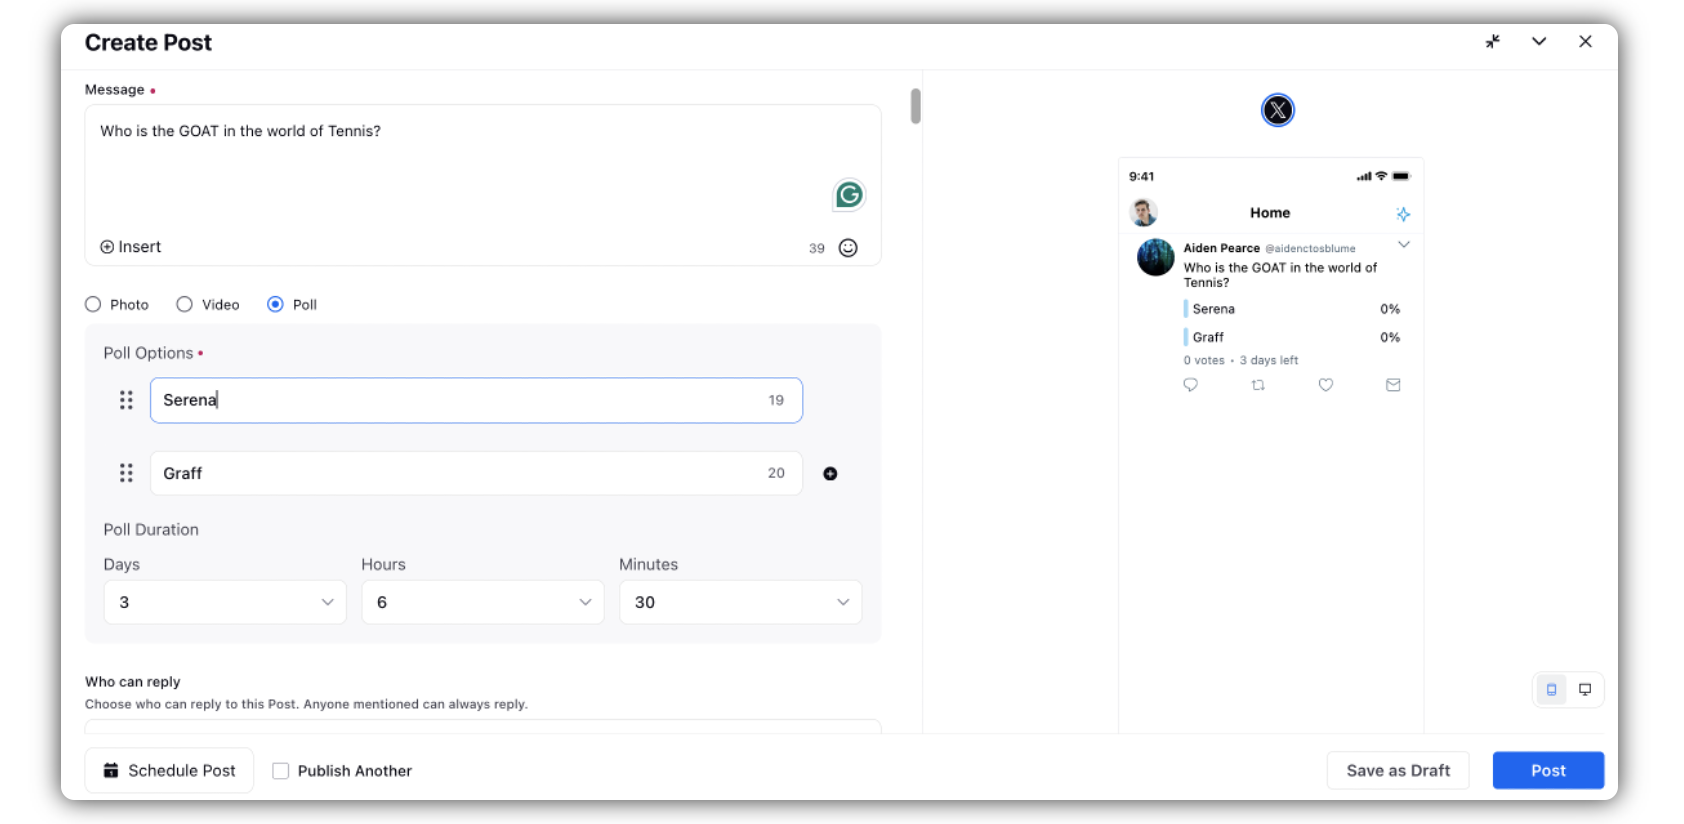
Click Post in the bottom right corner to publish the poll immediately. If you are not ready to publish and want to save your post as a draft, click Save as Draft.
You can also schedule your post for a future date and time by clicking the
Schedule Post in the bottom right corner. Select the month, date, and time of publishing. Click Apply to save your changes.
To continue publishing the post, check the given Publish Another box in the bottom.