Email Marketing Capability for Distributed Users
Updated
Distributed users, especially personas like agents, advisors, or marketing executives can benefit significantly from email marketing within the Sprinklr Distributed platform. The Distributed users can use email as the channel to target their audience for marketing or sales purposes. You can use the email templates shared by the Admin, edit them based on the context and purpose, and send them to the intended audience or audience groups.
Steps to Add Email Contacts
Log into your Distributed environment.
Click the Contact icon in the toolbar to the left.
In the Contacts window, you can see the list of your Contacts. You can add more.
Click Add Contact in the top right corner.
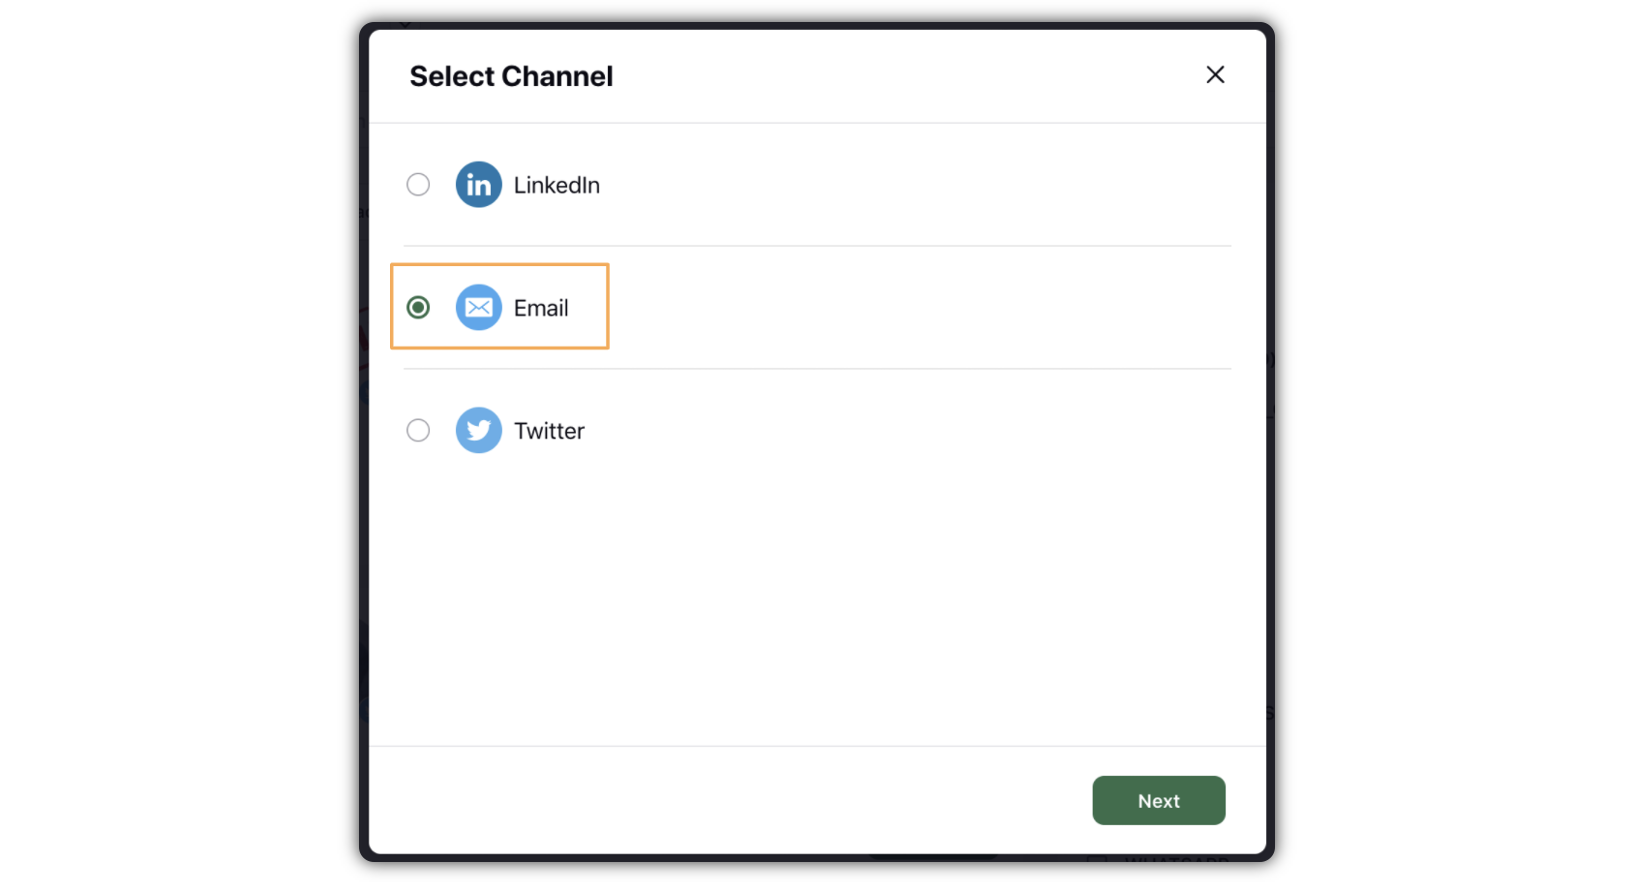
In the Select Channel window, select Email as the channel, and click Next in the bottom right corner.
Enter the email id in the given field. It will show you the profile if it is within Sprinklr.
Click Add Contact in the bottom right corner. The Contact is now added. It will reflect in your My Contacts list.
Steps to Send/Schedule Email Messages to My Contacts or Shared Contacts
Log into your Distributed environment.
Click the Contact icon in the toolbar to the left.
In the Contacts page, under All Filters in the right side of the window, select EMAIL from the list of channels.
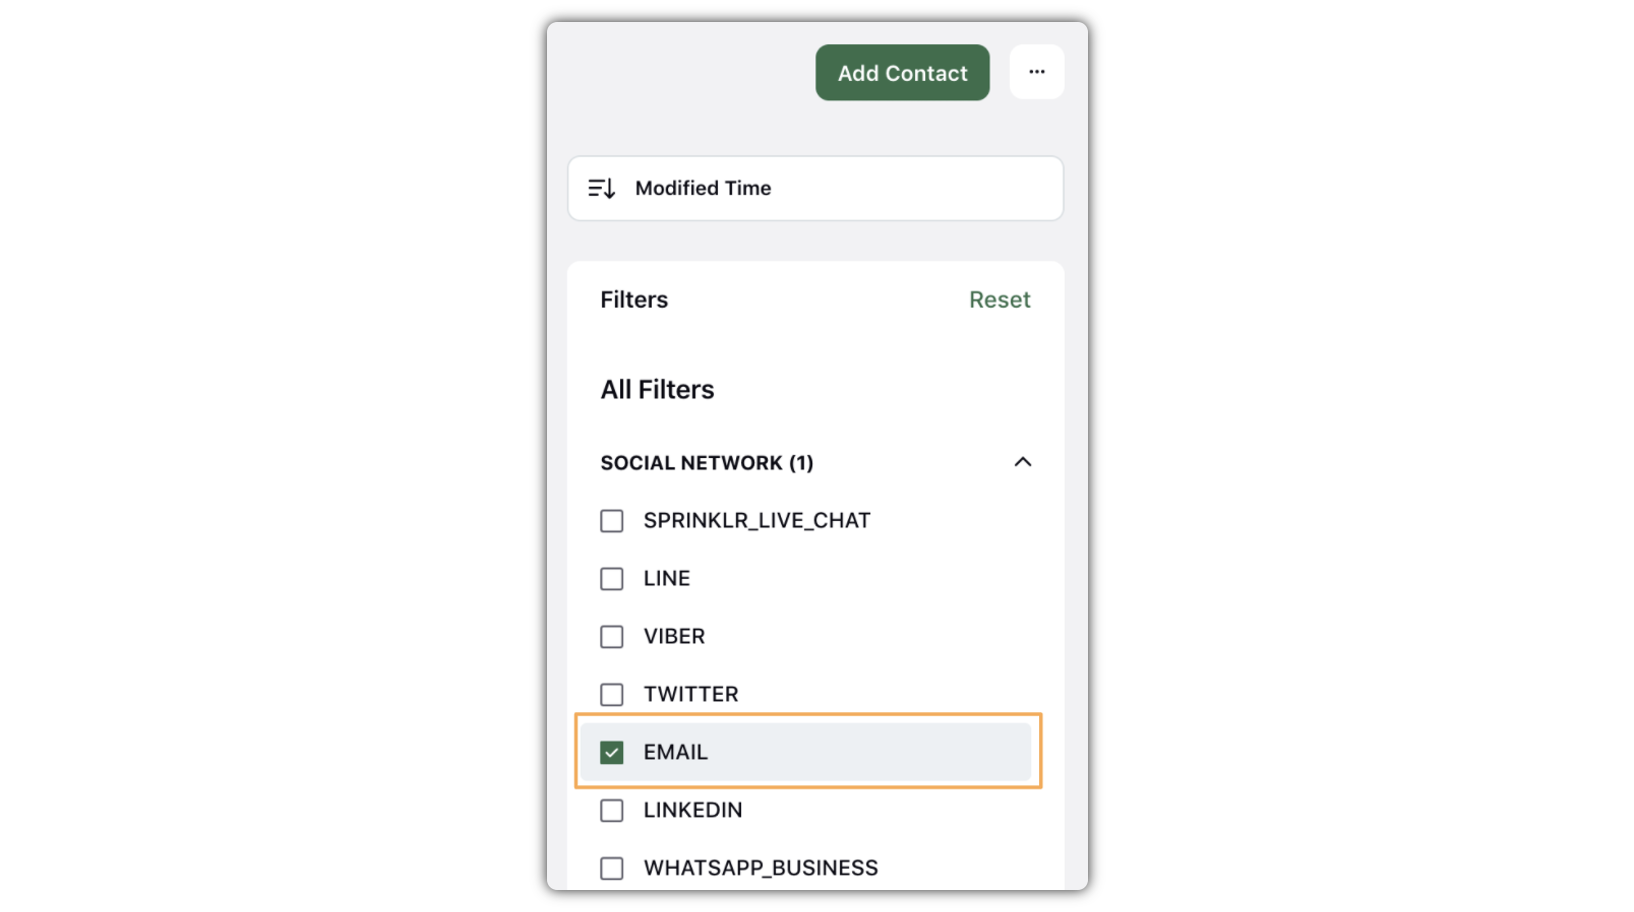
You can now see all the Contacts you can send emails to. Click Email on the intended Contact.

In the Create Post popup window, select Account(s) from which you want to send the email.
Under Type of Message, select the Email Template that has been shared by the Admin.
Enter your Message in the given field. You can attach images, documents, and links, and add emoticons to the messages.
Add Subject and Email Title in the respective fields.
Select Campaign from the available dropdown.
Click Post in the bottom right corner to send the email right away. Click Schedule to schedule the email for a later time. You can also save the email as a draft.
Steps to Send/Schedule Email Messages via Quick Publisher
Log into your Distributed environment.
Click the Create Content
 icon in the toolbar to the left.
 Or, click the Share something with your audience... field under Create Post.
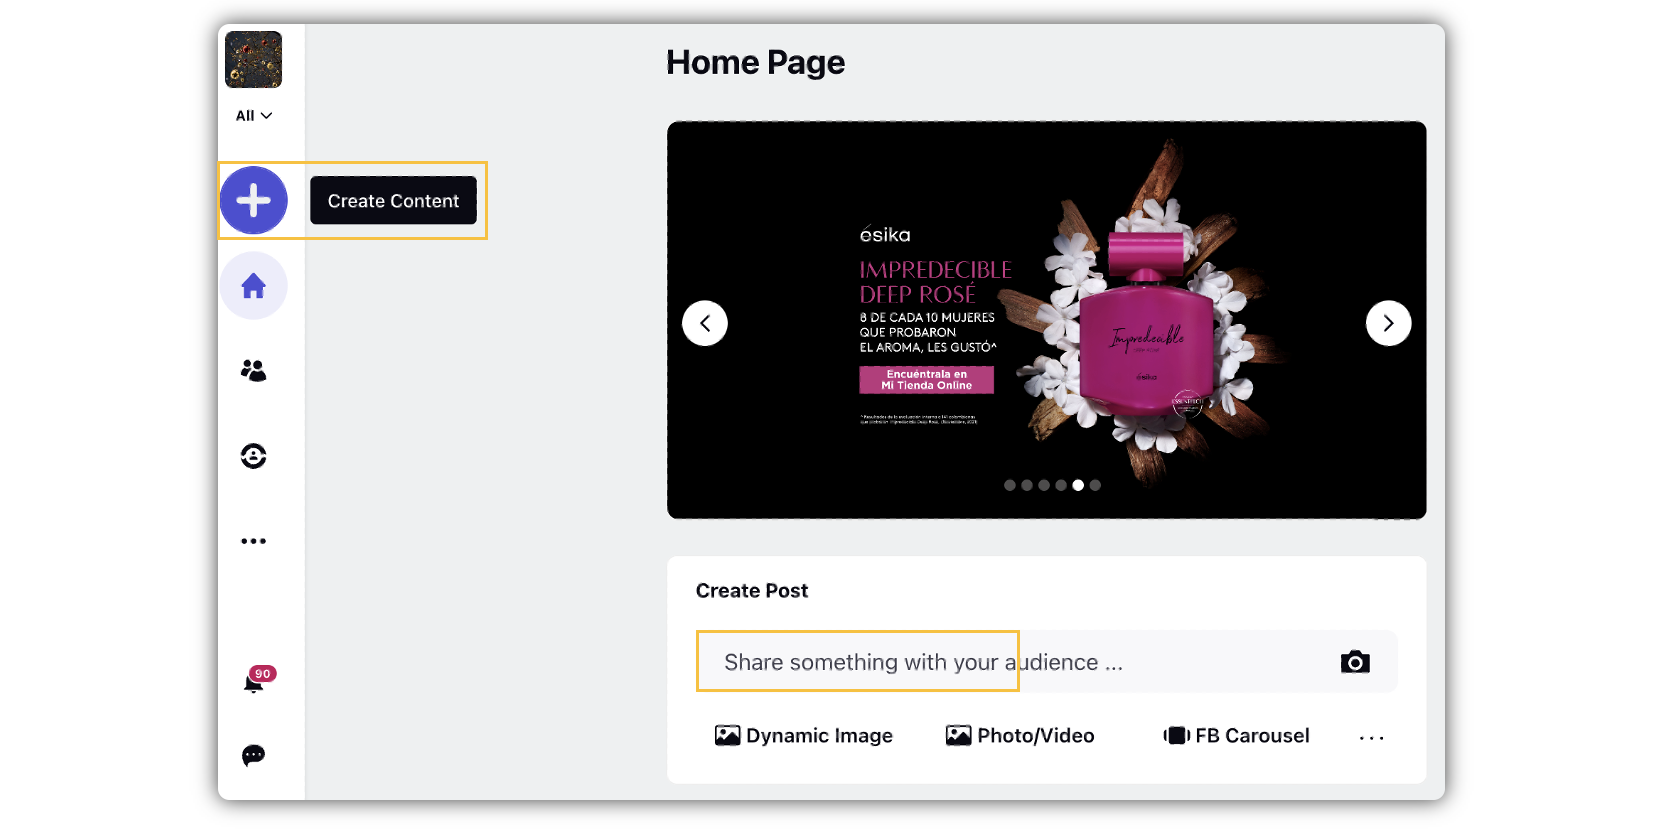
In the Create Post popup window, click the Maximize
 icon.
icon.
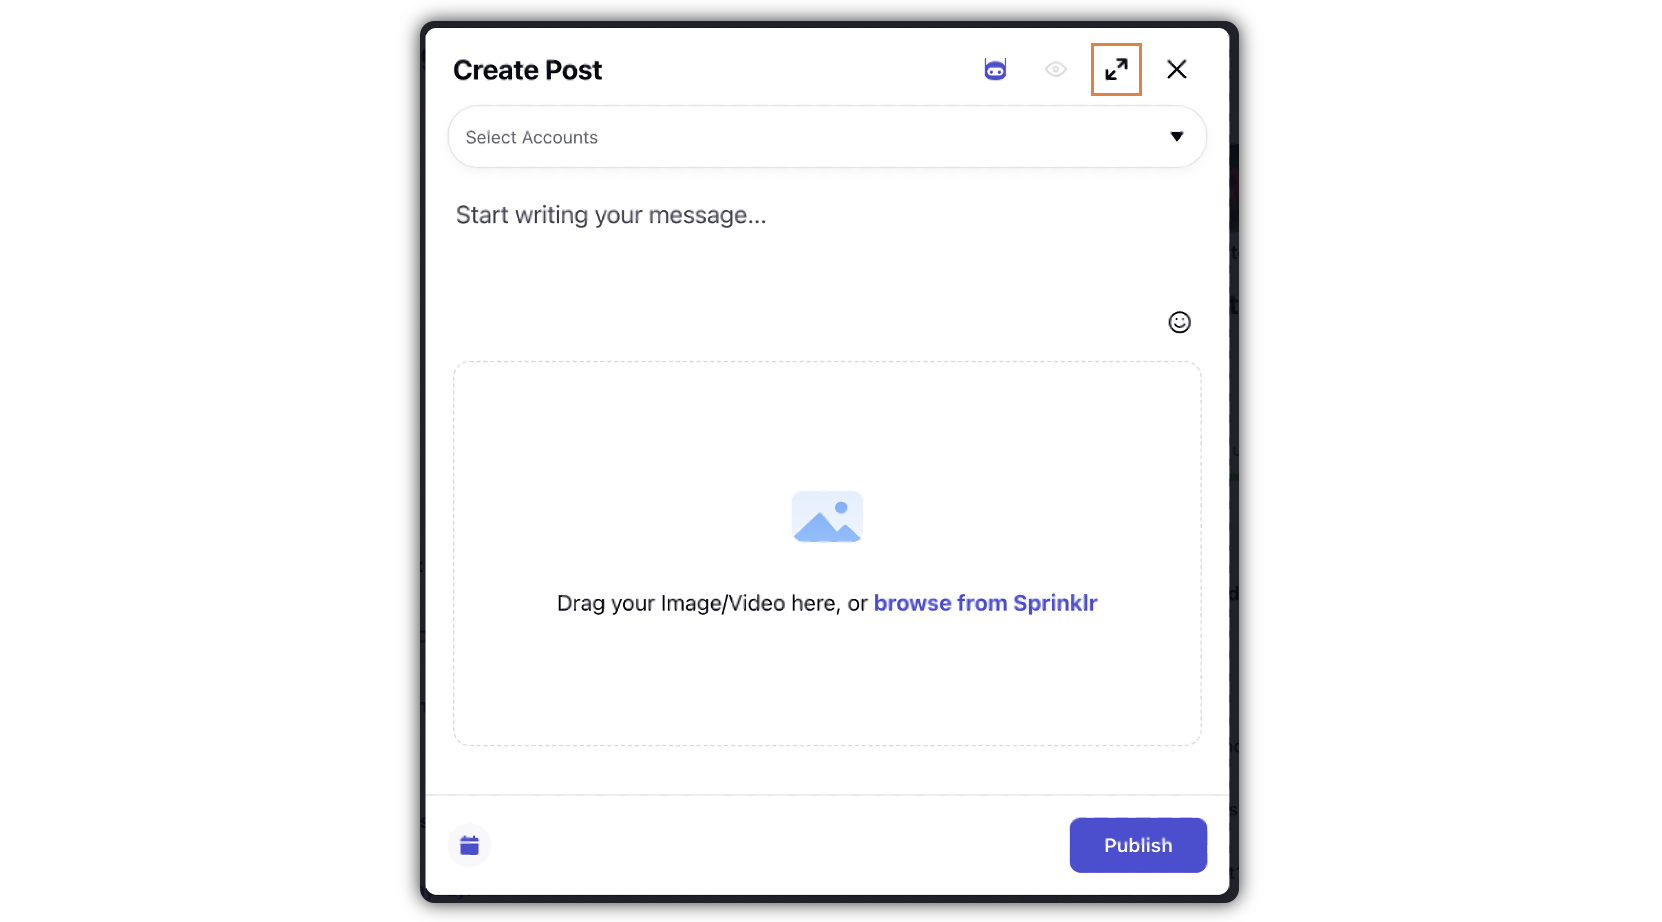
In the Create Post maximized popup window, select Account(s) from which you want to send the email.
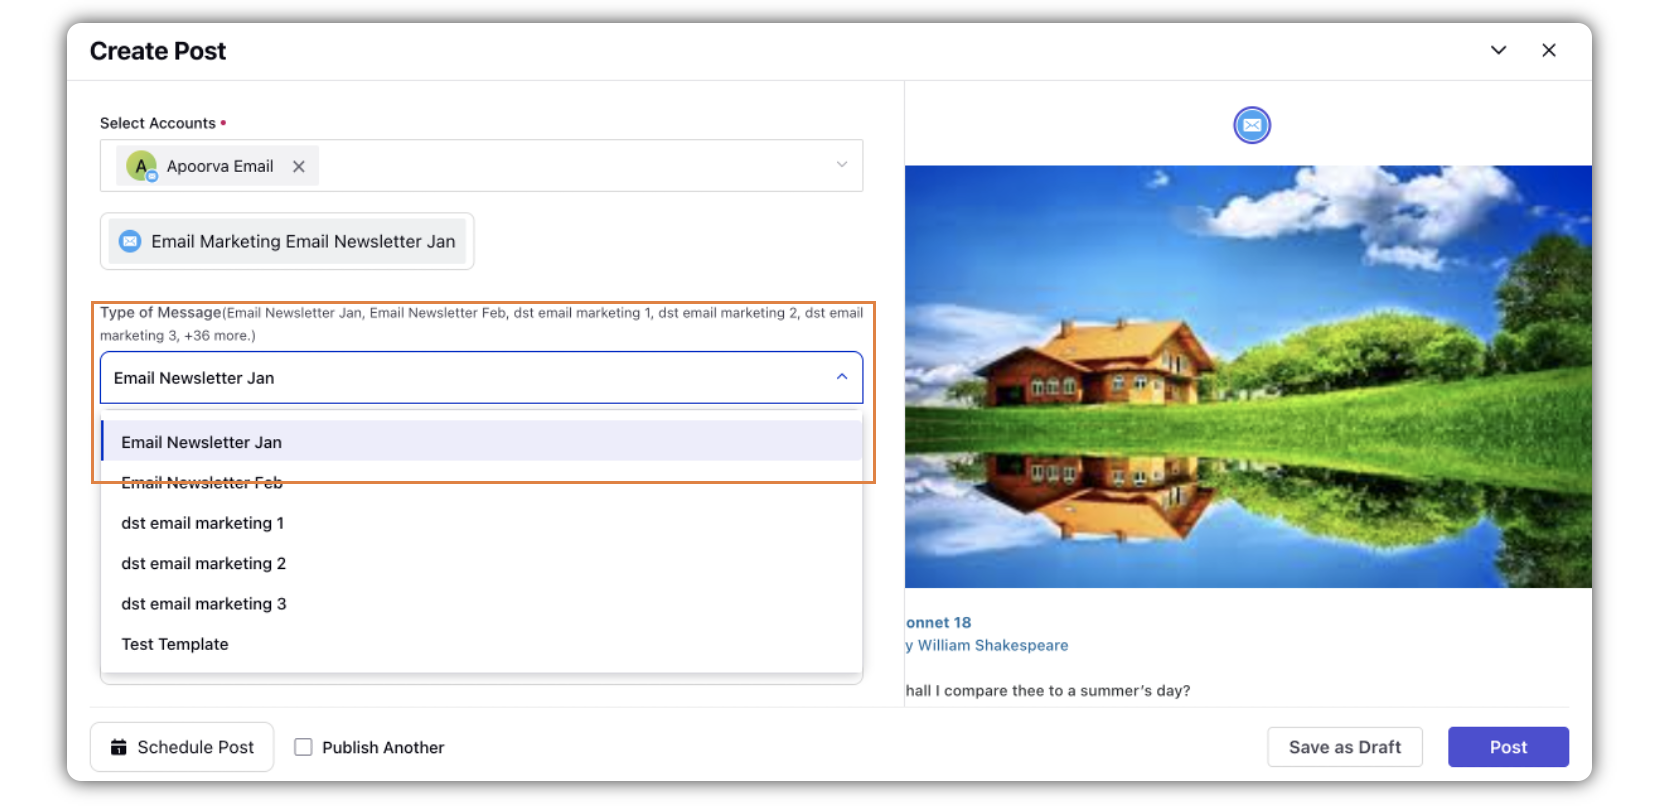
Under Type of Message, select the Email Template that has been shared by the Admin.
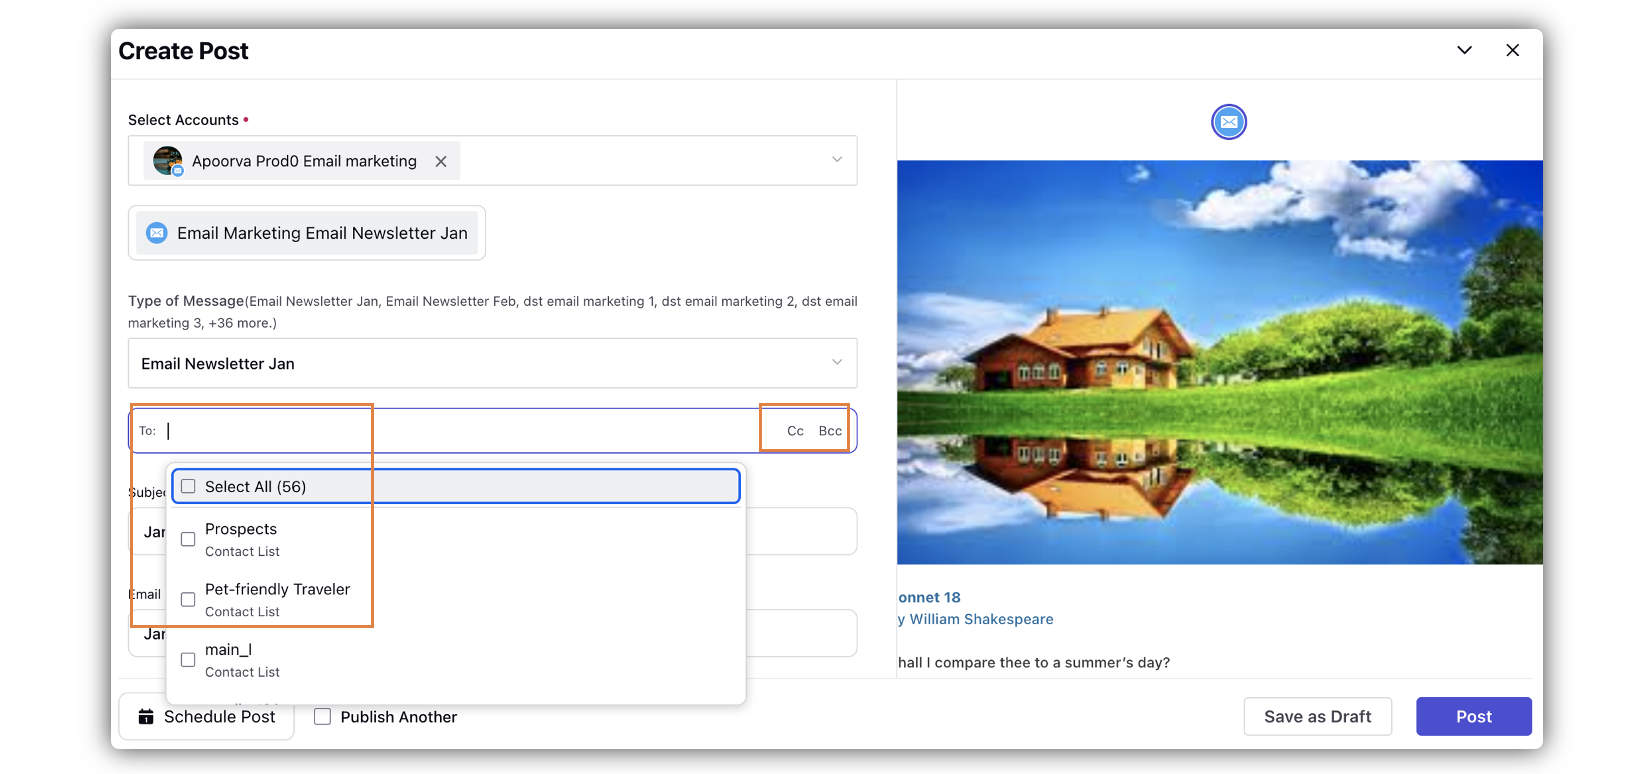
In the To: field (to mention the recepients), select your contact list from the dropdown. Click Cc and Bcc to add contacts under those.
Add Subject and Email Title in the respective fields.
Enter your Message in the given field. You can attach images, documents, and links, and add emoticons to the messages.
Select Campaign from the available dropdown.
Click Post in the bottom right corner to send the email right away. Click Schedule Post to schedule the email for a later time. Click Save as draft to save the email as a draft.